Posted on

San Antonio Modern Quilt Guild Mini Quilt Show

A small quilt with different colored hexagons on it


The guild I belong to recently held a mini quilt show/silent auction, where the members were challenged to make modern mini quilts measuring 16″ square to show and raise awareness for modern quilting and invite people to ask questions about what our guild does.  The event was graciously hosted by Sew Special Quilts in San Antonio, where they provided space for us to show the quilts and have our meeting after hours.  They were so awesome and have a great selection of quilting and sewing supplies, so if you’re in need and in the area, please show them some love!  

I already posted about the mini quilt I made two weeks ago (the double wedding ring mini quilt), but I wanted to share the other two quilts I worked on, in collaboration with Debra–a fellow member of the guild.  
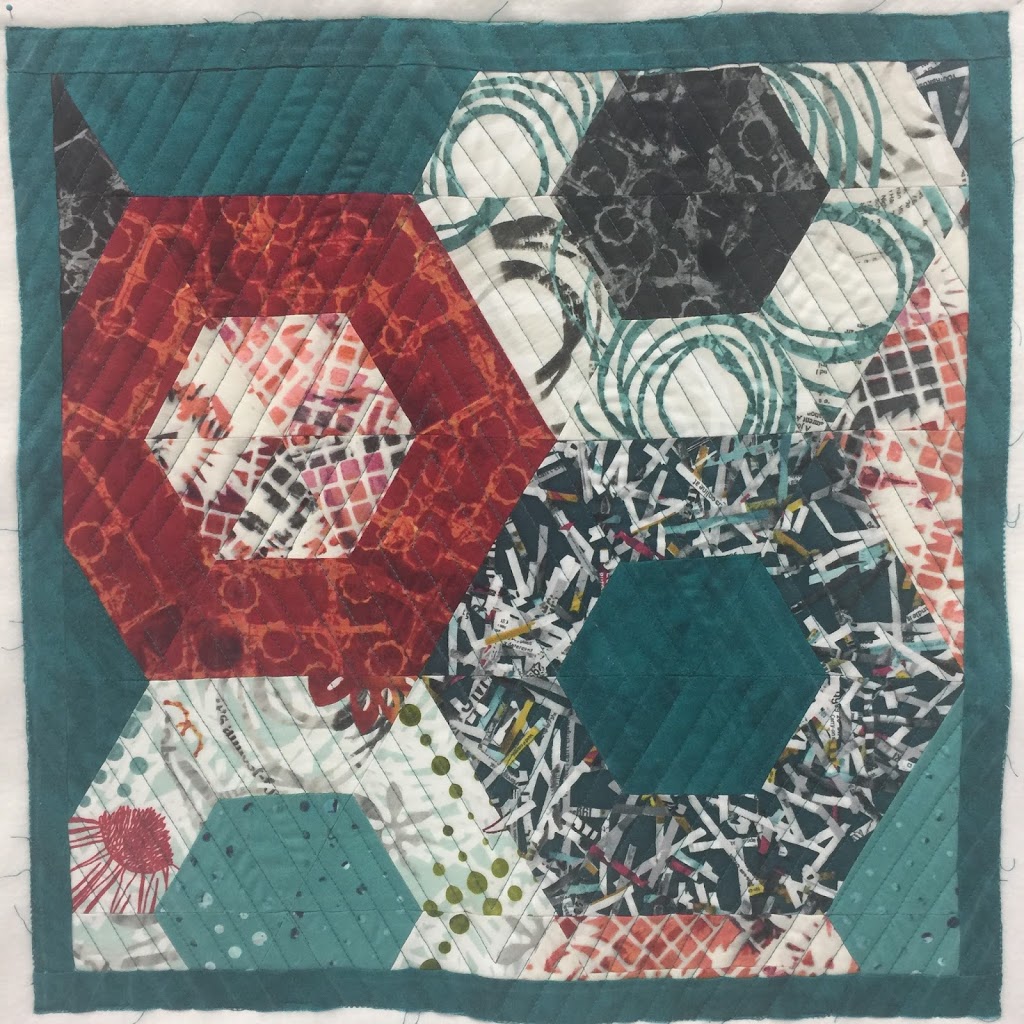
The first quilt I quilted was pieced by Debra from yet another guild member’s inaugural fabric line (Leslie Tucker Jenison-Urban Artifacts by RJR Fabrics).  It’s a great design and awesome way to showcase a variety of great fabrics.  For this quilt, I just quilted some simple contrasting straight lines.  I think the fabrics and design of the mini are more prone to show better when the quilting design is simple.
A small quilt with different colored hexagons on it
Pieced by Debra B, fabric-Urban Artifacts by Leslie Tucker Jenison
pardon the not-square appearing mini.  It really was square, but I forgot to smooth that wrinkle before I snapped this picture.  This was right after quilting and mini was not yet bound. 
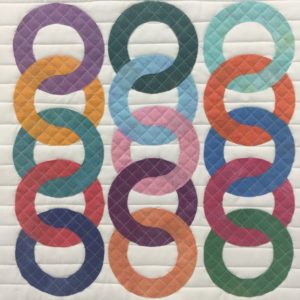
The second quilt I quilted was also in collaboration with Debra.  Debra hand cut each charm square from a Grunge charm pack and fused the fabrics to the background.  I thought this was a super cool quilt pattern to use and has the illusion that all the circles are connected.  For this one I wanted to do something to make the circles stand out from the background, so I quilted a smaller grid on the fused circles and then did some straight line quilting on the background fabric.  
A colorful quilt with many circles in the middle.
Mini Quilt “pieced” by Debra B. using Grunge fabrics
We had a really great night and the event was so much fun.  It isn’t often that everyone in our guild participates in “Sew and Tell”, and we had a lot of members participate in this.  Seeing the range of everyone’s quilting interests and what their personal specialty is was a treat.  

Posted on

Love Patchwork and Quilting Issue 48!

A magazine cover with different designs on it.


A magazine cover with different designs on it.
photo provided by Love Patchwork and Quilting
fabric for quilt provided by Robert Kaufman Fabrics

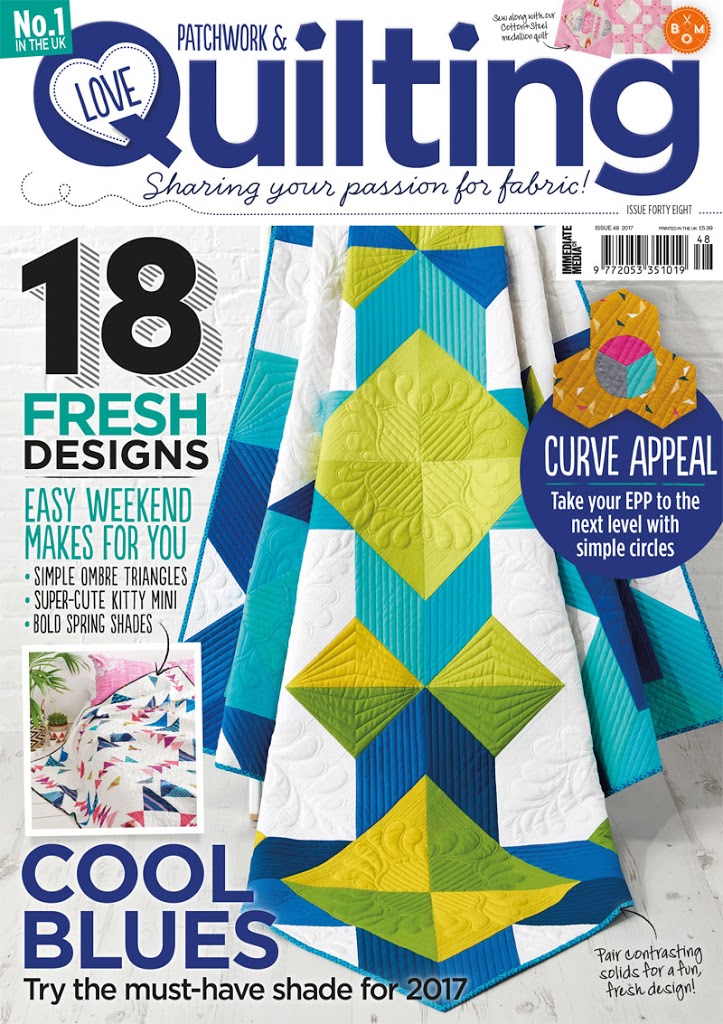
Have any of you ever made a goal so outrageous that you don’t ever really even consider it to be a possibility?  You might still work towards that goal, but the hopes that it will come to fruition aren’t there.  That’s exactly how I feel about this post. I always looked at the quilts and projects in this magazine and was blown away by the talent and variety.  I’m BEYOND excited (so excited I’m yelling in all caps!) to say that this quilt I submitted to Love Patchwork and Quilting Magazine made the cover!  When I started sewing a few years ago, I joined the San Antonio Modern Quilt Guild, and someone mentioned that LP& Q was the only magazine they bought.  So I jumped on that train.  I had never heard of it, because I was very new to quilting, let alone sewing.  I was tired of the traditional color palettes that are represented in other quilting magazines.  It was definitely love at first sight, and I subscribed to it immediately.  (And ask for it for Christmas every year!)

A quilt that is made of blue and green squares.
photo provided by Love Patchwork and Quilting
fabric for quilt provided by Robert Kaufman Fabrics

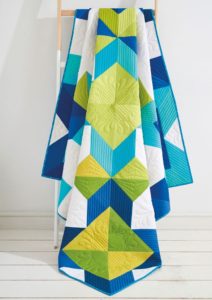
I’m super excited about the photography of this quilt!  I’ve never had a quilt professionally “shot” before, so it is thrilling to see the results (and know that I have a lot to learn when it comes to my own quilt photography 😉

This quilt is something I worked really hard on, and for a long time.  I am so thankful to the amazing people at Robert Kaufman Fabrics for providing the Kona Cotton Solids that were used to make the cover quilt, and for the opportunity from LP&Q to share my quilt!

I did some custom quilting and a little bit of ruler work on the longarm to finish off the quilt.  I hope you’ll check out the quilt in issue 48 of Love Patchwork and Quilting!  Thanks for letting me share my happy news with you 🙂

Posted on

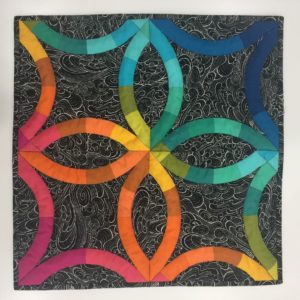
English Paper Piecing – Double wedding ring style!

A picture of a quilt with the same pattern as it.


Good morning!  So many milestones going on in our household this week–our little girl turned 6 months last week (How has it already been half a year???) I celebrated my first mother’s day, started the baby on her first solid foods, and it’s my husband’s birthday this week.  Needless to say, it’s been super busy, and I feel like I’ve been to the grocery store almost every day this week.  Do they give frequent flier miles for multiple grocery store trips in one day?  I should also mention we live 12 miles from the nearest grocery store…  I’m sure you can relate to the feeling that you’re flying by the seat of your pants on household chores and checklists.  Laundry, dishes, etc., etc., but I wouldn’t trade it for the world!

One of the many reasons I love English Paper Piecing is the opportunity to slow down and enjoy the process of hand sewing.  I also love combining multiple parts of the sewing and design process and planning out a project from start to finish.  There is something so satisfying in making something completely from start to finish…even if it sometimes feels like you’re recreating the wheel.  

A picture of a quilt with the same pattern as it.


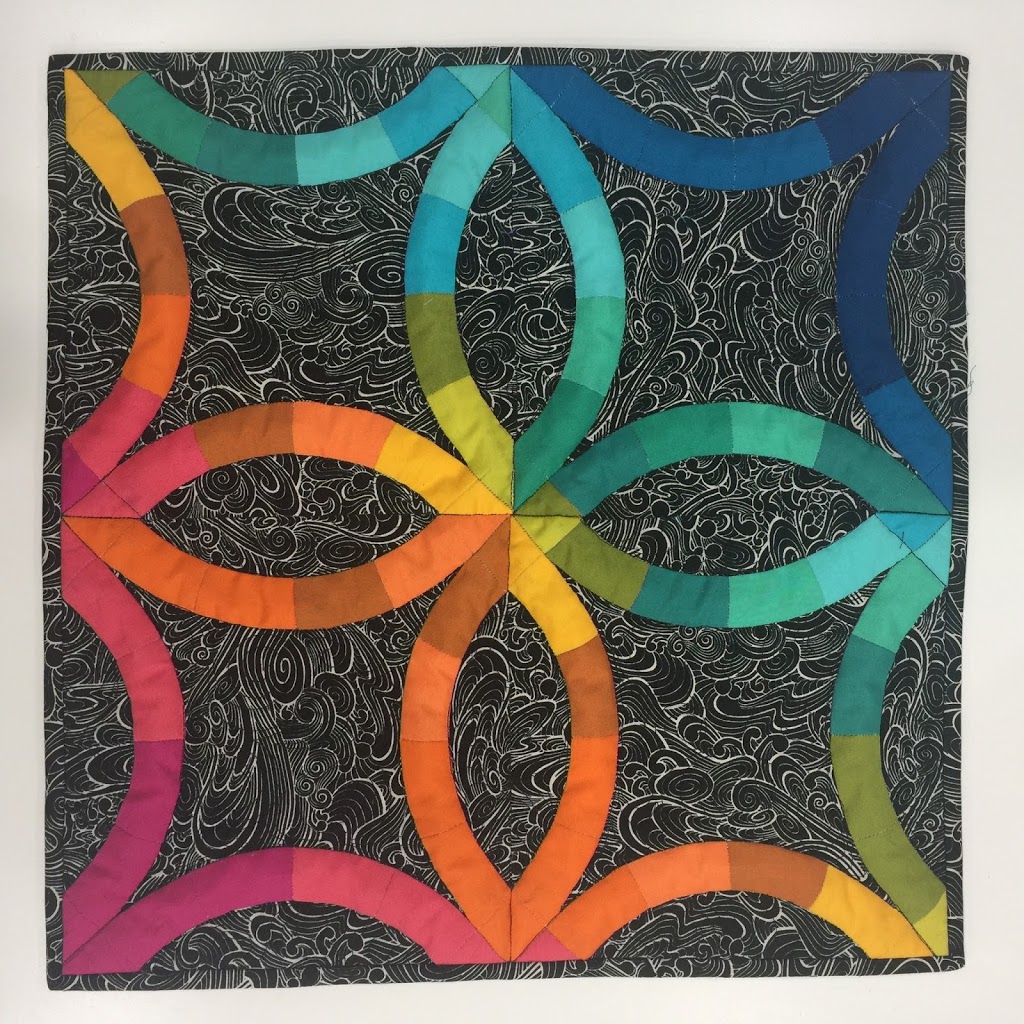
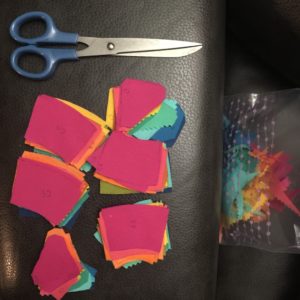
I started by sitting down with my EQ7 software and designing a mini quilt for our local Modern Quilt Guild.  We recently had our first silent auction event and mini quilt show (SO FUN!).  Then I printed templates onto cardstock for the EPP pieces and started thinking about my fabrics.  I had a great charm pack of Kaufman Kona Cotton Solids that I had been holding onto for over a year, and thought this would be a great opportunity to use it.  I traced and cut out my fabrics, and then had to pause when I selected my background fabric. 

A table with scissors and some paper cut outs


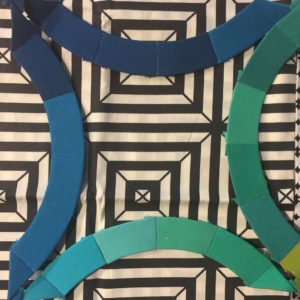
I knew I didn’t want white, and I really like the effect black and white patterned fabrics have with solids.  So I auditioned a few different fabric choices–I really thought I wanted to go with a black and white stripe, but I opted for a more solid-reading print instead.  I pieced together a few of the DWR pieces and then placed them on top of my background fabric choices.  Pictured below is what I thought I was going to go with, but I instead selected a Tula Pink True Colors black and white print.  Because…Tula!!!

A black and white pattern with blue, green, and turquoise colored paper.

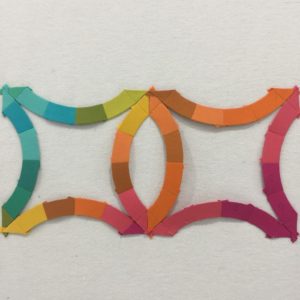
From the basic design in EQ7 (They already have the blocks drawn up…I just sized them to fit my needs), printing the cardstock, then cutting the fabrics, I got to take a breath and piece in my leisure time.  HA.  Leisure time…You know what I mean.  The semi-quiet moments in the house when my hair wasn’t on fire 😉

A colorful paper strip with a pattern of circles.

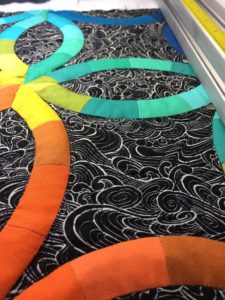
Then I loaded the mini on my longarm and did some simple stitch in the ditch around the wedding rings and some loopy swirl combos on the black and white background that blend nicely.  It may seem kind of dumb to longarm a mini quilt, since you need a little bit more backing fabric than you would if you were to quilt it on a domestic, but I figured I paid for that huge machine and I’m going to get my money’s worth!  Plus, I had just taken a fresh quilt off of the frame, and I had to take advantage of it before I loaded my next quilt.  It made for a slightly quicker finish than if I’d done it on the domestic sewing machine.
A close up of the floor with colorful circles on it

I was thrilled with the results, and playing with the color gradation and high-contrast background was really a lot of fun.  But mostly, I was able to really enjoy the process and each step along the way.  I don’t know about you, but from the day I started sewing, I’ve always eyed the double wedding ring quilts.  I’m not sure I have the patience at this point in my life to see a full-sized quilt through, so this mini quilt was the perfect opportunity for me to cross a DWR quilt off my quilting bucket list.  I had also never taken the time to hand piece curves before, but it wasn’t as bad as I thought it might be.  Really, I had built it up to be this super scary moment, when all you really need to do is take a little extra time and carefully mark the centers of each EPP piece prior to piecing it, and make sure you line the centers up while adjusting the curves.  

I hope your sewing adventures take you somewhere awesome this week, and try to slow down and enjoy the process behind what you’re doing.  I know I really enjoy the projects where I can slow down a bit and take a break from the hustle and bustle of life.  Happy sewing friends!

Posted on

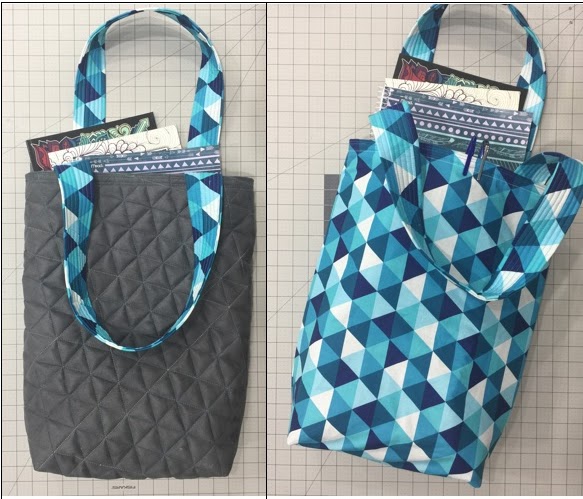
Select a size iPad Clutch free pattern

A book with some colorful pencils on it


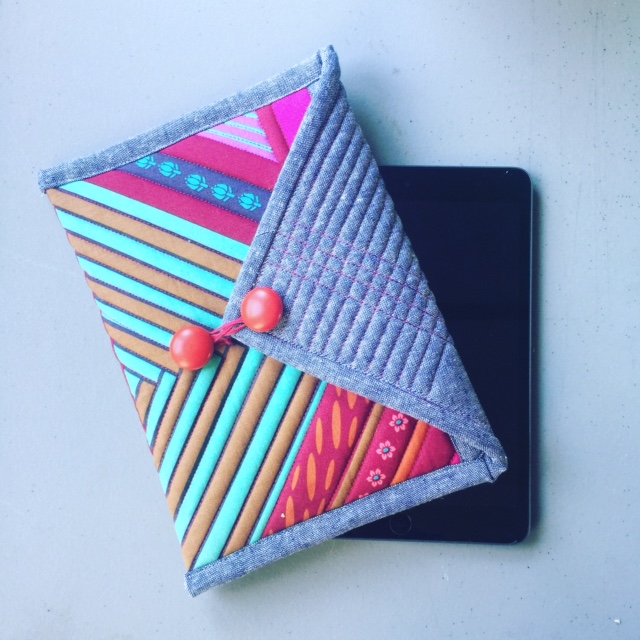
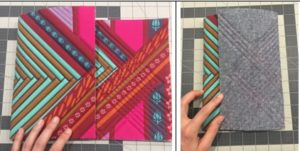
Good morning!  Things have been a whirlwind in the last month!  I have some really exciting things that I’ve been working on at Kustom Kwilts & Designs that I can’t wait to share with you in the very near future, and I’m so excited that I can finally share this free tutorial with you that I teamed up with Janome to bring you.  Find the full tutorial HERE- at the AQS blog

A book with some colorful pencils on it


There are some specific things I look for when creating a handmade gift for someone.  I like a quick project that looks like it took a LOOOOOOOOOOOONG time.  This is one of those!  The supply list is fairly short, so you can easily grab a few fat quarters from your stash and get this project going today, in time for Mother’s Day next week, or whip up several for those really awesome teachers in your child’s life.  The tutorial allows for you to select from several sizes of tablets, so you should be able to select the size your person uses and get going right away!  

A person holding up two different types of fabric.


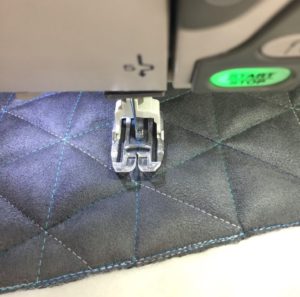
I’ve been sewing on the newest Horizon Memory Craft 9400QCP, and this machine is a true workhorse.  I love everything about it, and quilting on this machine has been a lifesaver.  It creates absolutely beautiful stitches and really makes my projects look professional.  

A sewing machine is shown with the needle in it.


I hope you’ll take a minute to check out this free pattern–you’ll love the simple style and elegant finish you can achieve with basic or complex quilting.  You can really make this your own and put your special touch on it to brighten someone’s day.  I hope you enjoy your weekend!  

XO,
Joanna

Posted on

Variety is the spice of life!

A bag with arrows on it sitting in front of a blue wall.


A bag with arrows on it sitting in front of a blue wall.


Good morning!  Sometimes I think that when people look at my blog or my Etsy shop that they may not see a cohesive product…and I worry about that a little sometimes.  However, I just enjoy doing all the things that I do too much to get rid of any of them.  I know I could maximize my time and efforts if I chose one endeavor and focused only on that, like quilting or bag making or pattern writing.  But I love them all dearly.  And there’s something to that saying, “Variety is the spice of lifeâ€, am I right?  In my previous career, I was an agriculture science teacher.  Let me tell you…that is a job where you never have to worry about having the same day twice!  That’s what made it fun and exciting, and that’s why I love being able to create a multitude of things.  The teacher in my wants to share patterns and tutorials to give a love of sewing to others, and the bright color lover in me (I was obsessed with Lisa Frank, growing up in the 90s!!!) loves to translate that love into bags and quilts.  I know that my “creative process” (I really don’t take myself too seriously, so don’t roll your eyes at that) would suffer if I didn’t have all of these things to throw myself into.   

A bag with an arrow design on it


I love making things that last.  I want the things I create to have some sort of impact.  I want to bring happy colors and joy to people, even if it is in some small way.  So today, I’m going to share one part of my creative business with you that I don’t focus on too much on the blog.  I started making my Mamacita Loca bags just a few years ago (I still have the very first one I made and don’t ever plan to get rid of it…kind of like when businesses frame their first dollar they make!).  I loved the idea of the embroidered handbags I was seeing at rodeos and stock shows at different vendor booths.  The aesthetic was loud (which I loved), but I wasn’t crazy about the selection of embroidery designs available on the bags.  I started thinking of how much I would LOVE to see some Calaveras embroidered on the bags and more Dia De Los Muertos themed items.  My love for Halloween runs deep, and I always was obsessed with Day of the Dead when I learned about it in high school.  So I started making some simple bags and adding embroidery to them.  I even offer custom embroidered monograms for the bags.  They look really great (and I feel like you don’t have to worry as much about your purse getting stolen!).

Like any endeavor that is started from the ground up, there were lots of things that needed to be improved on.  For one, I had zero background in bag making, aside from some free patterns I had gotten online for some VERY simple quilted bags.  I didn’t really know anything about stabilizers or interfacing.  Luckily, I knew I needed to refine all these things before I offered these bags to my customers.  I am pretty proud of how far they’ve come, and that I still make these bags 100% myself.  No one else touches them, start to finish.  I feel like I’m able to offer a really great, handmade product that can offer a sense of personalized style. 


A black bag with a skull on it
One of my first Mamacita Loca handbags

This bag was one of my earliest bags (as you can tell from the lighting and poor photography!).  I get most of my skull embroidery designs from Urban Threads Embroidery, and I absolutely love their site.  I was a little disillusioned when I first started embroidering before I found them, and was disappointed in how “traditional†most of the embroidery websites were.  I wanted something that felt young and fresh, and they were the answer! 

A turquoise bag with leopard print handles and an arrow design.

A bag with arrows and leopard print on it.

I’ve moved away a little from the blatant DDLM themes and have started moving towards the boho scene with colorful arrows and a little southwestern influence.  I have always loved Mexican style saddle blankets and started using the serape-fabric with the faux leather for a really bold look. 

Anyway, I don’t plan on editing out bag making anytime soon, and I just wanted to share this part of my creative process with you.  I really love the entire process, from selecting the fabrics and then choosing an embroidery design, selecting threads to coordinate with the design and the fabrics, and then putting the whole bag together.  These are available in my Etsy shop under the Mamacita Loca listings, so go have a look HERE!

Posted on

Working with baby :)


Good morning!  I’m going to take a brief pause from the regularly scheduled program to be real for a minute…and fair warning…there is not much sewing talk in this blog post.  I want to talk about running a business while taking care of a baby.  

My husband and I are both SO extremely blessed to be able to work from home.  However, he does have to travel some.  Which means our usual schedule of passing the baby off to one another takes a break and I’m full time care giver for a short period of time.  Which is AWESOME.  There’s some sarcasm in that comment, but there is also 100% truth.  As I type this, I can hear my little girl baby talking through the baby monitor that’s perched a foot from me at all times when she isn’t on me.  I never thought I would say this, but it is music to my ears.  And while I may not get all 50 tasks on my daily to do list completed in 24 hours, I’m fine with dragging the incomplete tasks to the top of my list for the next day.  

I was very naive in thinking running a quilting business AND being daycare manager to my little one would be a piece of cake.  There are times when it’s trying and I’m not sure I’m going to make the deadlines I set for myself, but it always seems to work out.  I’m no expert in time management, but I’d like to share some of the things I’ve implemented to still be able to work a minimum of a 40 hour work week.

1.  Wake up at 3:30-4:00 AM…Luckily, (for now, anyway) baby girl sleeps in until 9:30.  That gives me about 5 hours of UNINTERUPTED work time.  Granted, I can’t always leave the house and walk out to the studio, but I can brainstorm and plan for upcoming projects, write invoices, and calculate estimates for customers.  

2.  NEVER sleep when the baby sleeps…If I got one piece of advice over and over again before and after I had this sweet baby, it was “Sleep when the baby sleeps”.  I will say, I don’t enjoy naps.  I lay there, thinking about how much time I am wasting not falling asleep and run through my list of things I could be getting done, instead of getting some shut-eye.  I try to make the most of every tiny nap she takes and bust my hump to get some quality work done.  And I can honestly say that was the worst advice I was given (that’s saying something!)

3.  Basically, it’s just more of one and two.  Early bed time for baby means more work time for me.  For some reason, I thought I had all these great tips on how to run a business and be a stay at home mom, but all it boils down to is making the most of your time while the baby doesn’t need you.  Also, don’t waste time on inconsequential tasks (IE makeup 😉 .  Unless there are appointments with real people that day.  Then, don’t skimp!

And finally, what do I really know???  My sweet little angel is only 4 months old.  I’m sure someone is reading this, shaking their head, and saying…well wait another week and we’ll see how that works out for you.  

So I’m going to end with…this parenting gig is much harder than anyone could ever explain.  And the hard work really hasn’t started for us.  So here’s to muscling through…and why do I want to add an emoji to every sentence I type (insert eye rolling emoji here)…?  Have a great week and hopefully I’ll have some sewing goodness to share next week!

Posted on

Chevron Table Runner free tutorial with foundation paper piecing

A piece of paper with some glue and a ruler


So St. Patrick’s Day is right around the corner–let’s face it–everything is right around the corner!  I feel like I blink and the week is over ;)–anyway, you probably need some greenery in the kitchen to avoid getting pinched, right?  Well, you’re in luck (like what I did there??), because I’ve teamed up with Janome to bring you a super simple tutorial for a table runner.  If St. Patty’s Day isn’t your thing, you can easily swap out the colors for something more suiting and make it your own.  

So pictured below are a few great supplies to have on hand for foundation paper piecing.  I absolutely love my add-a-quarter ruler.  It has a little lip that you butt up against the edge of your fabric for easy trimming.  I’m also a big fan of Cristy Fincher’s glue basting tips that you can get HERE.  They screw onto the top of a regular bottle of Elmer’s school glue and are fantastic for distributing just the right amount of glue to the fabric.  And some 8.5″ x 11″ newsprint paper–you can use standard printing paper if you don’t have this on hand and don’t want to make a special trip for it.  The newsprint tears away a little easier than the heavier weight printer paper, so that’s why I prefer it.  And a glue stick!  The rest of the supplies are pretty standard sewing supplies.  

A piece of paper with some glue and a ruler
Foundation Paper Piecing Supplies

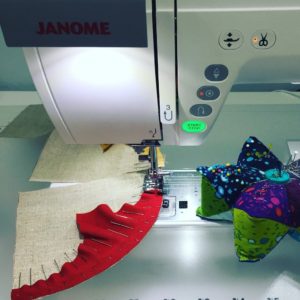
When you foundation paper piece, you sew on the printed side of the paper.  The fabric is secured by using a little glue from the glue stick to adhere it to the opposite side, and the elmer’s glue to add another piece of fabric.  Be sure you shorten your stitch length–a good rule of thumb is to shorten your stitch length to 1.5 or smaller.  This perforates the paper enough to easily tear away later.  If you don’t shorten the stitch length, you could play tug of war trying to tear the paper away once your blocks are complete!

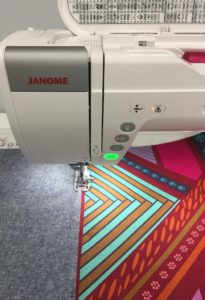
A sewing machine is shown with the start button lit up.


Use a ruler to trim away the excess fabric and paper (you may want to use a rotary cutter that you designate for paper use for this), making sure you leave the 1/4″ seam allowance in tact!

A blue rotary cutter next to a white paper.


Visit the Janome Website for the full instructions on how to finish this sweet project!

A green and white quilt with an arrow pattern.

Enjoy the rest of your week!  I know I will–as I type this, my husband has taken our 3 month old for a walk so I can have a little break 🙂  I love her to pieces, but my lanta–sometimes it’s nice to have a minute for yourself!  Happy sewing!

Posted on

Red Heart Quilt – client quilt

A red heart made of strips of fabric.


I recently had the privilege of quilting this gorgeous quilt for one of my clients.  The piecing is just gorgeous and the quilt was donated to a charity event/fundraiser.  I quilted the quilt with free motion hearts all over the top.  
A red heart made of strips of fabric.
Quilt Pieced by Debra B.

 This was such a joy to quilt–check out the close up of the free motion hearts 🙂

A close up of the quilting on a quilt

A close up of the fabric for a quilt

Posted on

Quilted Oven Mitt Tutorial (Free project)

A red bowl of cookies and a quilted heart shaped bag.


Yikes!!  So I’m a little late on sharing this, but it will be here for future reference 😉

A red bowl of cookies and a quilted heart shaped bag.


Do you love a fun (and quick) project for Valentine’s sewing?  Check out this sweet tutorial I teamed up with Janome to create HERE .  

This is a great project to incorporate some low volumes with a great print that you’ve been saving (I used Liberty of London), but you might now have a lot of! 

A red bowl of cookies and a quilted heart shaped bag.


The oven mitt tutorial can also be customized–you can leave out the reverse applique option for a simpler finish and enjoy your new oven mitt quicker.

A sewing machine is cutting fabric with flowers on it.
Happy belated Valentine’s Day!

Posted on

Embrace the Chaos Workshop with Libs Elliott :)

A woman standing in front of a projector screen.


Libs Elliott was the guest speaker for the San Antonio Modern Quilt Guild Meeting!  It was so awesome to have her lecture at our meeting and present a workshop the following day.  She was such a fun guest speaker (and even did her workshop for us on her birthday!)  
A woman standing in front of a projector screen.
Libs delivering lecture at SAMQG meeting

The workshop Libs presented for our guild was “Embrace the Chaos” and was a great way to discover some planned improv piecing.  I know I have a lot of trouble just winging it and creating something without any planning.  Libs’ workshop was a really unique presentation on how to create something similar to her code method without the use of electronics.  

This is the quilt top that I ended up with (after I enlarged the blocks quite a bit)…these are 12″ blocks, so it’s roughly 60″ x 60″.

A quilt with many different colors of fabric.

I’m waiting for a small break in my work load until I can quilt this for myself, so I’ll post an update as soon as I get it finished!