Posted on

English Paper Piecing – Double wedding ring style!

Good morning!  So many milestones going on in our household this week–our little girl turned 6 months last week (How has it already been half a year???) I celebrated my first mother’s day, started the baby on her first solid foods, and it’s my husband’s birthday this week.  Needless to say, it’s been super busy, and I feel like I’ve been to the grocery store almost every day this week.  Do they give frequent flier miles for multiple grocery store trips in one day?  I should also mention we live 12 miles from the nearest grocery store…  I’m sure you can relate to the feeling that you’re flying by the seat of your pants on household chores and checklists.  Laundry, dishes, etc., etc., but I wouldn’t trade it for the world!

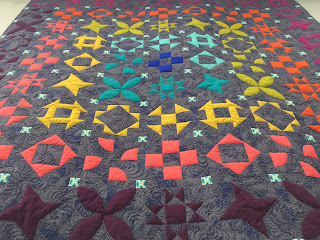
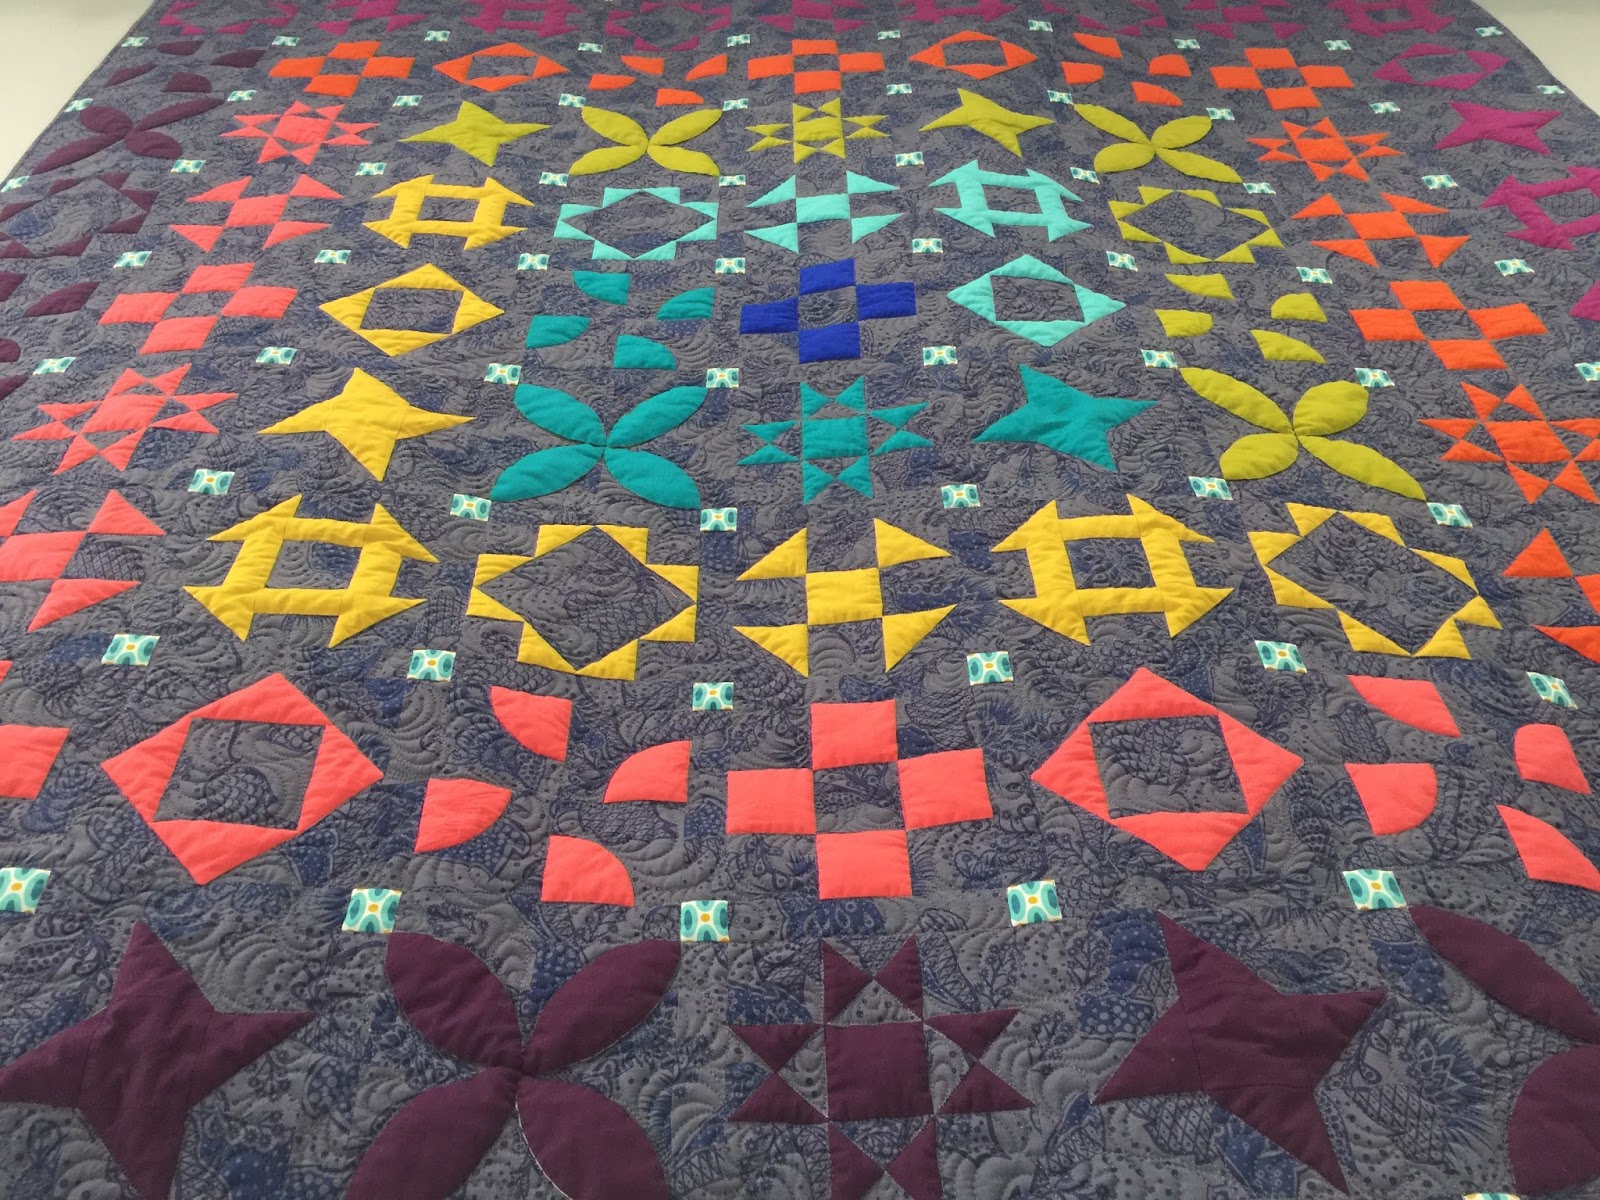
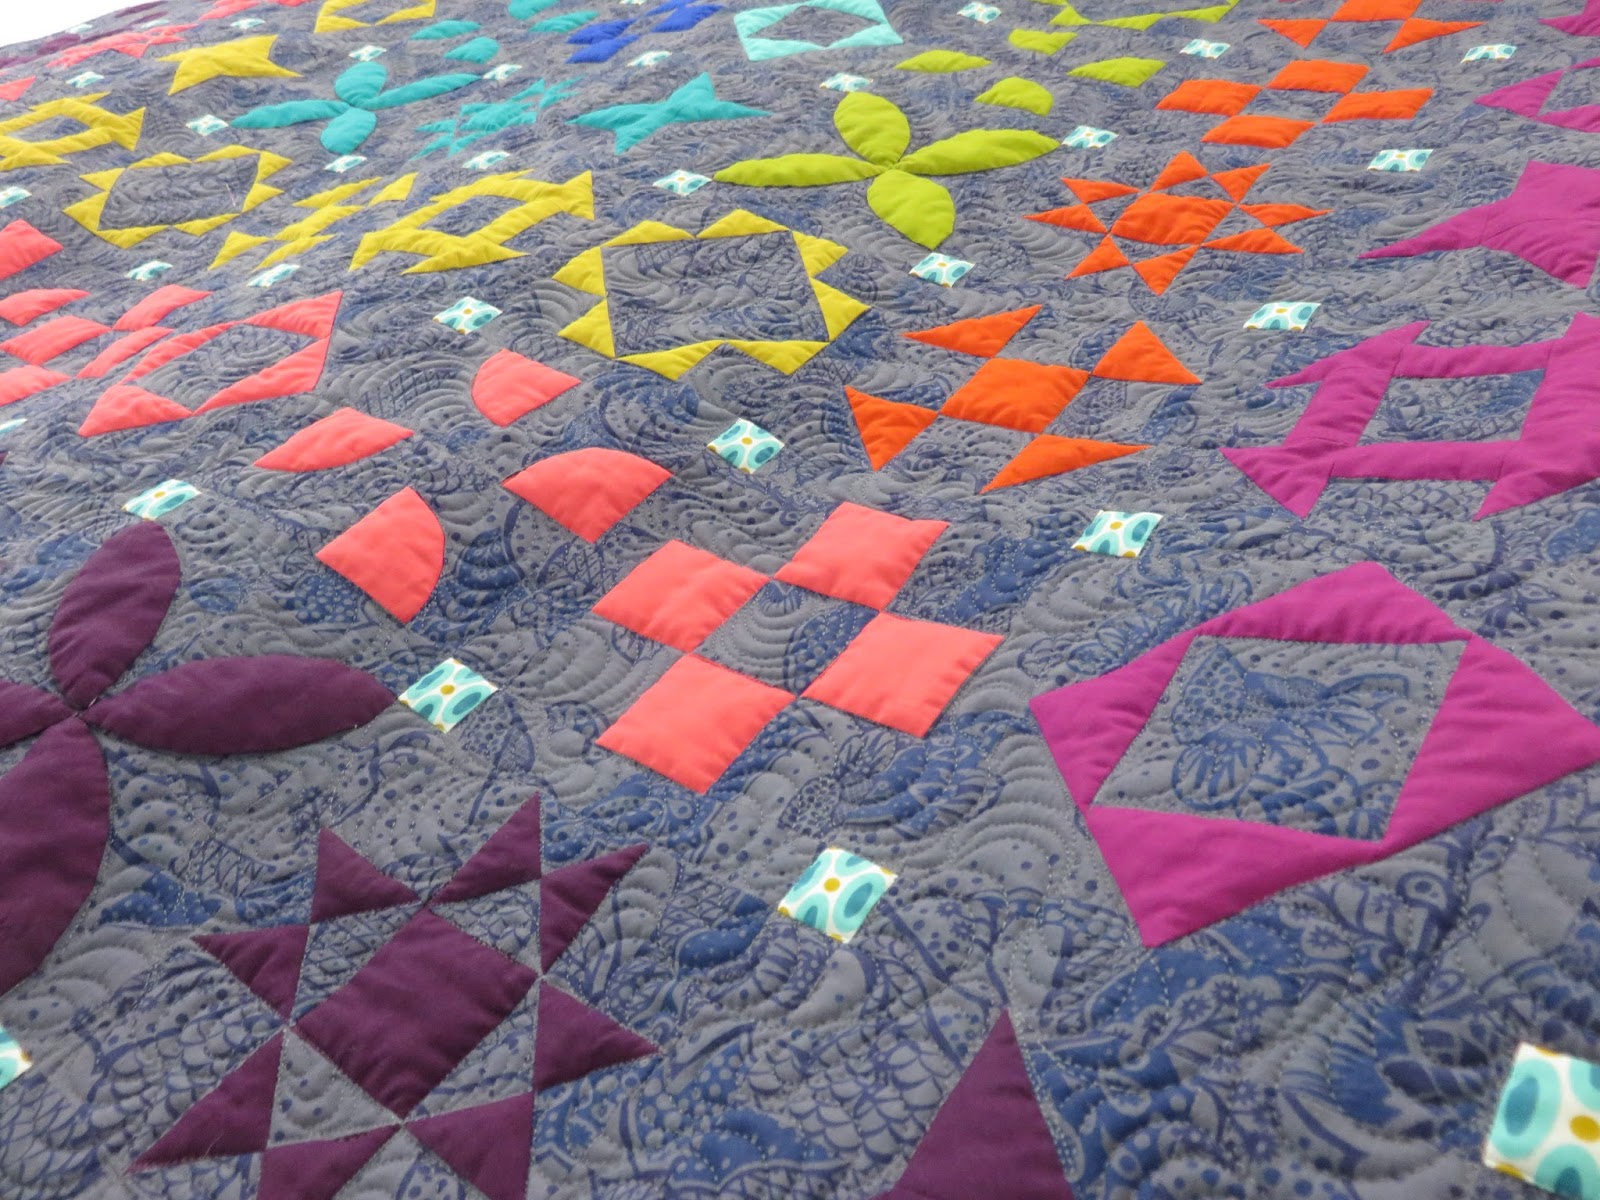
One of the many reasons I love English Paper Piecing is the opportunity to slow down and enjoy the process of hand sewing.  I also love combining multiple parts of the sewing and design process and planning out a project from start to finish.  There is something so satisfying in making something completely from start to finish…even if it sometimes feels like you’re recreating the wheel.  


I started by sitting down with my EQ7 software and designing a mini quilt for our local Modern Quilt Guild.  We recently had our first silent auction event and mini quilt show (SO FUN!).  Then I printed templates onto cardstock for the EPP pieces and started thinking about my fabrics.  I had a great charm pack of Kaufman Kona Cotton Solids that I had been holding onto for over a year, and thought this would be a great opportunity to use it.  I traced and cut out my fabrics, and then had to pause when I selected my background fabric. 


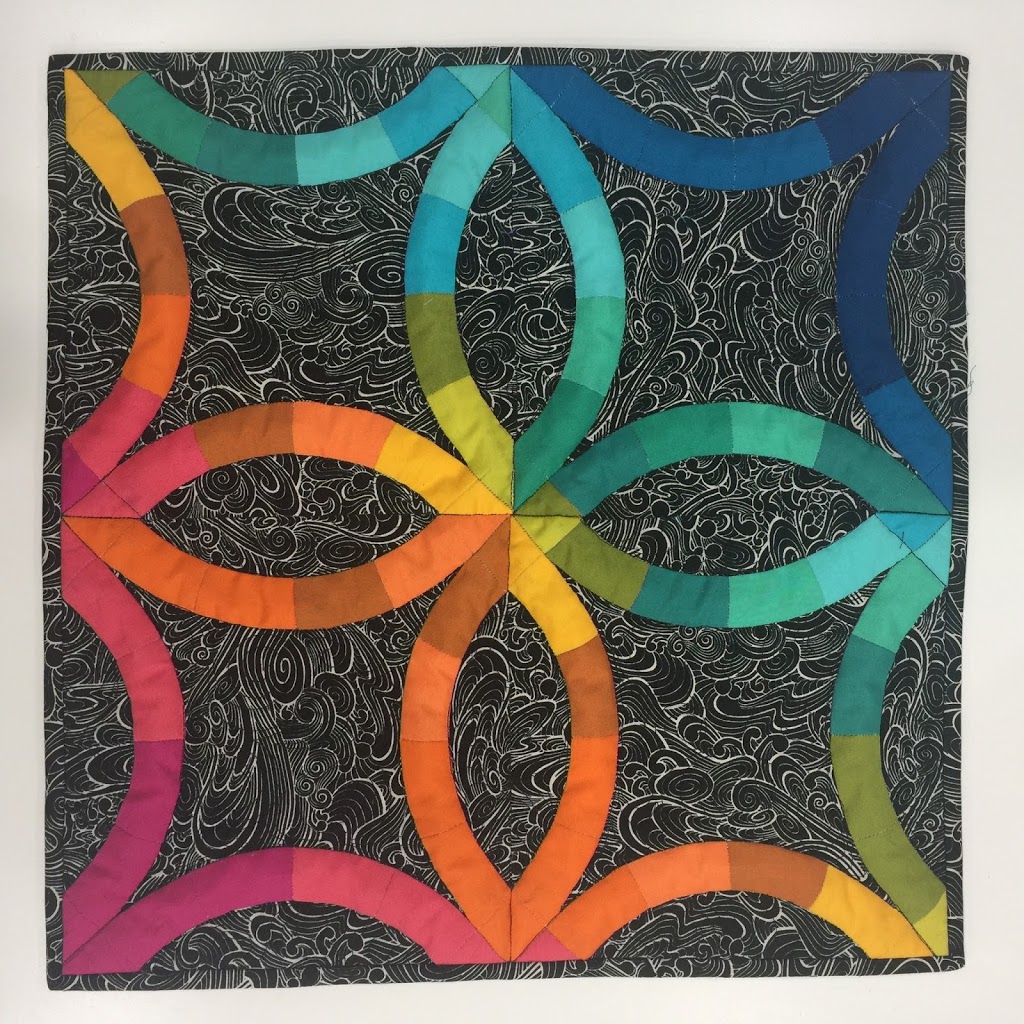
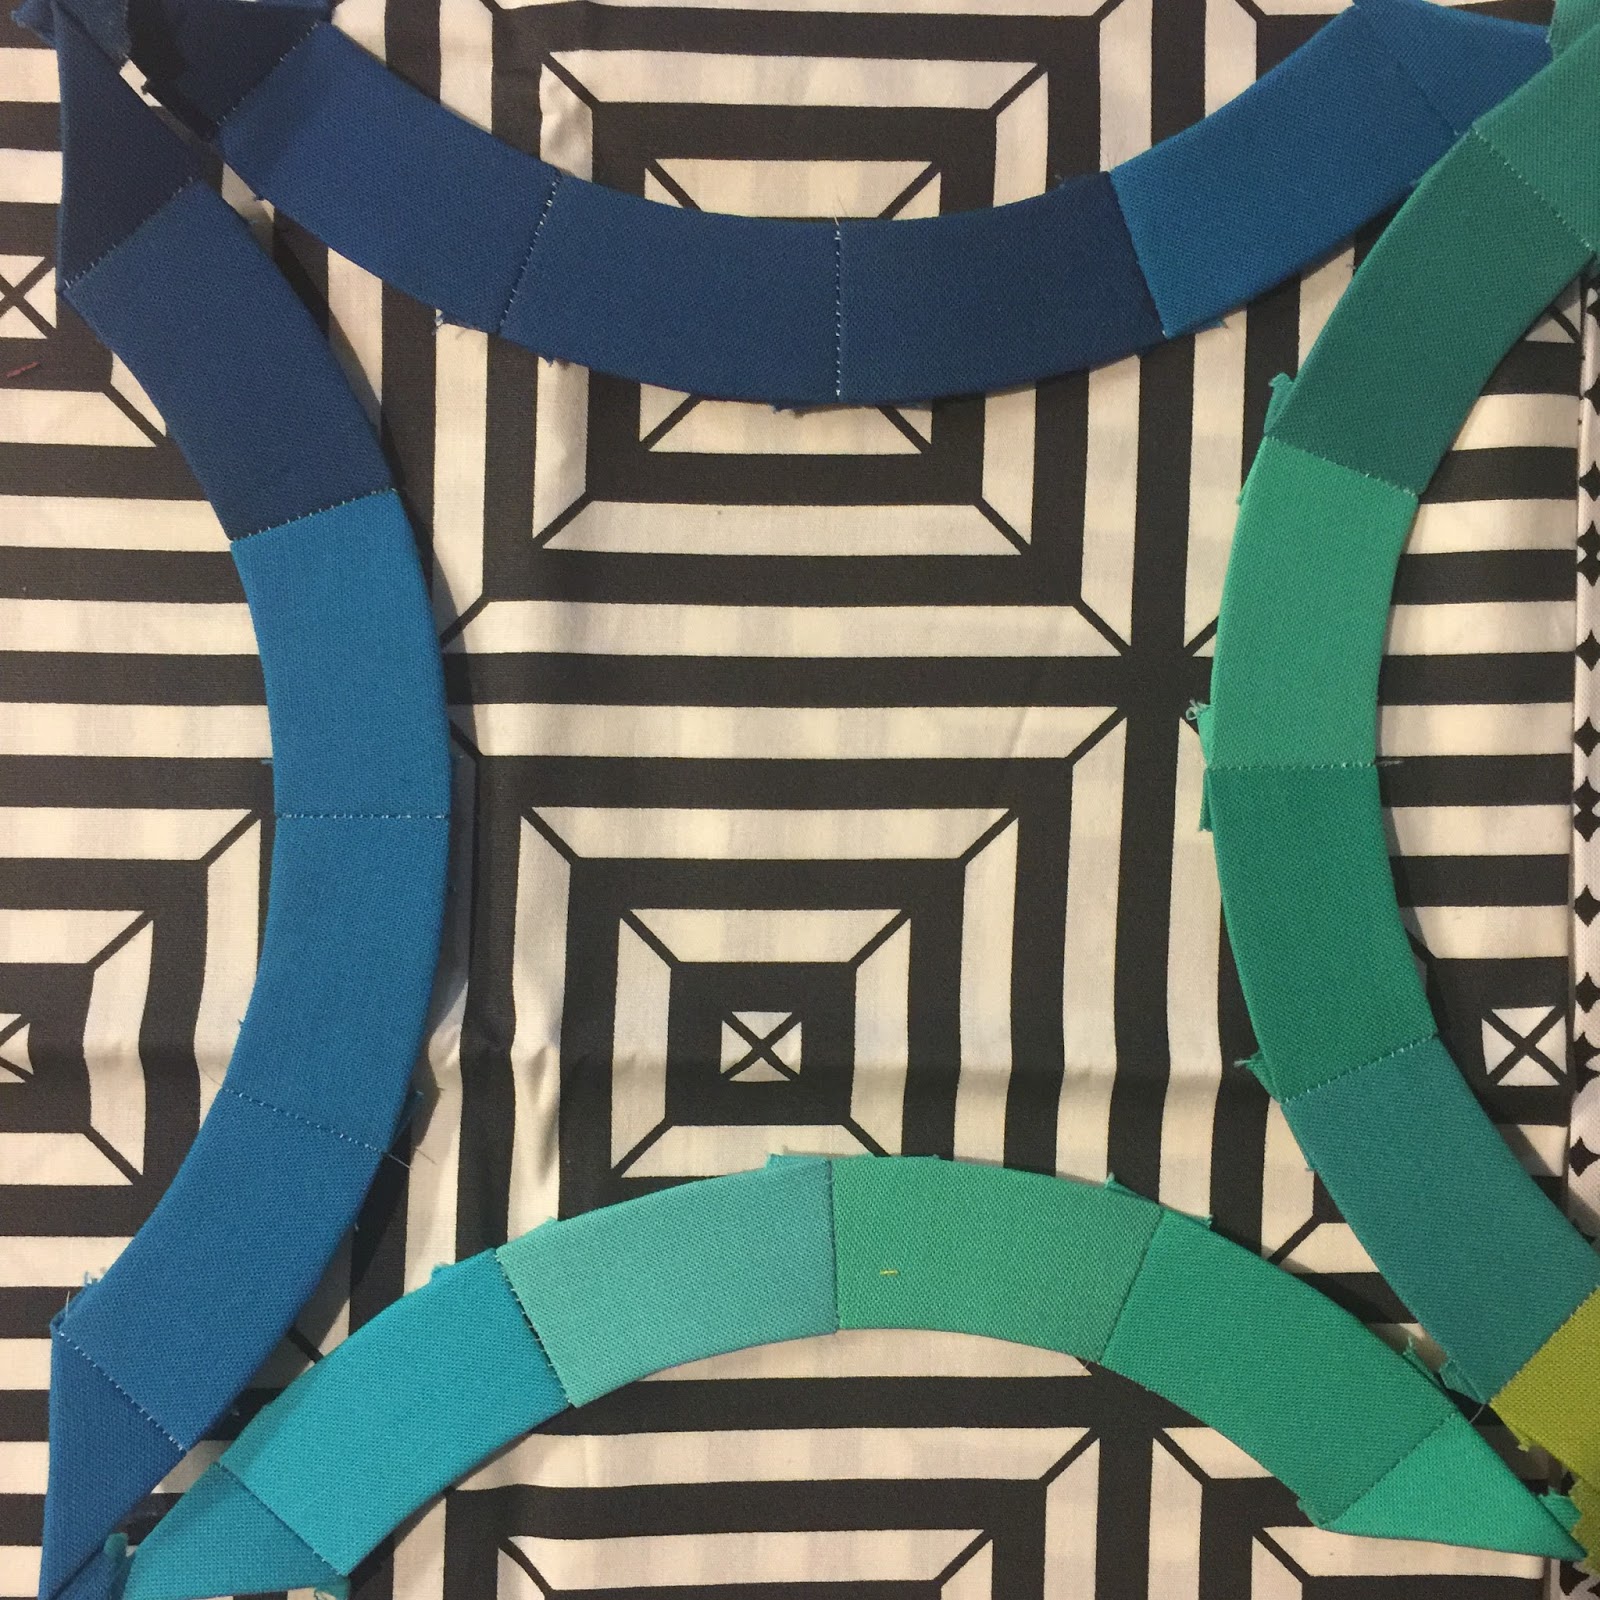
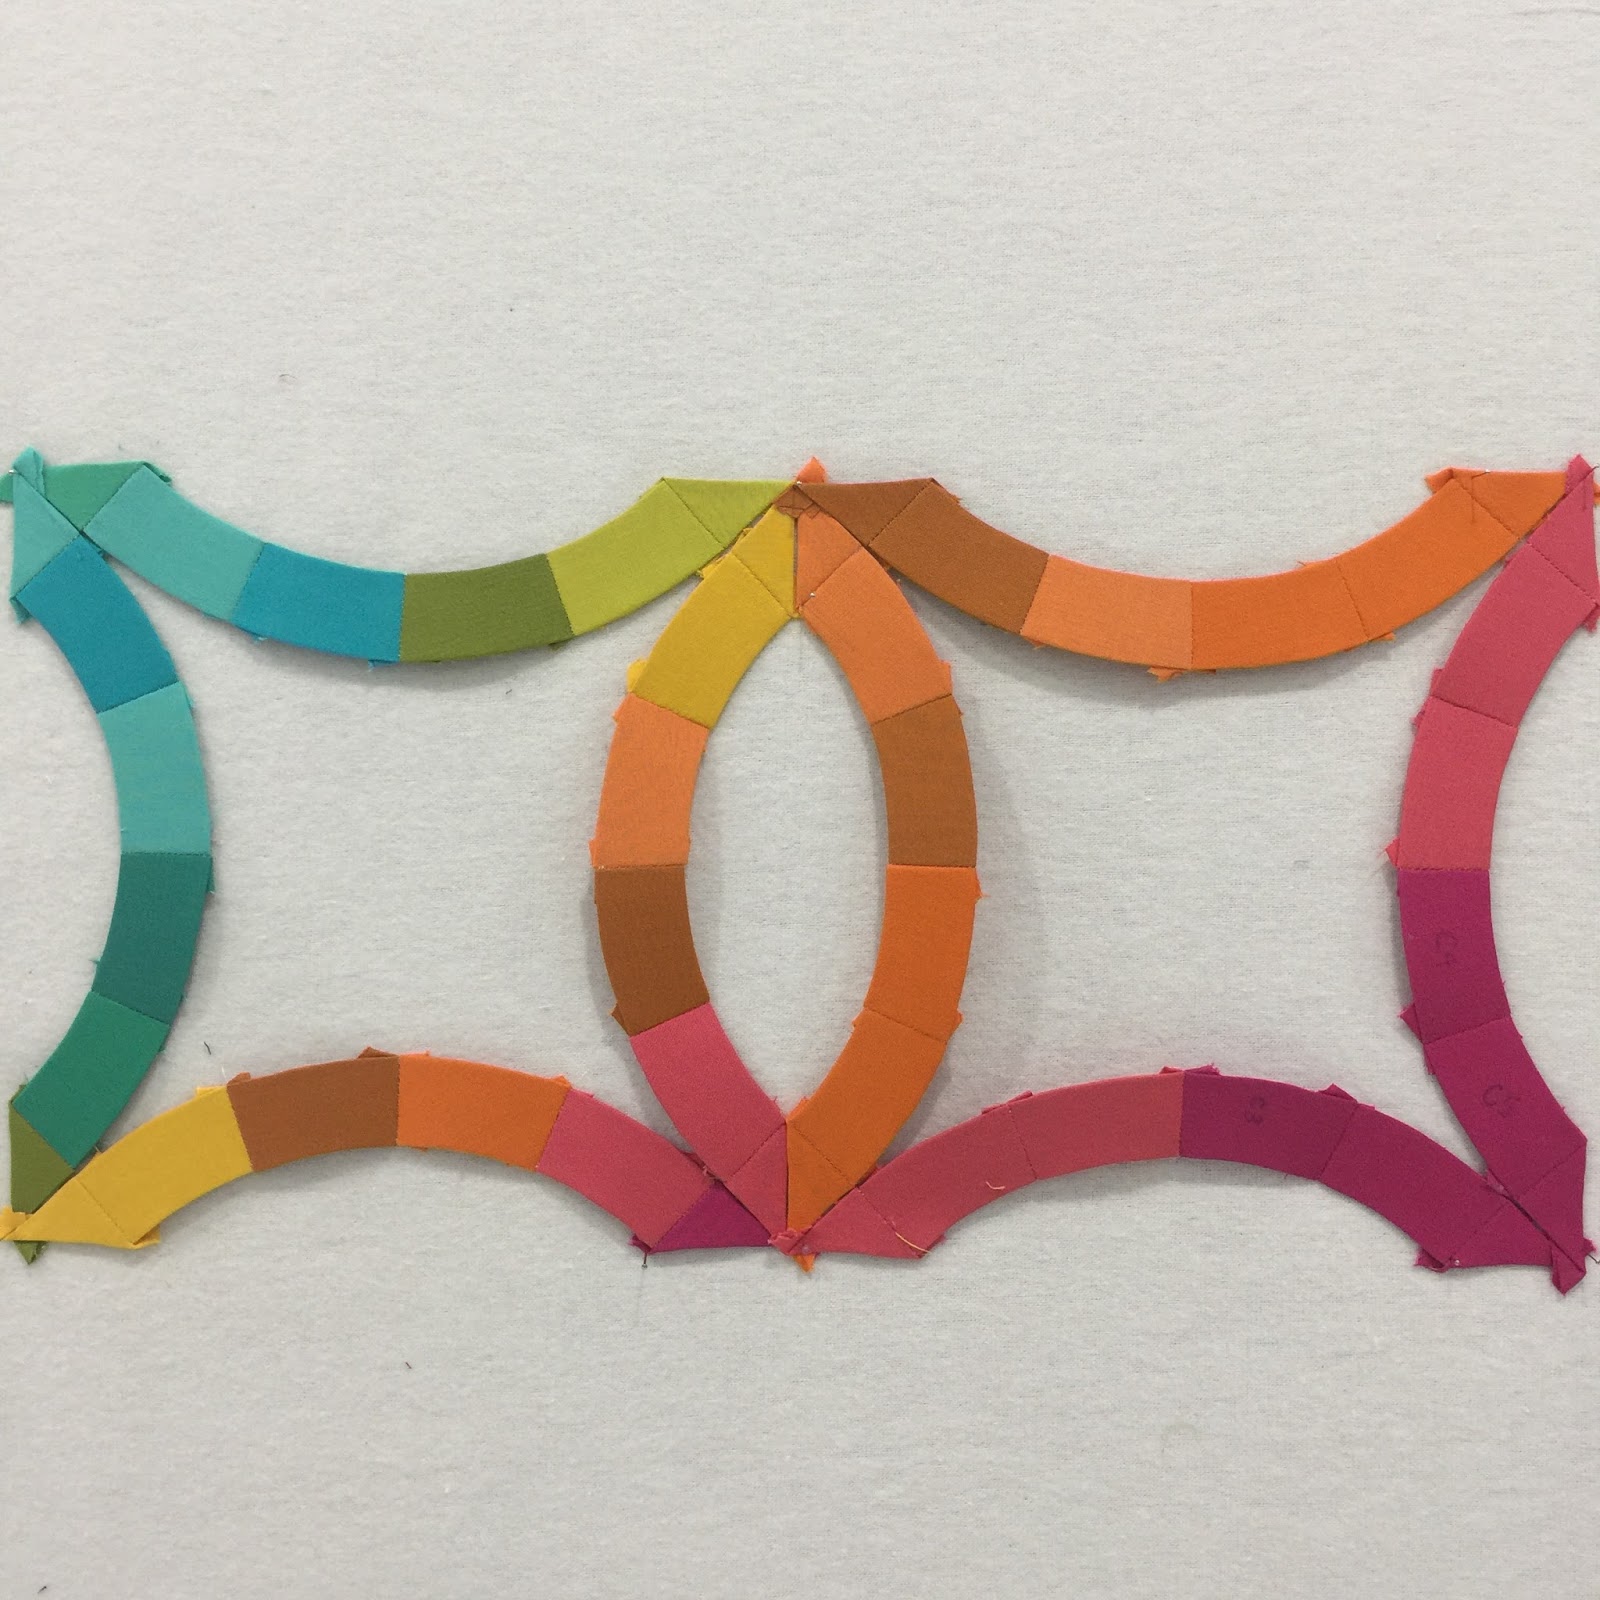
I knew I didn’t want white, and I really like the effect black and white patterned fabrics have with solids.  So I auditioned a few different fabric choices–I really thought I wanted to go with a black and white stripe, but I opted for a more solid-reading print instead.  I pieced together a few of the DWR pieces and then placed them on top of my background fabric choices.  Pictured below is what I thought I was going to go with, but I instead selected a Tula Pink True Colors black and white print.  Because…Tula!!!


From the basic design in EQ7 (They already have the blocks drawn up…I just sized them to fit my needs), printing the cardstock, then cutting the fabrics, I got to take a breath and piece in my leisure time.  HA.  Leisure time…You know what I mean.  The semi-quiet moments in the house when my hair wasn’t on fire 😉


Then I loaded the mini on my longarm and did some simple stitch in the ditch around the wedding rings and some loopy swirl combos on the black and white background that blend nicely.  It may seem kind of dumb to longarm a mini quilt, since you need a little bit more backing fabric than you would if you were to quilt it on a domestic, but I figured I paid for that huge machine and I’m going to get my money’s worth!  Plus, I had just taken a fresh quilt off of the frame, and I had to take advantage of it before I loaded my next quilt.  It made for a slightly quicker finish than if I’d done it on the domestic sewing machine.

I was thrilled with the results, and playing with the color gradation and high-contrast background was really a lot of fun.  But mostly, I was able to really enjoy the process and each step along the way.  I don’t know about you, but from the day I started sewing, I’ve always eyed the double wedding ring quilts.  I’m not sure I have the patience at this point in my life to see a full-sized quilt through, so this mini quilt was the perfect opportunity for me to cross a DWR quilt off my quilting bucket list.  I had also never taken the time to hand piece curves before, but it wasn’t as bad as I thought it might be.  Really, I had built it up to be this super scary moment, when all you really need to do is take a little extra time and carefully mark the centers of each EPP piece prior to piecing it, and make sure you line the centers up while adjusting the curves.  

I hope your sewing adventures take you somewhere awesome this week, and try to slow down and enjoy the process behind what you’re doing.  I know I really enjoy the projects where I can slow down a bit and take a break from the hustle and bustle of life.  Happy sewing friends!

Posted on 1 Comment

Gems in the Night Sky Quilt (Dear Jane-ISH Quilt)

I played with the quilt design for the Gems in the Night Sky Quilt in EQ7 for probably a week straight before I had my final layout the way I wanted it.  I changed the background fabric, moved blocks around, completely deleted blocks, changed color arrangement, the list goes on and on.  It’s funny how after you’re done with something, all the time you spent on it just kind of vanishes, and you don’t think about the labor of love you put into it.  


This quilt.  All the hearts.  I had the awesome chance to design and make this quilt for Janome’s brand new machine launch–the 9400.  I’m not going to lie, this quilt took FOREVER.  But packing it in a shipping box and saying goodbye forever was nearly as difficult as giving away your first born. 


And then I saw the picture of it on the Janome website once the machine was released, and it was like seeing photos of a long lost friend.  And I might have squealed out loud at the top of my lungs 🙂


So there were 81 blocks- with 9 different block constructions.  At first glance it kind of looks like someone took a Dear Jane quilt and dumped a bucket of modern over it (which is fine with me!), but if you look a little closer, you will see the blocks are just made with alternating colors and arranged in a way that it deceives you into thinking there are a lot of different blocks in this quilt.  


This was pieced with the Michael Miller Cotton Couture bundle that’s available at Janome dealers, and the background fabric is Anna Maria Horner’s True colors- filigree in dusk.  I think the combination is just dreamy.  


Sometimes I love the backs of quilts more than the front.  I like to press my seams open to eliminate a lot of bulk when I quilt.  


And then it was quilted with Stitch in the ditch around the bright colors and heavily quilted on all of the AMH fabric.  I had to keep this a secret for so long, that I nearly forgot about it once the machine was finally released.  So I’m finally able to share and show my little labor of love.  
Posted on

Dreamer’s Star Quilt Pattern Release

It’s been a little while since my last blog post, but I have been working on some really exciting things in my neck of the woods (and I haven’t even been snowed in by the monster snow storm!)

I am SO excited to be releasing my first independent quilt pattern!  I absolutely ADORE geometric quilt patterns that pack a lot of punch and created this pattern that is available on Craftsy and in my Etsy shop.  The pattern is an instant PDF download, so you can enjoy it immediately 🙂  

The pattern comes with instructions for 3 different sizes-a mini quilt, a 64″ x 64″, and a 80″ x 80″ quilt.  

One of my favorite things about this pattern is that if you aren’t great at combining lots of patterns or colors, all this pattern needs is really 2 contrasting or 2 coordinating fabrics to work well.  But if you’re a little more adventurous, go for a scrappy look and be blown away!  
Here are a few samples of the Dreamer’s Star Quilt Pattern:

Dreamer’s Star Quilt 64″ x 64″ made with Michael Miller Cotton Couture in Midnight and Lime

Dreamer’s Star Mini Quilt made in scrappy blacks and purples


Dreamer’s Star Mini Quilt made with Michael Miller Cotton Couture and Painter’s Canvas

I hope you’ll check out this pattern that really packs a punch and when you make it, please use the hashtag #dreamersstarquilt and tag me on Instagram @kustomkwilts 

I SO look forward to what you’ll make with this pattern :))

Happy Quilting!