Posted on

Dreamer’s Star Quilt Pattern Release

It’s been a little while since my last blog post, but I have been working on some really exciting things in my neck of the woods (and I haven’t even been snowed in by the monster snow storm!)

I am SO excited to be releasing my first independent quilt pattern!  I absolutely ADORE geometric quilt patterns that pack a lot of punch and created this pattern that is available on Craftsy and in my Etsy shop.  The pattern is an instant PDF download, so you can enjoy it immediately 🙂  

The pattern comes with instructions for 3 different sizes-a mini quilt, a 64″ x 64″, and a 80″ x 80″ quilt.  

One of my favorite things about this pattern is that if you aren’t great at combining lots of patterns or colors, all this pattern needs is really 2 contrasting or 2 coordinating fabrics to work well.  But if you’re a little more adventurous, go for a scrappy look and be blown away!  
Here are a few samples of the Dreamer’s Star Quilt Pattern:

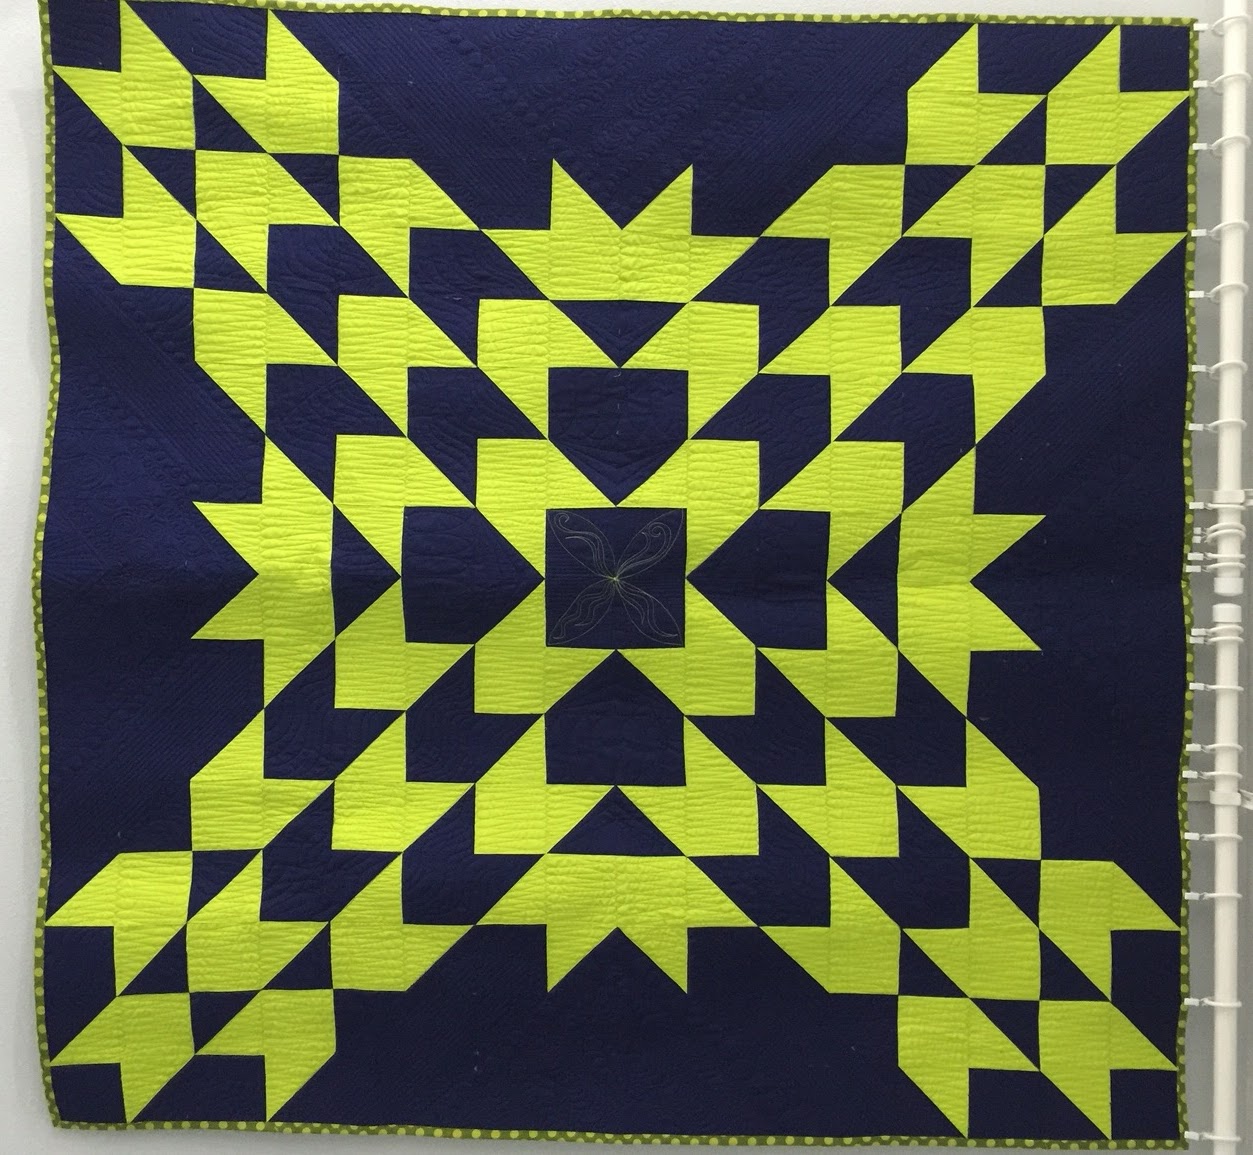
Dreamer’s Star Quilt 64″ x 64″ made with Michael Miller Cotton Couture in Midnight and Lime

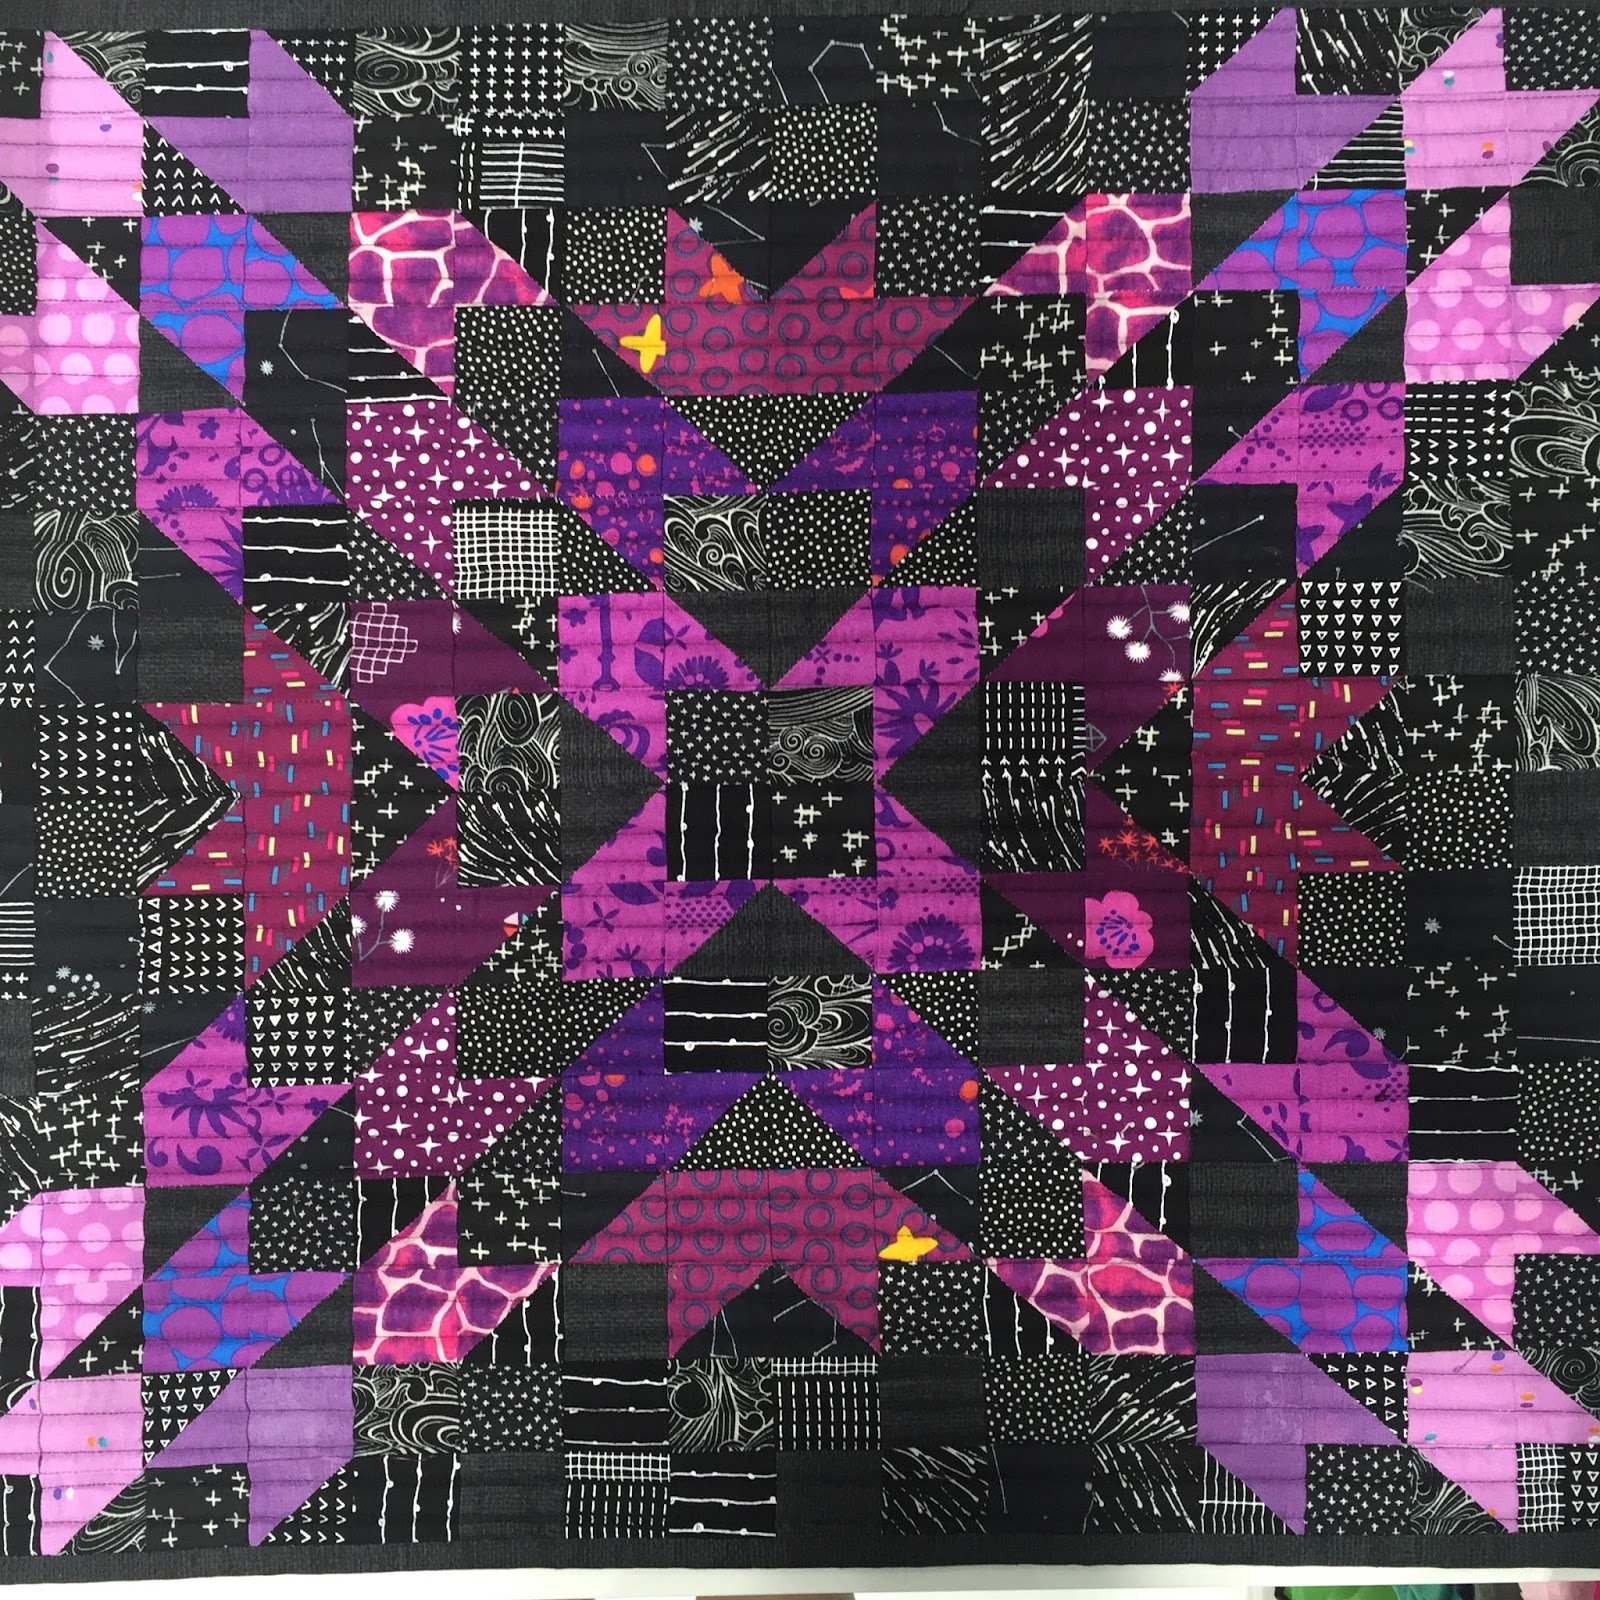
Dreamer’s Star Mini Quilt made in scrappy blacks and purples


Dreamer’s Star Mini Quilt made with Michael Miller Cotton Couture and Painter’s Canvas

I hope you’ll check out this pattern that really packs a punch and when you make it, please use the hashtag #dreamersstarquilt and tag me on Instagram @kustomkwilts 

I SO look forward to what you’ll make with this pattern :))

Happy Quilting!
Posted on

Creating bags with no pattern (or making it up as you go)

For roughly the last week, I have been working on this duffle bag after I received my first shipment of Tula Pink fabrics.  I am absolutely NUTS about this fabric designer.  Her use of color is insane, and her patterns are awesomely fun.  I’ve had a duffle bag on my to do list for over a year now, and it was high time I kicked into high gear.
I browsed tons of websites looking for patterns for duffle bags, watching tutorials, and looking up travel bags on Pinterest.  I didn’t like any of the patterns, they all seemed either really juvenile, dorky looking, too small, or just not finished enough.  
So I made a list of all my “must haves” and decided to write my own pattern.  I had all my fabric out and ready to go, and got to work in my sketchbook drawing out measurements and the order of construction steps.  Turns out I didn’t even so much as cut a piece of fabric until 2 days later.  If you haven’t ever written a pattern before, you might take for granted how much time, trial and error, and re-writing goes into it.  
The project took me about 5 days start to finish (my husband’s family was in town for the weekend–I may have been able to shave one day off if I worked all the way through).  
The one thing I just really was not satisfied with was that I did not put any interfacing in the zipper panel that goes in the top.  In the picture, I have two huge sacks of fabric shoved inside to keep the middle from drooping.  I’m pretty confident that adding the interfacing would fix that.  Maybe there will be a duffle bag 2, but I’m thinking about naming this bag “The Body Bag”.  I could literally fit all three of our dogs inside and still zip it up (Border collie and 2 heelers).
This bag has all over free-motion quilting in four different thread colors, a three-section elasticized pocket on the interior, a 3-section pocket for shampoo, conditioner, body wash, another smaller elasticized pocket, and another 3-section pocket.  The exterior has two zipper pockets (one on each end), and 4 exterior pockets.  And enough room to pack for a week and a half without needing anything.  Those were my requirements, so I guess if the middle is a little saggy, I’ll get over it!