Posted on

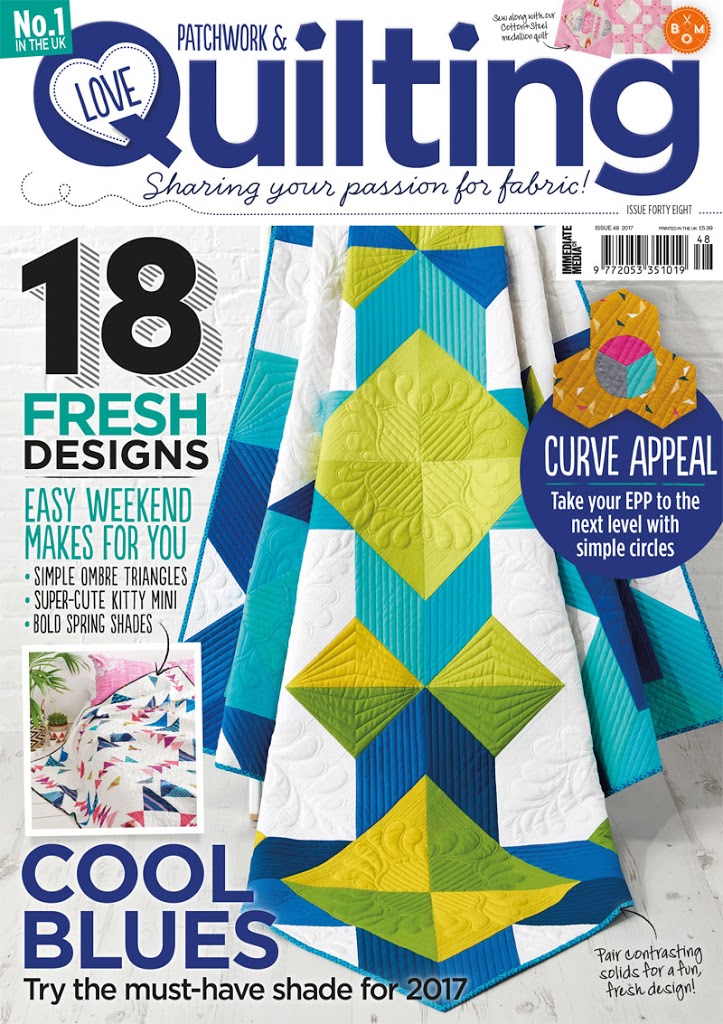
Love Patchwork and Quilting Issue 48!

A magazine cover with different designs on it.


A magazine cover with different designs on it.
photo provided by Love Patchwork and Quilting
fabric for quilt provided by Robert Kaufman Fabrics

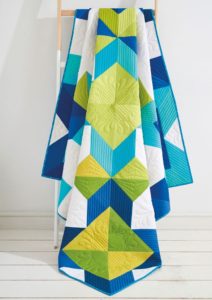
Have any of you ever made a goal so outrageous that you don’t ever really even consider it to be a possibility?  You might still work towards that goal, but the hopes that it will come to fruition aren’t there.  That’s exactly how I feel about this post. I always looked at the quilts and projects in this magazine and was blown away by the talent and variety.  I’m BEYOND excited (so excited I’m yelling in all caps!) to say that this quilt I submitted to Love Patchwork and Quilting Magazine made the cover!  When I started sewing a few years ago, I joined the San Antonio Modern Quilt Guild, and someone mentioned that LP& Q was the only magazine they bought.  So I jumped on that train.  I had never heard of it, because I was very new to quilting, let alone sewing.  I was tired of the traditional color palettes that are represented in other quilting magazines.  It was definitely love at first sight, and I subscribed to it immediately.  (And ask for it for Christmas every year!)

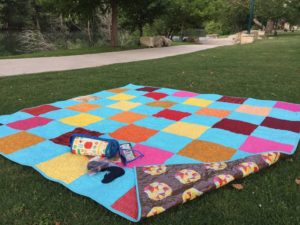
A quilt that is made of blue and green squares.
photo provided by Love Patchwork and Quilting
fabric for quilt provided by Robert Kaufman Fabrics

I’m super excited about the photography of this quilt!  I’ve never had a quilt professionally “shot” before, so it is thrilling to see the results (and know that I have a lot to learn when it comes to my own quilt photography 😉

This quilt is something I worked really hard on, and for a long time.  I am so thankful to the amazing people at Robert Kaufman Fabrics for providing the Kona Cotton Solids that were used to make the cover quilt, and for the opportunity from LP&Q to share my quilt!

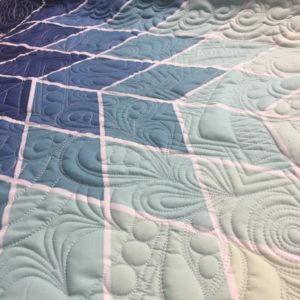
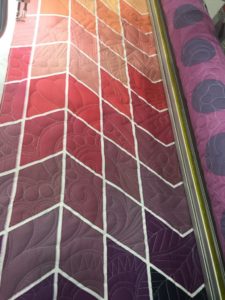
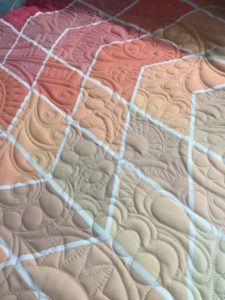
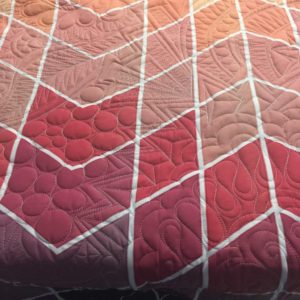
I did some custom quilting and a little bit of ruler work on the longarm to finish off the quilt.  I hope you’ll check out the quilt in issue 48 of Love Patchwork and Quilting!  Thanks for letting me share my happy news with you 🙂

Posted on

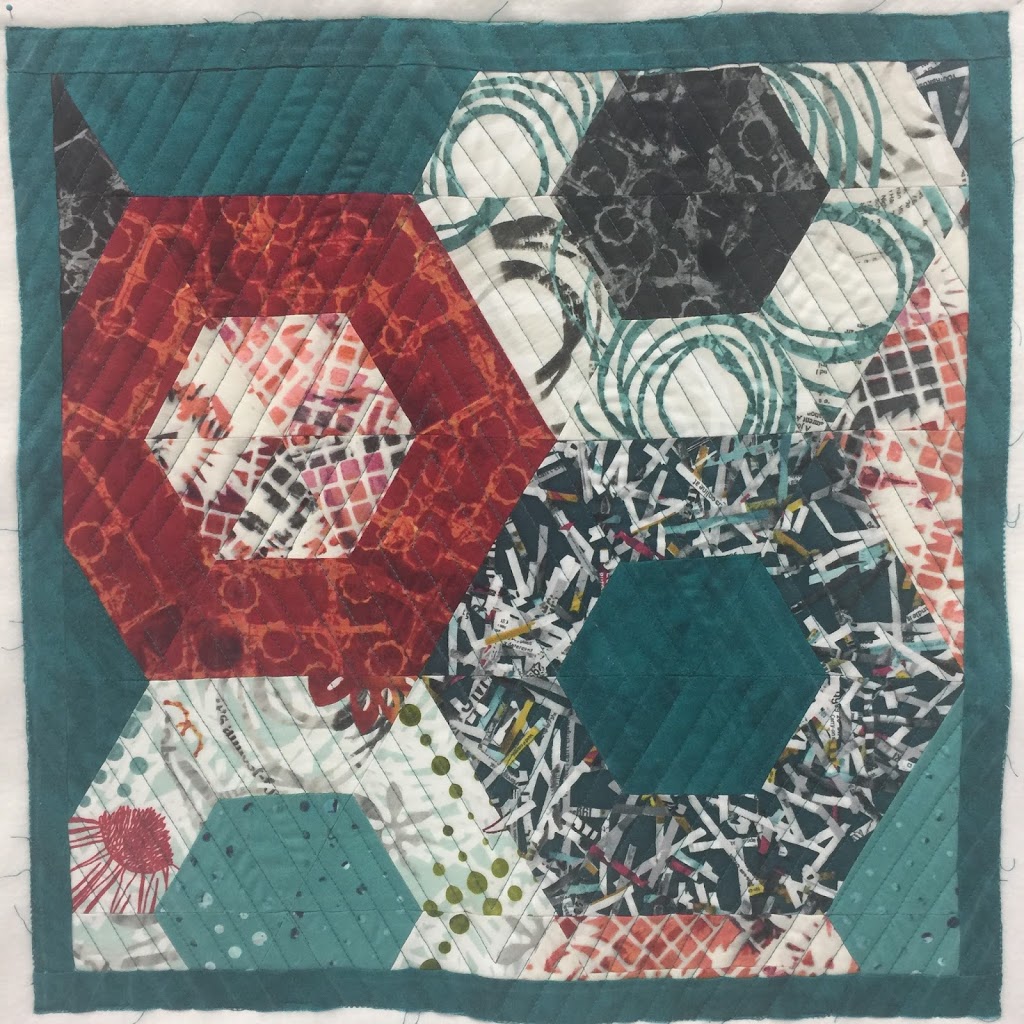
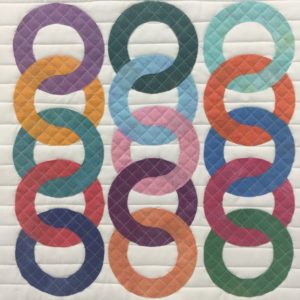
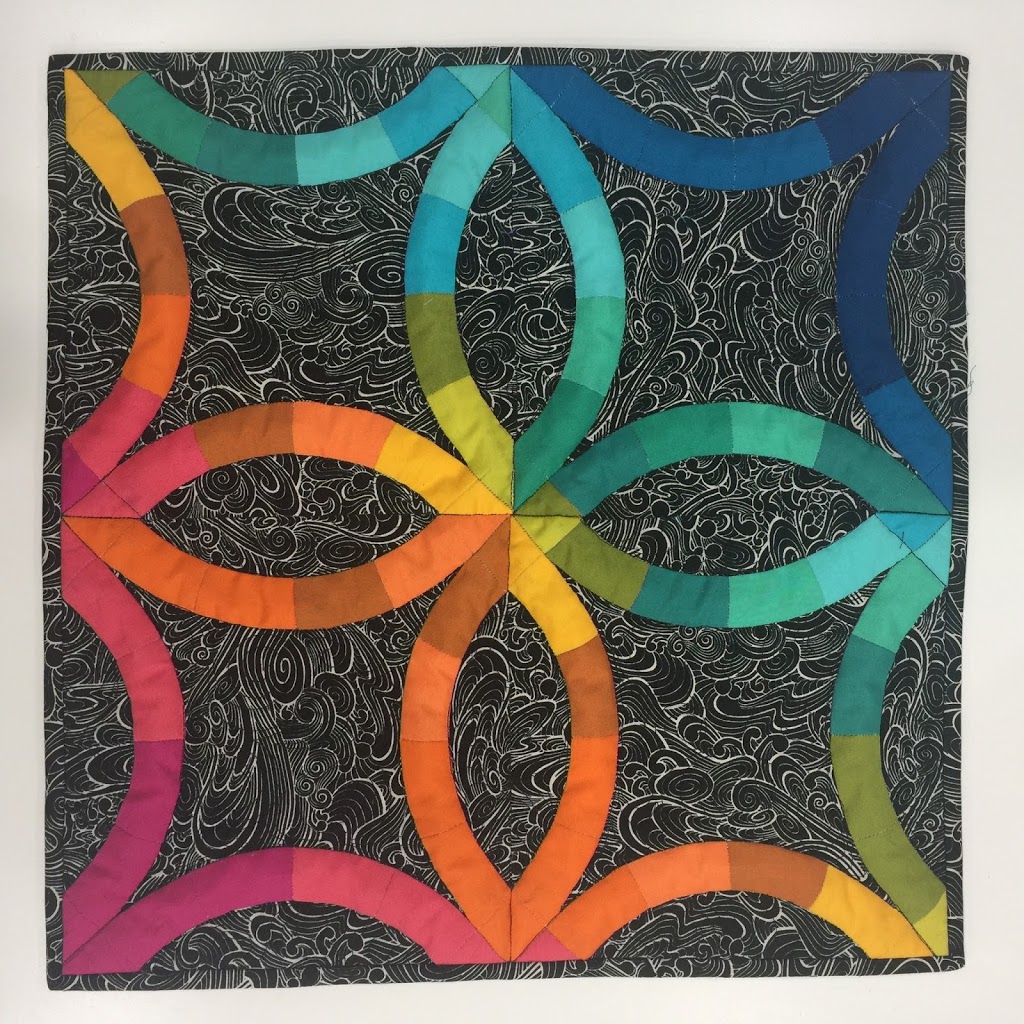
English Paper Piecing – Double wedding ring style!

A picture of a quilt with the same pattern as it.


Good morning!  So many milestones going on in our household this week–our little girl turned 6 months last week (How has it already been half a year???) I celebrated my first mother’s day, started the baby on her first solid foods, and it’s my husband’s birthday this week.  Needless to say, it’s been super busy, and I feel like I’ve been to the grocery store almost every day this week.  Do they give frequent flier miles for multiple grocery store trips in one day?  I should also mention we live 12 miles from the nearest grocery store…  I’m sure you can relate to the feeling that you’re flying by the seat of your pants on household chores and checklists.  Laundry, dishes, etc., etc., but I wouldn’t trade it for the world!

One of the many reasons I love English Paper Piecing is the opportunity to slow down and enjoy the process of hand sewing.  I also love combining multiple parts of the sewing and design process and planning out a project from start to finish.  There is something so satisfying in making something completely from start to finish…even if it sometimes feels like you’re recreating the wheel.  

A picture of a quilt with the same pattern as it.


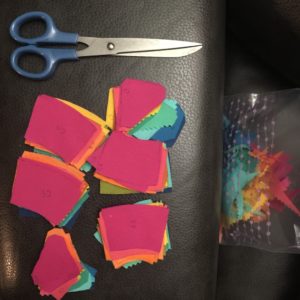
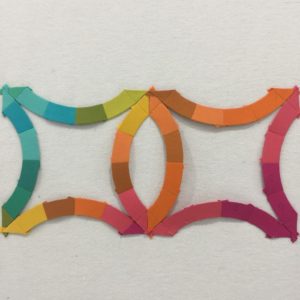
I started by sitting down with my EQ7 software and designing a mini quilt for our local Modern Quilt Guild.  We recently had our first silent auction event and mini quilt show (SO FUN!).  Then I printed templates onto cardstock for the EPP pieces and started thinking about my fabrics.  I had a great charm pack of Kaufman Kona Cotton Solids that I had been holding onto for over a year, and thought this would be a great opportunity to use it.  I traced and cut out my fabrics, and then had to pause when I selected my background fabric. 

A table with scissors and some paper cut outs


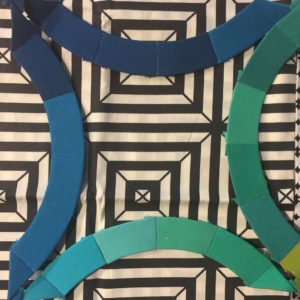
I knew I didn’t want white, and I really like the effect black and white patterned fabrics have with solids.  So I auditioned a few different fabric choices–I really thought I wanted to go with a black and white stripe, but I opted for a more solid-reading print instead.  I pieced together a few of the DWR pieces and then placed them on top of my background fabric choices.  Pictured below is what I thought I was going to go with, but I instead selected a Tula Pink True Colors black and white print.  Because…Tula!!!

A black and white pattern with blue, green, and turquoise colored paper.

From the basic design in EQ7 (They already have the blocks drawn up…I just sized them to fit my needs), printing the cardstock, then cutting the fabrics, I got to take a breath and piece in my leisure time.  HA.  Leisure time…You know what I mean.  The semi-quiet moments in the house when my hair wasn’t on fire 😉

A colorful paper strip with a pattern of circles.

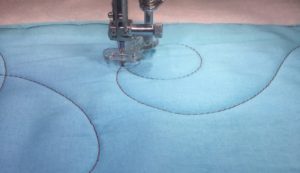
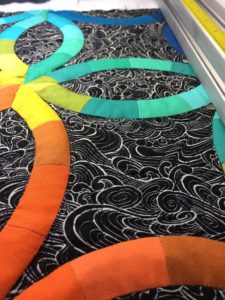
Then I loaded the mini on my longarm and did some simple stitch in the ditch around the wedding rings and some loopy swirl combos on the black and white background that blend nicely.  It may seem kind of dumb to longarm a mini quilt, since you need a little bit more backing fabric than you would if you were to quilt it on a domestic, but I figured I paid for that huge machine and I’m going to get my money’s worth!  Plus, I had just taken a fresh quilt off of the frame, and I had to take advantage of it before I loaded my next quilt.  It made for a slightly quicker finish than if I’d done it on the domestic sewing machine.
A close up of the floor with colorful circles on it

I was thrilled with the results, and playing with the color gradation and high-contrast background was really a lot of fun.  But mostly, I was able to really enjoy the process and each step along the way.  I don’t know about you, but from the day I started sewing, I’ve always eyed the double wedding ring quilts.  I’m not sure I have the patience at this point in my life to see a full-sized quilt through, so this mini quilt was the perfect opportunity for me to cross a DWR quilt off my quilting bucket list.  I had also never taken the time to hand piece curves before, but it wasn’t as bad as I thought it might be.  Really, I had built it up to be this super scary moment, when all you really need to do is take a little extra time and carefully mark the centers of each EPP piece prior to piecing it, and make sure you line the centers up while adjusting the curves.  

I hope your sewing adventures take you somewhere awesome this week, and try to slow down and enjoy the process behind what you’re doing.  I know I really enjoy the projects where I can slow down a bit and take a break from the hustle and bustle of life.  Happy sewing friends!

Posted on

Red Heart Quilt – client quilt

A red heart made of strips of fabric.


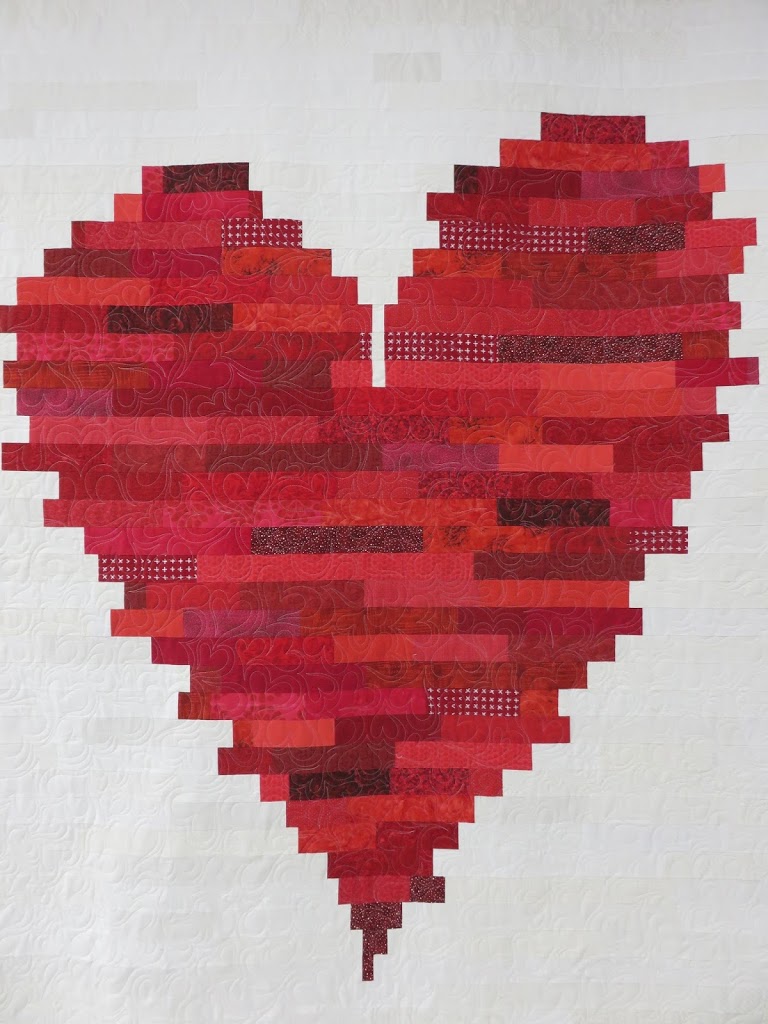
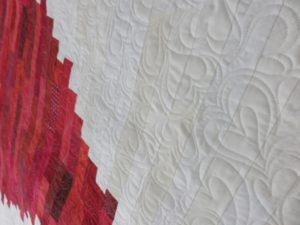
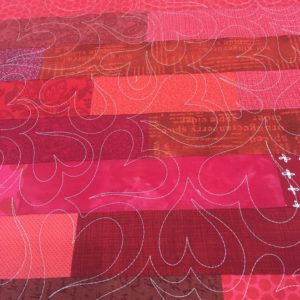
I recently had the privilege of quilting this gorgeous quilt for one of my clients.  The piecing is just gorgeous and the quilt was donated to a charity event/fundraiser.  I quilted the quilt with free motion hearts all over the top.  
A red heart made of strips of fabric.
Quilt Pieced by Debra B.

 This was such a joy to quilt–check out the close up of the free motion hearts 🙂

A close up of the quilting on a quilt

A close up of the fabric for a quilt

Posted on

Embrace the Chaos Workshop with Libs Elliott :)

A woman standing in front of a projector screen.


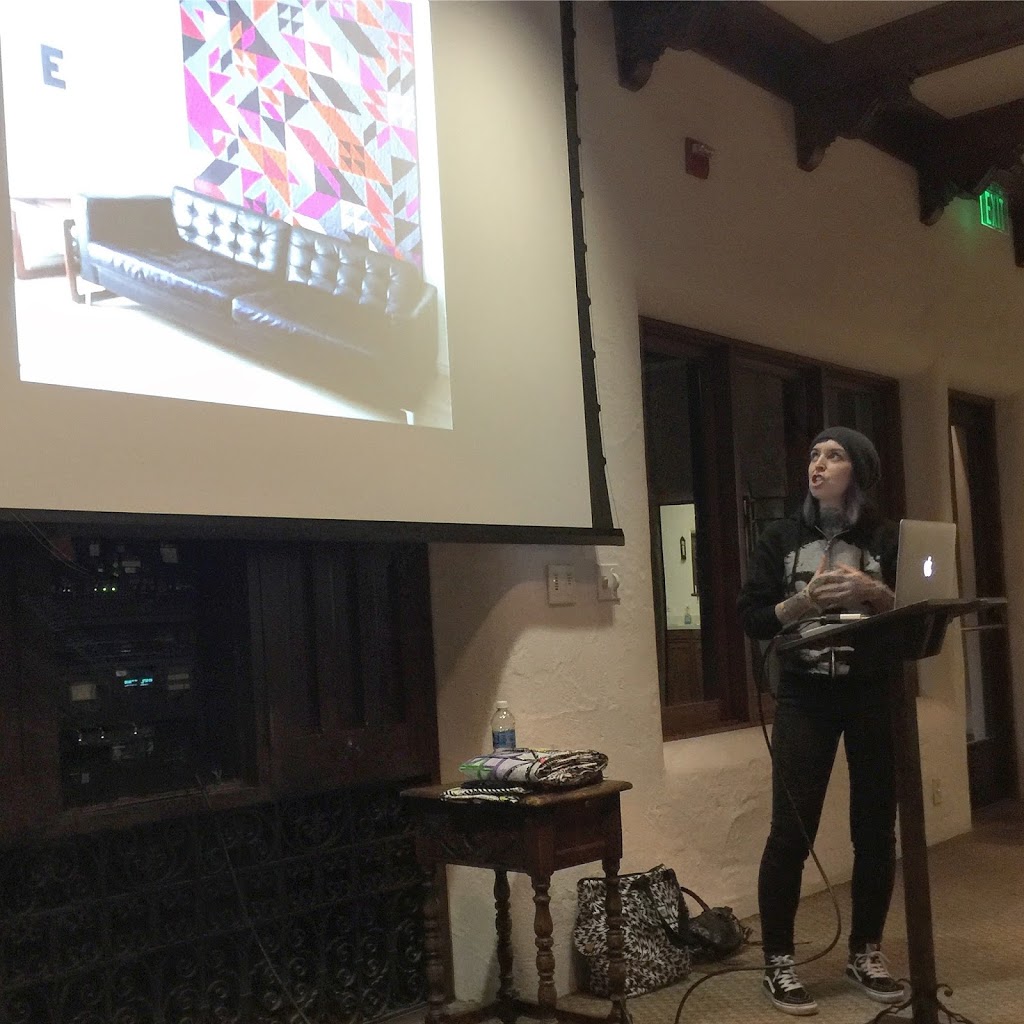
Libs Elliott was the guest speaker for the San Antonio Modern Quilt Guild Meeting!  It was so awesome to have her lecture at our meeting and present a workshop the following day.  She was such a fun guest speaker (and even did her workshop for us on her birthday!)  
A woman standing in front of a projector screen.
Libs delivering lecture at SAMQG meeting

The workshop Libs presented for our guild was “Embrace the Chaos” and was a great way to discover some planned improv piecing.  I know I have a lot of trouble just winging it and creating something without any planning.  Libs’ workshop was a really unique presentation on how to create something similar to her code method without the use of electronics.  

This is the quilt top that I ended up with (after I enlarged the blocks quite a bit)…these are 12″ blocks, so it’s roughly 60″ x 60″.

A quilt with many different colors of fabric.

I’m waiting for a small break in my work load until I can quilt this for myself, so I’ll post an update as soon as I get it finished!  

Posted on

Graffiti Quilting my Karlee Porter Panel

A colorful wall hanging with an abstract design.


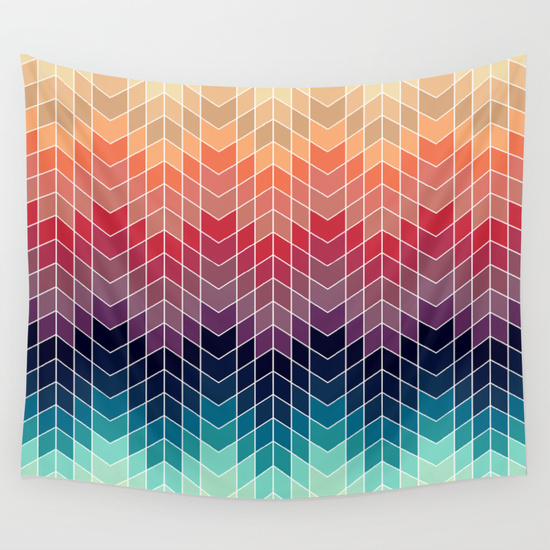
I know I already posted about attending the Karlee Porter workshop that SAMQG hosted a few months ago–but I really need to post about this as well!  Karlee has some really awesome panels that she designed, and if you haven’t felt them in person, they are buttery soft.  This one is called “Explosion” (picture is from Karlee Porter’s website), and if you want one, click HERE to order your own!  And FYI, this one is ginormous!  

A colorful wall hanging with an abstract design.
“Explosion” printed tapestry designed by Karlee Porter (picture from Karlee’s website)


A close up of the floor with a roller on it
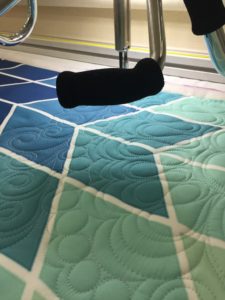
I love sewing and piecing and constructing quilt tops as much as the next person, but seriously…it is so awesome to load a quilt top and not worry about the hours, days, weeks it took to piece it.  Especially when you get to skip that part entirely.  There’s nothing better that just mindlessly losing yourself in a quilt while quilting.  This is my ultimate stress reliever.

A close up of the quilt with blue and white designs
A close up of the floor with different colors

A purple quilt with a bird on it.
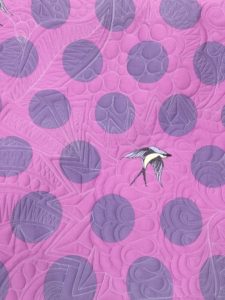
The back of the quilt (Tula Pink wide back)

A close up of the quilted fabric on a quilt

I haven’t hung this one yet, as I haven’t bound the edges, but I will update this blog post once it’s finally finished.  

A close up of the quilted fabric on a bed.

Posted on

Alison Glass Ventana Quilt


I usually am not such a sucker for holiday deals and sales…but when Alison Glass had her twelve days of Christmas, I couldn’t resist.  I ordered the pattern below (picture from Alison Glass’s website) in the kit format.  And I have to say…I have NEVER purchased a quilt kit before.  I take immense pleasure in selecting fabrics and design for a quilt, but it was so nice to not have to think about those things for once.  I opened the pattern, cut up all the fabric that was sent to me, and I whipped this quilt top up in about 4 days.  

I have yet to quilt the top…I’m thinking of adding some applique to the center of the white parts of the quilt to add a little more to it, but haven’t quite decided yet.  I had allowed myself a few days of selfish sewing prior to the end of 2016, and this was the project I chose to do.  It’s a great pattern–especially if you want to just follow someone else’s instructions (the blocks are foundation paper pieced), and you don’t even have to worry about being too mindful of the piecing process.  
foundation paper pieced blocks ready to be assembled
The kit I purchased came with Alison’s newest line of fabric-Seventy Six.  I added a few blocks to the standard pattern to increase the dimensions slightly.  I really didn’t think this pattern would come together as quickly as it did, and didn’t really have a backing in mind for it when I finished.  So I just wanted to share my bit of selfish sewing for 2016.  And while this isn’t really a pattern review, I have to say the pattern is extremely easy to follow (and the kit even came with enough fabric for me to make 12 extra blocks–increasing the size from a 5×6 layout to a 6×7 block layout.) and such a pleasure to make.  

My nearly finished quilt top 

Posted on 2 Comments

Making connections with t shirt quilts


I know that t-shirt quilts aren’t considered to be the most glamorous form of creating in the quilt world, but they have always held a special place in my heart.  The first quilt I ever made was a t-shirt quilt.  And I definitely won’t post pictures of that quilt here (I had no idea what a 1/4″ seam allowance was or that knit fabric stretched when you sewed it…), I still have the quilt and use it often.  Honestly, you could more appropriately call it a blanket.  But I digress…

I want to talk about this fabulous t-shirt quilt I was asked to finish for a customer.  Her son attended the same high school that I went to, ran cross country and track (as I did), and attended the same University!  This person was 5 or 6 years behind me in all these things…nevertheless, making this quilt was almost like making it for myself.  His mother even embroidered symbols from the university to put as cornerstones on the border of the quilt.  It turned out really cool!
I love seeing t-shirts being re-purposed, and it is really cool to see how many were saved and the duration they were saved for! 


Here is the finished quilt–It was so much fun getting to work on this and think about my college days (and I seriously can’t believe that was 10 years ago!!!)

Posted on

Mock Stained Glass Mini Quilt Tutorial


Happy New Year!  Well, this post is a day late and a dollar short, but it’s here 🙂
I usually post on Tuesdays, but this one got away from me!  

Sometimes winter blues can get you down (although here, in Texas, it was nearly 80 degrees yesterday and looked WAY more like spring than winter!) and it helps to have some fun and easy projects to get you through the weather.  I hope you’ll take a look at the free tutorial I teamed up with Janome to create.  It’s listed on the APQS blog and is a great free pattern for a mini quilt–or– if you prefer not to quilt it, hang it in a window that gets lots of light for a stained glass effect.  Either way, it’s a great way to add another technique to your arsenal of skills.  


Find the free tut HERE

Have a great week!

Posted on

The first MQG mini quilt swap-are you in?


Who doesn’t love a great sewing swap?  I started my first with a swap hosted by The Sewing Loft.  Soon after, I found out about the Schnitzelandboo mini quilt swap.  I think I started on the second round of that swap and have stayed in it ever since.  I even participated in another smaller themed sewing swap that was a lot of fun.  And in October of 2016, The Modern Quilt Guild announced its first mini quilt swap, open to members worldwide.

To be honest, I was really bummed when I first heard about the swap.  I recently quit my real job to sew and quilt as my full time job and (as I type this) am about to be a new mom.  The odds of me signing up for this swap didn’t look too good.  But then I started thinking about it, and realized I needed something to look forward to in the first few months of being a new mom.  I don’t want to lose myself entirely in my new role and hopefully I will find bits and pieces of time to work on this for my partner (sorry partner… ;).

So I signed up.  I got my partner assignment, and wouldn’t you know…their instagram profile is PRIVATE.   GRRRRRRRR…….Seriously.  If you’re going to do a swap, have a public profile.  You’re ruining the surprise.  Or at least include some other form of social media where you post your preferences.  I was a little miffed.  But my swap fairy came through for me and managed to get a Pinterest profile for me.  This provided tons of inspiration and so I’m currently working on tweaking some things I’ve found to make it my own.

Posted on

Quilting for Market with Urban Artifacts Fabrics by Leslie Tucker Jenison


So I guess this is part 2 of my Quilt Market preparations posts…The quilting edition!  

I had the opportunity to quilt a couple of quilts for my friend Leslie’s quilt market booth.  I’m going to be brief here…
The first one was an awesome quilt designed by Liberty Worth.  It’s pretty modern and gave me tons of inspiration with the quilting.  Below are pictures:

Putting the binding on…
Quilt designed by Liberty Worth with Urban Artifacts by Leslie Tucker Jenison

Quilt designed by Liberty Worth with Urban Artifacts fabrics by Leslie Tucker Jenison

The next quilt was designed by Allison Chambers of the San Antonio Modern Quilt Guild and was inspired by mid-century modern style.  I love this quilt!  I was aiming to keep the quilting modern but understated and used a blending thread instead of a highly contrasting one.  I did some geometric ruler work with stitch in the ditch on this one.  

Quilt designed by Allison Chambers using Urban Artifacts Fabric by Leslie Tucker Jenison

Quilt designed by Allison Chambers using Urban Artifacts Fabric by Leslie Tucker Jenison
I got to quilt 2 other amazing quilts that were designed by Leslie, but those are patterns that are not yet released, so no pictures of those yet!  I am so blown away by the talent and creativity.  I really wish I could have attended Quilt Market this year, but like I said…life happens.  There’s always next year!