Posted on

Charity quilt for SAPD

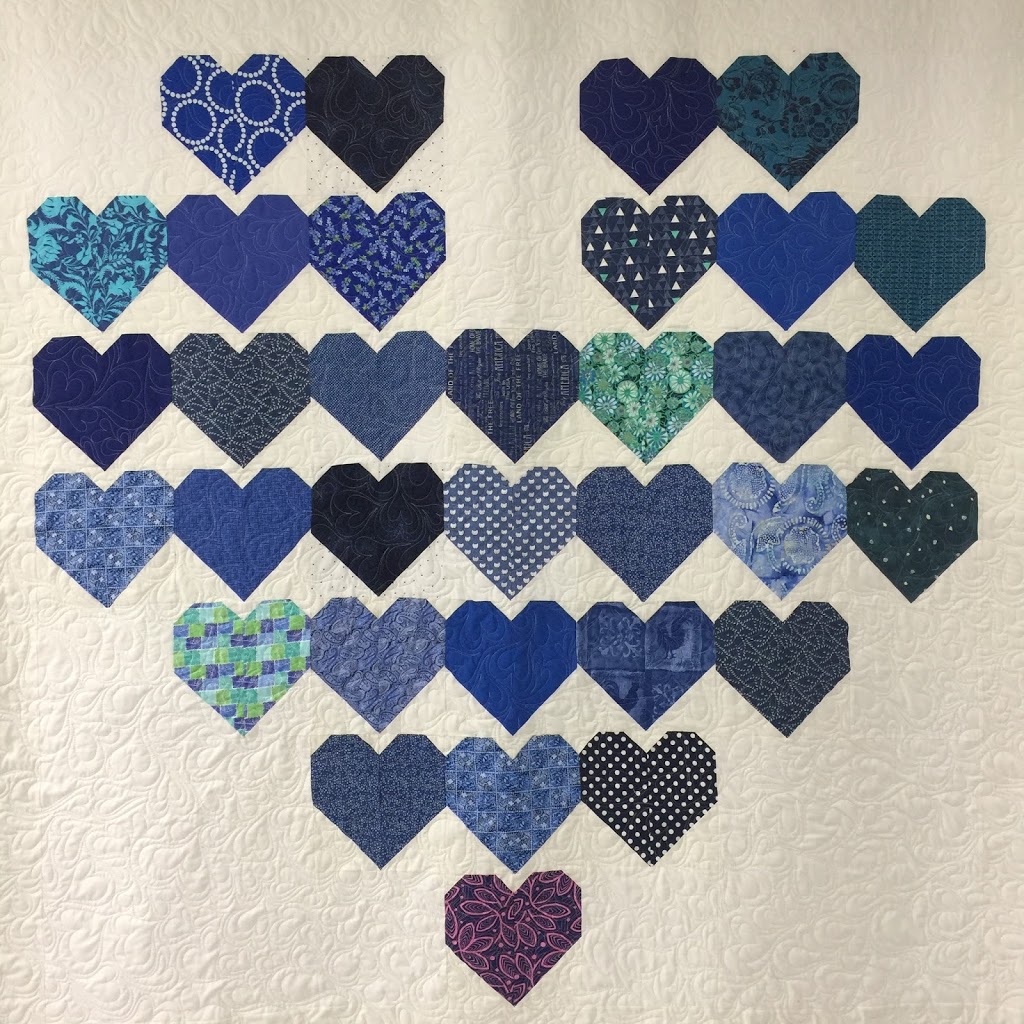
The back of the quilt

So on my birthday this year, only five days after bringing our little girl home from the hospital from being born, I have the tv turned on to some inconsequential show to help me forget how tired I am.  A news story comes on about a police officer in San Antonio being shot and killed while writing someone a ticket.  It is really disturbing that we keep having incidents like this happen, and even more so when you just had your first child.  It’s so discouraging thinking that this will be the world she grows up in–where good people who lay their life on the line on a daily basis are killed without rhyme or reason.  
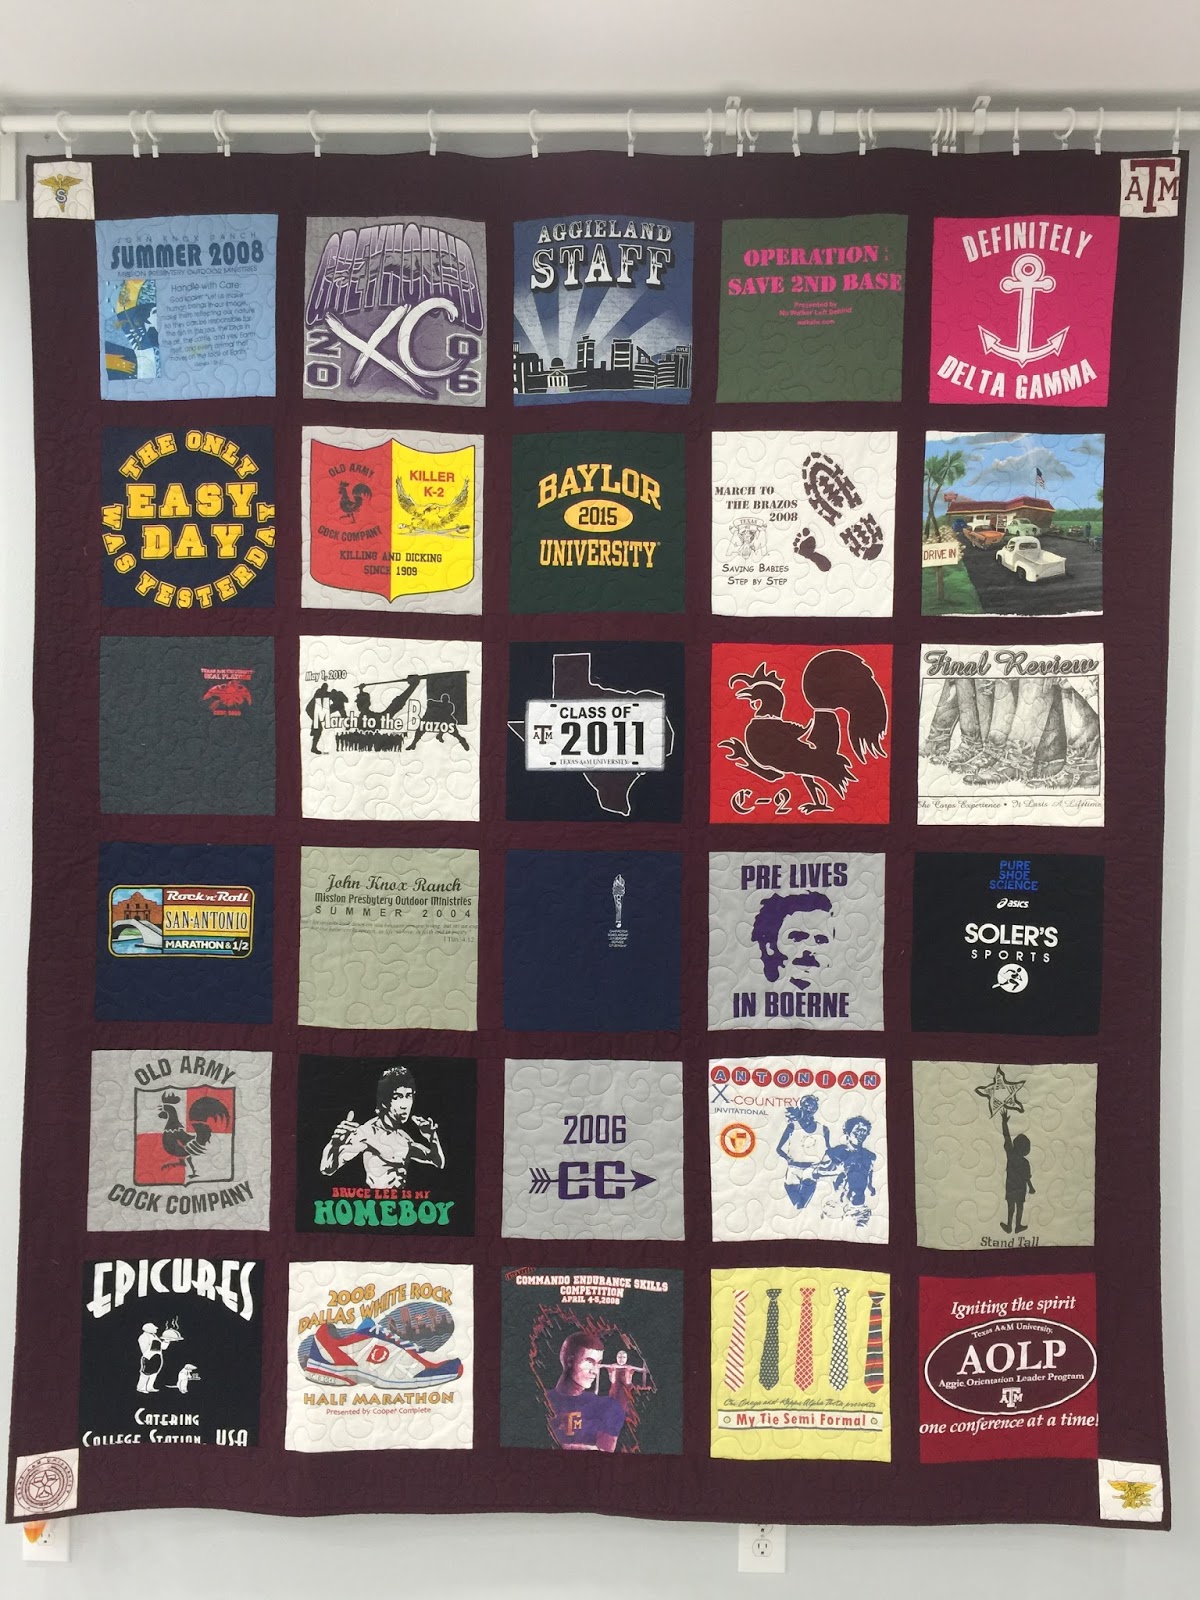
The front


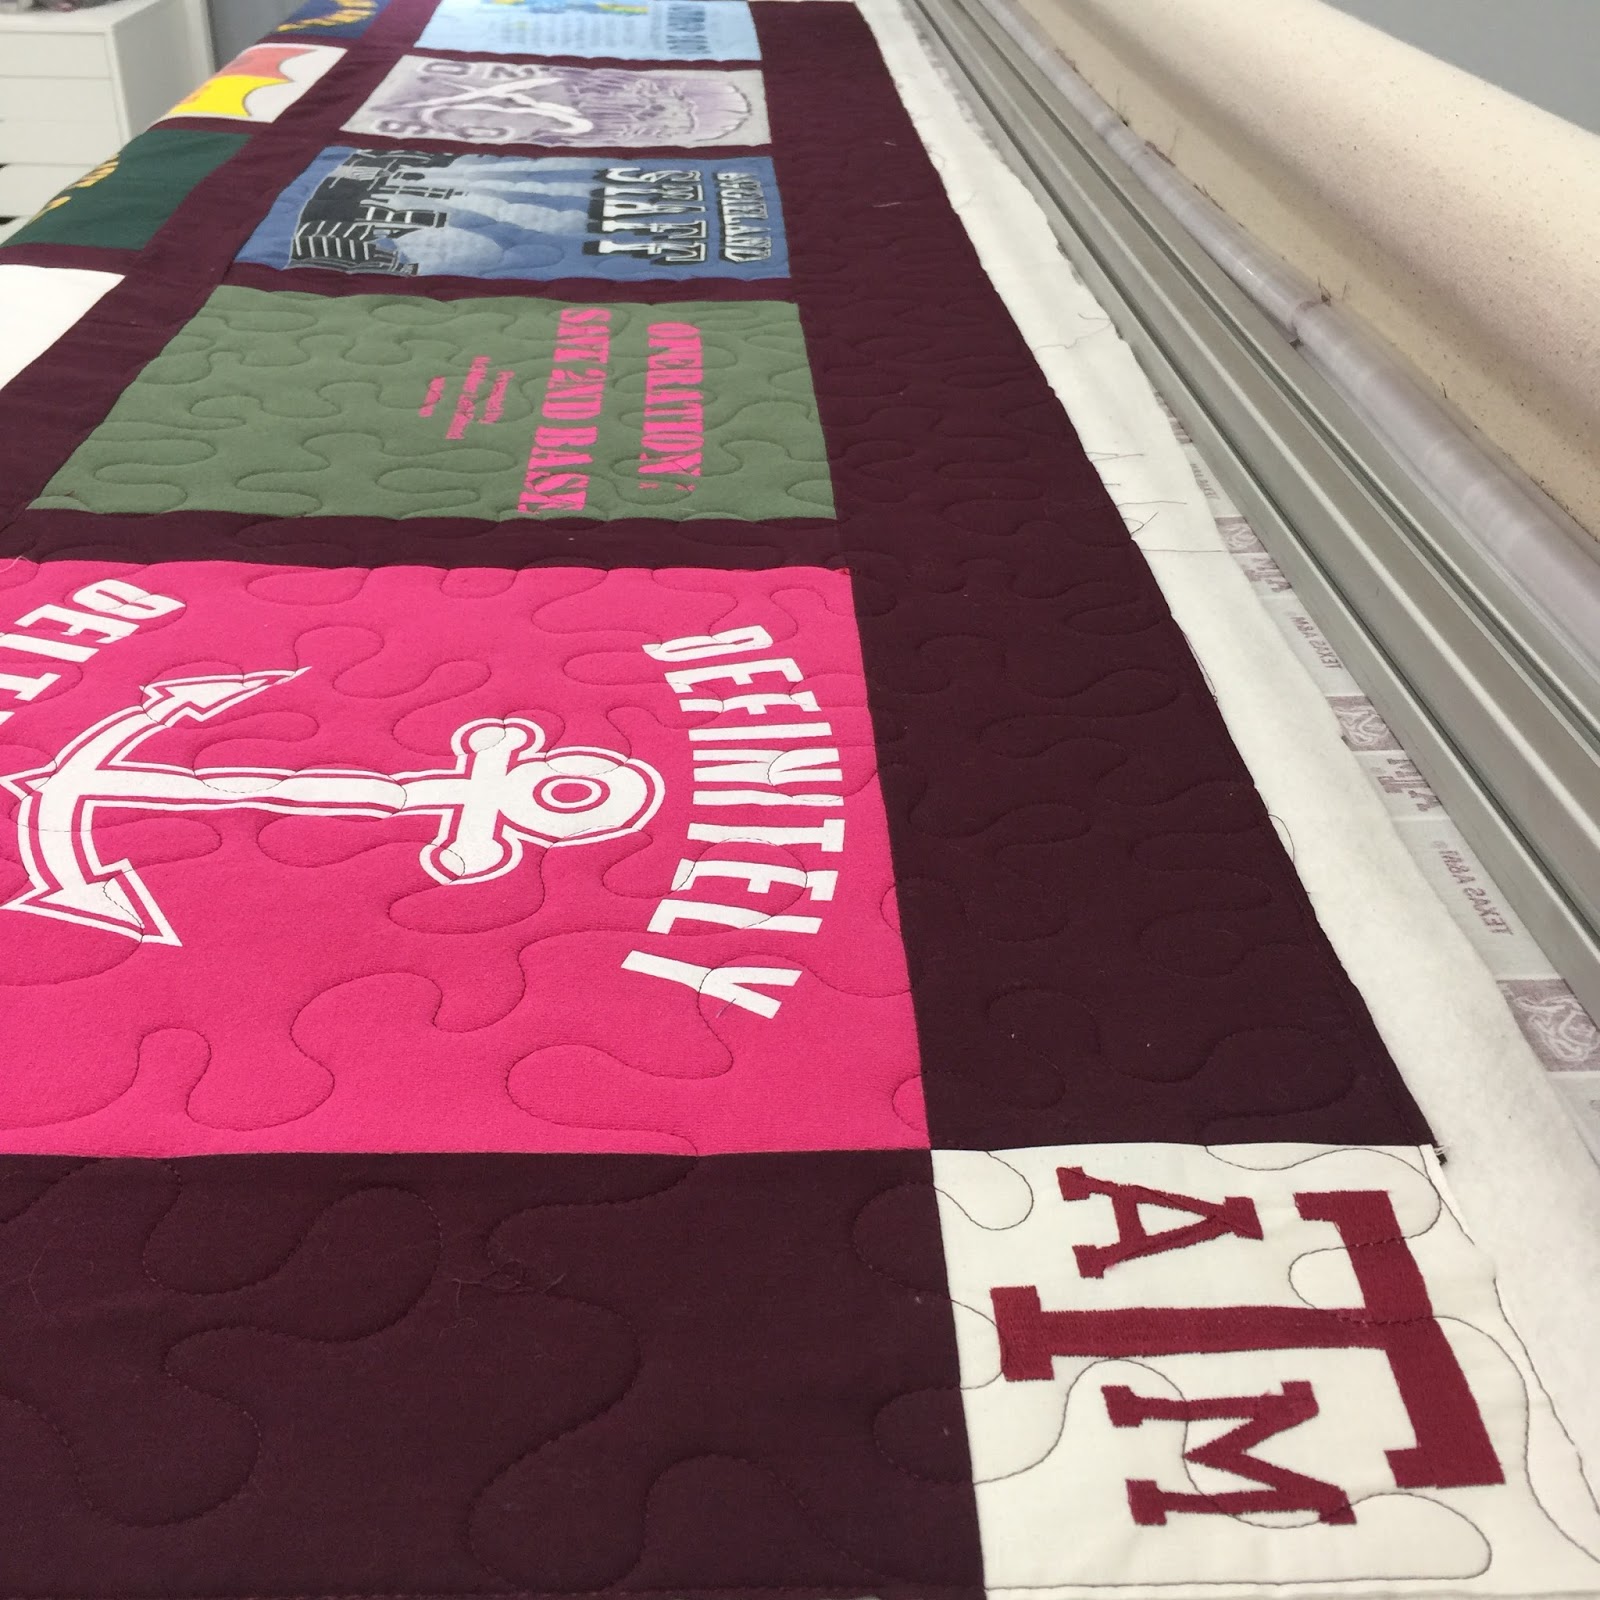
I am happy though, that I am part of a guild that has such a heart for charity and outreach.  I won’t name the individual who organized everything and made this happen, but I am so glad she did.  This is one of the quilts that was put together by members of the San Antonio Modern Quilt guild for the officer’s surviving family members.  I really felt priveleged to have a hand in this (even if all I did was the quilting–check out the appliqued back!).  I hope that the family is brought some small measure of comfort, or even feels a little appreciation for what their family member worked for.  And hopefully the good that people do will overpower the wicked people in this world. 
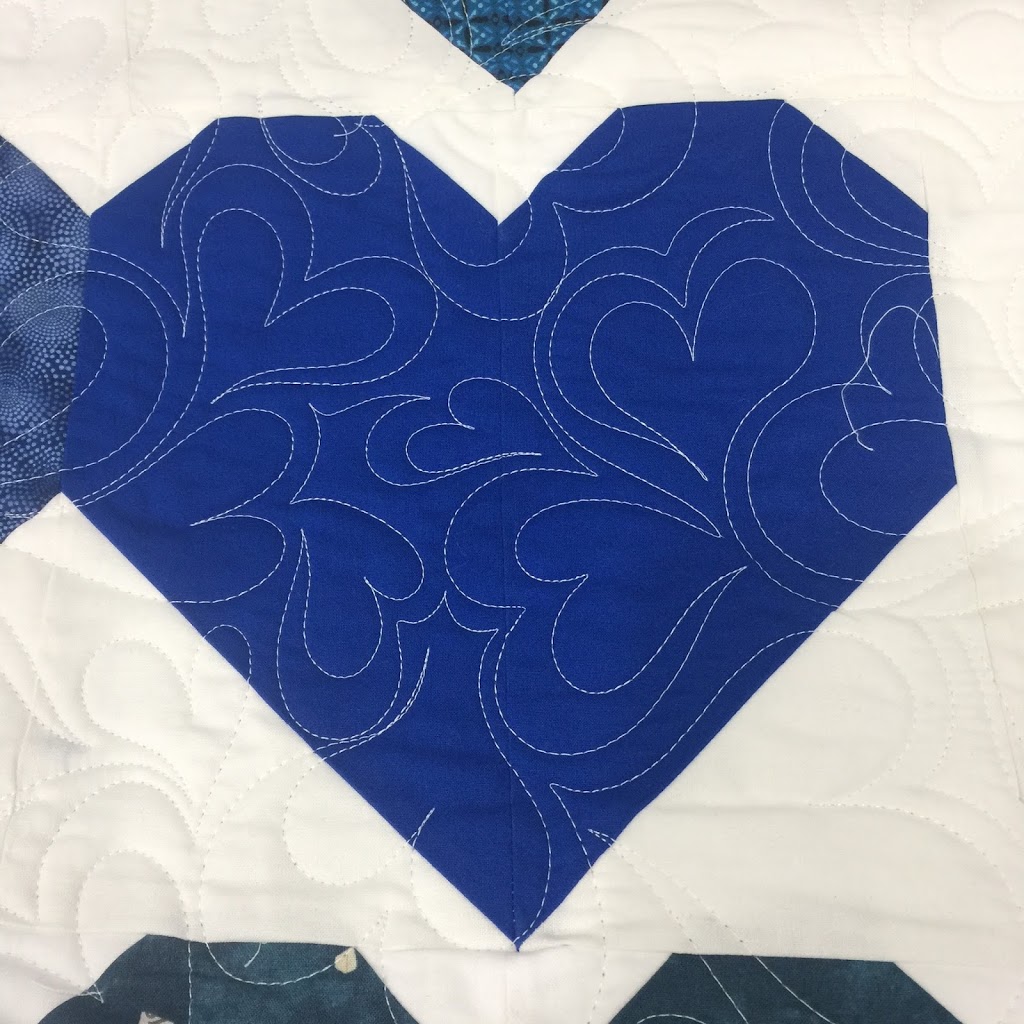
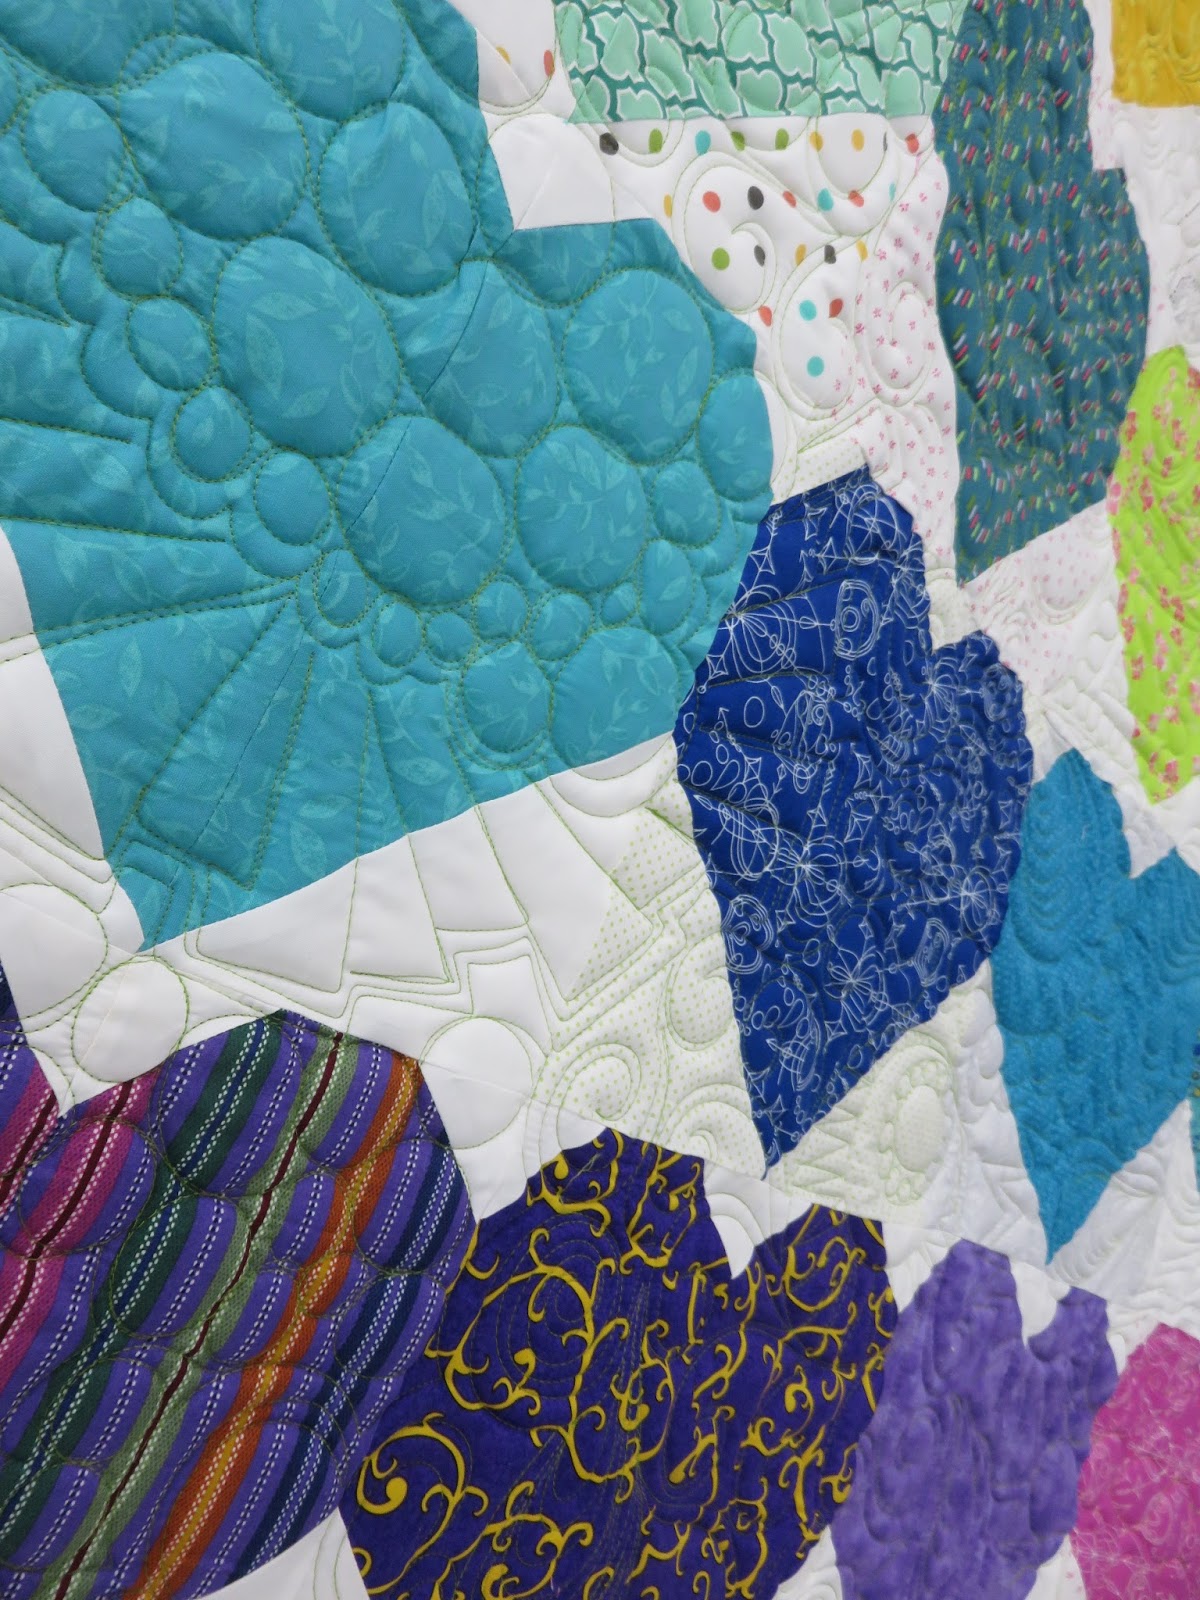
meandering heart quilting

Posted on 2 Comments

Making connections with t shirt quilts

I know that t-shirt quilts aren’t considered to be the most glamorous form of creating in the quilt world, but they have always held a special place in my heart.  The first quilt I ever made was a t-shirt quilt.  And I definitely won’t post pictures of that quilt here (I had no idea what a 1/4″ seam allowance was or that knit fabric stretched when you sewed it…), I still have the quilt and use it often.  Honestly, you could more appropriately call it a blanket.  But I digress…

I want to talk about this fabulous t-shirt quilt I was asked to finish for a customer.  Her son attended the same high school that I went to, ran cross country and track (as I did), and attended the same University!  This person was 5 or 6 years behind me in all these things…nevertheless, making this quilt was almost like making it for myself.  His mother even embroidered symbols from the university to put as cornerstones on the border of the quilt.  It turned out really cool!
I love seeing t-shirts being re-purposed, and it is really cool to see how many were saved and the duration they were saved for! 


Here is the finished quilt–It was so much fun getting to work on this and think about my college days (and I seriously can’t believe that was 10 years ago!!!)

Posted on

Finding time to give back #quiltsforpulse

 In the midst of tragedy, I am relieved that I belong to a group of people that goes out of their way to show love for others.  The group I’m talking about is the Modern Quilt Guild.  And even  more specifically, the San Antonio chapter of the Modern Quilt Guild.  The Orlando MQG organized collections to accept in progress quilts and completed quilts to show support and love for some of the people affected by the Pulse night club shooting.  I hate that I’m even writing a post about this, because it’s so disturbing the amount of violence we hear about on a daily basis on the news…but I want to focus on giving back and showing support for our fellow human beings.  


The SAMQG members are SO giving and generous with their fabric and time, that we’ve had a plethora of blocks constructed (most using the Heart pattern tutorial by Cluck Cluck Sew).  A few charity sew-ins, and we’ve finished (I think) 5 quilts!  


I had the great opportunity to quilt a few of these, and wanted to discuss charity work in this industry.  I’ve done a little bit of charity sewing in the past, but not really donated much of my time or resources prior to getting my longarm.  And once I started donating my quilting, I kind of just rushed through the process, doing a stipple or some quick meandering design to get that top off my frame as quickly as I could.  But one night, I started thinking about the recipients of these rushed through pieces I had worked on.  Was I proud of the work I was doing on them?  No.  Absolutely not.  I was just FINISHING THEM.  There was nothing special or generous about what I was doing to add to the quilt.  And maybe those recipients don’t even look at the quilting.  But it really got to me that I was doing about 2% of my best work on something that was supposed to be making someone happier.  I decided to start doing my best work on every quilt top.  Whether it was a paying customer or not.  If I’m going to commit to working on something, why would I give anything less than my best?  And besides, if you want to look at it from a really selfish angle, it’s great practice and helps develop your skills even further.  


I really love the graffiti quilting style, and chose to do that on this quilt.  These blocks were pieced together by so many different people, with such love and compassion in their hearts.  It really does give me a little bit of hope for humanity.

Anyway, my two cents for the day is to think about where your heart is when you decide to do charity work.  If it’s in your heart, put your best foot forward and really give all you have.  Otherwise, what are you wasting your time for?  

Posted on

Getting ready for state convention

FFA State Convention is in three days–so to get in the zone for leadership stuff and prepare…I decided to make some applique shirts.  So the first one, I was pretty satisfied with (I actually did it after the gray one).  The second shirt…yuck.  Did not turn out how I had planned at all.  I spent about an hour piecing these tiny strips of fabric, and didn’t even end up using them.  Really should have been paying closer attention instead of rushing since it was for me and not someone else!

I’m thinking about putting the first style in my Etsy shop…but we’ll see.  


Posted on

Make your own Home Decor for cheap, with DIY tutorial included

Finally, I did a shortened version of my original tutorial  (since Blogspot doesn’t support PDF uploading–or I couldn’t figure it out!).

Above is the wall art that I made when I re-did our guest bathroom.  This is a very inexpensive way to make something to suit your taste and easily coordinate with your home decorations.  Just a heads up-this does take a good amount of time, and requires a little concentration-depending on how detailed your silhouette is.

First, you need to find a shape or silhouette that you like.  Keep in mind that you will be cutting this out AND sewing around the perimeter.  I suggest doing a practice one first with a circle or square–something simple and straightforward.  You might get really put out if you start with the deer!  

Print them out to the size you want them to be in your decor.


Now for your supply list-
Some kind of fusible stabilizer or interfacing that is thin to put behind your background fabric
Background Fabric (pictured in the next photo)
Fabric for your silhouette
Rotary ruler
Iron
Precise scissors
Sewing machine/needle and thred
HeatnBond Lite
Sewing pins or scotch tape
Photo frame with enough spaces to put what you want in it

So this photo shows the thin interfacing that you will be fusing to your background fabric.  If you don’t have any handy, this step is not mandatory, so don’t fret!  

You’re going to cut your background fabric to the size the picture frame you bought is.  Make sure you cut the pieces a little larger than the viewing window so you can easily secure them.

Cut your pieces of stabilizer to the same size as your background fabric pieces.  I have three in this picture because I had a 3-photo frame.  

Follow the manufacturer’s instructions for fusing the stabilizer to the fabric.  Now you can set these beauties aside, because you won’t need them for a while!

Now cut your silhouette down to the smallest you can get it without cutting on the lines.  You’re going to prep your silhouette fabric now…

Before you cut your fabric, lay your shape on top of it and make sure you have a good inch extra on all 4 sides.  It’s better to have a little extra to play with if you need it than having to go back and cut more if you make a mistake.  Once you measure, go ahead and cut the fabric to size.


Cut a piece of HeatnBond to just a LITTLE larger than your silhouette.  Place it shiny side down on the wrong side of your silhouette fabric.  Follow the manufacturer’s instructions for bonding.  Mine said not to use steam, so make sure you don’t!  


Once you’ve got your HeatnBond on the back of your silhouette fabric, flip your fabric over so it is right-side up.  You may want to choose a fabric that isn’t solid colored-sometimes it’s hard to determine which is the front or back.  I use scotch tape and pins to secure my silhouette shape to the fabric–make sure your shape is directly over the HeatNBond.  If you can’t tell, hold your fabric with the silhouette up to a light source and you should be able to see the HeatnBond with no problems.

Now you’re ready to get stitching!  You’re going to sew ON THE LINES of your silhouette.  
You don’t need a machine to do this, but it sure goes a Heck of a lot faster if you do.


After you have your outline sewn, you’re going to cut through all layers around the silhouette.  It’s a good idea to leave a 1/8″ space between the stitching line and your cuts.  If you cut too close, you risk cutting the thread, or having the fabric fray–which you definitely do not want!

Now you’re going to peel off the printer paper from the front of you shape, and the paper backing from the HeatNBond from the back of the shape.  You even have to peel off the measly little paper between the cuts you just made and your line of stitching.  Be careful to not fray the fabric.  This is why I told you to leave a 1/8″ space.  You can see that I did not.  I’ve done this a few times before and so I knew I could get away with that.  You might find that too.  But for now, leave 1/8″. 


After you remove the paper backing, you can go grab your background fabric and center your silhouette on it.  I think the easiest way to do this is with a rotary ruler or some kind of clear acrylic ruler.  Makes things move a little faster–but you can also use just a regular ruler.


Now, look at the manufacturer’s instructions on how to apply the HeatNBond, and follow the directions.  You will now fuse the silhouette to the background fabric.


Once you’ve done that, you’re ready to frame it!  Just remember to minimize the handling of the silhouette so the edges don’t fray.  If you have more than one, you’ll just repeat these steps with each other piece you have.

Please let me know if you have any questions, and good luck on your new wall decor!

Joanna