Posted on

Hexie EPP Stocking Pattern

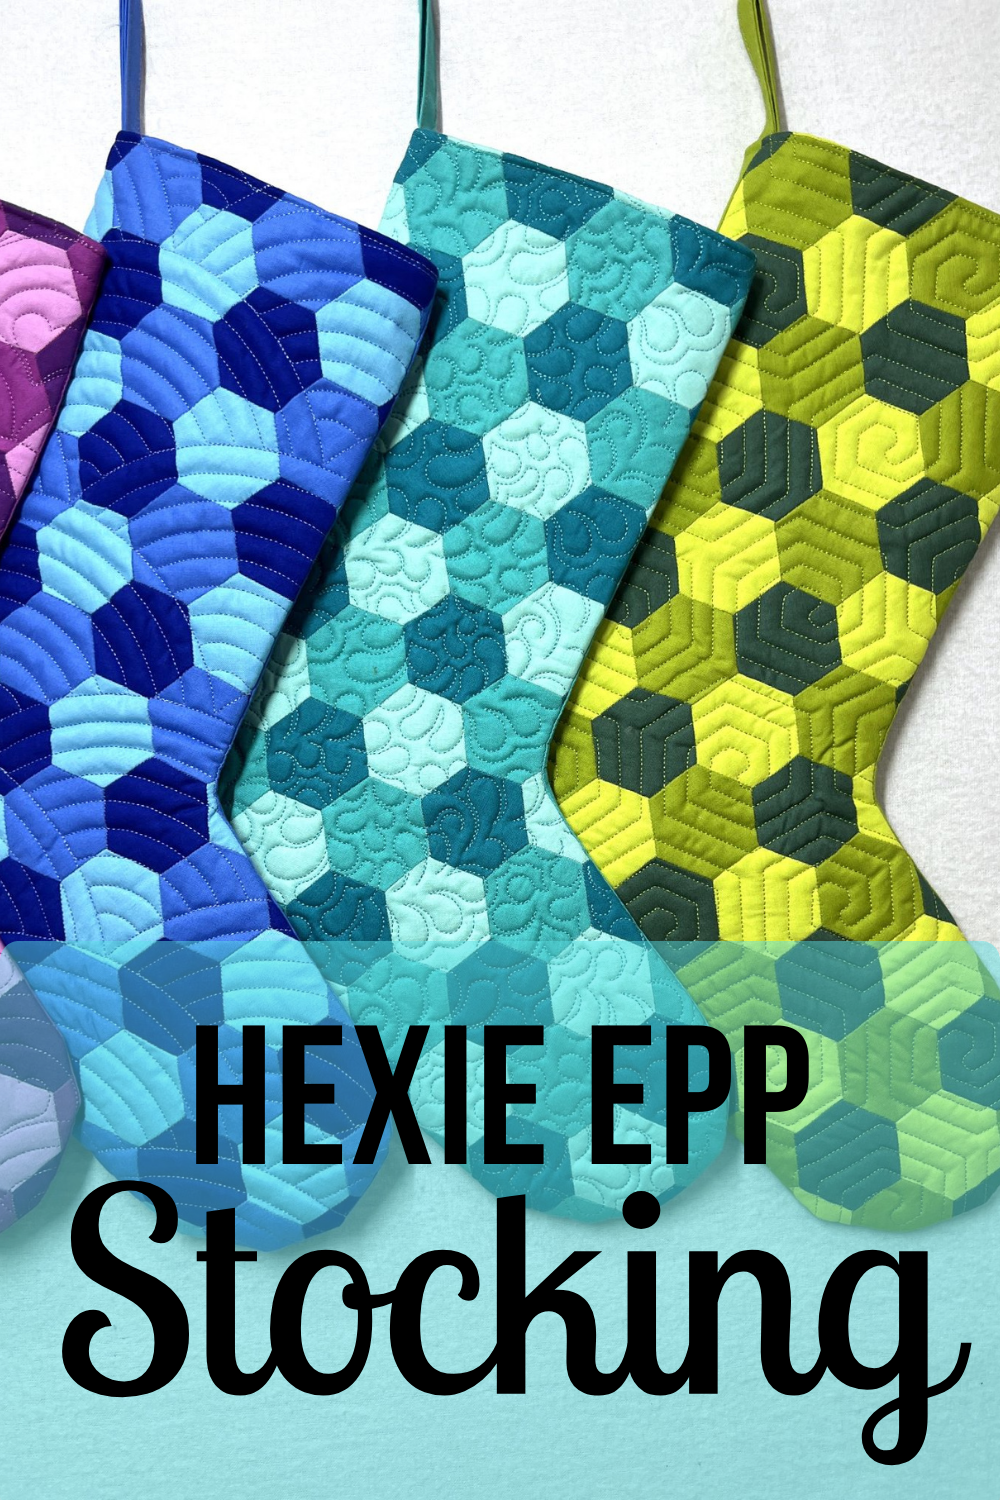
A group of hexagonal patterned socks in different colors.

The Hexie EPP Stocking Pattern is finally here! This is a perfect pattern for a quick finish, and it saves time and fabric by not having to fussy cut. I designed these stockings to have a similar look to the cute Buffalo Plaid that has a more clean and modern Christmas-y look, but with hexagons. The pattern details how to make the stocking using the 3-color solids, or for a more fun look, a 6-color solid multicolor stocking. Using solids eliminates the need to spend tons of extra time fussy cutting, and you can use the stack and cut method to cut multiple hexies out at once. I think the most I was able to cut at one time was 8 pieces.

This pattern includes:

  • Detailed instructions for solids: 3-colors or 6-colors or fussy cut your own pieces
  • Pattern includes Youtube tutorial sew along to assemble the stocking
  • finished stocking measures 6†wide at top x 14†tall X 11″ wide heel to toe, complete with hanging loop
  • Blank coloring sheet to design your own colorway or plan for fussy cutting
  • Fabric requirements for the 3 and 6 color stockings
  • Detailed cutting diagrams
  • Full color diagrams and step outs
  • Stocking template
  • Printed pattern version includes a full sheet of hexie papers for you to copy and cut out yourself, should you choose
  • PDF version includes a printable sheet of hexie papers

So many options!

Kits for the Hexie EPP Stockings:

Find the perfect kit for you! These solid stockings are curated in the perfect shades of Tula Pink solids by FreeSpirit. Grab the color that fits you, or make an entire fabulous rainbow gradient to fill your mantle!

If you aren’t a fan of fabric kits, you can also grab your own acrylic fussy cutting template and precut EPP papers to save you a little time. Or cut your own hexies with the papers that are included in the PDF or the printed pattern. Both options have a printed OR printable paper Hexie fussy cutting template.

Customizing your stocking

You can choose to quilt your stocking with fun hand quilting, easy domestic machine quilting with simple straight lines, or pick a fun pantograph and throw it on the longarm for a bit of punch! Alternatively, you don’t have to quilt the stocking at all and the inside is fully lined to protect all the seams. Pattern instructions include a hanging loop.

I’m so excited to finally share this pattern with you. I feel like I have been working on it for years and perfecting each version so it will bring you SO much joy when you make it. I hope you’ll share your makes with me using #HexieEPPStocking . Thanks for reading, friend, and happy sewing!!

Posted on

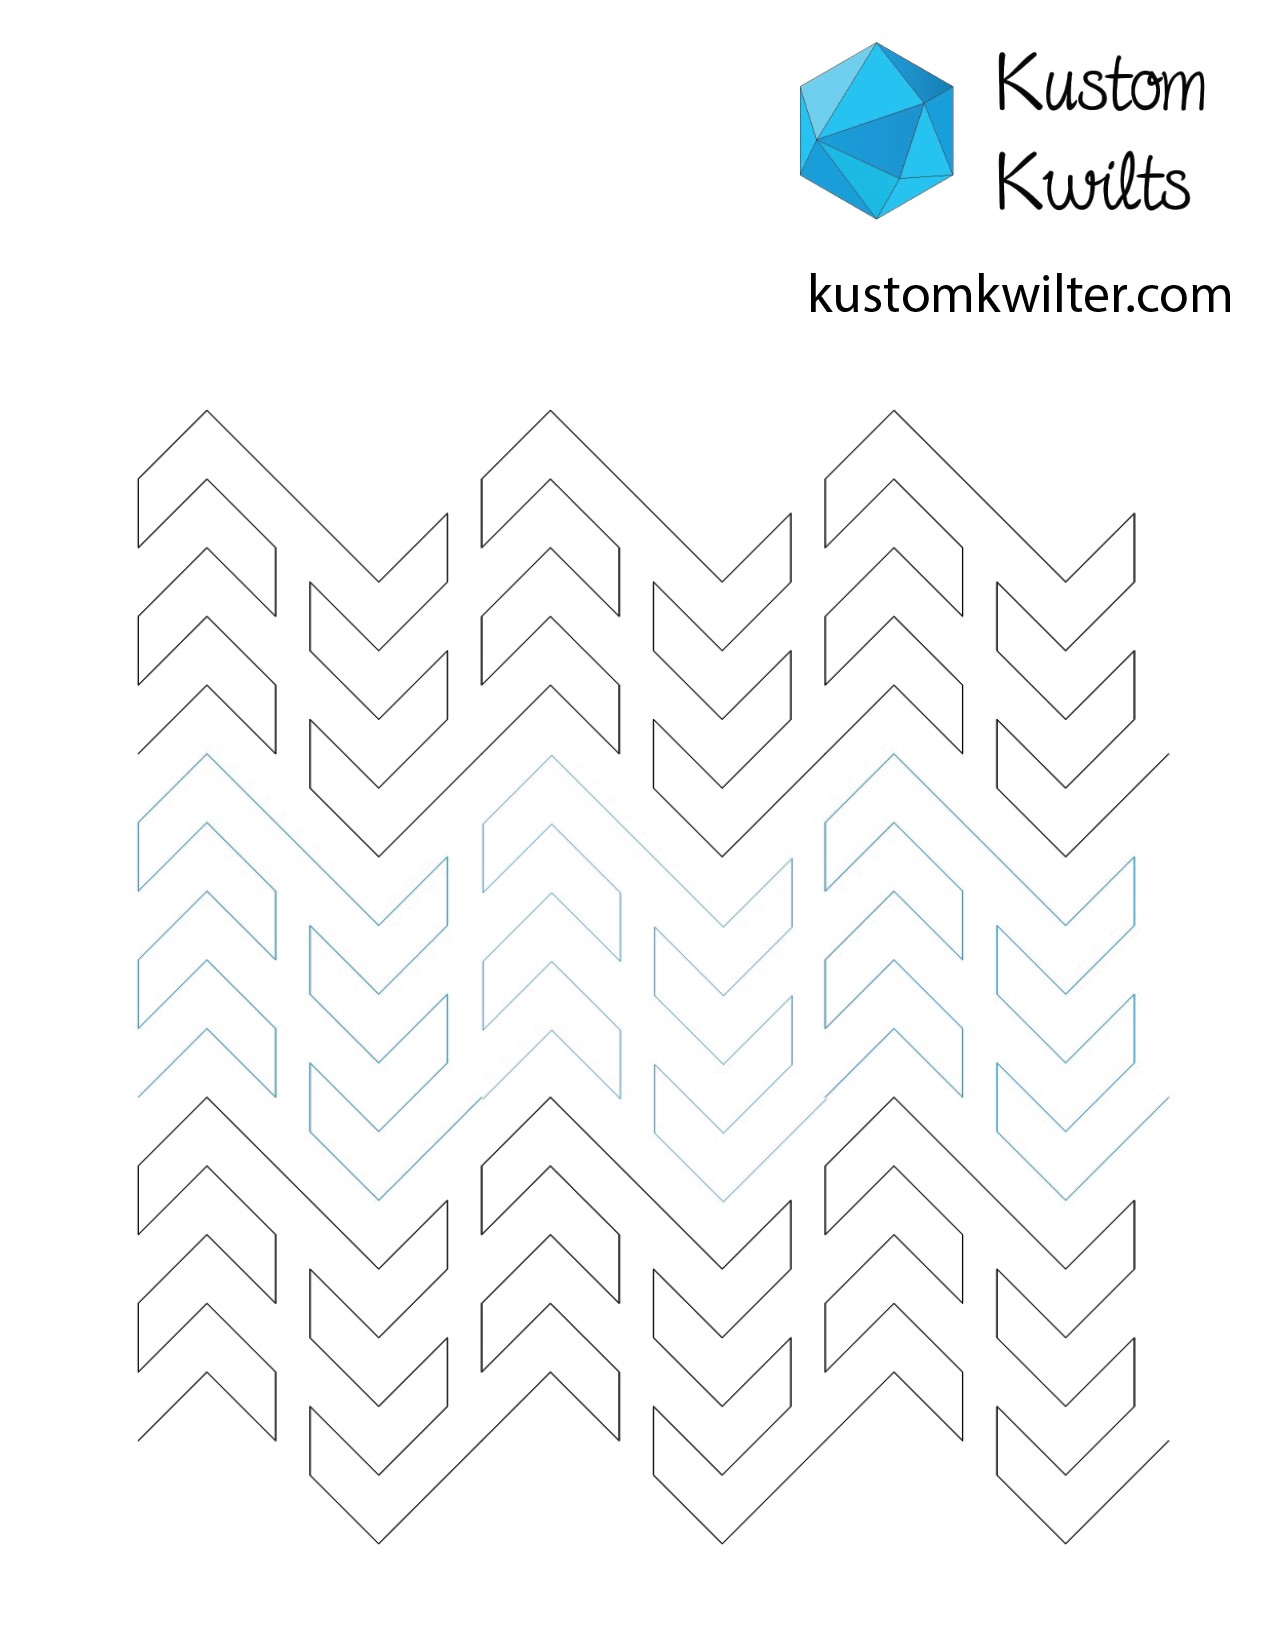
Edge to Edge Pantograph options

See below for the E2E pantographs I currently carry. Other options can be viewed here for an additional purchase fee. I also have more traditional patterns not shown here. Email me for pricing and shipping instructions. Most Edge to edge designs are 2.5 cents/sq. in. The designs I have are categorized below with headings. The “DENSE” category shows designs that start at 3.5 cents/square inch either because they are dense or take special care to line up correctly after each advance. Some of these designs are also cross categorized and have “Dense” in the caption after the design name. Please feel free to reach out if you have any questions!

Newly added designs

Most Popular

Animal Themed Designs

Christmas, Winter

Circles

Dense designs – start at 3.5 cents/sq. in.

Geometric

Halloween, Fall

Hearts, Valentines

Leaves, Flowers, Feathers

Modern, Geometric

Nature, Water

Novelty, Themed

Patriotic

Stars

Swirls

Traditional

Posted on 1 Comment

A little more FMQ


I love the understated look of Superior Threads’ So fine thread for busier quilts.  There’s just enough substance there to make the quilting do its job, but not so much that the quilt is overwhelmed.  


This isn’t a super involved post–I just wanted to share a quilt that some of the ladies in the San Antonio Modern Quilt Guild put together for our past president who moved out of state.  This quilt was designed by Emily Robbins using some of the modern quilt block guides put out by Love Patchwork and Quilting this year.  Cotton + Steel prints were used in combination with various shades of grey.  It’s pretty difficult to see the quilting, but the real star is the quilt design and the fabrics.  

This was the finished quilt prior to the binding being put on.  Love the design, and I think Emily did a great job!

Posted on

Spooky Spiderweb Trick Or Treat bag tutorial


If you’d like to make the perfect project for your special little trick-or-treater, I teamed up with Janome to bring you the perfect tutorial for a reusable treat bag!  Visit Janome’s website for the full tutorial and a quick and easy sew!  

 This is a great project with a little pop of color on the reverse side of the drawstring bag–you can use a contrasting fabric to really make it pop (or even glow in the dark fabric!)


And learn to quilt some really fun spiderwebs!  Enjoy!

Posted on

Finding time to give back #quiltsforpulse


 In the midst of tragedy, I am relieved that I belong to a group of people that goes out of their way to show love for others.  The group I’m talking about is the Modern Quilt Guild.  And even  more specifically, the San Antonio chapter of the Modern Quilt Guild.  The Orlando MQG organized collections to accept in progress quilts and completed quilts to show support and love for some of the people affected by the Pulse night club shooting.  I hate that I’m even writing a post about this, because it’s so disturbing the amount of violence we hear about on a daily basis on the news…but I want to focus on giving back and showing support for our fellow human beings.  


The SAMQG members are SO giving and generous with their fabric and time, that we’ve had a plethora of blocks constructed (most using the Heart pattern tutorial by Cluck Cluck Sew).  A few charity sew-ins, and we’ve finished (I think) 5 quilts!  


I had the great opportunity to quilt a few of these, and wanted to discuss charity work in this industry.  I’ve done a little bit of charity sewing in the past, but not really donated much of my time or resources prior to getting my longarm.  And once I started donating my quilting, I kind of just rushed through the process, doing a stipple or some quick meandering design to get that top off my frame as quickly as I could.  But one night, I started thinking about the recipients of these rushed through pieces I had worked on.  Was I proud of the work I was doing on them?  No.  Absolutely not.  I was just FINISHING THEM.  There was nothing special or generous about what I was doing to add to the quilt.  And maybe those recipients don’t even look at the quilting.  But it really got to me that I was doing about 2% of my best work on something that was supposed to be making someone happier.  I decided to start doing my best work on every quilt top.  Whether it was a paying customer or not.  If I’m going to commit to working on something, why would I give anything less than my best?  And besides, if you want to look at it from a really selfish angle, it’s great practice and helps develop your skills even further.  


I really love the graffiti quilting style, and chose to do that on this quilt.  These blocks were pieced together by so many different people, with such love and compassion in their hearts.  It really does give me a little bit of hope for humanity.

Anyway, my two cents for the day is to think about where your heart is when you decide to do charity work.  If it’s in your heart, put your best foot forward and really give all you have.  Otherwise, what are you wasting your time for?  

Posted on

Couching tutorial


Decorative stitches with a 3-way cording foot 

I had absolutely no idea what couching was when I first heard of it.  I saw a demonstration of couching on a longarm quilting machine, and then very quickly wrote it off (since I didn’t have a longarm at the time), thinking I would never have the means or opportunity to try couching.  You can use couching to emphasize a print on fabric, outline applique, doodle with it, and you can even quilt with it.  

Couching can add a little flair to regular fabric


Well, there are some ways that you can couch without buying a super expensive longarm quilting machine, and then also buying a super expensive couching attachment for said longarm.  You can actually couch by hand–but it takes a while.  And you can certainly try couching by using a domestic sewing machine.  You don’t even have to buy a special foot for it if you don’t want to.  As long as you have a free motion quilting foot that has some sort of round part that the needle goes through, you’re good!  I will say, that if the hole for the free motion foot is really big, you can easily modify it yourself by taking a small piece of scotch tape and covering a portion of the hole (not a portion the needle will travel through).  The smaller the hole on the free motion (or couching) foot, the easier it will be for the yarn to travel where you want it to go.

Make an art piece using couching techniques if that floats your boat!

I wrote a super easy to follow couching tutorial for Janome’s website that can be accessed HERE
So click it and check out how easy couching is!  There are seriously so many things you can do with couching to spice up existing projects.  

Posted on

Insert Harry Potter theme song here…


So…It pretty much seems like everyone I know is either pregnant or just had a baby here lately.  I am in that season of my life where the wedding invitations have stopped and the baby shower invitations are lining my mailbox!  That being said, I get a LOT of joy making things for people’s new babes.  While I work on it, I wonder if they’ll be curled up on the couch with it, playing outside and dragging it through the mud, becoming a couch fort in the living room…I love it!

 This was the appliqued fabric before I started quilting it.  


I had a close friend from college ask me to make a Harry Potter themed baby quilt for her brother’s first child.  She pretty much gave me free reign to come up with whatever (which is AWESOME!!!), so I thought I would applique the deathly hallows symbol, followed by “lways†so that it kind of looked like “alwaysâ€-just google it, I’m sure there are examples!  I made a fun template out of poster board and traced it onto the fabric I wanted, used some Wonder Under and fused that bad boy to my background fabric to get ready to applique! 
I was really excited about the quilting process and wanted my free motion quilting to LOOK like MAGIC would look.  
Just pulled from the longarm frame!

I’m not really sure what that means, but I tried my best to quilt what I thought magic looked like in thread form.  And I loved the outcome. 

I used the Harry Potter-y chevron fabric that I think was really meant to be college colors for the backing and really love how it turned out.  I’m not usually a huge applique person, but I definitely will be trying it with more projects in the future!  And I really hope and pray that this kiddo is a Harry Potter fan!

Roughly crib sized finished baby quilt!

Posted on

Free tutorial: Using chalk pounce and stencils to make gorgeous quilted pillow shams


Check out my newest tutorial for Janome on the AQS blog this week!  The tutoiral is for Quilted pillow shams that will really step up your bedroom decor and give an extra special touch.


Follow this LINK to see the full tutorial and add some new tools to your quilting toolbox!

I’ve always loved quilting, and was a little skeptical at the stencils.  Especially before I knew about the chalk pads.  I tried them when I first tried my hand at quilting, and used a water soluble pen to trace each stencil line.  And let me tell you…that will be a wonderful deterrent for anyone to never try stencils again.  Time consuming, inefficient, etc.  Then one of my friends had some of the chalk pounce and pads and so I thought I might just go ahead and try it again.  WAY better than tracing each line by hand.  What originally to hours literally changed to minutes.  So if you haven’t loved stencils, maybe try this and you’ll change your mind!

Posted on

Blue December Pillow tutorial


I had the awesome opportunity to team up with Janome and AQS to offer a free pillow tutorial!  You can find the complete instructions and supply list here: Blue December Quilted Pillow Tutorial


This is such a fun and easy project to do to add to the ambiance of the season, and I love the blue and white colors, as opposed to the more traditional red and green.  So if you have some spare time, get sewing and whip up this sweet pillow!

Posted on

A new-ish reverse applique


One of my guilty pleasures is Instagram.  One of the people I follow on Instagram, @orchidowlquilts, posted a photo of some awesome quilting and an astounding mini quilt.  It inspired me to try the technique as well.  If you’d like to give it a try, here are the steps you need to follow:

Supplies you’ll need:
Small (super sharp) embroidery scissors
seam ripper
pins
mini quilt (backing, batting, 2-3 layers of top fabric)
Quilting thread
Fray check

Tips and tricks:
-If you cut too closely to the quilting thread, your top fabric may come loose from the quilting.  Try to stay about 1/16″ away from the quilting thread.  You may need to go back and quilt again if you clip too closely.  
-Be careful not to slice the final layer of top fabric!!!  If you do, the batting will be exposed (sad panda).  
-I wouldn’t recommend this technique if you plan to wash the finished quilt, but it’s perfect for a mini quilt that will be a wall hanging or a display piece that won’t be handled much.
-There were a couple times that I sliced through the wrong fabric, but fray check is your friend, and you’ll be amazed at how well you can hide your mistakes with it!


1.  Choose two or three fabrics (solids work well for this).
2.  Make a quilt sandwich.  For my first time, I made a mini as well.  I think it’s good to try this out on a small quilt so you don’t get discouraged by the time involved…
3.  You will lay your backing fabric wrong side up, batting on top of that, then one of your solid fabrics on top of the batting (right side facing up).  Smooth to get all the wrinkles out.  
4.  Now you’re going to layer another solid fabric on top of the one you just smoothed.  This could be your final piece of fabric, or you could choose to layer one more on top of this.  I would keep it to three fabrics for the top for your first attempt.
5.  Smooth all the top fabric layers to remove wrinkles and baste in place.
6.  Mark the top fabric for quilting if you need to mark, or if you like to wing it like me, get ready to quilt!
7.  Quilt your mini quilt.  I would recommend not quilting too heavily or small for this.  It will make cutting the fabric much easier if the space between your quilting lines is at least an inch.

8.  You can do smaller quilting (like in the picture above), but plan on not cutting those teeny tiny pieces–to keep your sanity.
9.  Once you finish quilting, you should decide which areas you want to cut.  I marked the areas to be cut with a small marking pen that irons away so I wouldn’t get confused after the fact.  
10.  You’ll need a small pair of embroidery scissors and a seam ripper before you get down and dirty with this!
11.  In the photos, the gray is my top fabric, the green is the middle top fabric, and the blue is the last top fabric.  When you see the green, I am only cutting through the gray fabric.  When you see the blue, I am cutting away both the gray and the green fabric.  
12.  Use a pin or a seam ripper to pull the top layer of fabric away from the next layer of fabric (without grabbing the layer of fabric you want to leave alone.  I use a seam ripper to pull it away and make a small slice so I can get my embroidery scissors in to do the cutting.  You can see in the picture below that some of the gray fabric has been sliced with a seam ripper already.  
13.  Once you have a large enough space to get your embroidery scissors, start clipping the top fabric away.  
14.  Put on your favorite Netflix shows and clip, clip, clip.  Then clip some more!  


15.  When you finish clipping fabric away, go back with fray check and outline all the cuts you made with it to keep the fraying in check!  Allow to dry completely, then you’re ready to put your binding on and call it a day (or week)!

I really love how mine turned out, but I would definitely make the quilting spaces a little larger and less dense on the next go-round.  This is not your typical reverse applique, but it is a fun spin on an oldie.  Give it a try and see what you can do!