
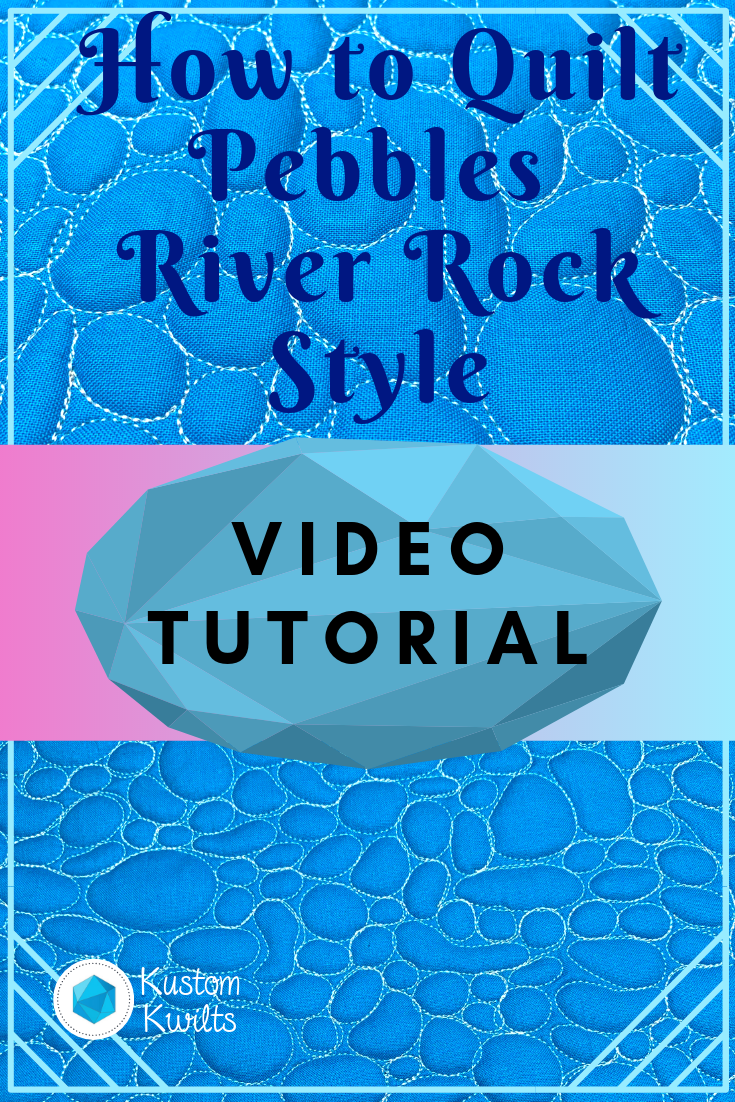
Pebbles are a favorite of mine when there are lots of small spaces that need extra texture. The thing is, it can get kind of boring to quilt the same size pebble over and over AND OVER again until the cows come home. Right?
I like to change up the size of the pebbles to add a little more interest and create a river rock effect. It helps to take some of the monotony out of it, but lets you keep all that ooey-gooey texture that you’re going for. Sometimes, quilting the same shape so much will make you get a little road weary, and I’ve found this is a great way to avoid that.
Continue reading Free motion quilting tutorial – How to quilt pebbles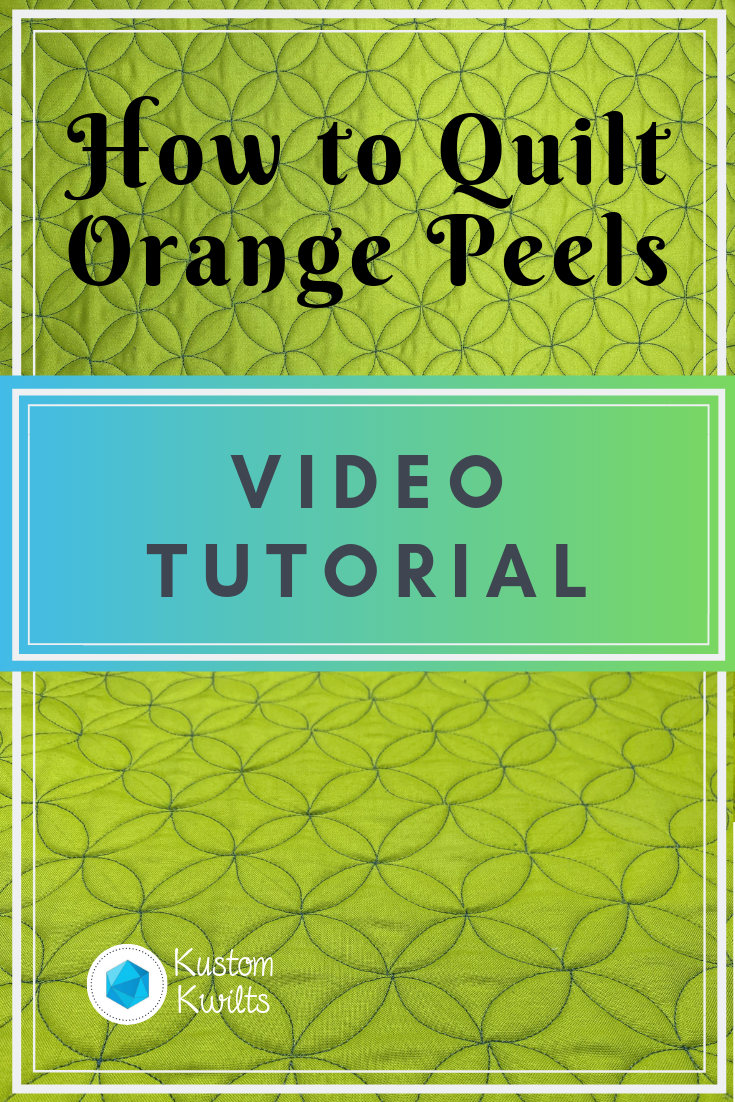
Have you ever seen a really cool geometric quilting design? Then you look at it and immediately think it’s too complicated to quilt yourself? With orange peels, that’s just not true! If you’d like to learn how to quilt orange peels, I’ve got a tutorial that breaks the design down into smaller pieces. All you need to start is a ruler (not a longarm quilting ruler–any ruler will do), marking tool, and your sewing machine and fabric.
Begin by marking out a grid of your choice. For this video tutorial, I marked out a 1.5″ square grid. You should also decide if you want a vertical x horizontal grid, or if you’d like to mark it on point (as I did in the video). After you mark your grid, mark a few of the curved pieces that are going to go in and around the grid you drew as a visual guide before you start quilting.
Now that you’ve marked a few visual guides, you’re ready to get started. Quilt a few half circles as the video shows on the outer edge of the quilt. It’s easier for me to quilt half of the circle, and then go back down the line to quilt the remainder. But do what works for you, and find what you like best! Learning how to quilt orange peels is really just quilting several circles that interlock. Don’t make it more complicated than it is. And know this: The more you quilt that circular motion, the easier it will get. The orange peel shape might not come naturally at first, but the more you do it, the better it will look.
I love using Orange peel designs if I have a large background on a quilt to work with. Also, the orange peel design looks fantastic if you’re quilting up a panel to be used for a bag. I did a modified orange peel design when I made myself some new cosmetic bags for travelling. It really takes the travel bag up a notch, especially if you imagine it without the quilting and just solid green fabric. You can see the full blog post I did here.
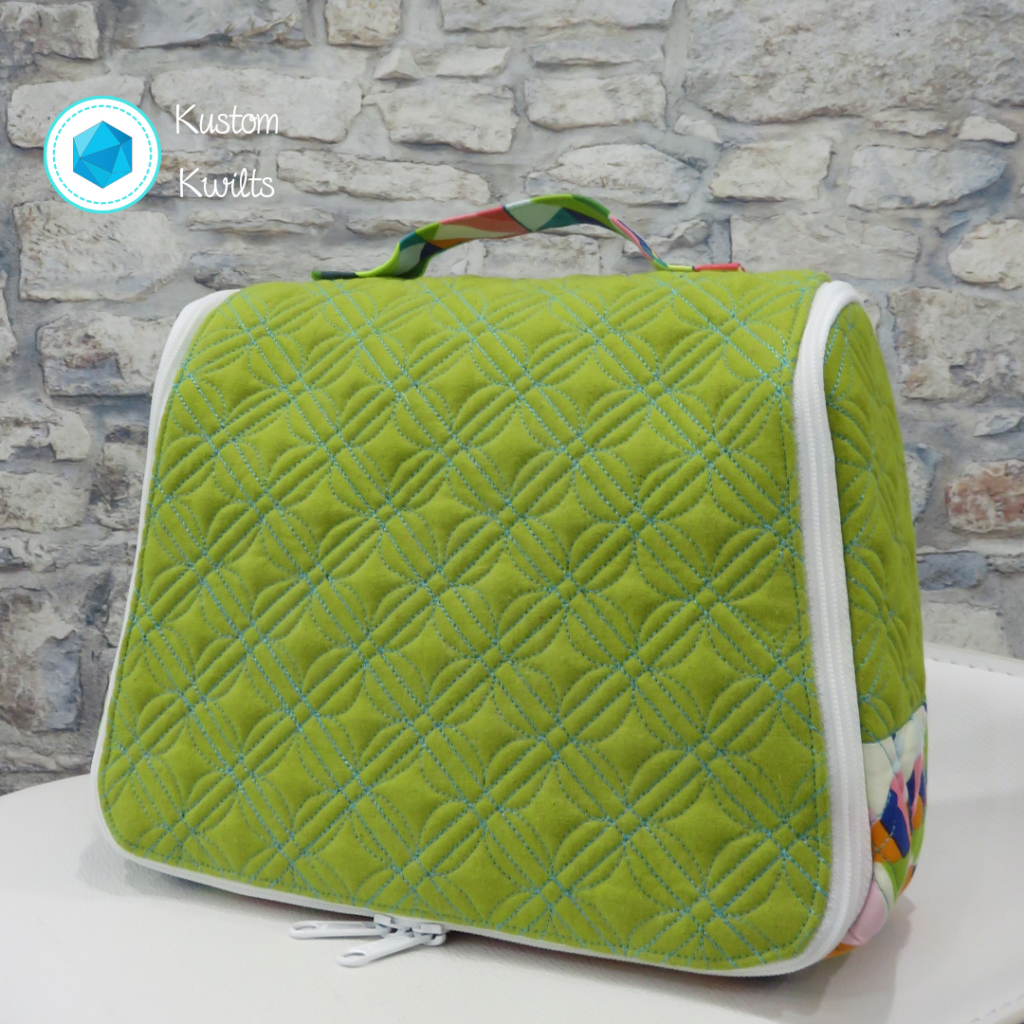
Orange peels look great as a motif that you want to be seen. If you’ve got a lot of negative space, it can really add a lot of punch to the overall look! Even if you don’t have your machine handy, this is a great design to practice with graph paper. Grab a few sheets and take them with you for moments of free time and you’ll be good to go!
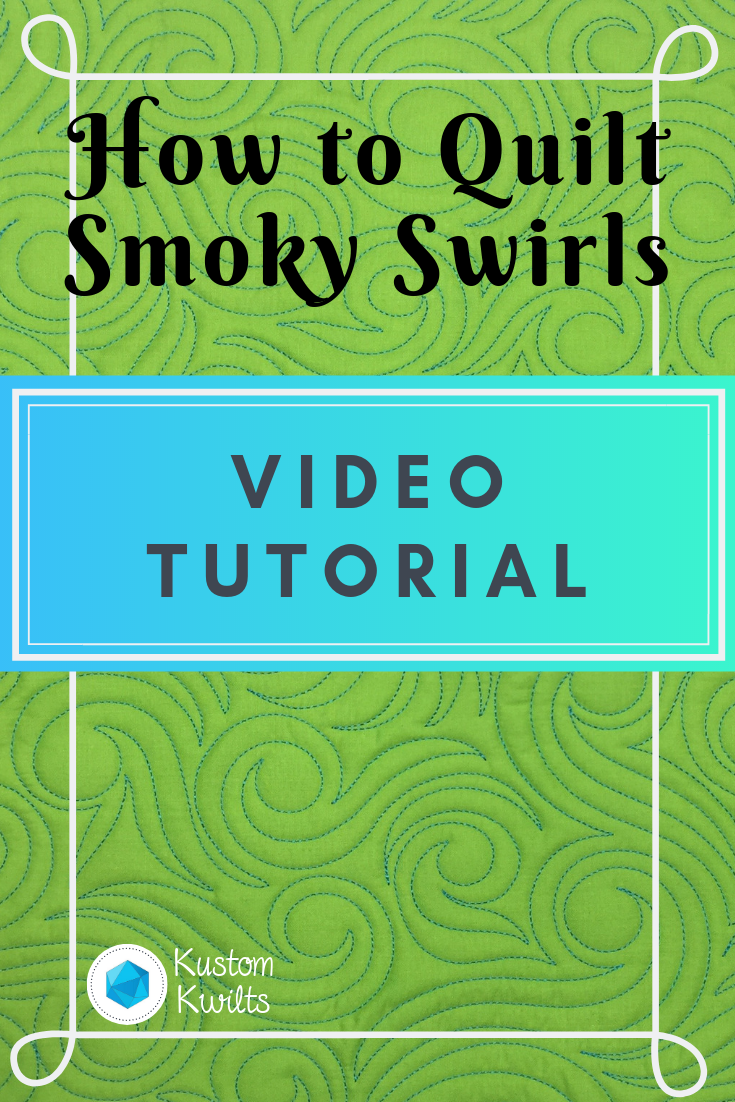
Want to learn how to quilt swirls? Sometimes it’s difficult to determine what should go in the negative space of a quilt. I really like using swirls to quilt empty space because it gives texture and movement. It can also double as smoky swirls or wind looking swirls to create a darker look, or mimic the weather.
Continue reading Learn how to quilt swirls – video tutorial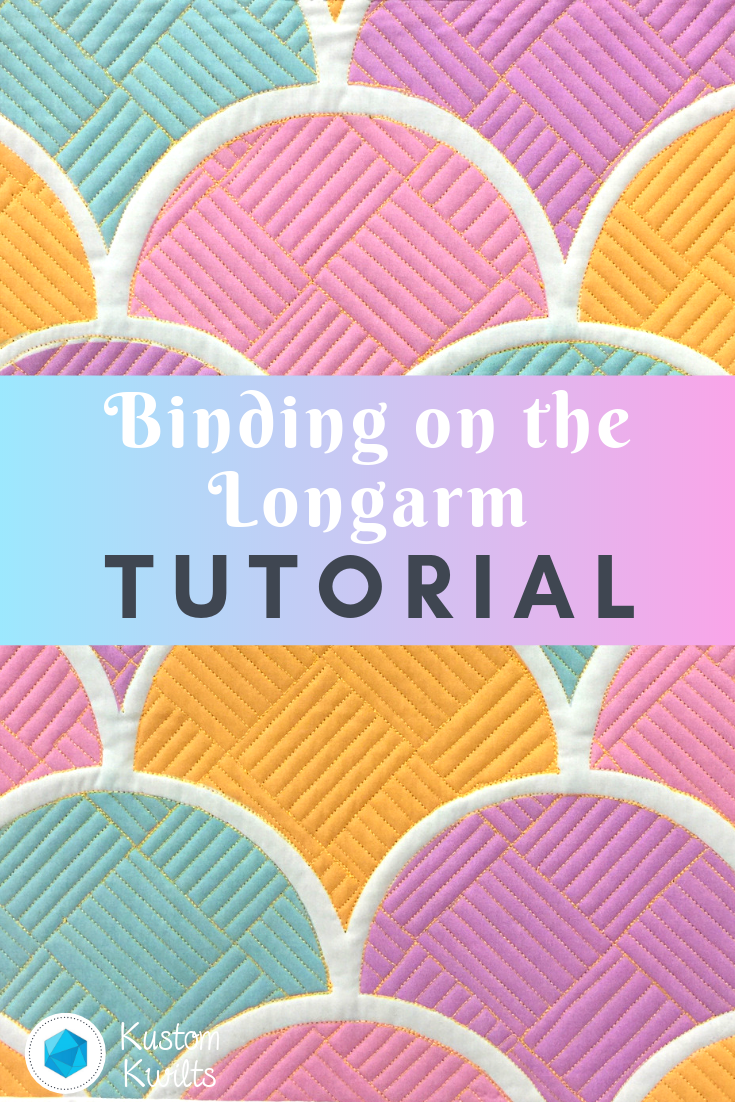
Do you follow me on instagram? If you do, you might have seen I’ve been having a LOT of fun with videos lately. I’ve been doing some time lapse videos of some basic straight line quilting AAAAAND decided I’d do a real time video of how I bind mini quilts on my longarm. It’s seriously so easy that if you haven’t tried this yet, you’ll really kick yourself!
If you’ve ever quilted a mini quilt on the longarm, there’s a fun shortcut you can use to quickly attach binding to the front of the quilt after you quilt it. I did a short video tutorial showing how to attach binding on the longarm, and I hope you’ll go check it out! Now just a quick note…I am obviously not a professional videographer…or whatever that’s called, and I even treat you to a view of my gorgeous locks of hair that were quickly and haphazardly thrown up into a very unglamorous mom bun. That’s right. ENJOOOOOY 😉
When I bind my quilting samples on the longarm, I usually stick to pretty small sizes. You could definitely do this with a large quilt, just keep in mind that you’ll be doing some scrolling and advancing of the quilt to finish the job. It’s also a good idea to mark the large quilt so you have a good idea of where the squared portion of the quilt will be so you attach the binding straight. I only do this for quilts that are for myself–because for me this is something to do quickly as a shortcut and not great for accuracy, as I don’t spend a lot of time making sure I’m putting the binding on squarely.
To make the binding, I cut strips 2.5″ wide x the width of the fabric and then sew them together, end to end to create the length I need (I usually do the perimeter of the quilt + 12″ to make sure I have enough). The tutorial shows how to attach the binding to the front of the quilt. After quilting, you’ll need to trim away and square up, then flip the folded edge of the binding to the back and finish. I finish all mine by hand because I’m a weirdo and love hand binding!
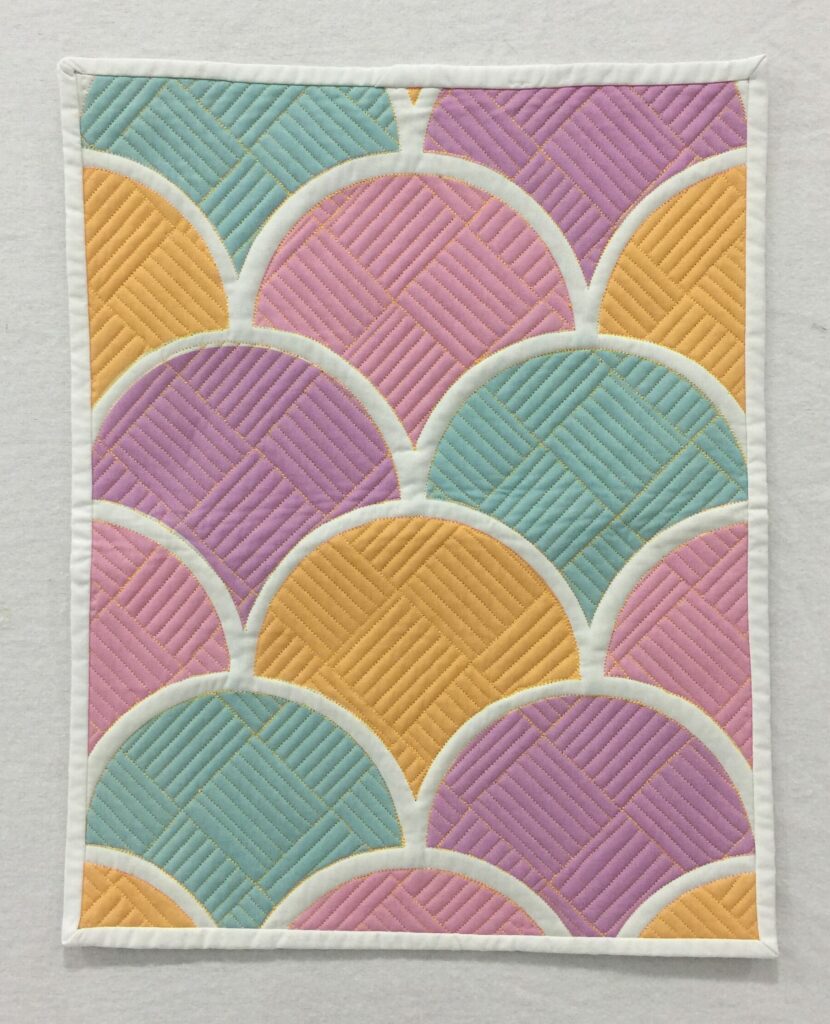
I’m using an Innova 22″ longarm (hand guided) with a lightning stitch stitch regulator. The fabric panel I quilted was a custom panel I ordered from My Fabric Design, and the thread I used for the quilting was Glide by Hab+Dash (previously Fil-Tec). If you’d like to see a time lapse video of the quilting of this panel, you can check it out on instagram HERE.
I hope you find this tutorial helpful–and I’d love to hear your feedback! Are you up for trying this out soon? Let me know if you do and how it goes! Happy sewing 🙂
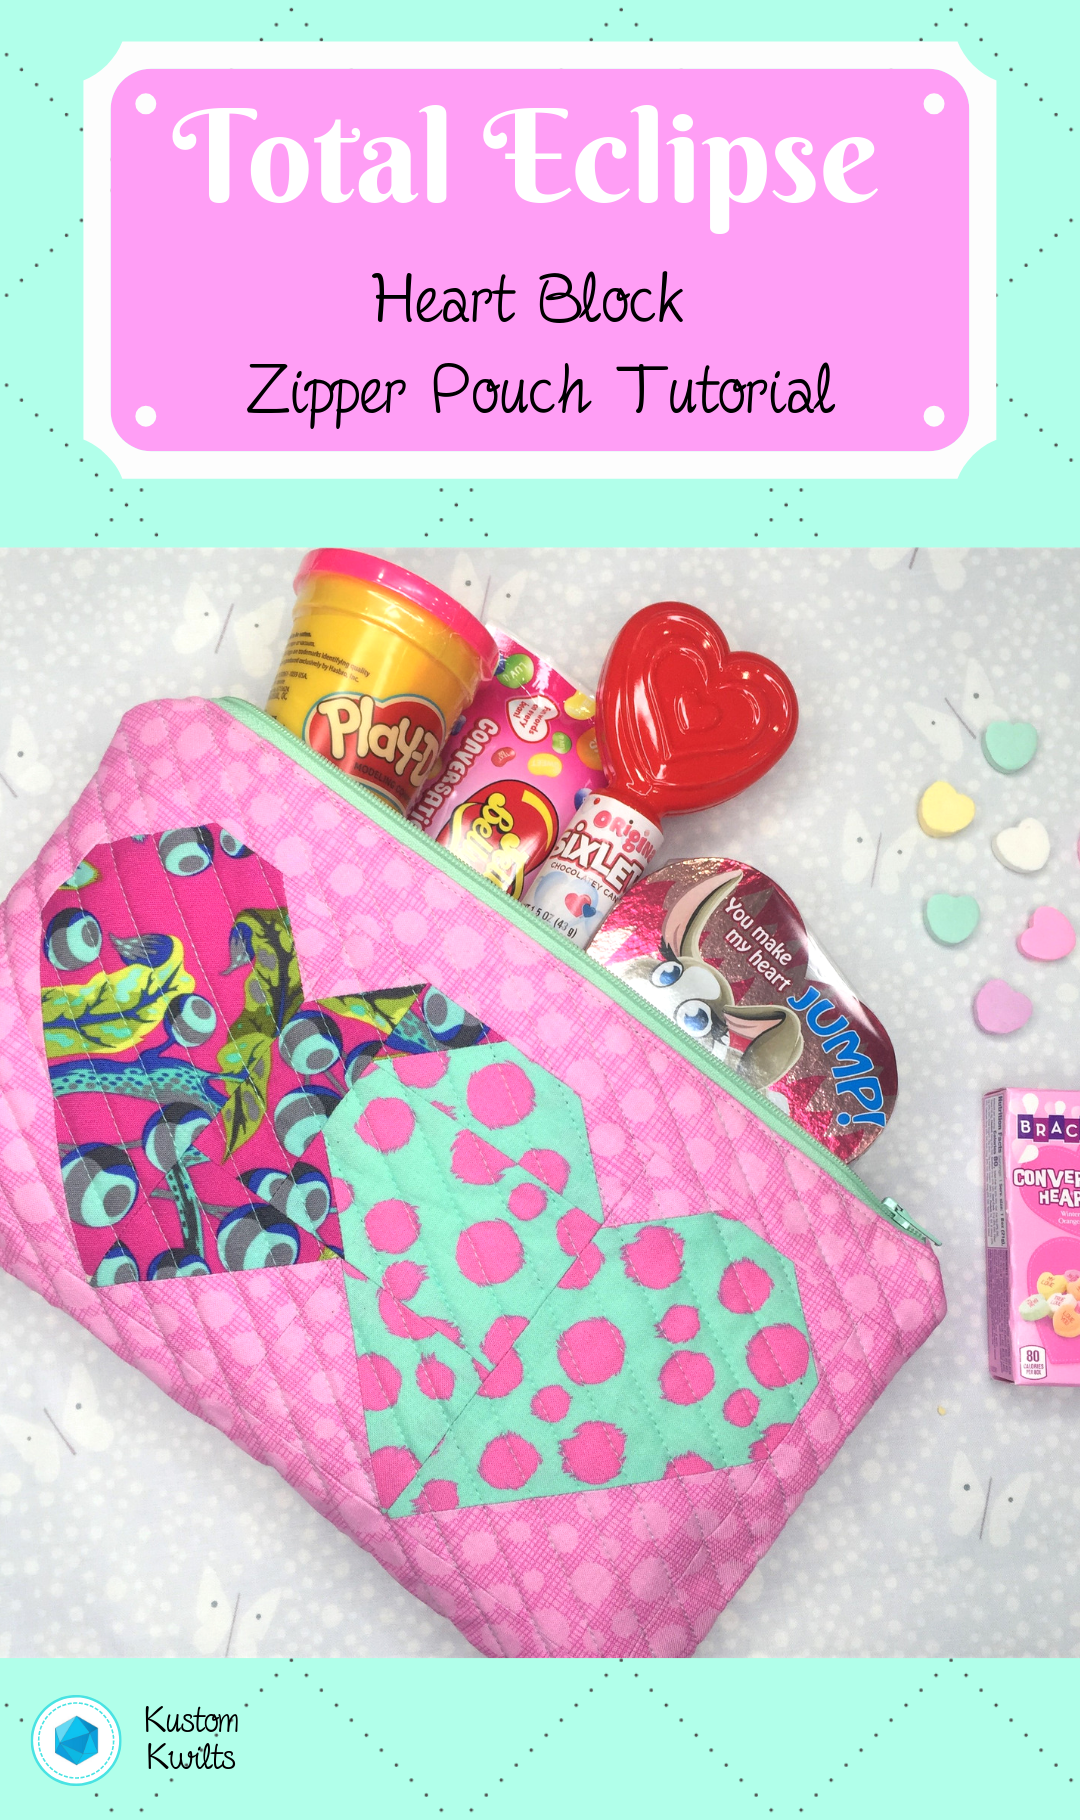
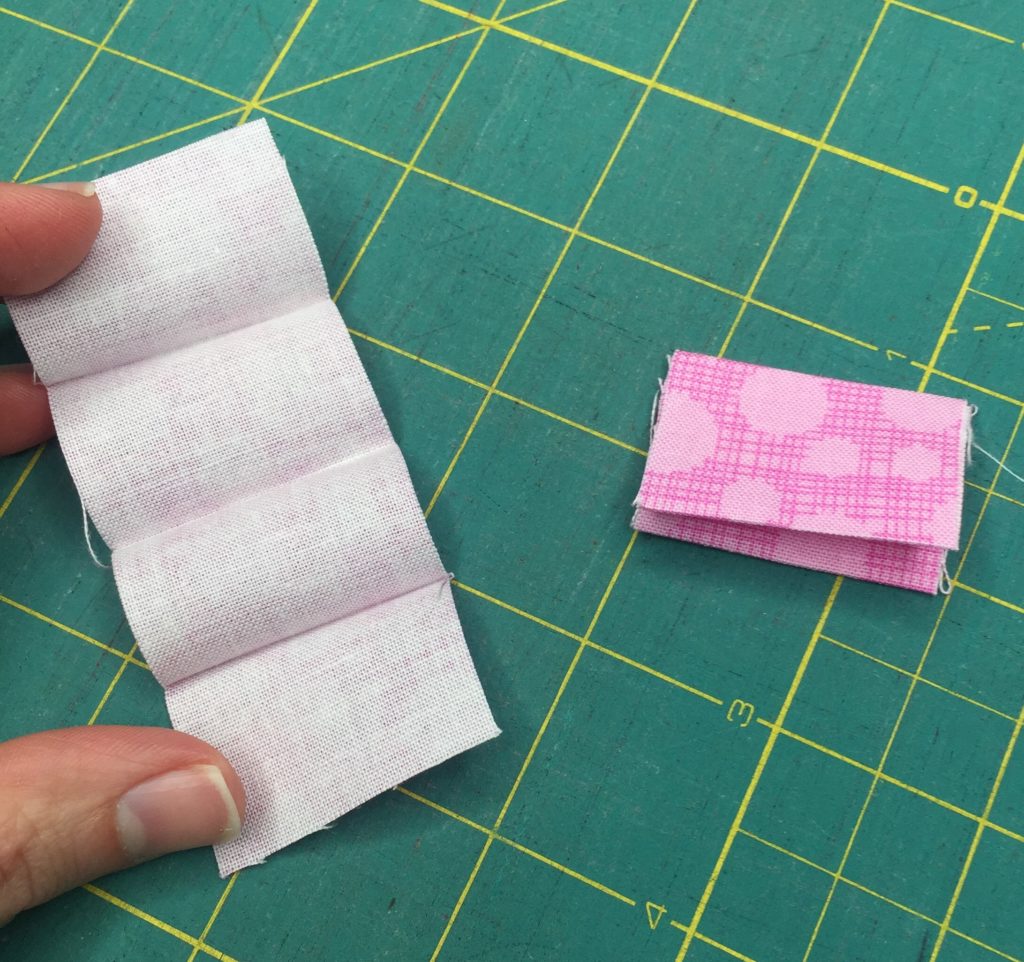
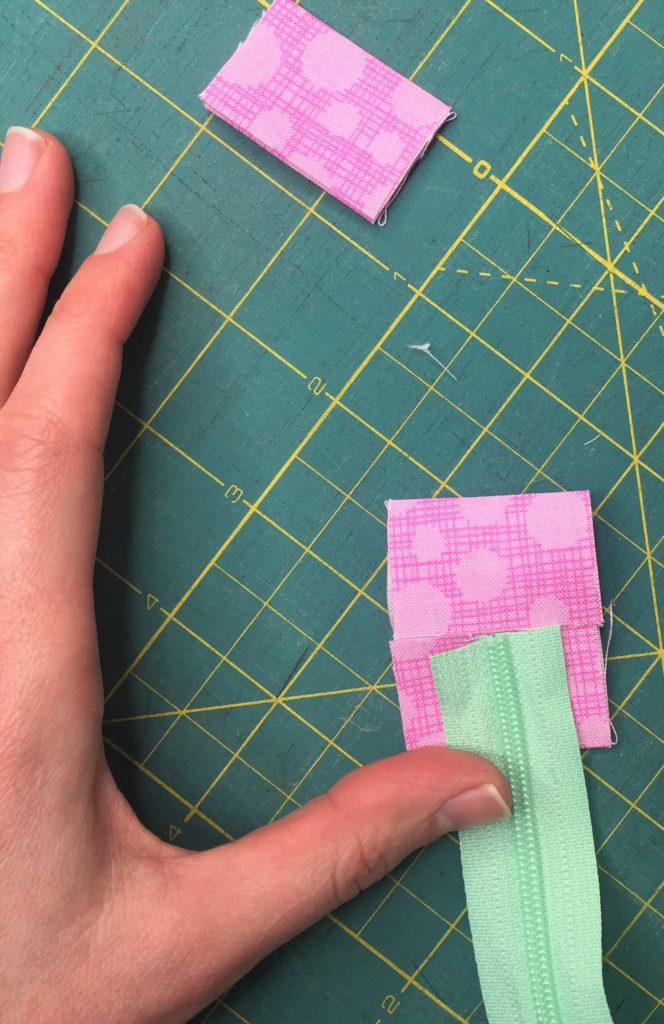
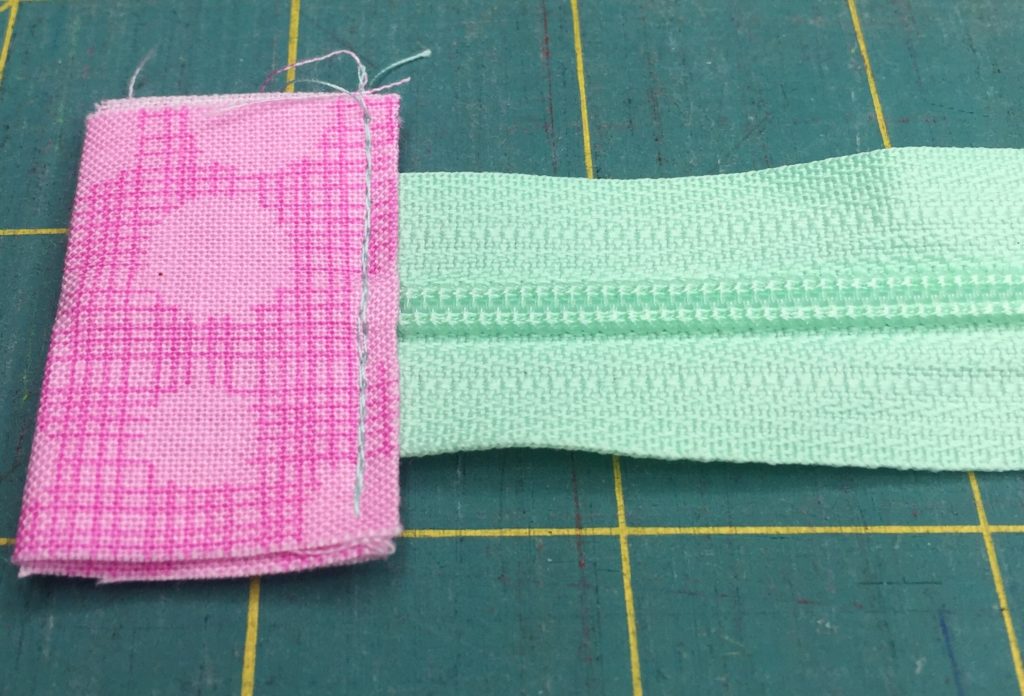
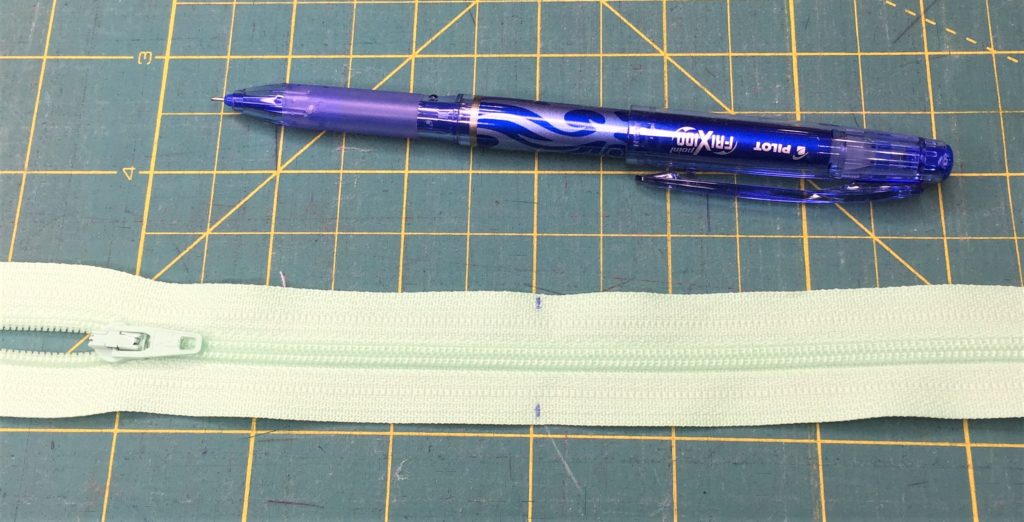
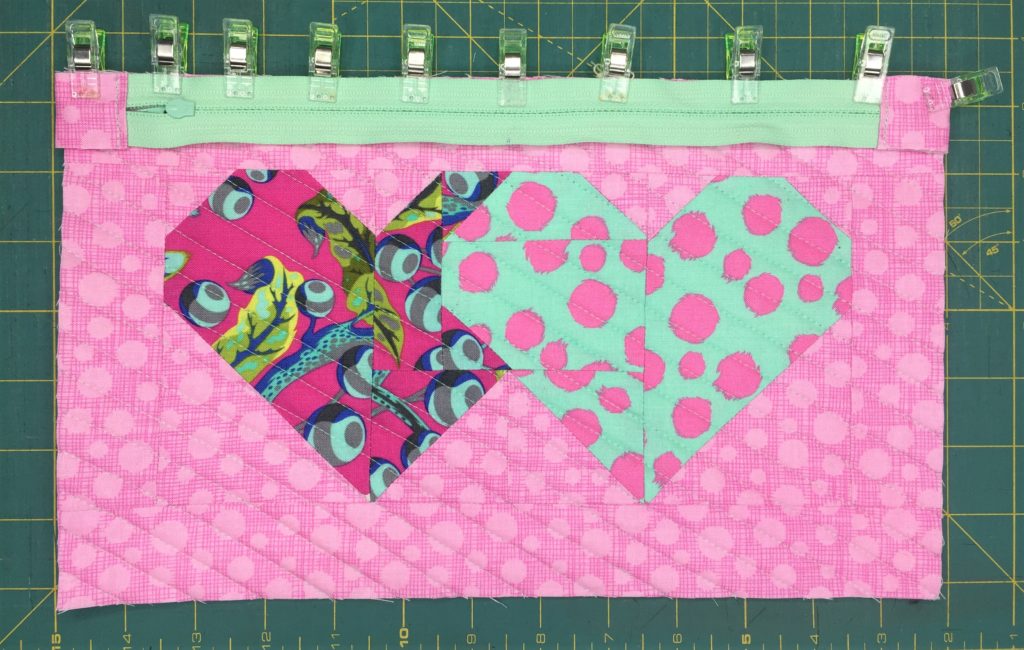
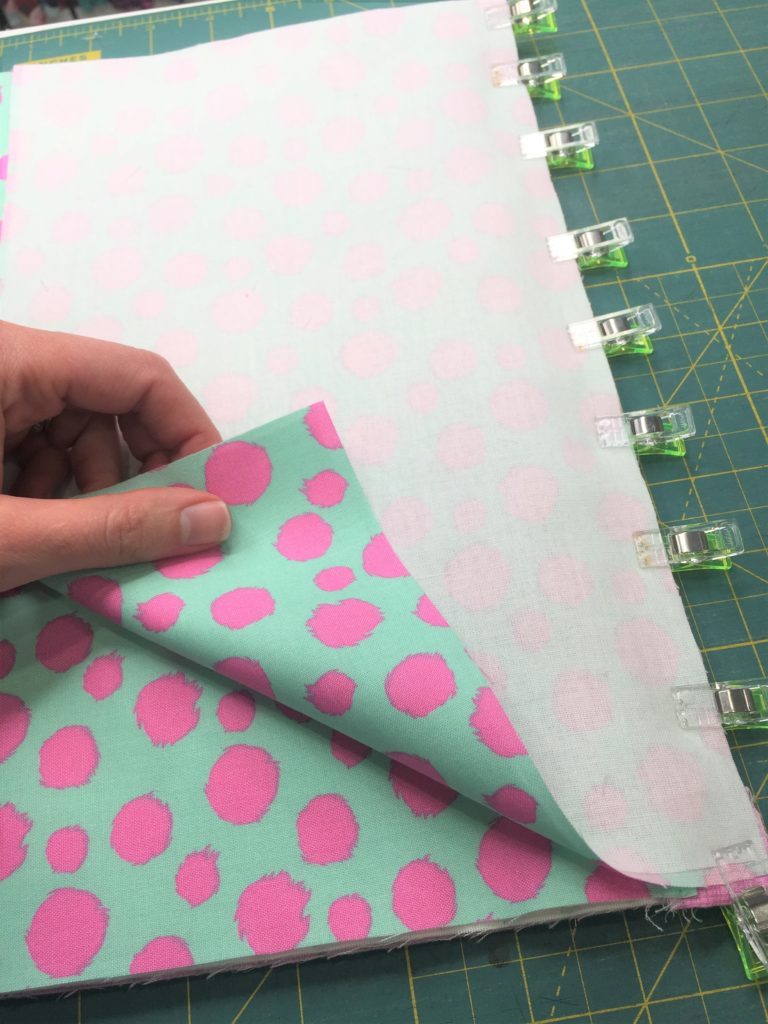
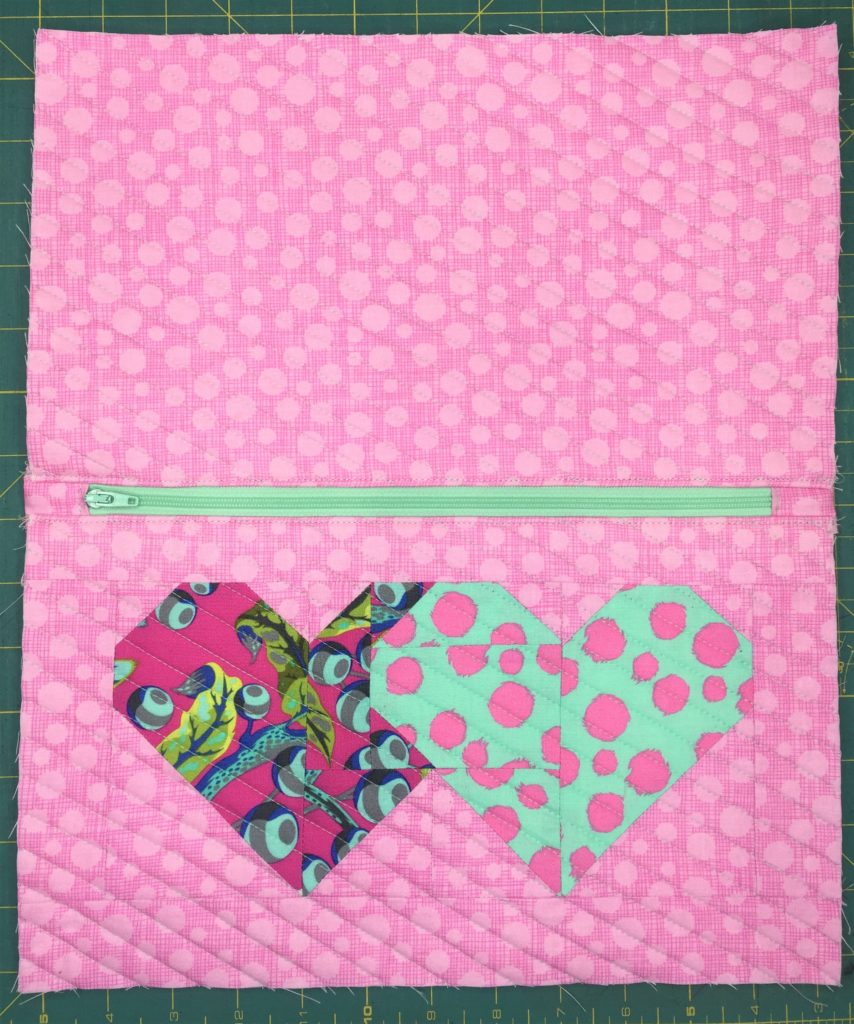
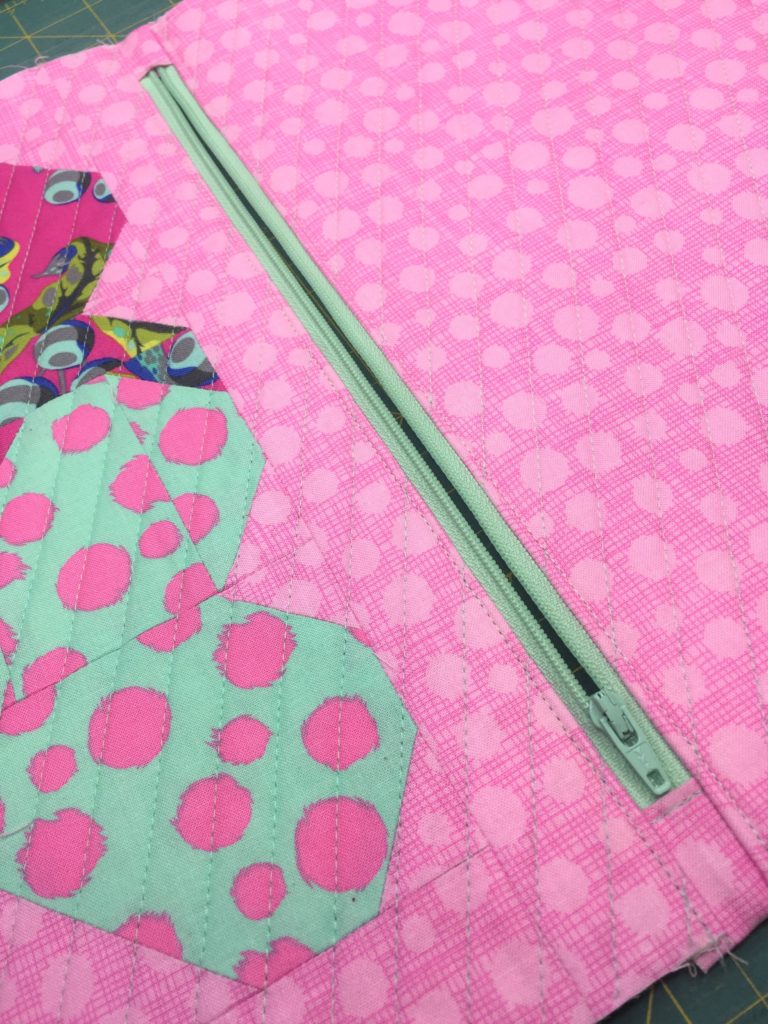
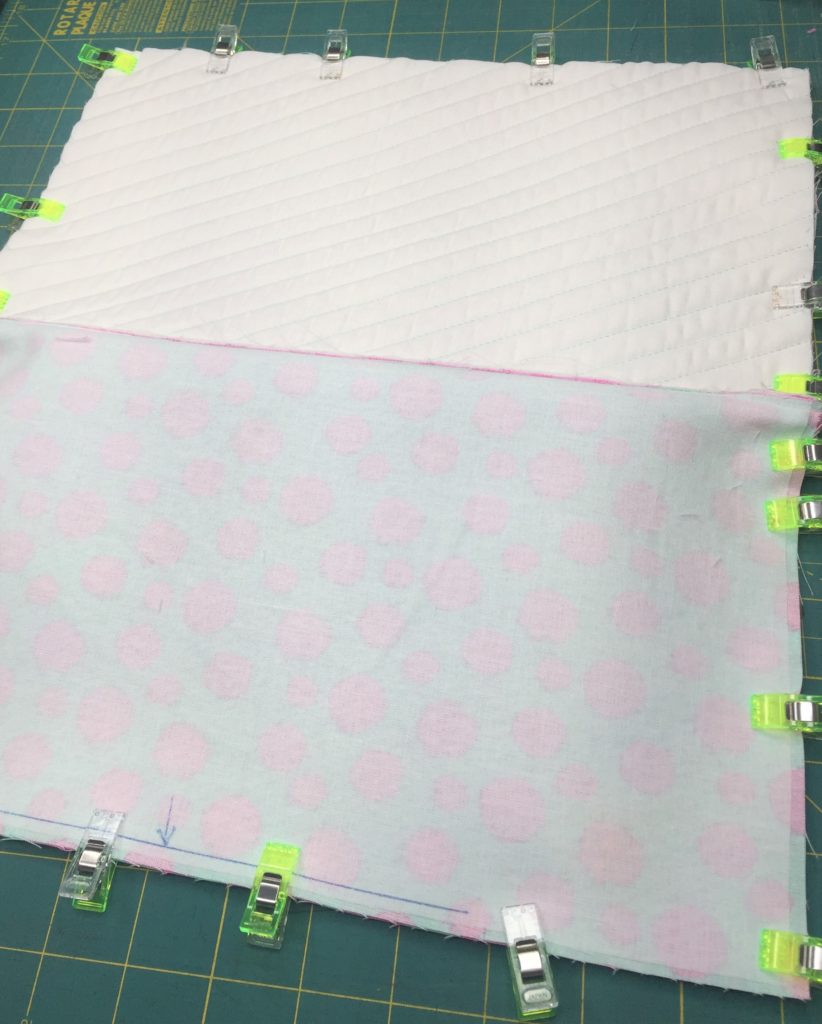
Grab your copy of the Total Eclipse Heart Block and check out this free zip pouch tutorial to turn it into a quick and easy zippered pouch for some serious cuteness!
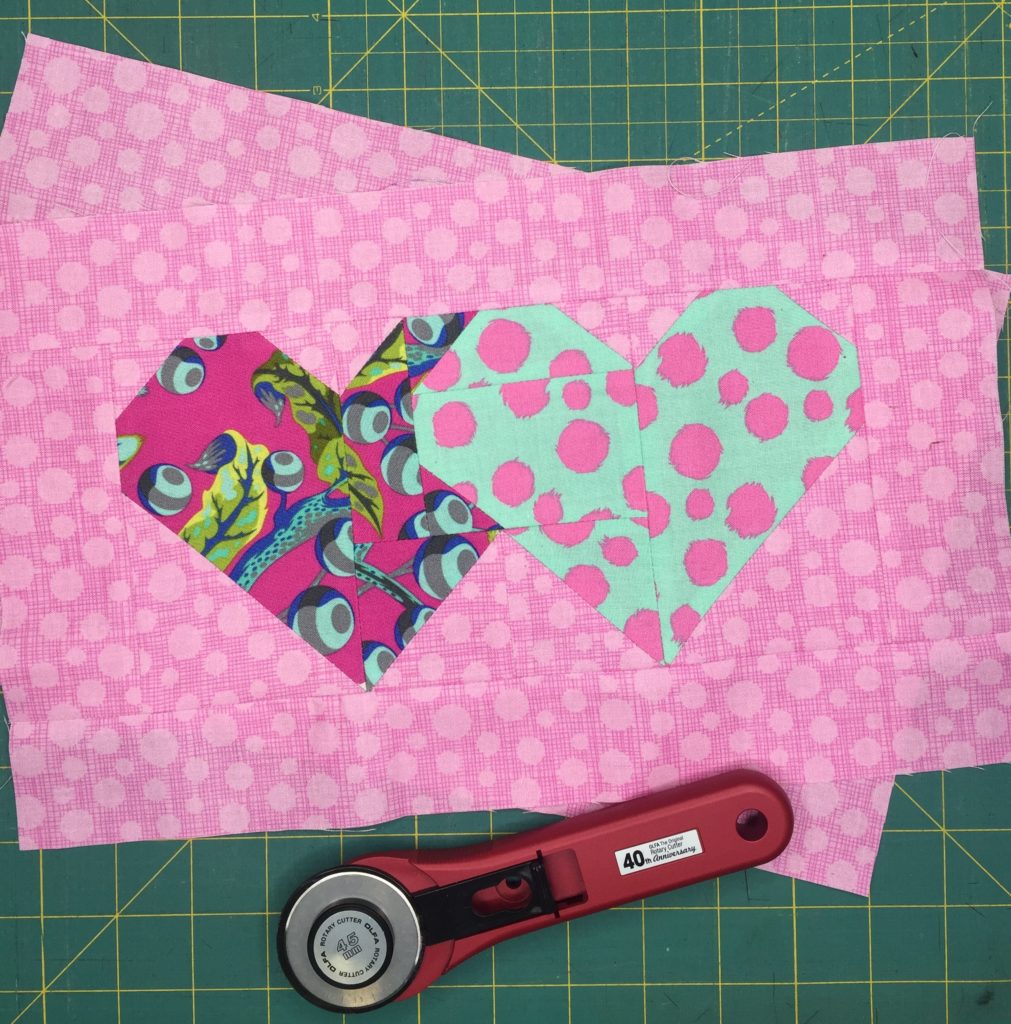
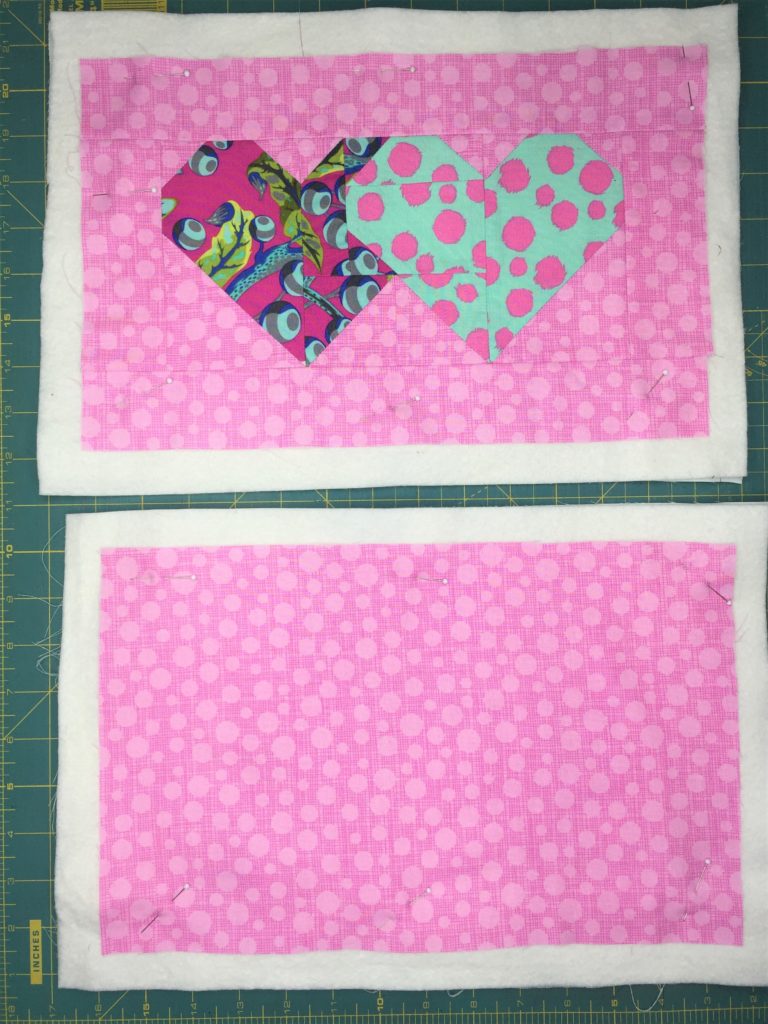
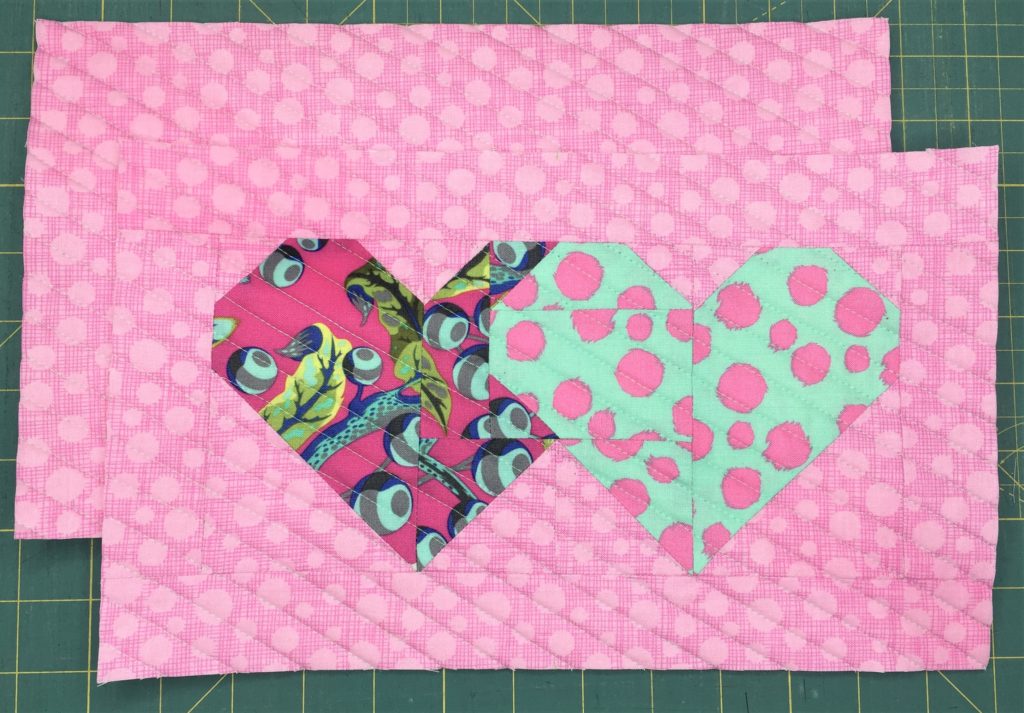


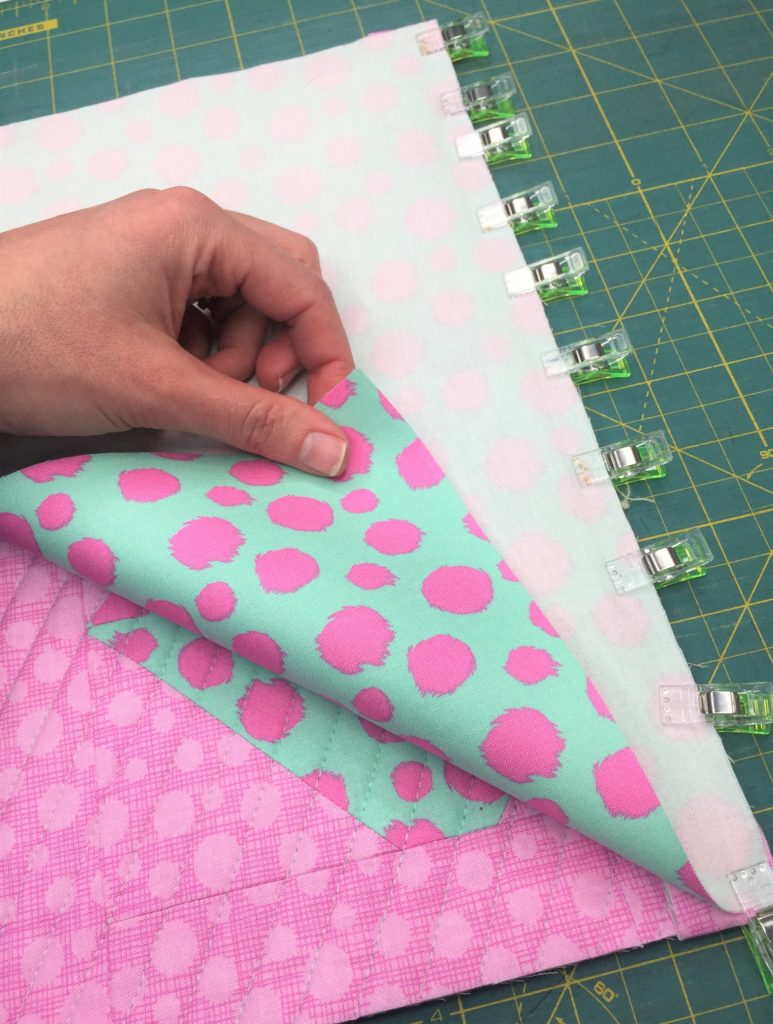
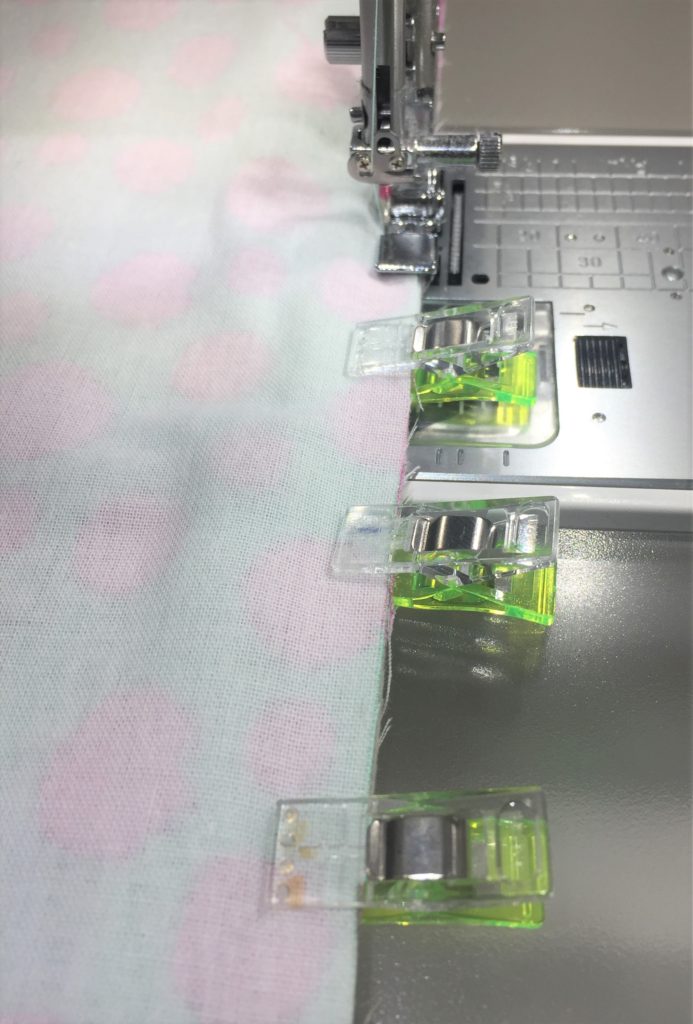
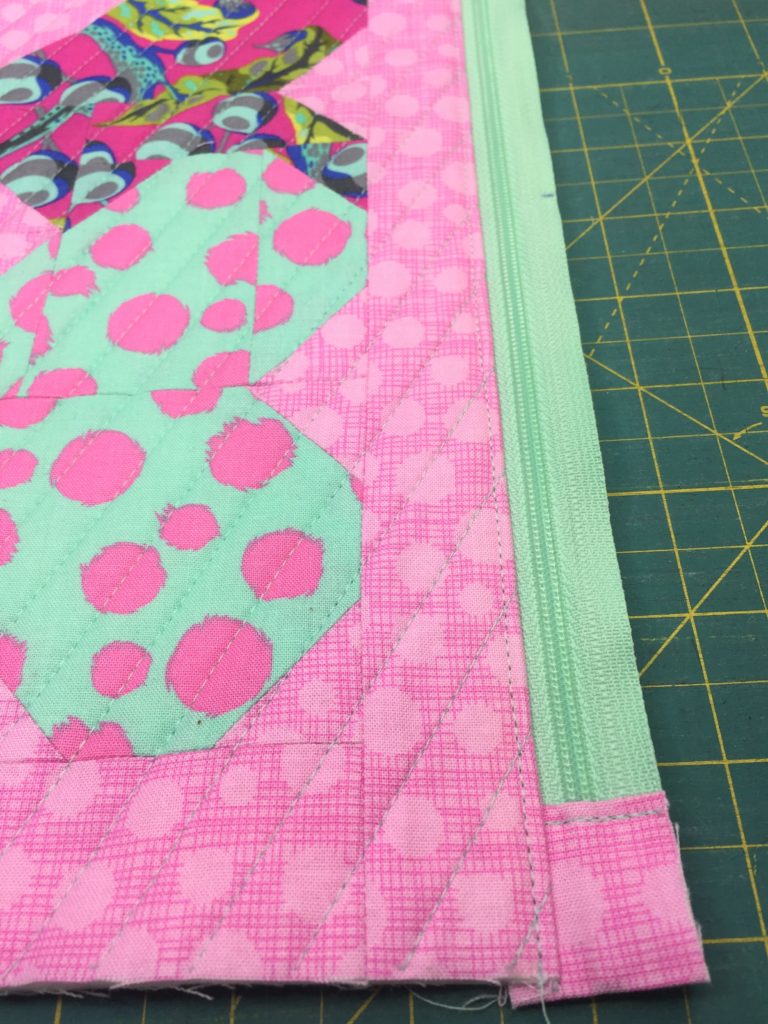
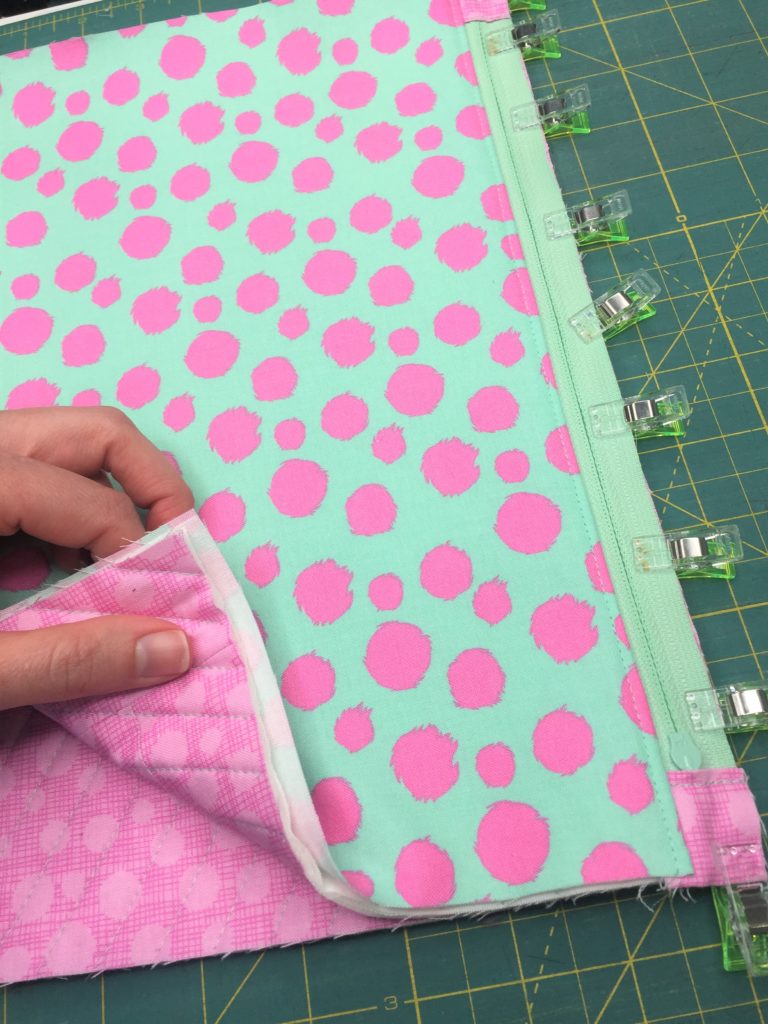
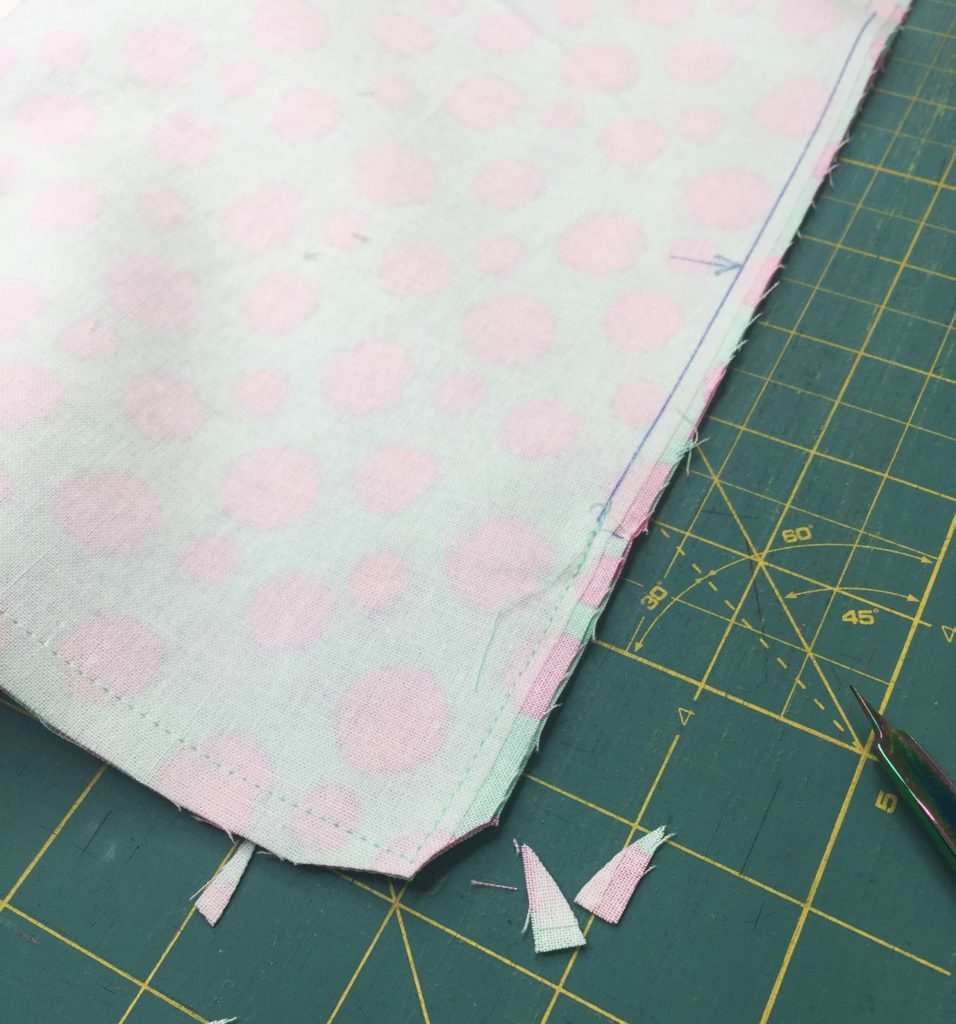
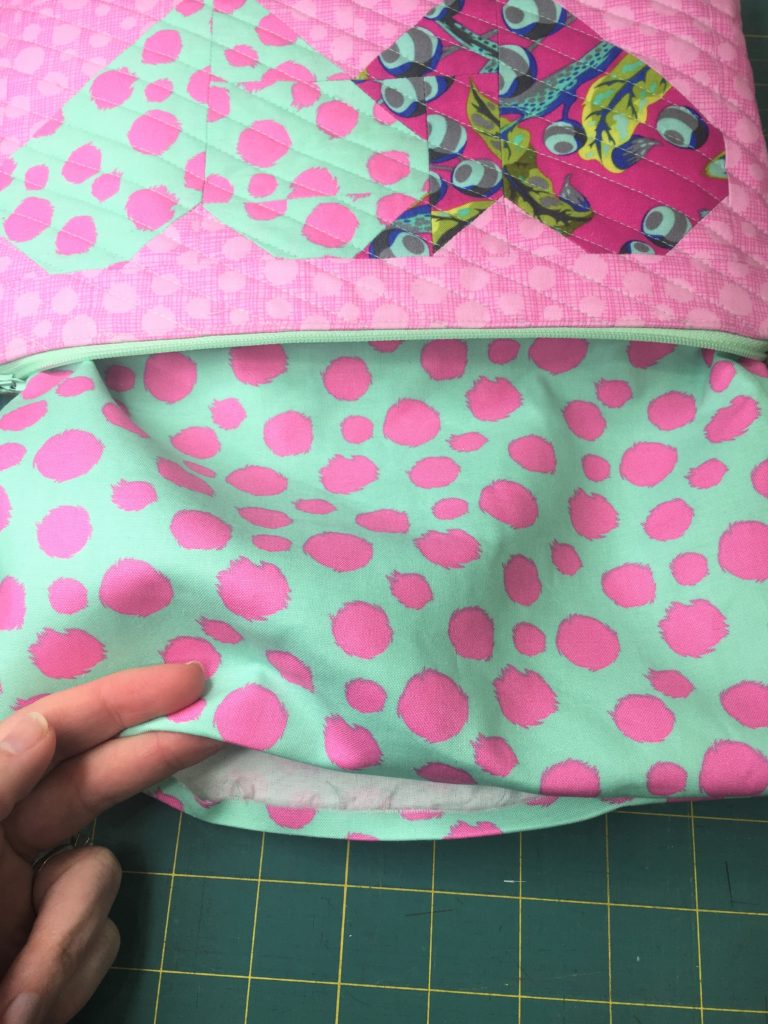
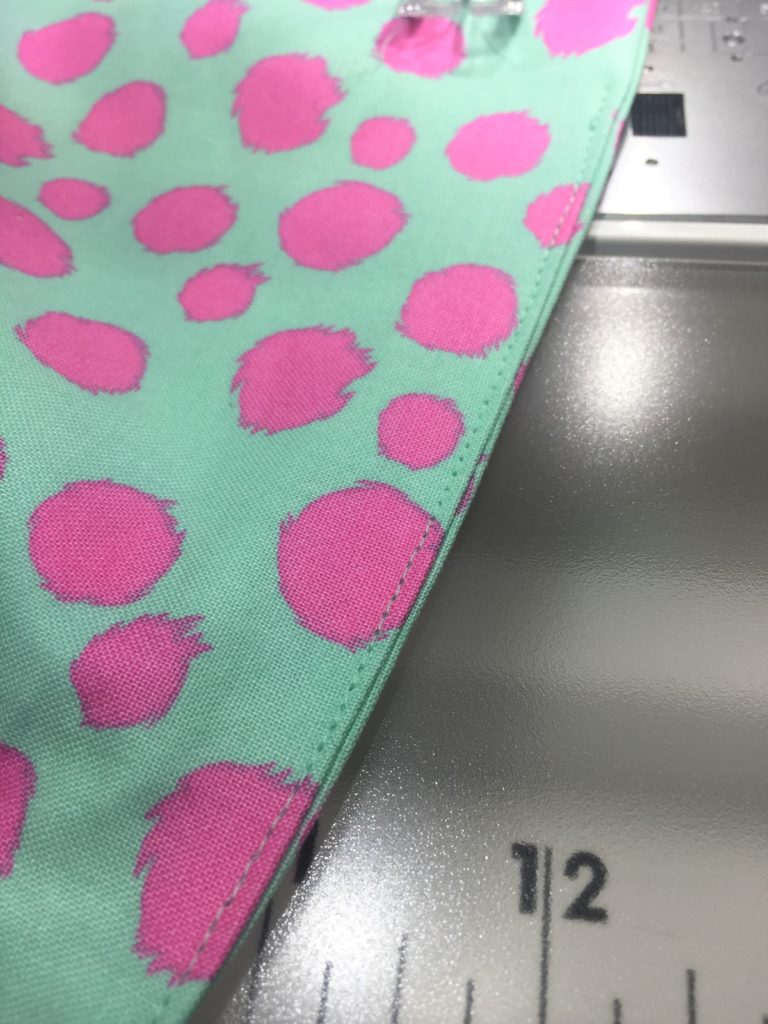
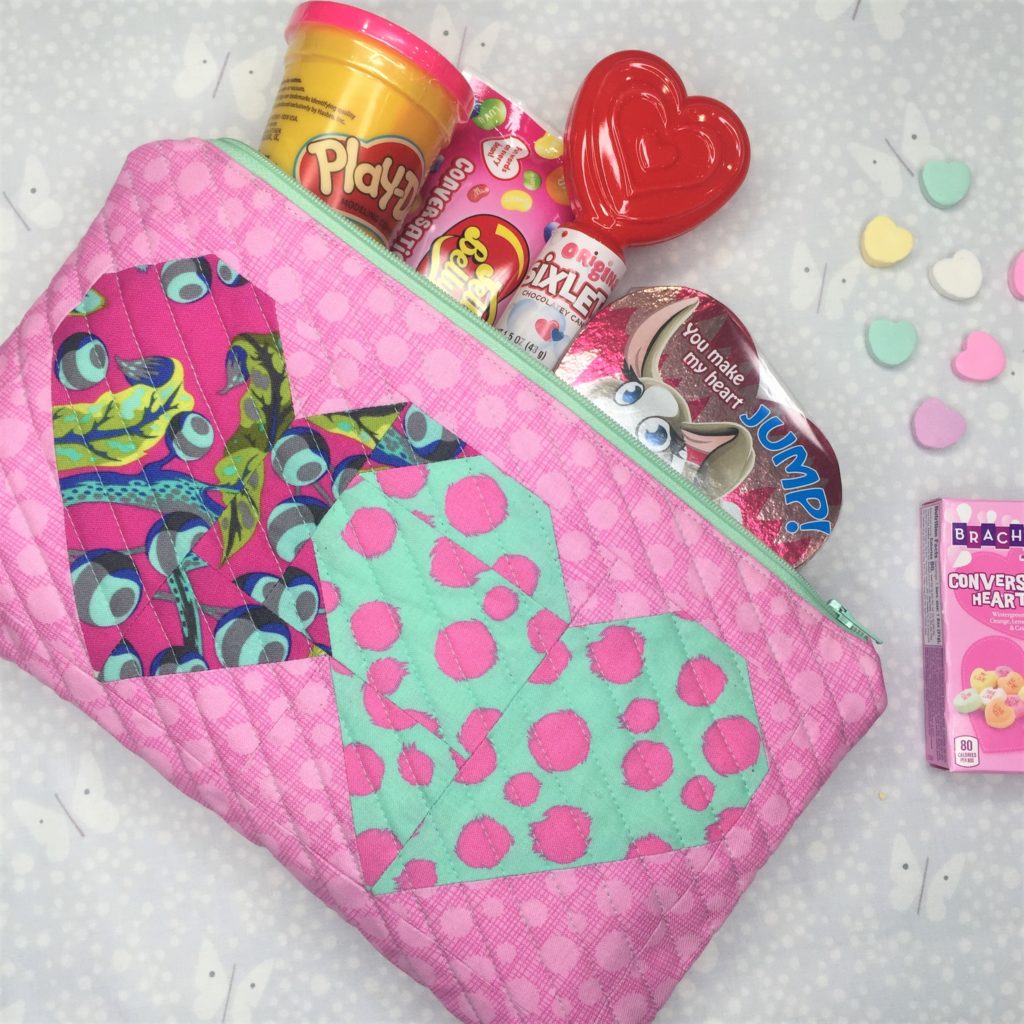

When summer arrives, I always get the itch to make a quilt. Nevermind the fact that I live in Texas and it is sweltering, to say the least. Also, disregard the fact that I have quilts coming out of my ears…what is that saying…you can’t swing a cat without hitting a quilt? (Surely that isn’t the saying, but I think you catch my drift!) So when I am thinking about making a new quilt…I need to have a reason for it, aside from just being functional to keep you warm. I also love to sew with materials that are a little unexpected. So I teamed up with Janome and American Quilter’s Society to bring you a free tutorial for a great summer picnic quilt.
This pattern is great for many reasons. It’s layer cake friendly, which makes it a super quick sew. The blocks are large enough to feature those great prints you’ve been holding on to for a special quilt. The quilt is large enough to accommodate a family picnic at the park. The backing can be made from laminated cotton (or regular quilting cotton, if you choose), so it won’t pick up dirt as easily as standard quilting cotton. You can just as easily throw it in the wash as you can a regular quilt (line dry to be on the safe side). So grab two layer cake packs and your favorite sewing and quilting notions and get ready to sew your socks off! Follow the link to the American Quilter’s Society blog to get started on your picnic quilt.
This is a great quilt to fold up and keep in the back of the car for unexpected outings (and if you have a little one in diapers, you can always use the laminated cotton side as a quick changing station on the go!).
I quilted this with some large meandering loops on my Janome MC9400, and was done with the quilting in under two hours.
Since the back of my quilt uses laminated cotton, I slipped a Supreme Slider onto the bed of the sewing machine and it really helped glide the fabric easily under the needle. This isn’t something you have to do, but it certainly makes the task a little easier. I tend to use one anytime I’m quilting something larger than a mini quilt. Put on your favorite podcast/Netflix and get ready to sew up a storm! Happy sewing 🙂
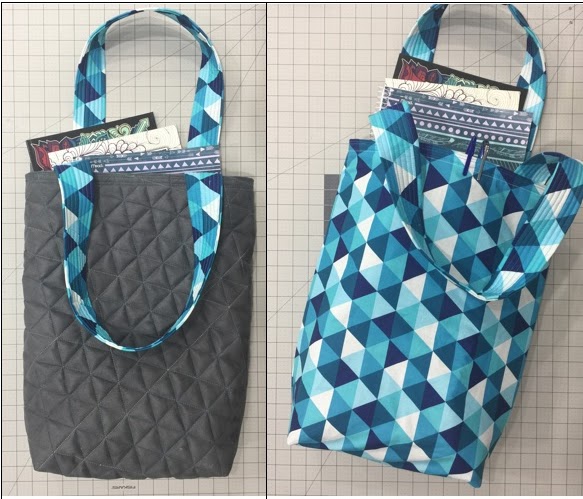
 |
| Reversible Notebook Bag |
Plus…we’ll take a look at quilting on a thicker fabric than your usual quilting cotton. I do a lot of quilting and embroidery on leather and faux leather fabrics, and there is a lot of hesitation when it comes to that from some. When I started sewing, I didn’t take a bunch of classes…rather, I just dove in and experimented to find what worked for me. I didn’t have anyone there to tell me I shouldn’t try something, or that it wouldn’t work, so I think that was a huge benefit. For this tutorial, break out that walking foot (or your free motion foot) and try your hand at some geometric quilting.
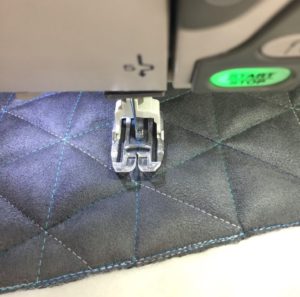 |
| Janome Dual Feed Foot quilting geometric lines on faux leather |
If you haven’t tried quilting on leather or faux leather before, I’d recommend getting a few scraps of some cheap faux leather–my local Joann’s has lots of remnants on clearance that I grab whenever I can–and do some quick samples. I usually do my best work on “trash” fabric when there’s no pressure to mess up expensive fabrics. I’ll make sure my pieces are big enough to make a little cosmetic bag or something with later on, because 9 times out of 10, I end up wishing I could save my sample!
This really is a quick sew–and you can easily alter the bag measurements to make the bag any size you like, upgrade it to add some pockets on the interior and exterior, or whatever your needs are. Check out the full tutorial on the American Quilter’s Society Blog and have fun with it! Go and conquer your fears of quilting on some different fabrics, and happy sewing!
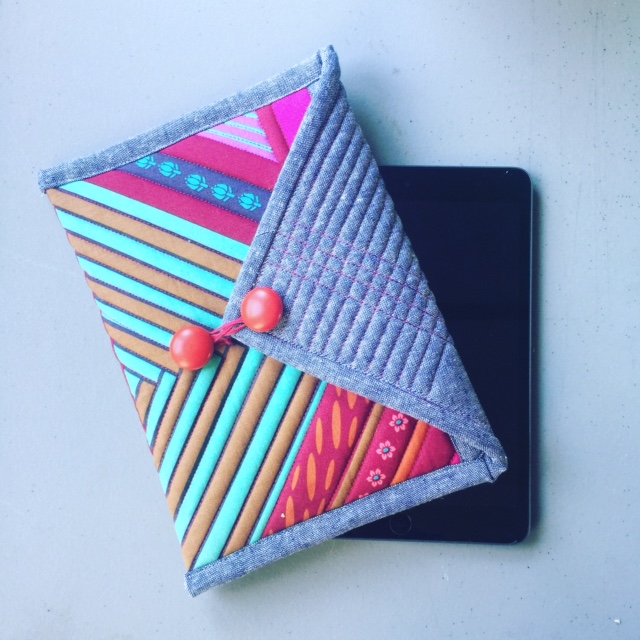
Good morning! Things have been a whirlwind in the last month! I have some really exciting things that I’ve been working on at Kustom Kwilts & Designs that I can’t wait to share with you in the very near future, and I’m so excited that I can finally share this free tutorial with you that I teamed up with Janome to bring you. Find the full tutorial HERE- at the AQS blog
There are some specific things I look for when creating a handmade gift for someone. I like a quick project that looks like it took a LOOOOOOOOOOOONG time. This is one of those! The supply list is fairly short, so you can easily grab a few fat quarters from your stash and get this project going today, in time for Mother’s Day next week, or whip up several for those really awesome teachers in your child’s life. The tutorial allows for you to select from several sizes of tablets, so you should be able to select the size your person uses and get going right away!
I’ve been sewing on the newest Horizon Memory Craft 9400QCP, and this machine is a true workhorse. I love everything about it, and quilting on this machine has been a lifesaver. It creates absolutely beautiful stitches and really makes my projects look professional.
I hope you’ll take a minute to check out this free pattern–you’ll love the simple style and elegant finish you can achieve with basic or complex quilting. You can really make this your own and put your special touch on it to brighten someone’s day. I hope you enjoy your weekend!
XO,
Joanna
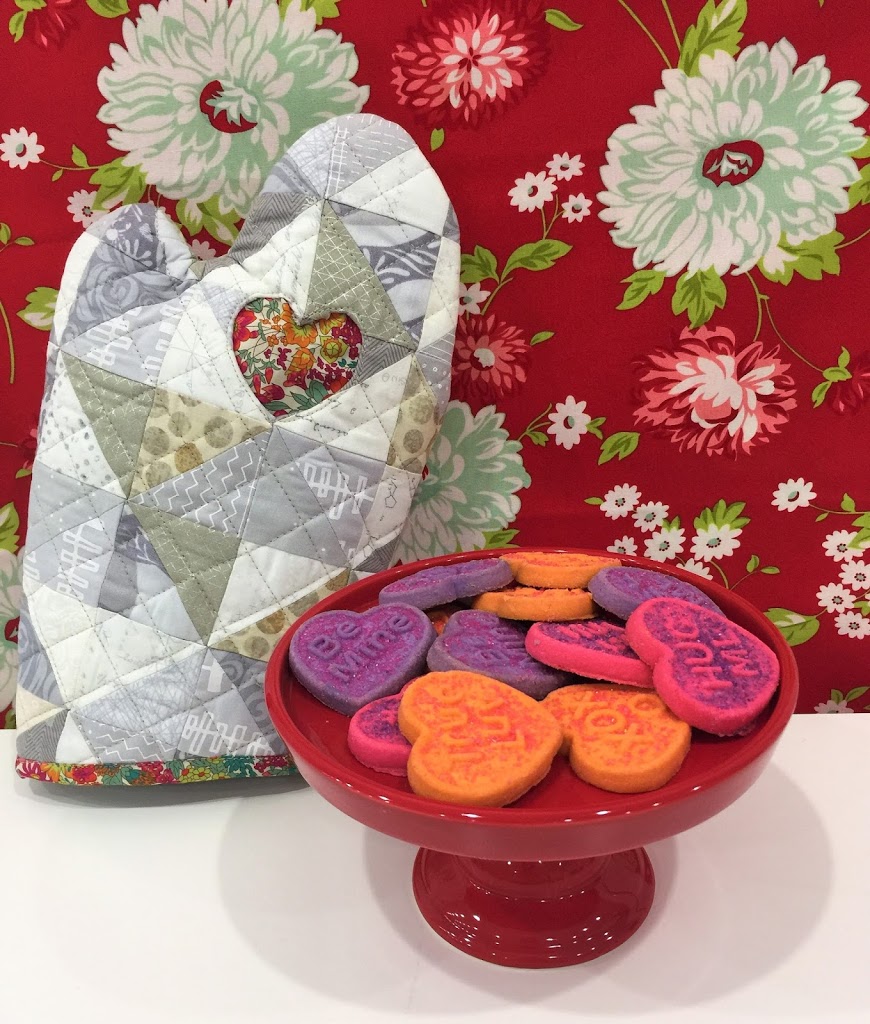
Do you love a fun (and quick) project for Valentine’s sewing? Check out this sweet tutorial I teamed up with Janome to create HERE .
This is a great project to incorporate some low volumes with a great print that you’ve been saving (I used Liberty of London), but you might now have a lot of!
The oven mitt tutorial can also be customized–you can leave out the reverse applique option for a simpler finish and enjoy your new oven mitt quicker.