Posted on

How to Fussy Cut Fabric

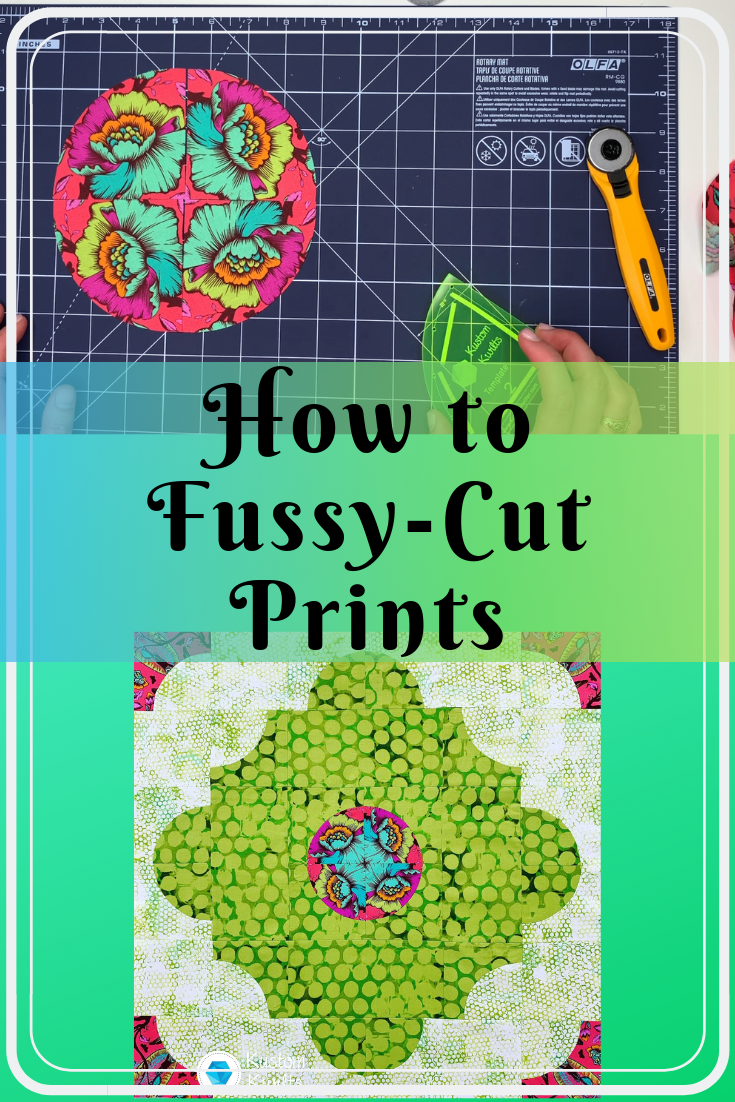
A collage of pictures with the words how to fussy-cut prints.

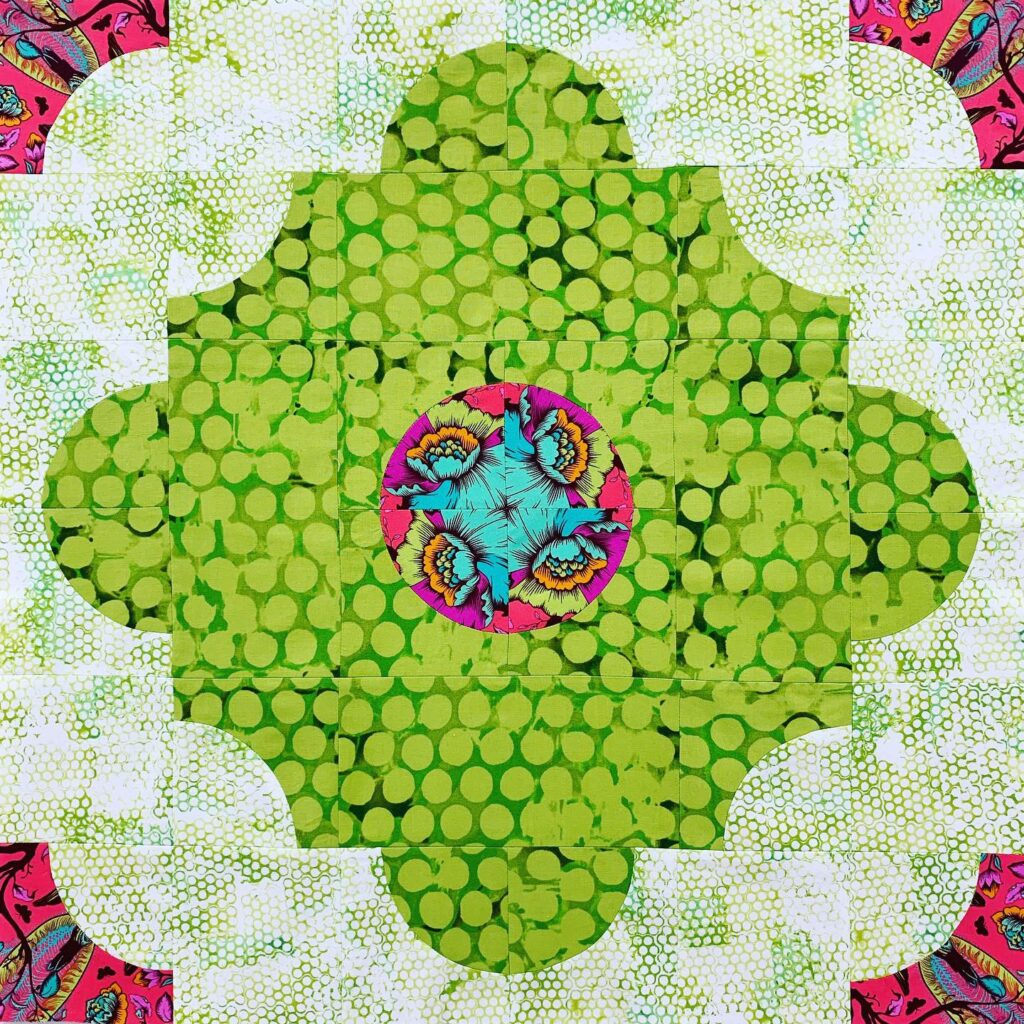
Fussy cutting. What does that even mean? My mother literally asked me that question after I posted a picture of one of my Moroccan Tiles quilt blocks on Instagram the other day. My sweet mother doesn’t sew (except for general mending). This was the picture I posted:

A green and pink flower with many circles
Fabrics are from Leslie Tucker Jenison’s Urban Garden and Tula Pink’s All Stars. Quilt pattern is Moroccan Tiles by me.

So- back to the question. What is fussy cutting? Well, “fussy” generally means pain in the rear, right? And cutting…well–that’s pretty self explanatory. So there you go mom! Fussy cutting = pain in the rear cutting!

Continue reading How to Fussy Cut Fabric
Posted on 3 Comments

Moroccan Tiles Quilt – Pattern Correction

If you purchased a PDF or print pattern prior to 5/31/2019 the following correction should be noted:

Page 8, step 5 should read: Repeat step 4 to make the following color combinations to complete one block: You’ll have 16 20 total…..

Then in the chart below step 5, in column on the right, row 1: Make 4 8 total with Template 1…..and just below that in row 2: 4 8 total

Posted on 1 Comment

Moroccan Tiles Summer Sew Along

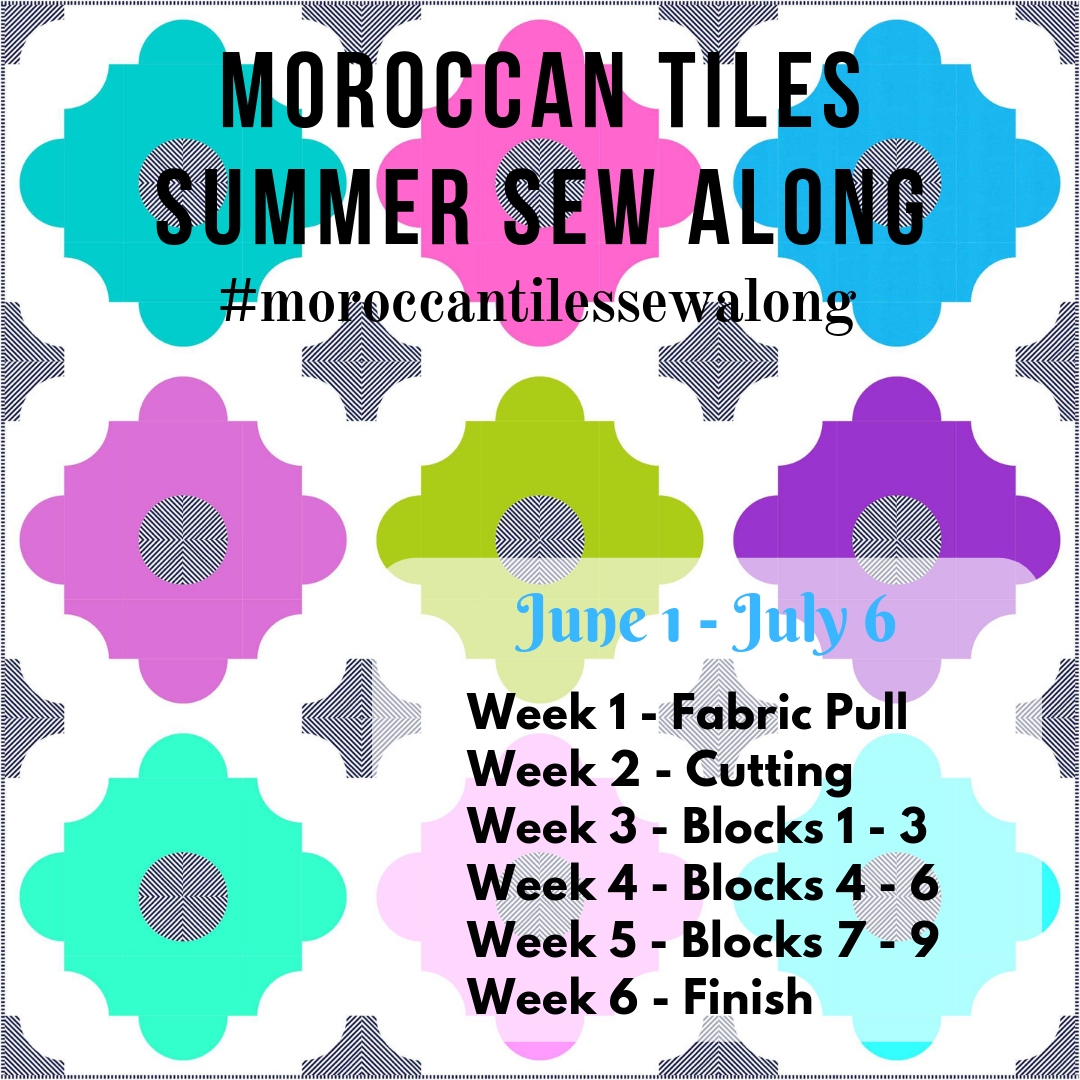
A series of fabric pull blocks with the words " moroccan tiles summer sew along ".

Are you gearing up for some fun summer sewing? If you’re like me, I like to plan my projects a few weeks in advance so I have time to pick the perfect fabrics. Then there’s no mad dash to gather fabrics and decide on the layout. If you follow along on Instagram, I’ve been posting a lot about the Moroccan Tiles Quilt pattern. Pairing solid fabrics and stripes with this one is so much fun! We really need a new quilt for our bed, so I had planned out the king sized version to make this summer. I thought since I’d already be making one, why not do a fun Moroccan Tiles Summer Sew Along and make one with friends!?

Join in the fun, and if you’re interested, you can RSVP for the sew along here. Emails will go out at the start of each week to remind you of what’s going on that week in the sew along and what the prize is for completing that week’s task. There is a great post about the Moroccan Tiles Quilt that gives video links for tips and tricks, and has some various colorways for inspiration. You can check that out here!

Continue reading Moroccan Tiles Summer Sew Along
Posted on

Honest Fabric Designs – Moroccan Tiles

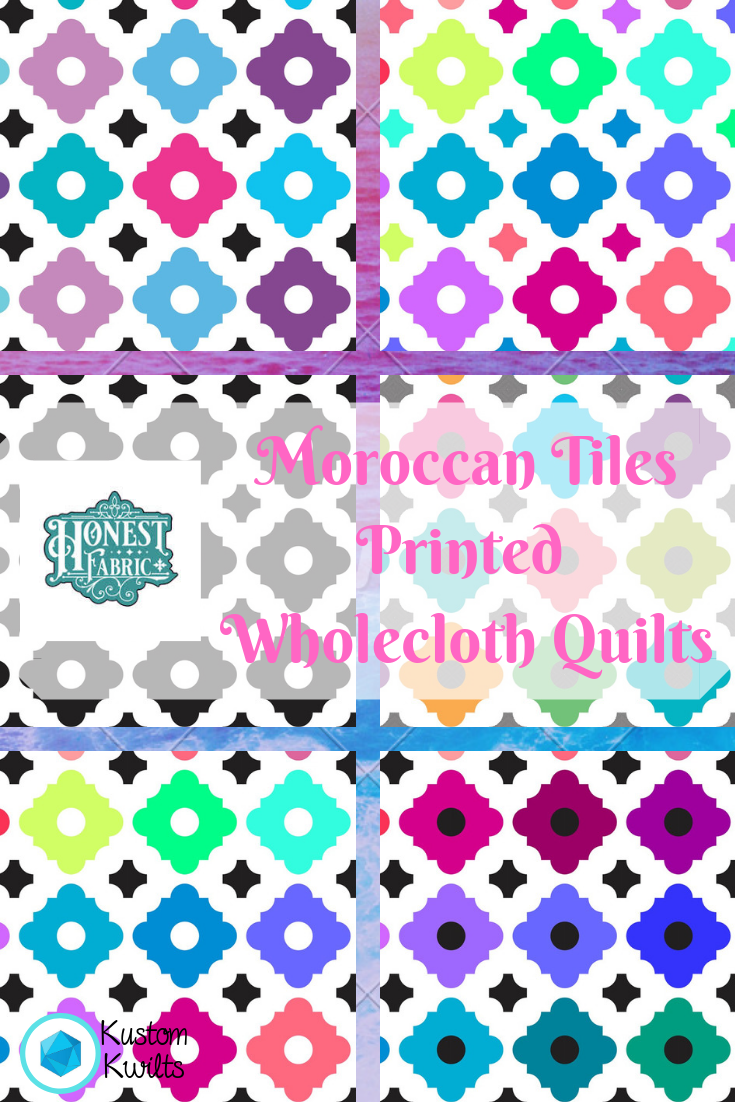
A series of moroccan tiles printed on white cloth.

I’m so excited to finally share some news with you!! I’ve joined the fabulous designers at Honest Fabric to bring you some vibrant custom printed whole cloth quilt tops!! I know some people think piecing curves is a real bummer (it’s really SO much fun!!). So if that’s you–and you’ve been dying to get your hands on a Moroccan Tiles Quilt, you’re in luck. You can head over to Honest Fabric and choose from 6 different color ways, in three different sizes. I;m so exited to finally share these Honest Fabric Designs with you!

Honest Fabric – Moroccan Tiles wholecloth quilts

There are 6 unique colorways for this design and I just LOVE how they turned out. Honest Fabric is having a sale through May 31 so you can pick up any of these awesome designs for 25% off with code 25off. A few months ago, I ordered some before I was a contributor from my friend Nelson Salsa. I picked up his “Tilt” design so I could try out some new quilting designs. I also bought Kwik Color Washed Diamonds by Karie Jewell, Fox Dreams and River Walk by Anne Sullivan.

These designs are going to be so much fun to quilt up, and it takes the stress off and just lets me quilt without worrying about spending so much time piecing. All the designs I purchased from other Honest designers don’t currently have patterns out to piece them, so I would otherwise miss out on having a piece of the great artwork from these designers.

I’m really happy with the quality of the printed fabric that Honest Fabric delivers. The fabric is soft and supple and colorfast. I’ve quilted up one of Karlee Porter’s designs that I purchased called Explosion.

A colorful pattern of different colors.

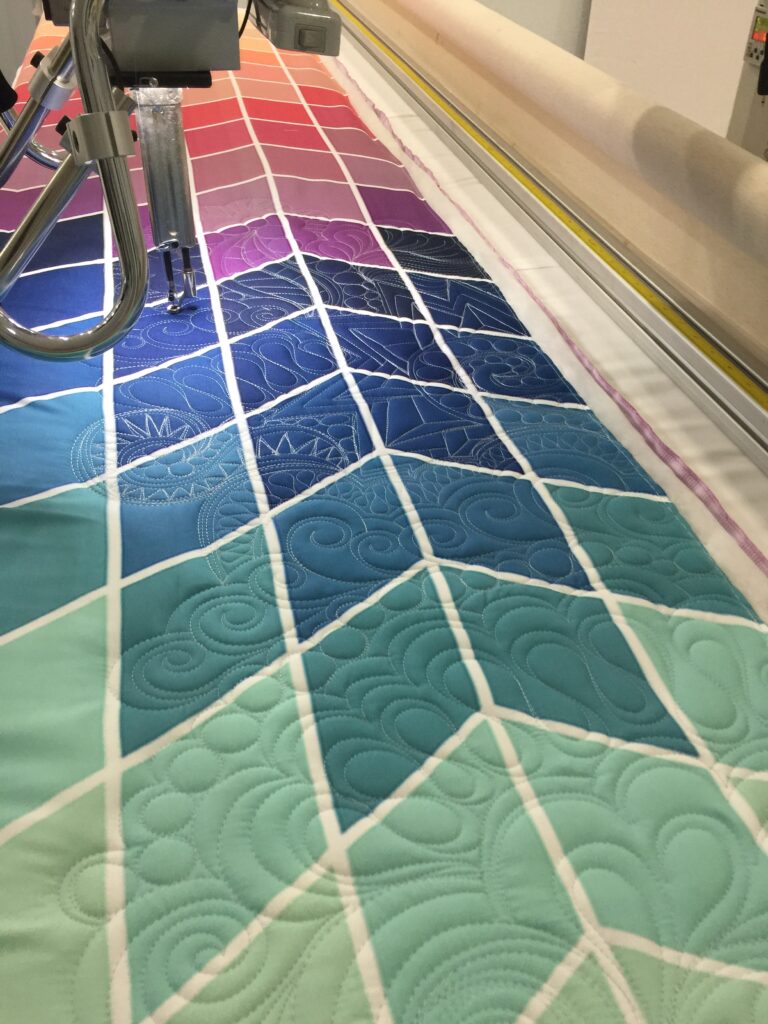
I did some graffiti style quilting on Karlee’s whole cloth design and used Quilter’s Dream Wool batting to really make the quilting POP. It was SO much fun to quilt, and I didn’t have to worry about bulky seams or any of the piecing! It was heaven.

A quilt being quilted on the sewing machine.

Anyhow, I hope you’ll check out some of the creative designs over at Honest Fabric. Take a break from piecing to quilt up some of these amazing printed quilt tops. Have fun, and happy sewing!

Posted on

Moroccan Tiles PDF Quilt Pattern Release

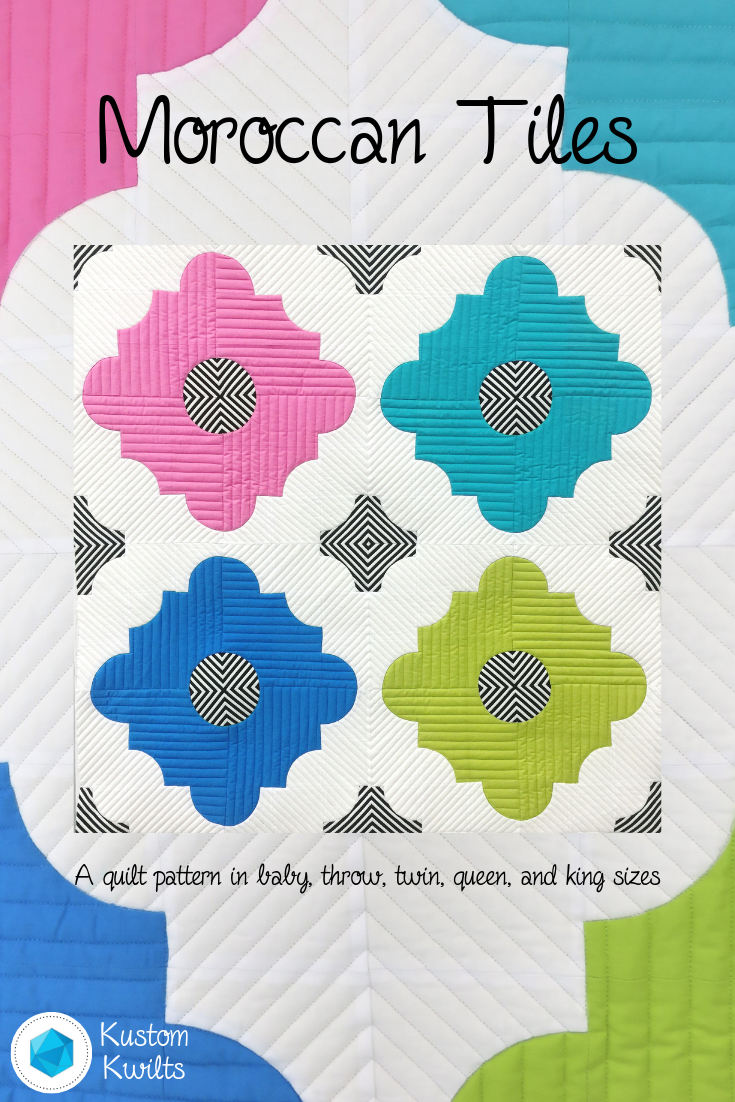
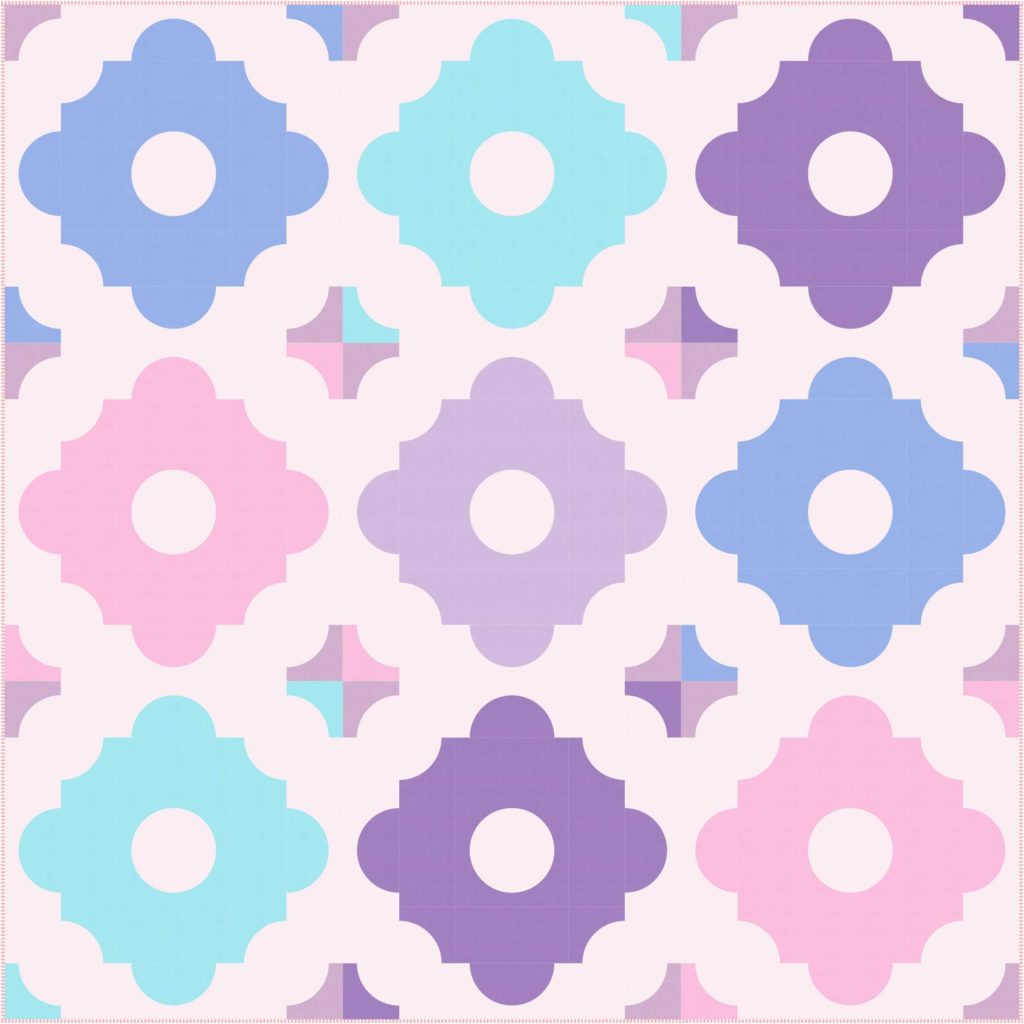
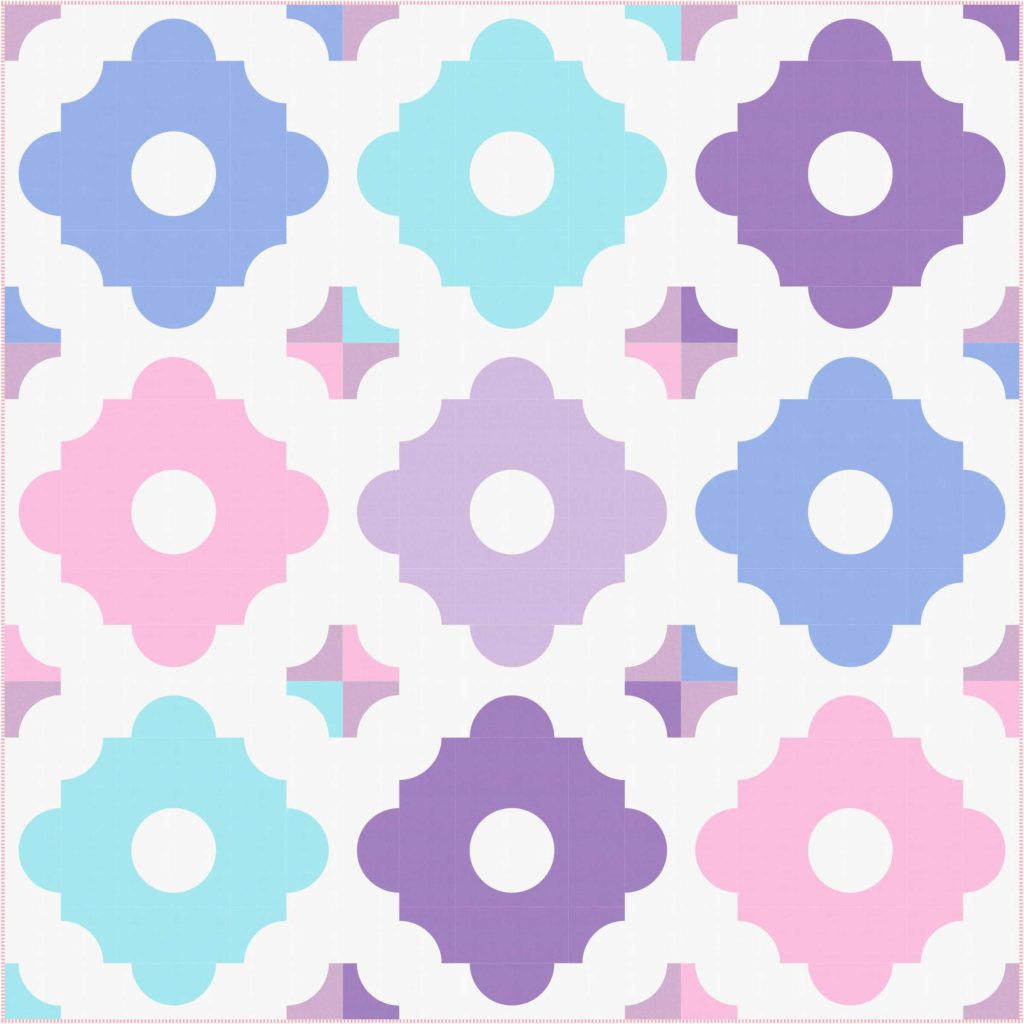
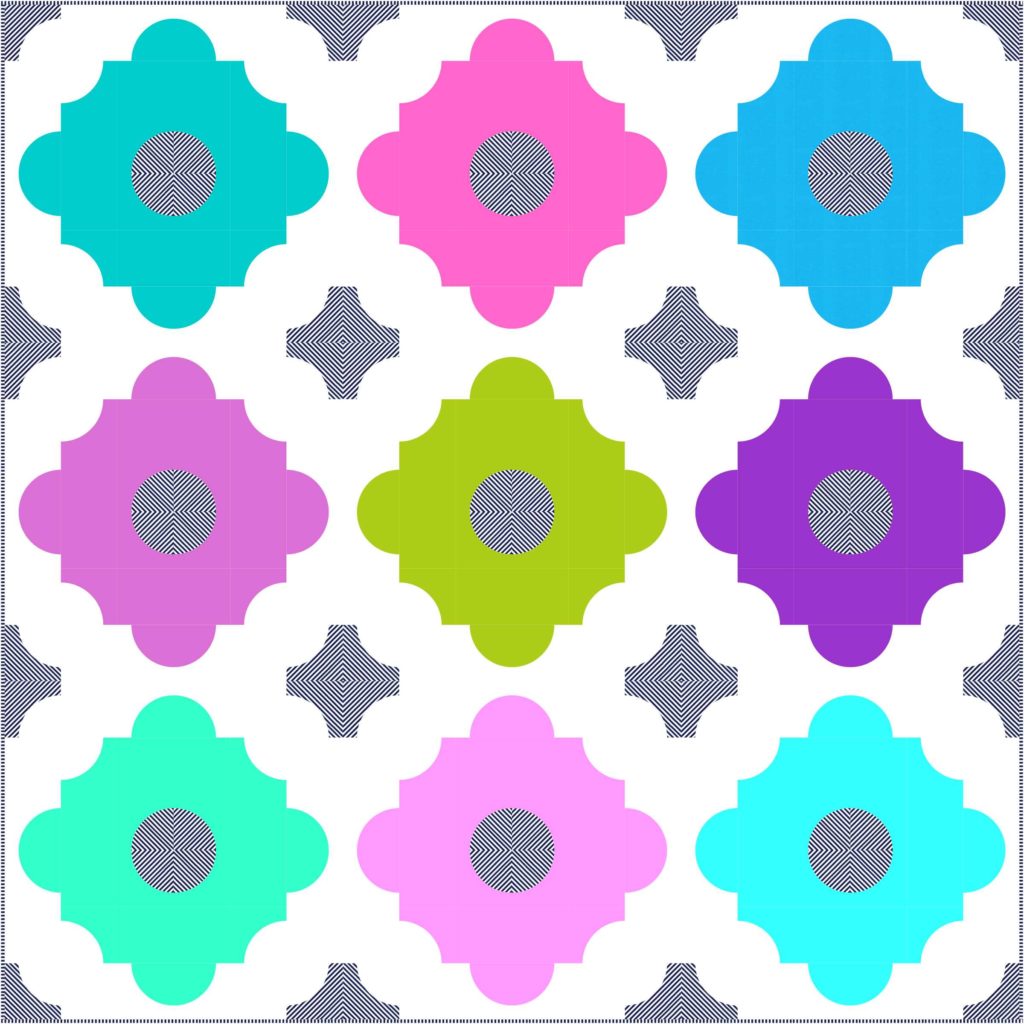
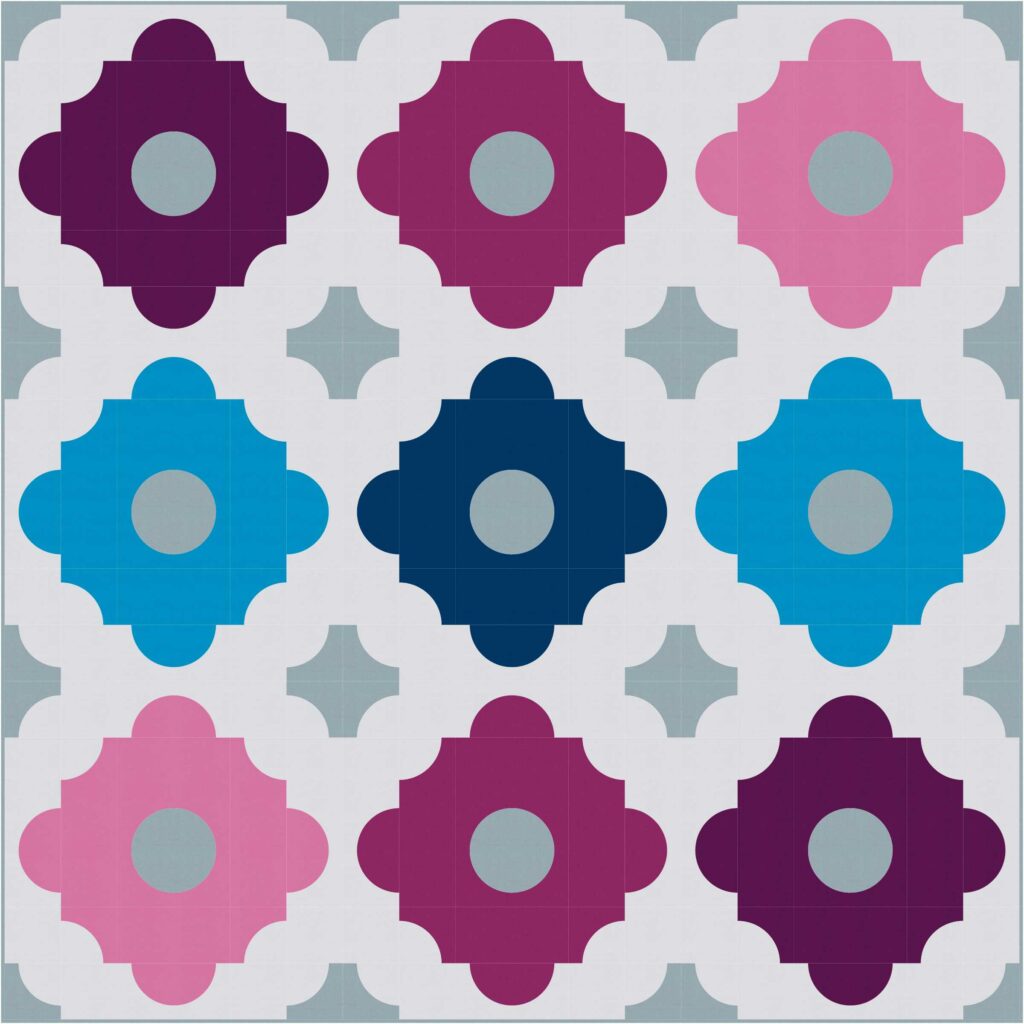
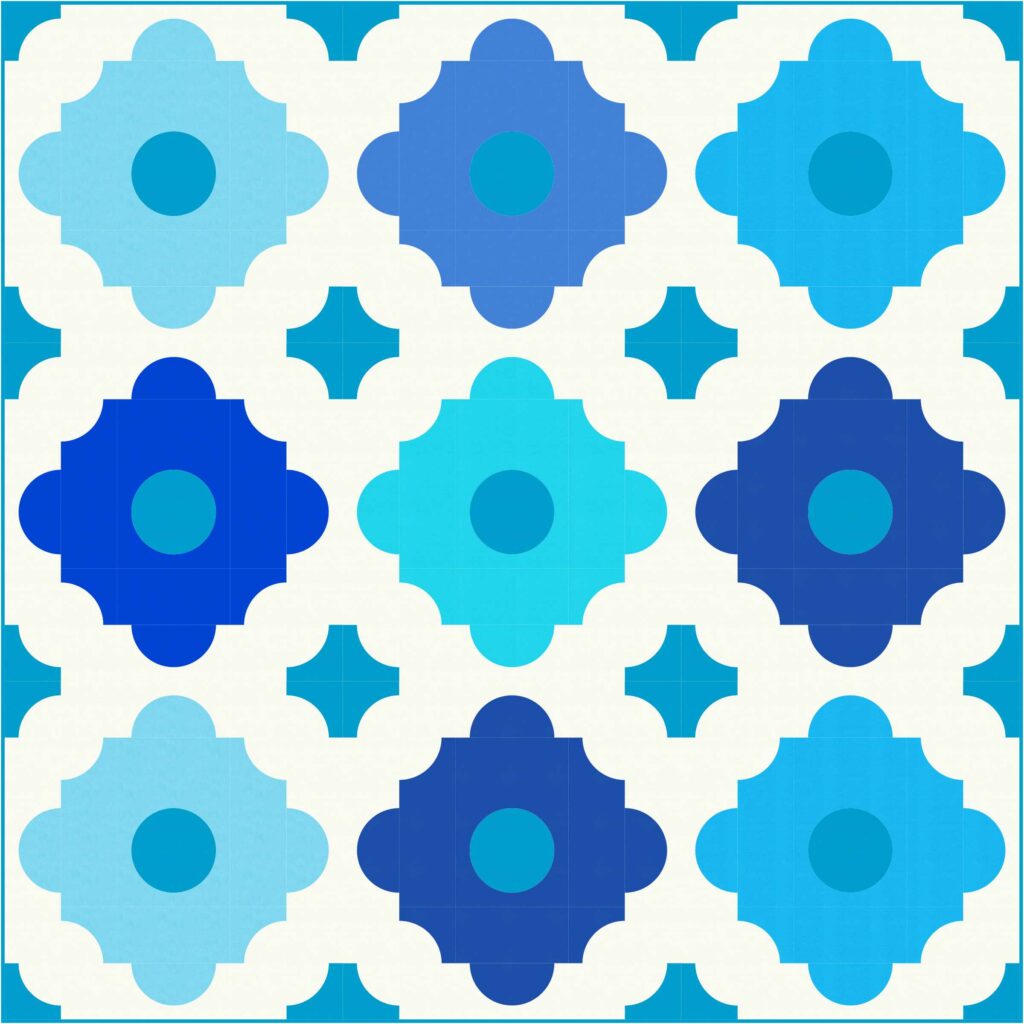
A quilt pattern with four different colors of flowers.

You guys! Today is the day for the Moroccan Tiles Quilt Pattern release!!! I don’t know if I’ve ever been as excited about a quilt pattern as I am about this one. I’m hoping to have all the beds in our house decked out with this quilt be the end of the year!

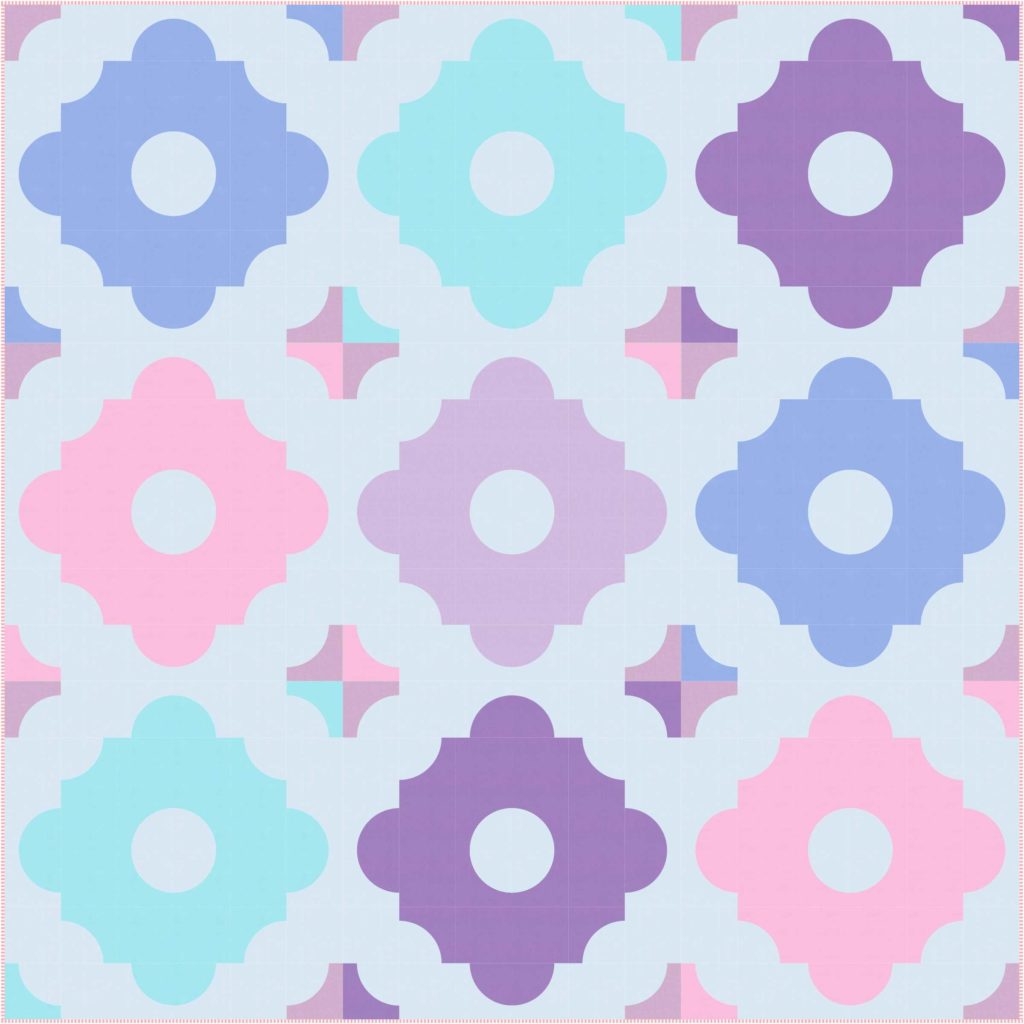
Check out some of my favorite color ways!

The Moroccan Tiles PDF Quilt Pattern includes these features:

  • Clear instructions and fabric requirements for baby, throw, twin, queen, and king quilt sizes
  • Coloring page to help plan your quilt
  • Step-by-step instructions with pictures to guide you through
  • Instructional videos for piecing curves and using the templates
  • Instructions and diagrams for piecing quilt backs for all sizes
  • Pattern includes printable templates for easy cutting
  • The option to purchase acrylic templates separately

I designed this quilt when I was pregnant with our little girl, Gemma. It’s been a labor of love for me and I can’t even tell you how many colorways I went through. Sometimes I dream that there are 40 hours in a day so I could make each and every one (hey, I can dream, right?).

A pink and blue heart on top of black and white stripes.
Chain piecing some curves 🙂

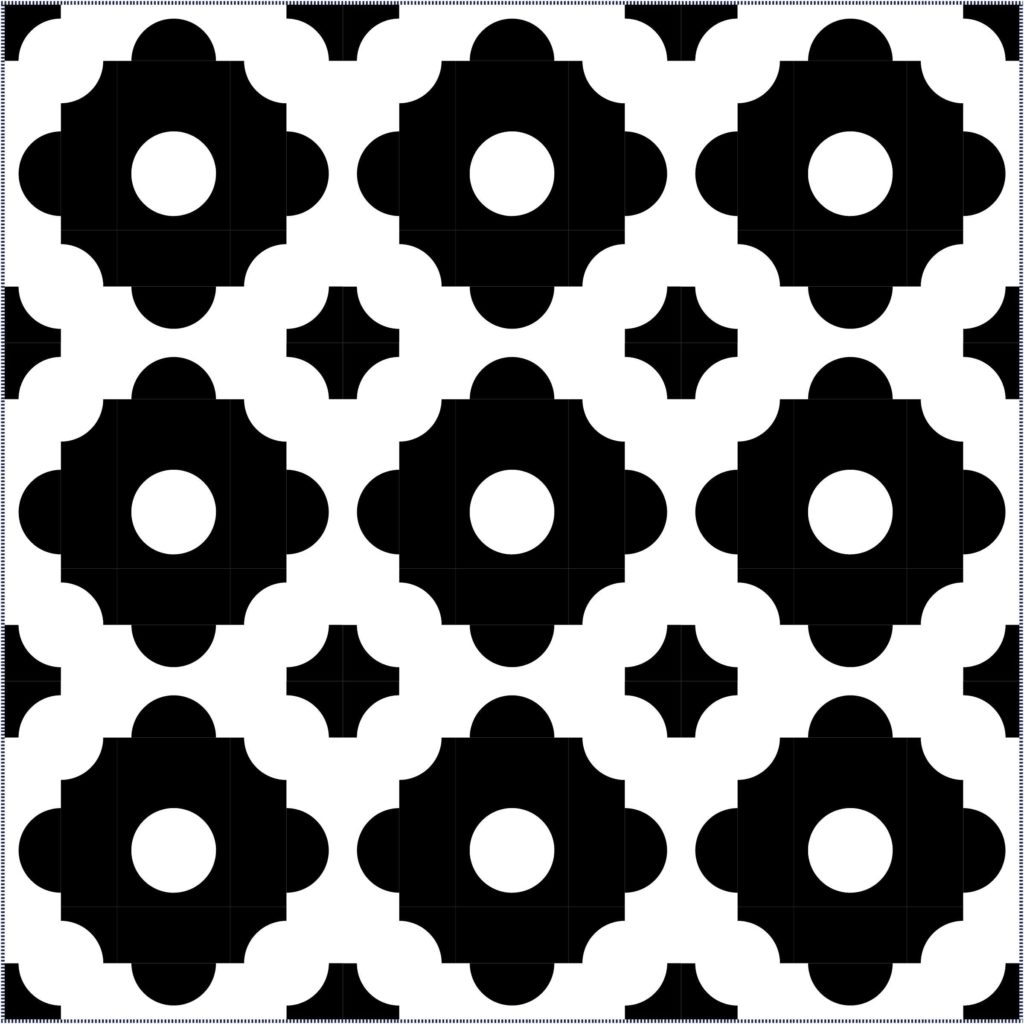
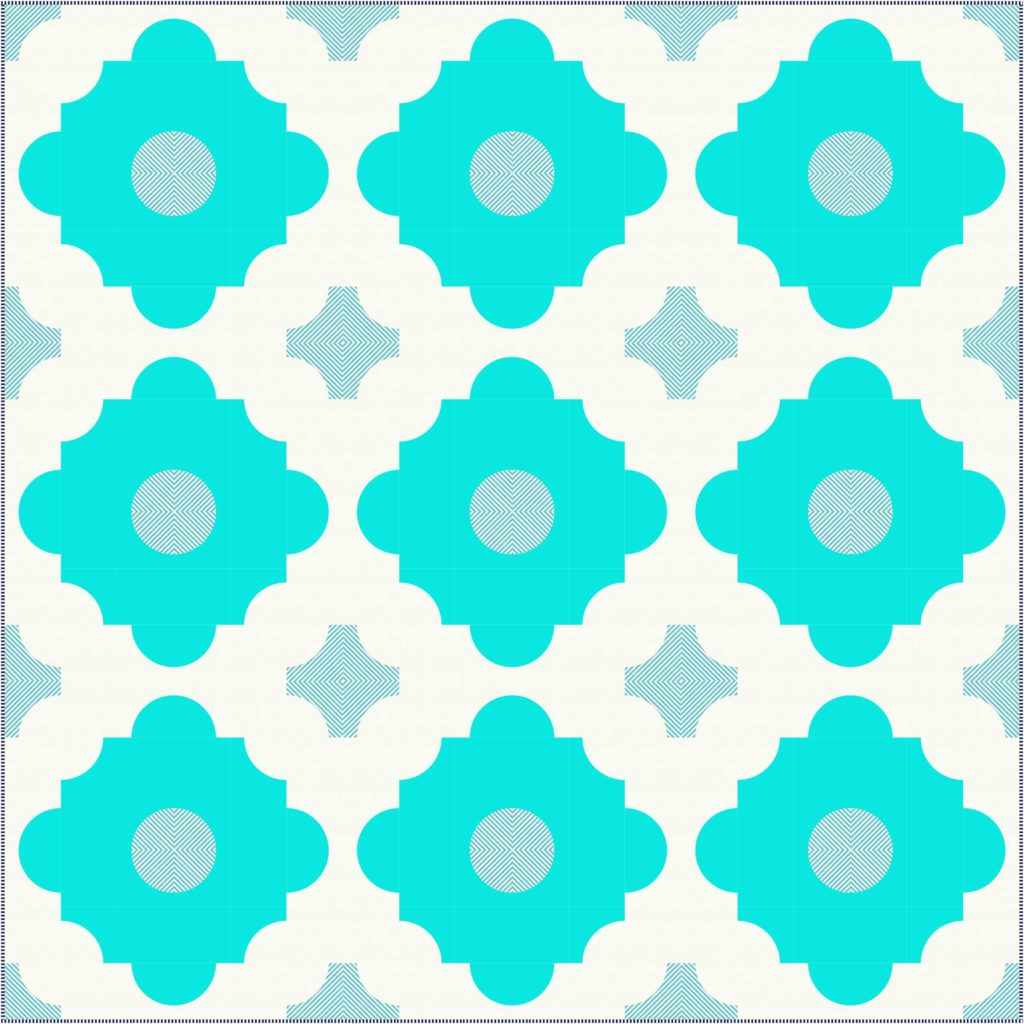
Moroccan Tiles is a modern quilt using straight lines and curves to create a tile-work quilt with a big impact. I love how much the quilt changes when you alter the colors, or fussy cut some stripes to play with the pattern. This pattern is for confident beginners to intermediate sewists, due to the curves in the quilt. Okay, I know I might have sent you running for the hills when I threw in that word “curves”, but I hope you won’t let that scare you away from making your own Moroccan Tiles! I’ve made several videos to go with this pattern to help you on your curve-sewing journey (the link to each video is in the pattern). You can take a peek HERE. There are 5 different videos to offer any extra assistance you might need if you’re a beginner (you can still watch them if you’re not a beginner 😉

Video previews

Since there are curves in this quilt, the pattern includes paper templates you can print with it. If that isn’t your jam, you can purchase acrylic templates for the quilt here (they’ll ship mid-March). If you’ve never used acrylic templates before, I’ve got a video to show you how:

And if you plan on fussy cutting your fabrics for your quilt, it will be easier to do so with the Acrylic Templates. The templates are transparent, so you can easily see where you’re cutting the print you want to stand out. The stripes on the Moroccan Tiles quilt pictured above were fussy cut (fussy cut means to cut the fabric with intention, being mindful of the orientation of the print). I can help with fussy cutting if you’ve never done that before–in this video:

And then I’ve got a couple of other videos to help you with the basics of sewing curves. If you click on the first video in this post, it will link to the entire playlist and show you all 5 videos that accompany this pattern. I think you’ll find them very helpful, and if you still have questions, you can always ask!

I’ve made up a couple of different colorways that I really love, and if you need some extra inspiration, you can check them out:

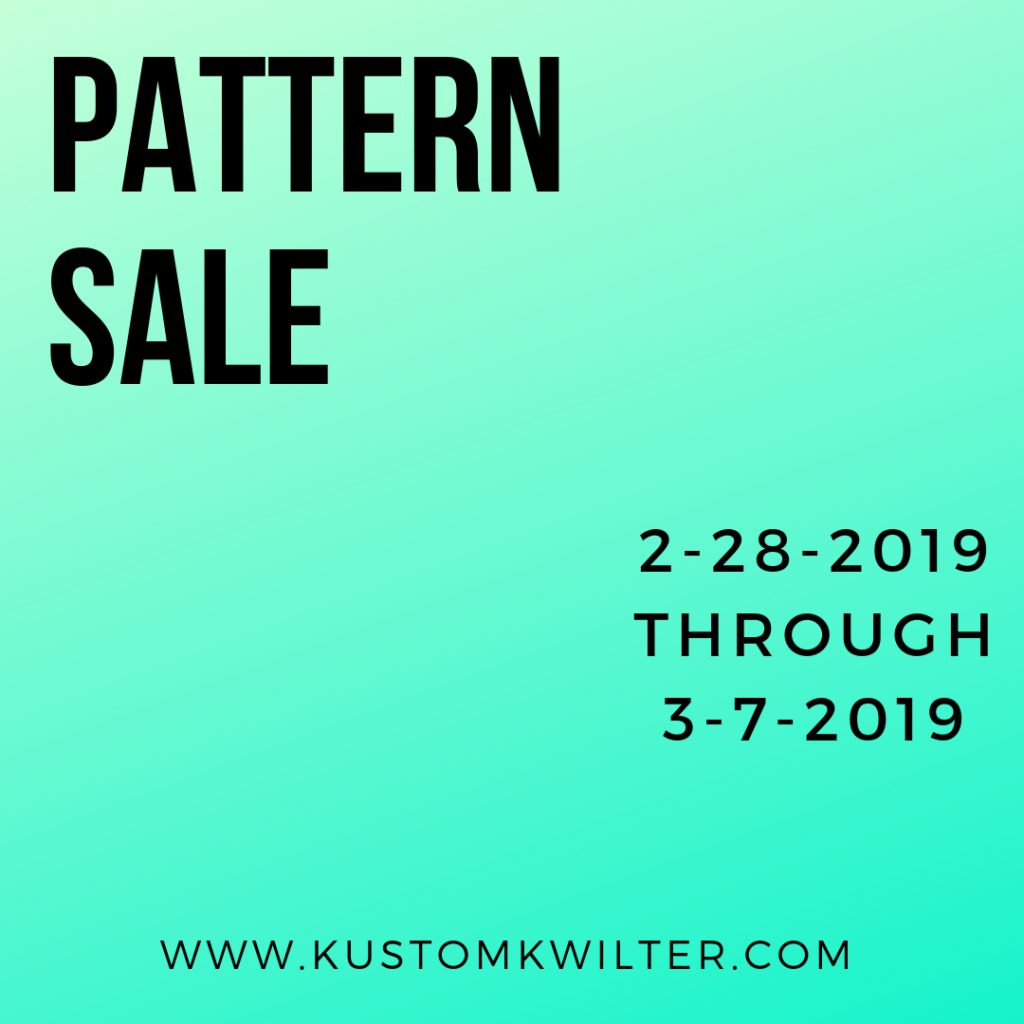
The Moroccan Tiles quilt pattern and acrylic templates (along with all other quilt patterns in my shop) will be on sale from February 28, 2019 through March 7, 2019, and the acrylic templates will ship mid-March. I can’t wait to see your Moroccan Tiles quilt, and I hope you’ll share with me via email or using the hashtag #moroccantilesquilt

A green background with the words pattern sale 2-2 8-1 9 through 3-7-2 0 1 9.

Happy sewing, friends!!!

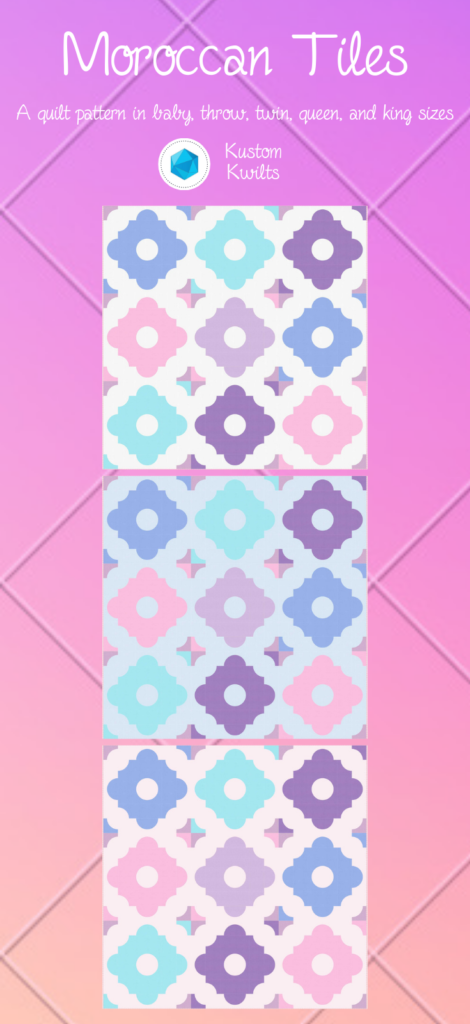
A pink and blue background with different colored squares.
Posted on

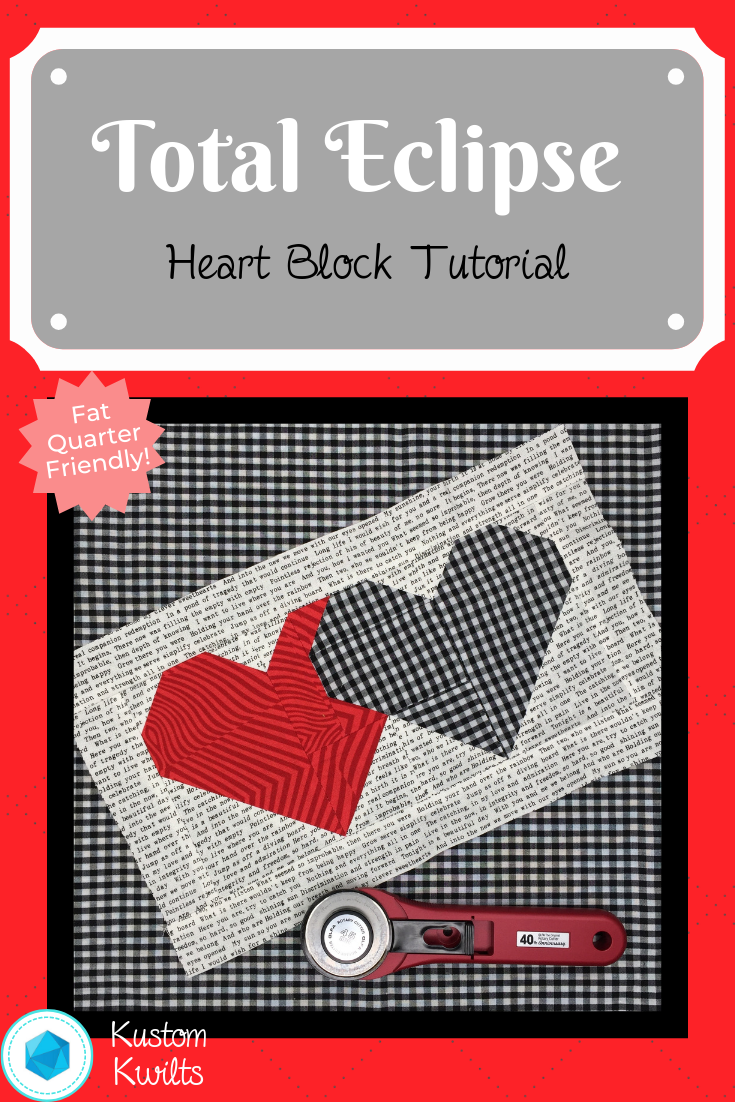
Total Eclipse Heart Block

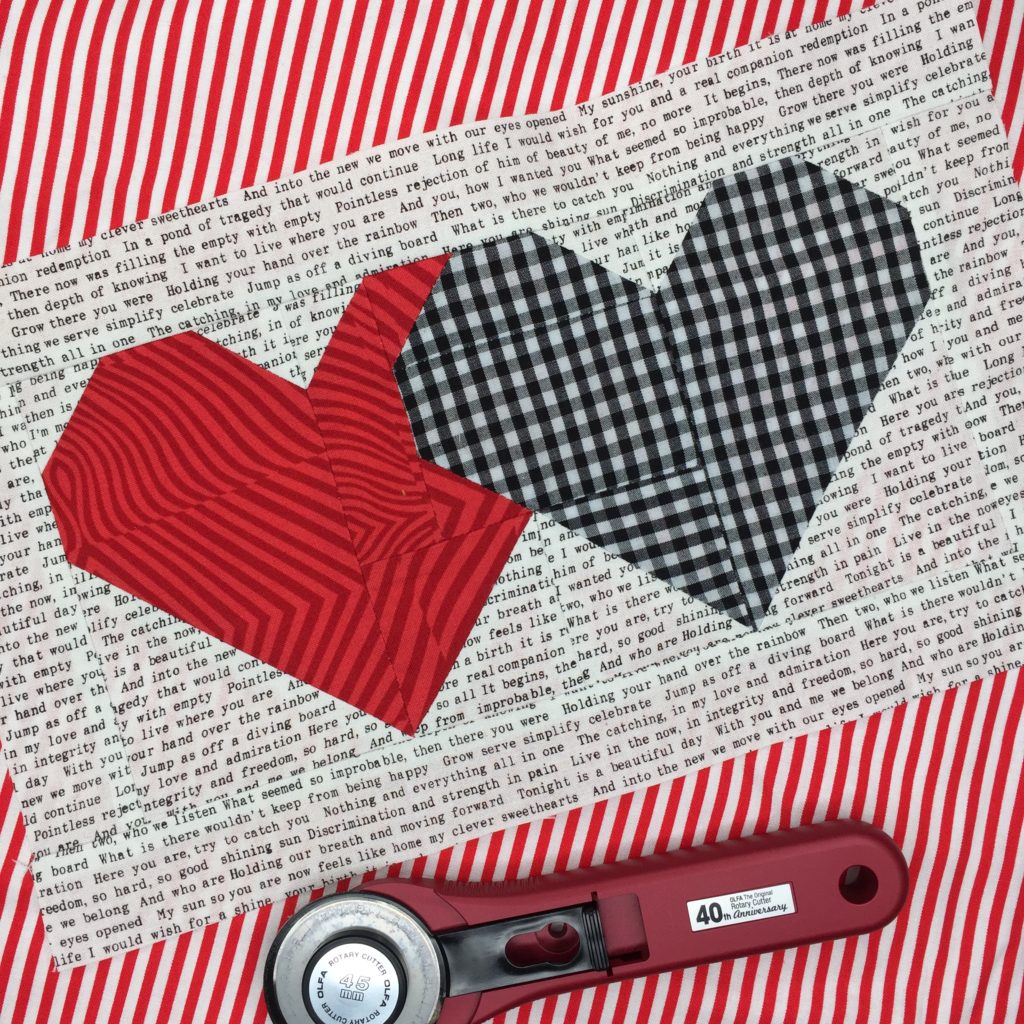
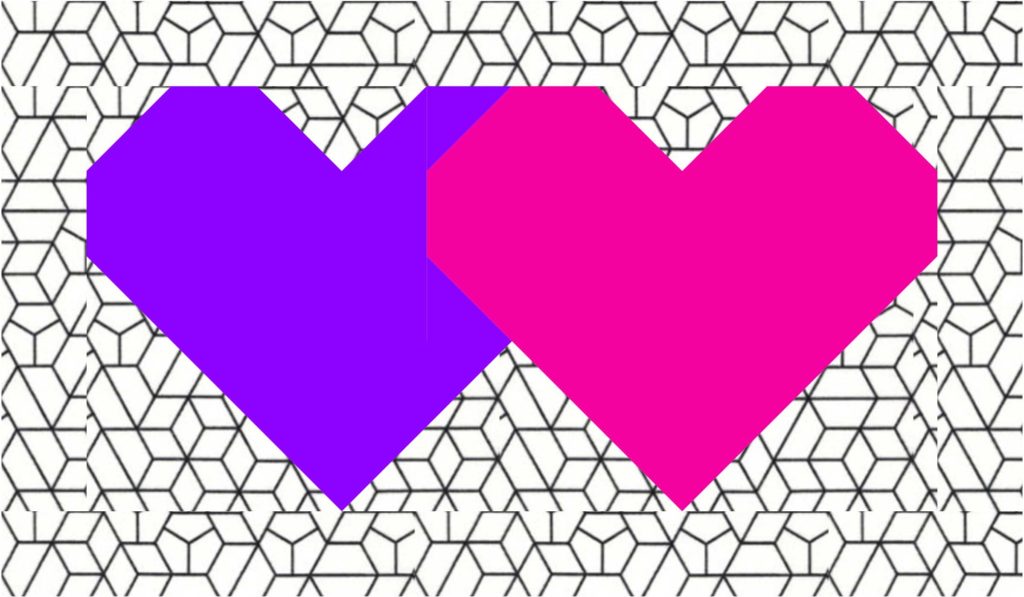
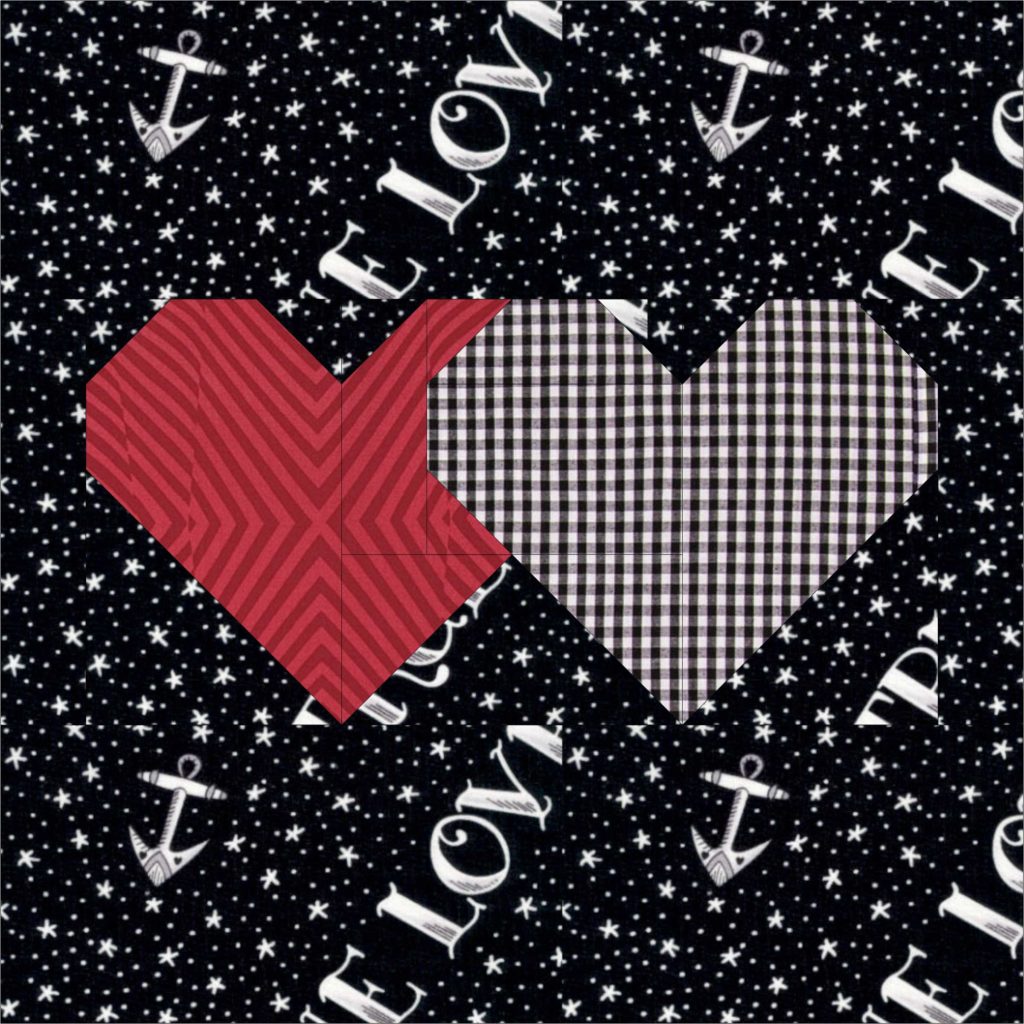
A black and white picture of a heart quilt block.

Once upon a time, I was falling in love…

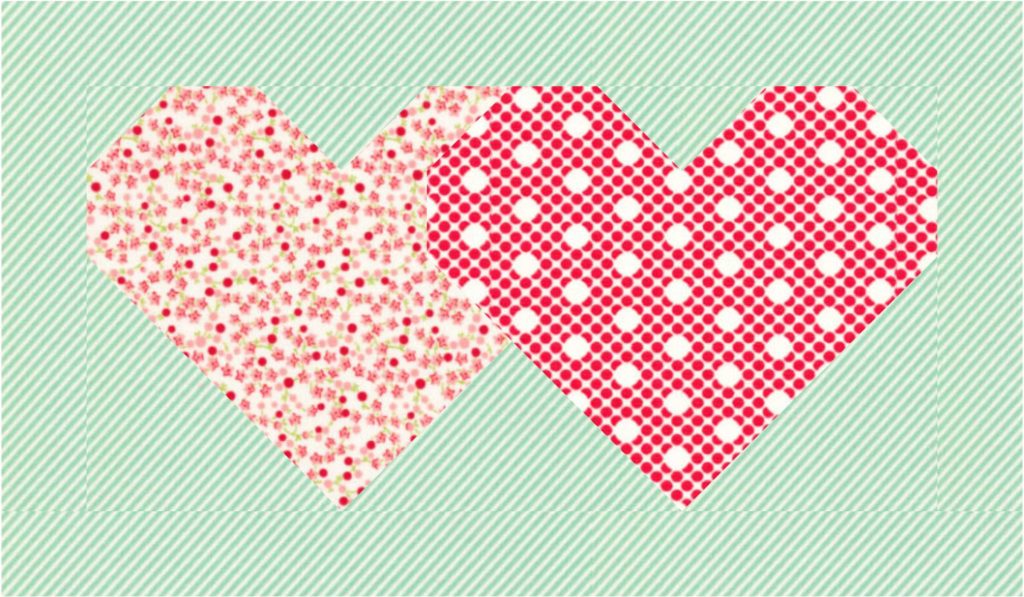
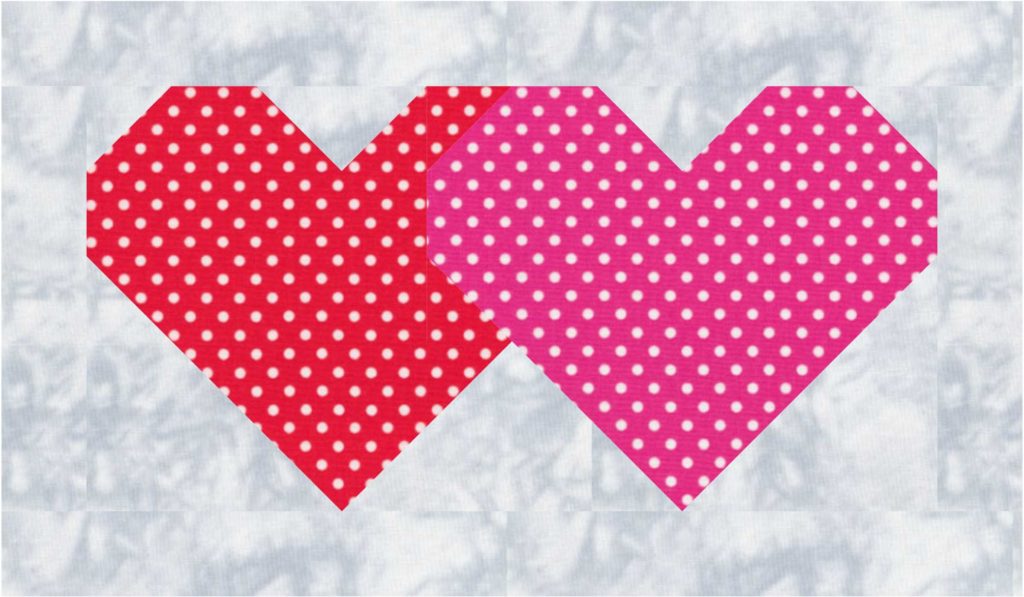
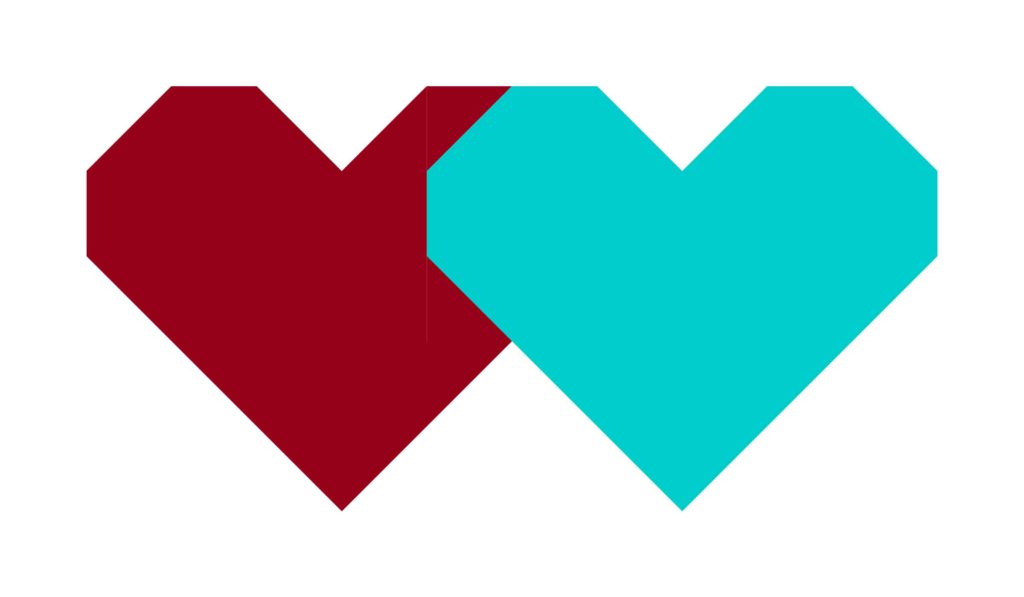
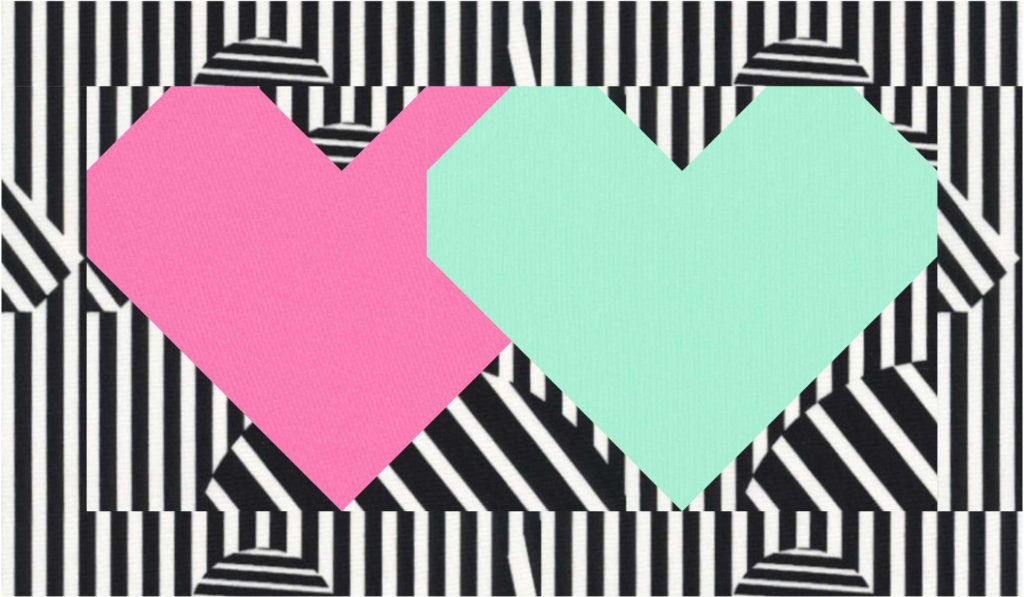
I’ve been working so hard on this heart block for you! This pair of hearts is so dear to me because it reminds me of one of my favorite songs (that was released my birth year–how’s that for coincidence?), and I swear, I’ve been singing it all week while I’ve been sewing these 😉 This is a great block to make for your love or your BFF, and you can pick the fabrics to fit each person to make it extra special!

A red and white striped table cloth with two hearts on it.
7″ x 12″ Total Eclipse Heart block

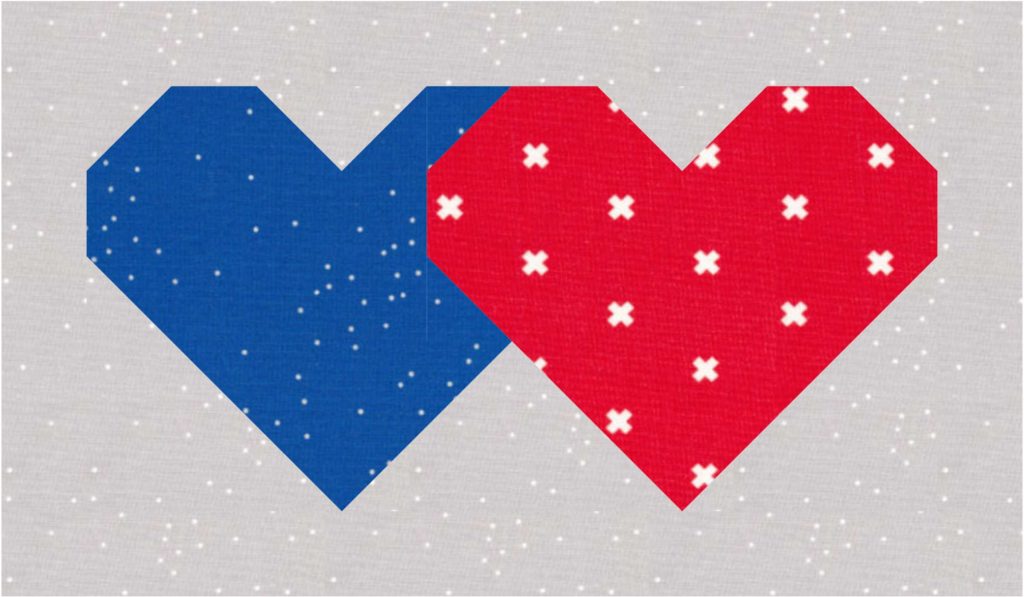
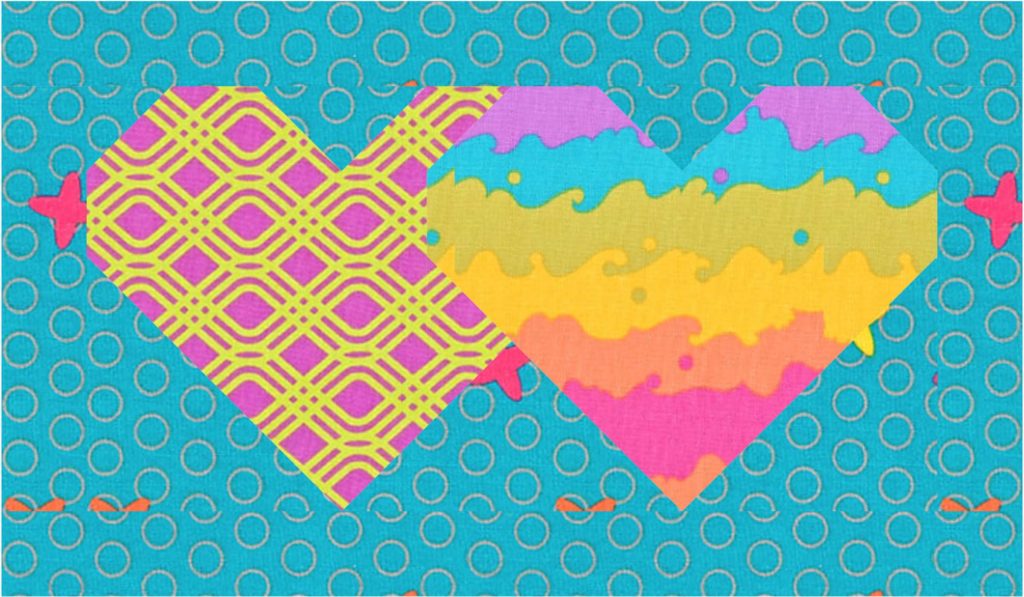
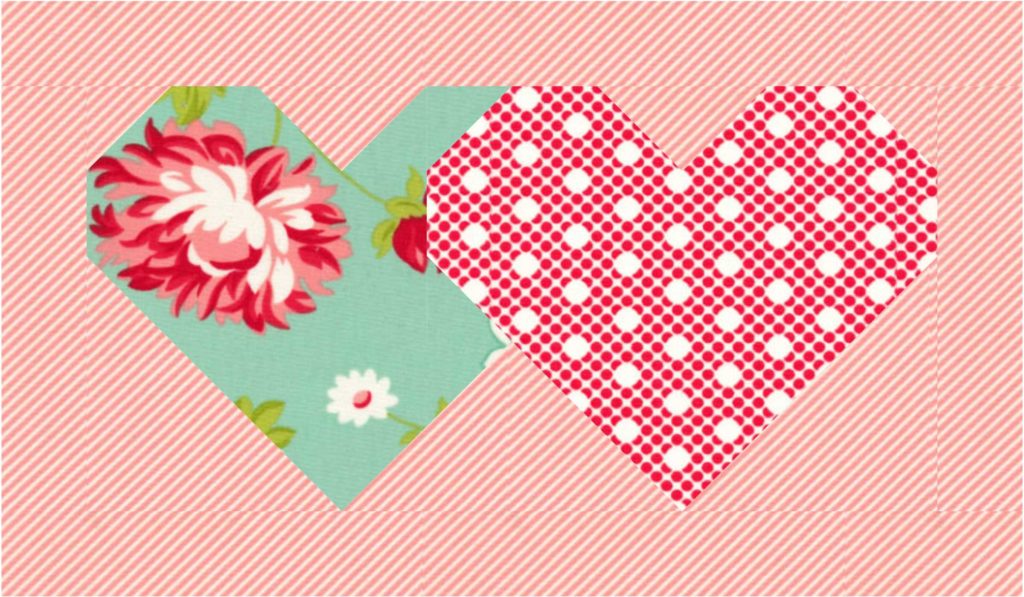
You can get your pattern download HERE, and I hope you’ll share your finished block on Instagram using #totaleclipseheartblock . These cute blocks come in three sizes: 5″ x 10″, 7″ x 12″ and 12″ x 12″ for you to customize and make into whatever your heart desires.

If you want a sweet little discount, you can head over to subscribe to my newsletter to grab this one for free! You’ll get a welcome e-mail with your coupon code in it and you can start sewing asap.

Need a little inspiration?

I had so much fun making this block, and I hope you love making it too! I used my new 40th Anniversary Ruby Rotary Cutter from OLFA to cut all my pieces out, and I felt SO fancy 🙂

Posted on 2 Comments

Cheeky Churn Dash Quilt Along – Week Ten

A quilt with colorful squares and triangles on it.


Quilt Along – Week Ten

This is a bonus post to announce the grand prize winner of the Cheeky Churn Dash Quilt Along!

First–I’m so excited to see so many people finish their Cheeky Churn Dashes!  Thank you for choosing this pattern and quilt along to participate in–I loved getting to see each quilt come together and the different personalities behind them.  You are amazing for pushing on and finishing, especially at a time of year when there is so much going on.  This post is going up a little later than usual…my husband lost his grandpa a couple of weeks ago, and my dad had a major health issue that scared us all.  It’s been a hectic couple of weeks.  I know how things can come up to delay projects, and I so appreciate your persistence to finish!  Thank you for joining in and letting me see your creativity and amazingness!!

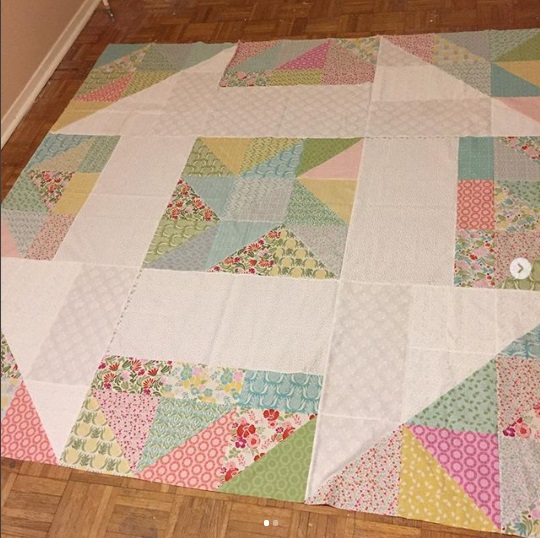
Alright…without further delay…the Grand Prize winner of free edge to edge quilting on their Cheeky Churn Dash is Kelda T!  Congratulations Kelda!!!  I’ll be in touch shortly to go over the details with you!  Here’s Kelda’s finished Cheeky Churn Dash:

A quilt that is on the ground in a room.

And I have a little surprise!  If you posted a photo of your finished Cheeky Churn Dash within the deadline and haven’t won a prize throughout the Quilt Along (Katelen P., Melanie D., Rebecca C., and Beth N.), please DM me your mailing address or EMAIL ME.  I’ll be sending you something fun in the mail for pushing through and finishing on time 🙂

Head over to the Original QAL Post to review the details and schedule, if you need to.

A quick review of what we’ve done so far–scroll to the bottom of this page for links to each weekly post.

A huge thank you to all the prize sponsors:

The Quilt Along was a lot more fun with weekly prizes and awesome giveaways to look forward to.  Thank you for your generosity Aurifil, Crafter’s Companion, Knotted Thread, Olfa, Quilter’s Dream Batting, and The Quilter’s Planner!

A collage of different types of quilts.

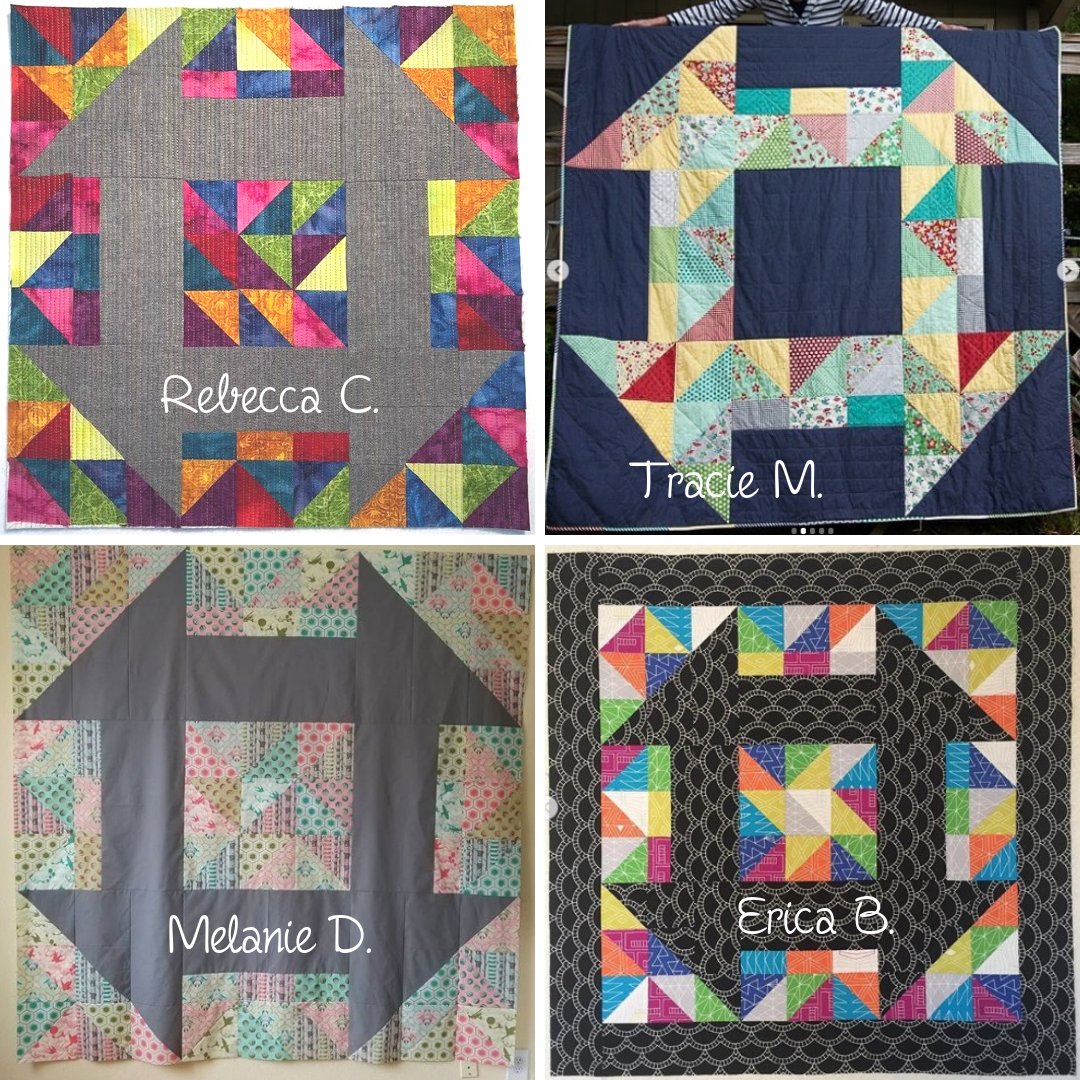
And I’m super excited to share some of the finished Cheeky Churn Dash quilts tops with you from the quilt along!Four different quilt designs with names on them.

Four different quilt blocks with names on them.

Each picture is from the creator’s Instagram account from the final week of the Quilt Along, and each maker has been credited with their first name and last initial on their photo.  Check out the creativity and unique colors in each quilt!  Some of the quilt along participants even have their minis and quilts quilted and bound already.

Cheeky Churn Dash Quilt Along Posts:

Week One – Introduce yourself and gather your fabrics

Week Two – Starch and cut your fabrics

Week Three – Assemble and press the HSTs

Week Four – Square up and trim all HST blocks

Week Five – Assemble sections 1, 3, 7, and 9

Week Six – Catch Up!

Week Seven – Assemble sections 2, 4, 6, and 8

Week Eight – Assemble section 5 (for option B)

Week Nine – Sew together the quilt top and finish!

Week Ten – Announce grand prize winner and share finished Cheeky Churn Dash quilts
Posted on

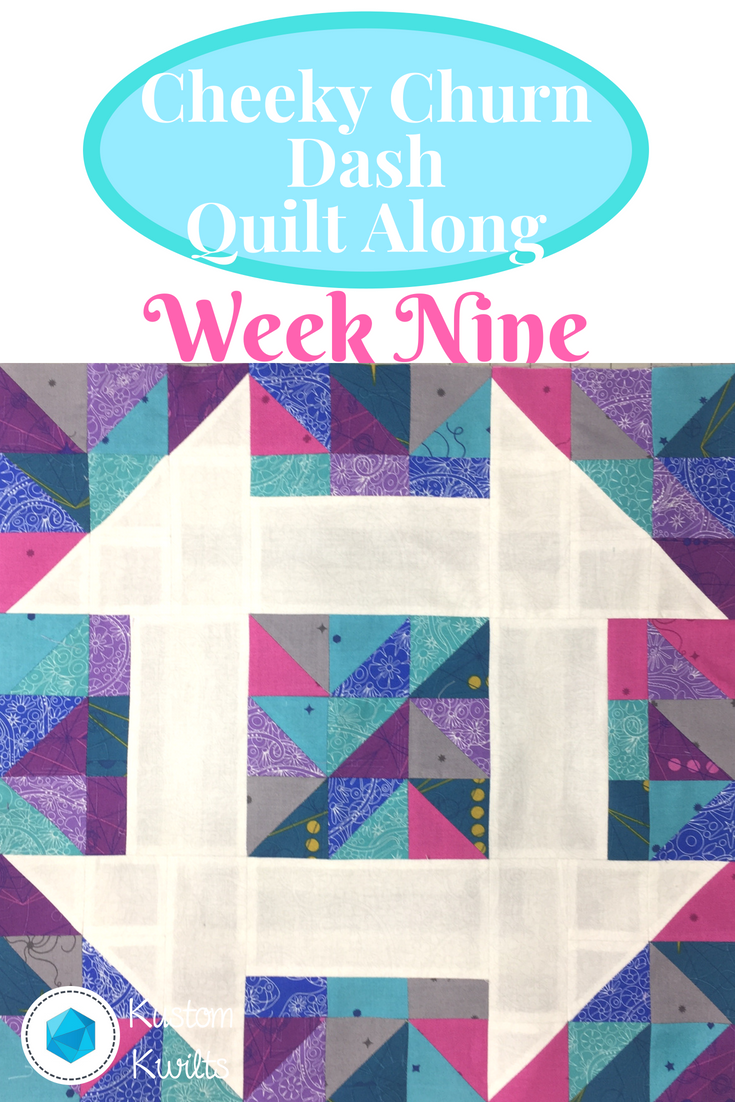
Cheeky Churn Dash Quilt Along – Week Nine

A quilt along week nine


Quilt Along – Week Nine

We’re moving right along into Week Nine of the Cheeky Churn Dash Quilt Along!  This is it–the final week.  Head over to the Original QAL Post to review the details and schedule, if you need to.

A quick review of what we’ve done so far–scroll to the bottom of this page for links to each weekly post.

Congratulations to Christine R. for snagging the Week Severn prize-a sweet notions bundle curated by me!  This was Christine’s sections 2, 4, 6, and 8  post from Week 7:A quilt is being made with a patchwork design.

Fabric Discount!A blue and white banner with the words knotted read written in orange.

Jennifer at Knotted Threads on Etsy has joined in the Quilt Along fun to bring all Cheeky Churn Dash QAL participants a 10% discount on fabrics purchased from her shop!  She has a great selection of current and modern fabrics, so you’ll want to take advantage of this ?  Use the coupon code: CHEEKYCHURNDASH at checkout.  Now’s the time to buy your quilt backs!
How to Participate:

Post Your progress on Instagram using the hashtag #cheekychurndashquiltalong

Be sure to include the hashtag when you post to Instagram so everyone else can see what you’re up to, and if you’re in the US, you can enter to win prizes ?

Stay in the loop!

If you haven’t signed up for the weekly emails that will go out for the Quilt Along, sign up here.  There might be some added info and bonus content for you as a little treat!

Alright, so here’s the breakdown for Week Nine:A quilt along with the week nine block of the month.

  • In Week Eight, we assembled section 5.  Here’s the action list to complete for Week Nine!
  • Option A instructions can be found on pages 14-15 and Option B instructions can be found on page 22 in your pattern.
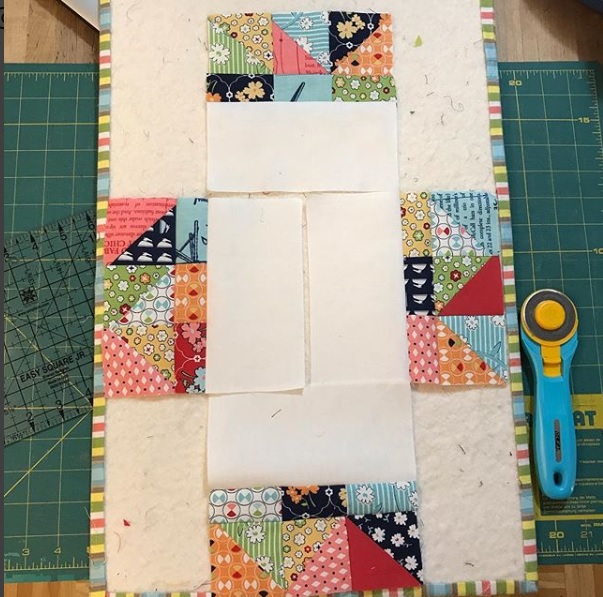
  • You caught me again–I cheated on the photos this week and used the mini (Option B).  It’s so much easier to photograph the mini/pillow Option B than it is the large quilt option.
  • Take a look at your coloring sheet–and lay out your sections prior to pinning and sewing them together.
  • The whole quilt is basically a large nine patch block.  So you’ll sew three rows of three sections together, then sew those rows together to complete the quilt top.
  • Make sure you check that you pin at your seam intersections whenever you have a seam intersection so everything lines up as it should.
  • The only really tricky thing to sewing the top together is keeping your sections straight.  I like to label my sections with a little post it note pinned to each one and numbered.  It just keeps me from pulling my hair out later when I accidentally grab the wrong one.
  • Double check your layout prior to sewing each section together, and press when you’re done!
  • This week, post a picture of your completed quilt top on Instagram using the #cheekychurndashquiltalong hashtag.  Be sure you post your IG picture with the hashtag by midnight on November 16 to qualify for this week’s prize!  This is the grand prize for the QAL-free edge to edge longarm quilting, so you’ll really want to make sure you post this week.  Refer back to the prize roundup for more details.  Even if you missed posting earlier in the quilt along, you can still qualify as long as you post this week with a finished top (must be the 81″ quilt size).A white quilt with blue lettering and a picture of a blue diamond.

Next week, the grand prize winner will be announced and I’ll share some of the finished quilt tops.  Thank you so much for joining me for the quilt along, and a huge thank you to all the prize sponsors:

Aurifil, Crafter’s Companion, Knotted Thread, Olfa, Quilter’s Dream Batting, and The Quilter’s Planner

Posted on

Cheeky Churn Dash Quilt Along – Week Eight

A quilt along week eight


Quilt Along – Week Eight

We’re moving right along into Week Eight of the Cheeky Churn Dash Quilt Along!  Head over to the Original QAL Post to review the details and schedule, if you need to.

A quick review of what we’ve done so far–scroll to the bottom of this page for links to each weekly post.

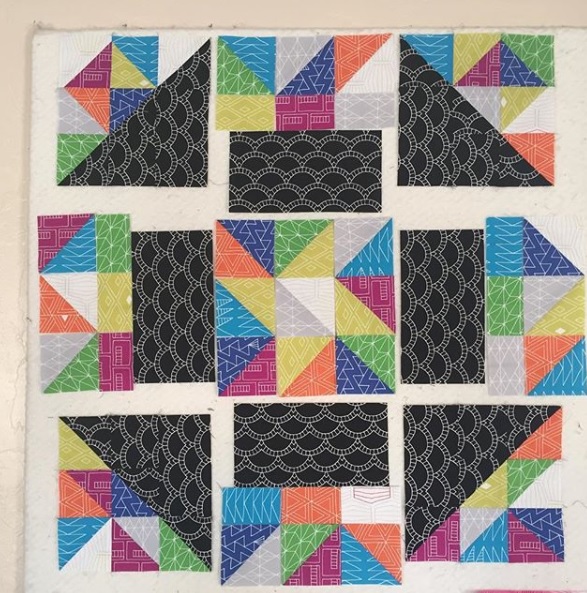
Congratulations to Erica B. for snagging the Week Six prize-a Small Spool Thread Set from Aurifil!  This prize was sponsored by the awesome people at Aurifil Thread.  This was Erica’s post from Week Six:A quilt with different colored squares and black.

Fabric Discount!A blue and white banner with the words knotted read written in orange.

Jennifer at Knotted Threads on Etsy has joined in the Quilt Along fun to bring all Cheeky Churn Dash QAL participants a 10% discount on fabrics purchased from her shop!  She has a great selection of current and modern fabrics, so you’ll want to take advantage of this ?  Use the coupon code: CHEEKYCHURNDASH at checkout.

How to Participate:

Post Your progress on Instagram using the hashtag #cheekychurndashquiltalong

Be sure to include the hashtag when you post to Instagram so everyone else can see what you’re up to, and if you’re in the US, you can enter to win prizes ?

Stay in the loop!

If you haven’t signed up for the weekly emails that will go out for the Quilt Along, sign up here.  There might be some added info and bonus content for you as a little treat!

Alright, so here’s the breakdown for Week Eight:A quilt along week eight is here to share.

  • In Week Seven, we assembled sections 2, 4, 6, and 8.  Here’s the action list to complete for Week Eight!
  • If you’re on Option A–you’ve got another rest week.  Your section 5 is already in one piece.
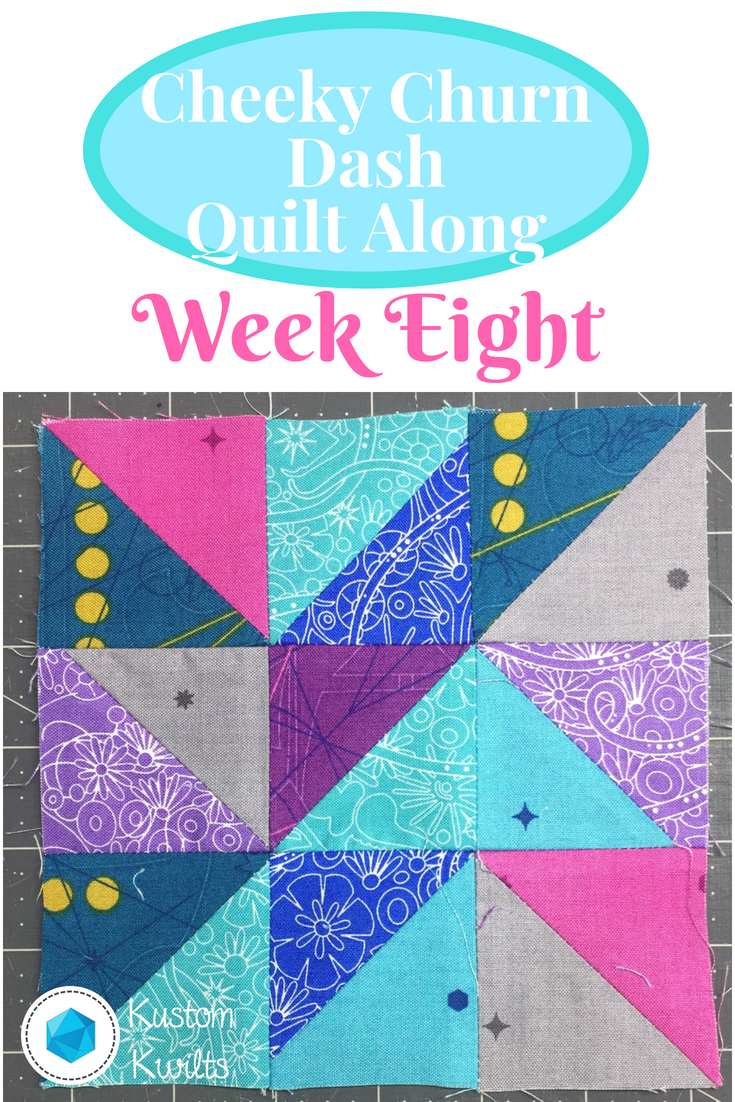
  • Option B can be found on page 22 in your pattern this week.  A blue and white pattern with triangles on it.
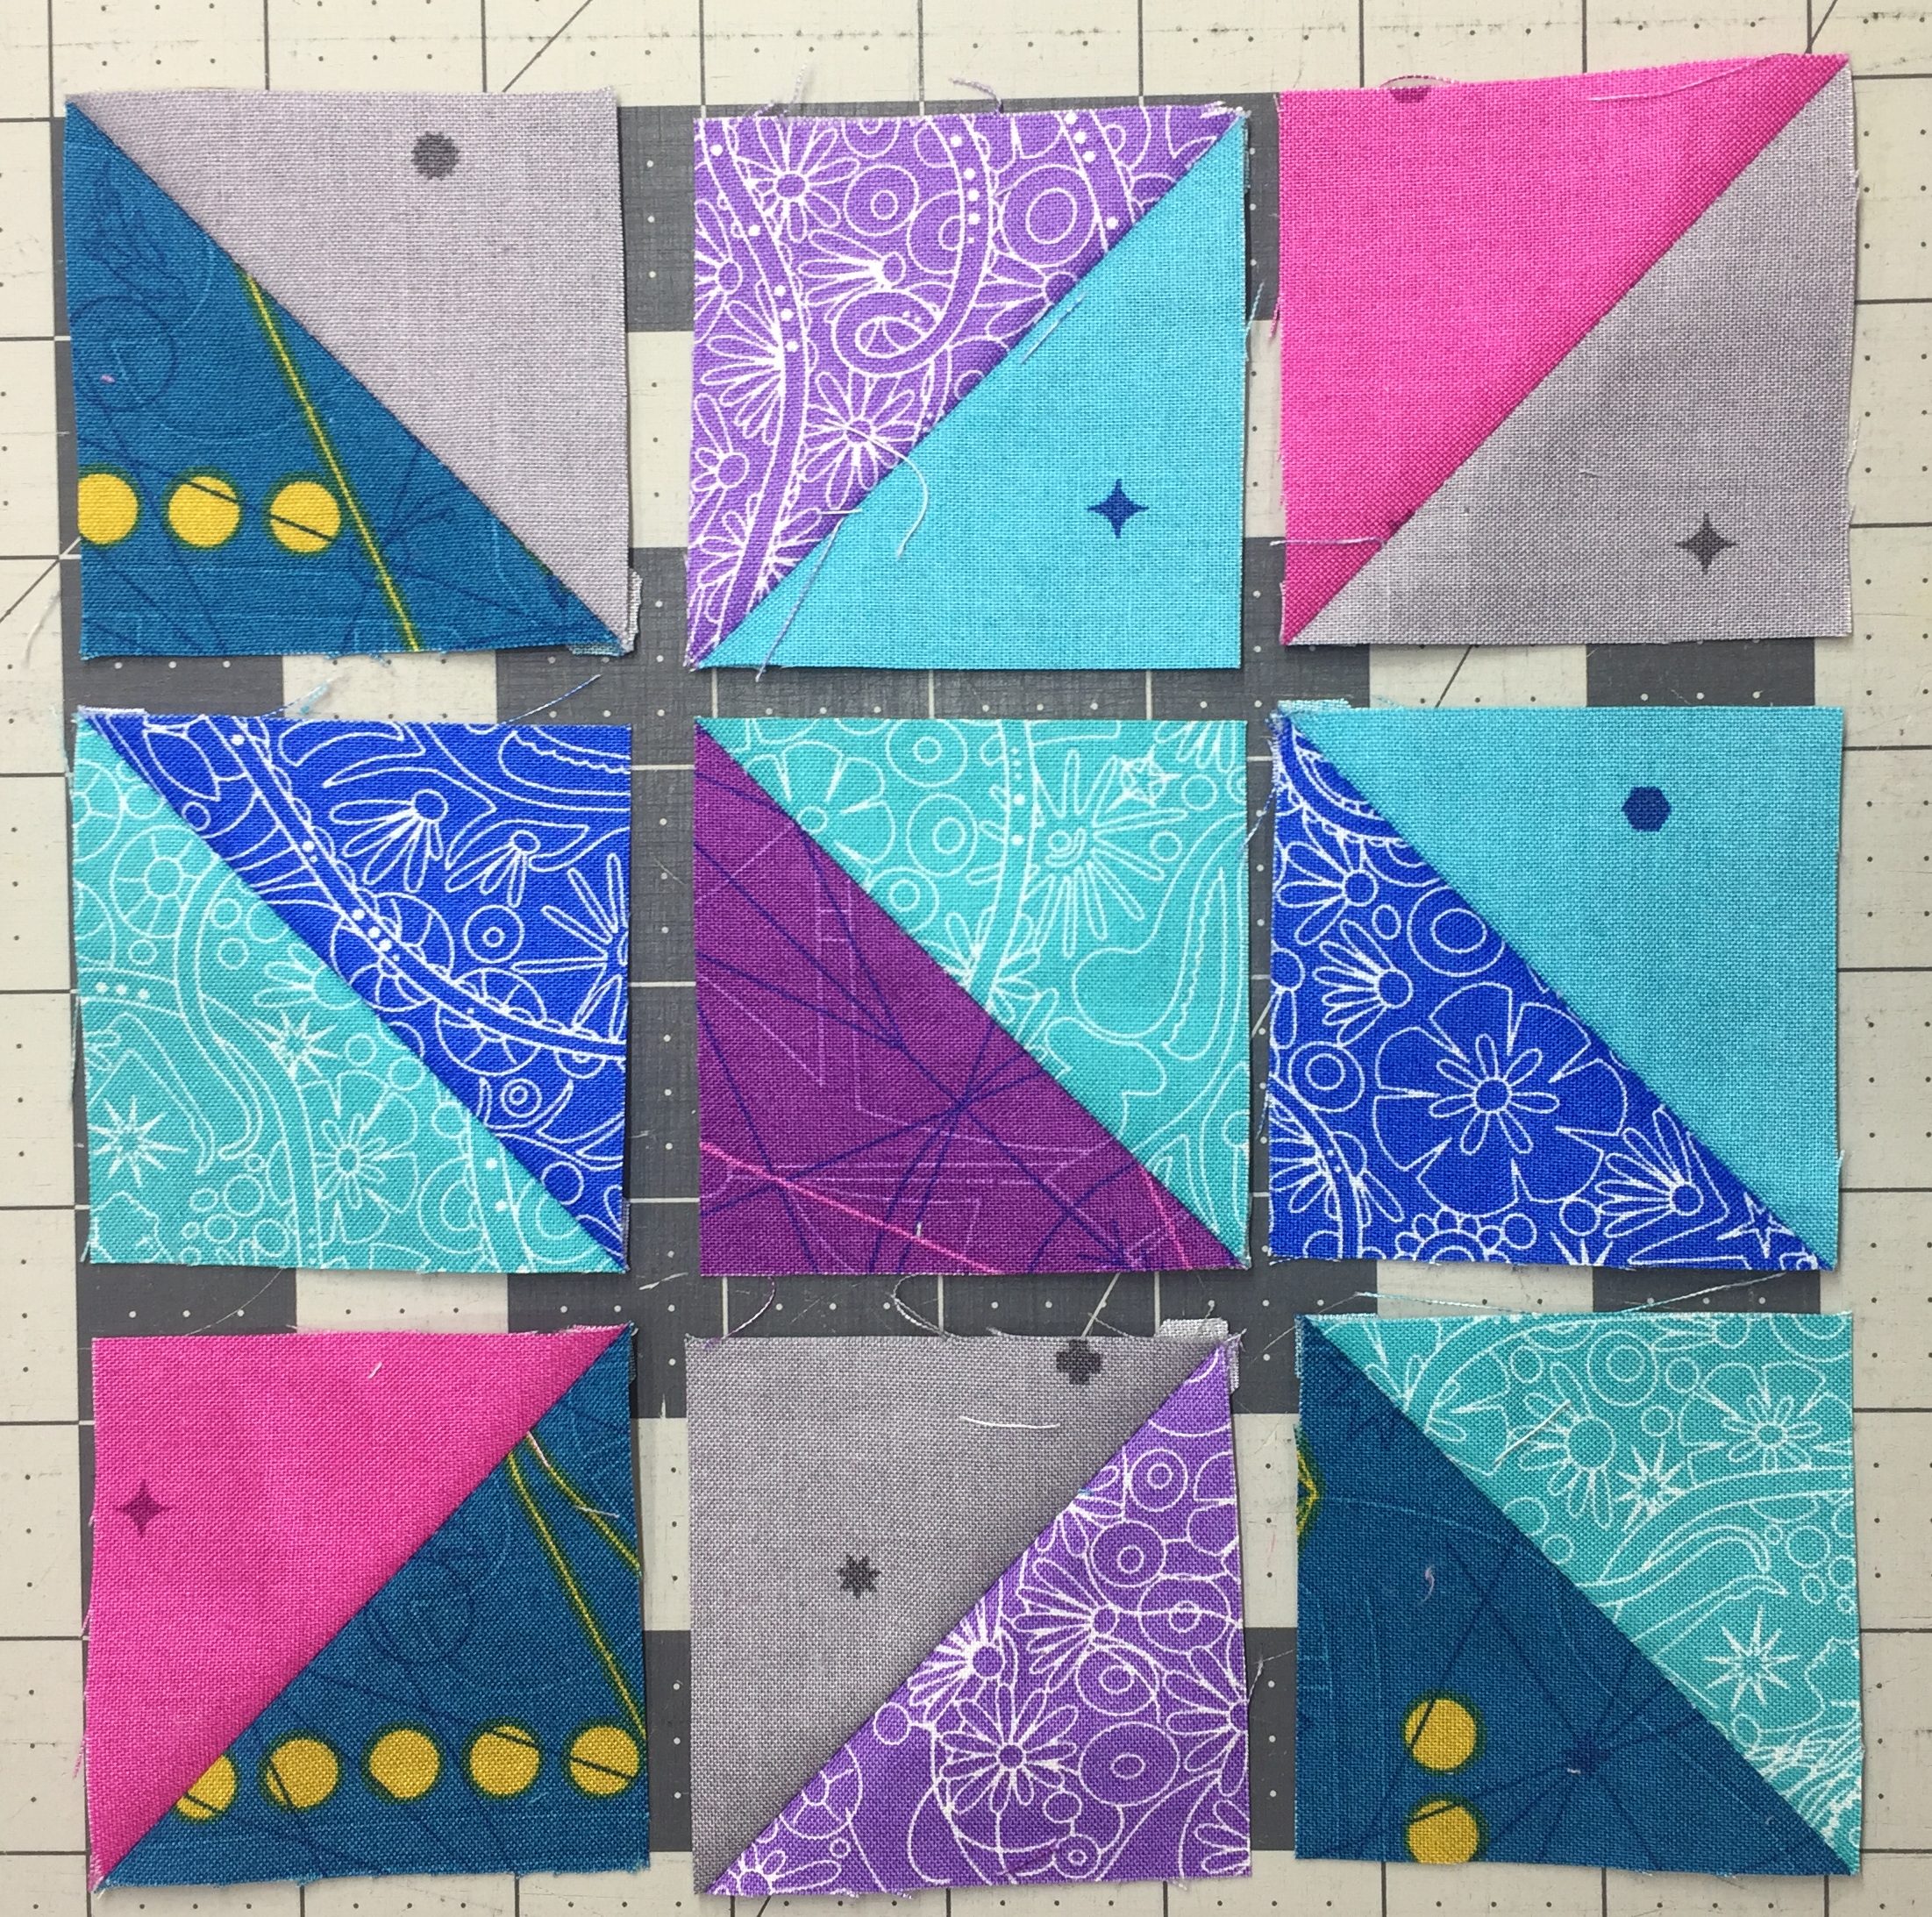
  • Obviously, I cheated on the photos for Option B.  It’s much easier to photograph the mini/pillow Option B than it is the large quilt option.  So let’s pretend these are 9.5″ squares pictured above, instead of 2.5″ squares 😉
  • Take a look at your coloring sheet–and lay out your pieces prior to pinning and sewing the sections together.
  • Section 5 is basically a large nine patch block.  So you’ll sew three rows of three HSTs together, then sew those rows together to complete section 5.
  • Make sure you check that you pin at your seam intersections whenever you have a seam intersection so everything lines up as it should.
  • The only really tricky thing to sewing section 5 together is watching the direction of the diagonal in each HST block.  Honestly, if you don’t follow the pattern layout 100%, it will still look great, and no one will be the wiser that you didn’t!
  • Double check your layout prior to sewing each section together, and press when you’re done!
  • This week, post a picture of your completed section 5 on Instagram using the #cheekychurndashquiltalong hashtag.  It doesn’t matter if your completed section 5 is for Option A or B, just post a quick pic and be sure you post your IG picture with the hashtag before the start of Week Nine to qualify for this week’s prize!  Week Eight’s prize is a Double Sized Batting of your choice (meaning you can pick any of the substrates their batting comes in-cotton, wool, blend, poly, etc.) sponsored by Quilter’s Dream Batting!  The amazing folks at Quilter’s Dream are so awesome to be giving this away–I use their batting exclusively in my studio, and it’s absolutely the best.   A huge thank you to Quilter’s Dream for sponsoring Week Eight’s prize!A white pillow sitting on top of a bed.

Next week, we’ll be sewing the quilt top together.  You guys, we’re almost done!!!

Cheeky Churn Dash Quilt Along Posts:

Week One – Introduce yourself and gather your fabrics

Week Two – Starch and cut your fabrics

Week Three – Assemble and press the HSTs

Week Four – Square up and trim all HST blocks

Week Five – Assemble sections 1, 3, 7, and 9

Week Six – Catch Up!

Week Seven – Assemble sections 2, 4, 6, and 8

Posted on

Cheeky Churn Dash Quilt Along – Week Seven

A quilt along with the week seven block of the month.


Quilt Along – Week Seven

We’re moving right along into Week Seven of the Cheeky Churn Dash Quilt Along!  Head over to the Original QAL Post to review the details and schedule, if you need to.

A quick review of what we’ve done so far–scroll to the bottom of this page for links to each weekly post.

Congratulations to Susan S. for snagging the Week Five prize-a Rotary Cutter and Endurance Blade from Olfa Creates!  This prize was sponsored by the awesome people at Olfa (Thank you so much Olfa!).  These were Susan’s sections 1, 3, 7, and 9 from Week Five:A quilt with a diamond pattern on it.

Fabric Discount!A blue and white banner with the words knotted read written in orange.

Jennifer at Knotted Threads on Etsy has joined in the Quilt Along fun to bring all Cheeky Churn Dash QAL participants a 10% discount on fabrics purchased from her shop!  She has a great selection of current and modern fabrics, so you’ll want to take advantage of this ?  Use the coupon code: CHEEKYCHURNDASH at checkout.

How to Participate:

Post Your progress on Instagram using the hashtag #cheekychurndashquiltalong

Be sure to include the hashtag when you post to Instagram so everyone else can see what you’re up to, and if you’re in the US, you can enter to win prizes ?

Stay in the loop!

If you haven’t signed up for the weekly emails that will go out for the Quilt Along, sign up here.  There might be some added info and bonus content for you as a little treat!

Alright, so here’s the breakdown for Week Seven:

A quilt along week seven is here to share.

  • Week Six was a catch up week.  Here’s the action list to complete for Week Seven!
  • For Option A-we’re on pages 12-13 and Option B-pages 21-22 in your pattern this week.
  • Assemble sections 2, 4, 6, and 8.  A white machine with some blue and white paper
  • Take a look at your coloring sheet–and lay out your pieces prior to pinning and sewing the sections together.
  • These sections all have the same construction, except they are slightly rotated each time.
  • Make sure you check that you pin at your seam intersections whenever you have a seam intersection so everything lines up as it should.
  • Double check your layout prior to sewing each section together, and press when you’re done!
  • This week, post a picture of your completed sections 2, 4, 6, and 8 on Instagram using the #cheekychurndashquiltalong hashtag.  The sections can be all in one picture, or you can do multiple pics in one post, or multiple posts.  As long as all four completed sections are posted, you’ll be good to go.  Be sure you post your IG picture with the hashtag before the start of Week Eight to qualify for this week’s prize!  I’ve curated a sweet little prize of my favorite notions and must have sewing tools!!  Included in your winnings: Rainbow Clover Binding clips, Tula Pink snips, Aurifil Thread in my FAVORITE color for piecing, the absolute best Clover Seam Ripper, A Holster to keep all your goodies close at hand, and a clip on lamp by Daylight Company!  Check it out:A table with some craft supplies and a toothbrush

Next week, we’ll be assembling section 5.  If you opted to make Option A, section 5 is all in one piece already 🙂

Cheeky Churn Dash Quilt Along Posts:

Week One – Introduce yourself and gather your fabrics

Week Two – Starch and cut your fabrics

Week Three – Assemble and press the HSTs

Week Four – Square up and trim all HST blocks

Week Five – Assemble sections 1, 3, 7, and 9

Week Six – Catch Up!