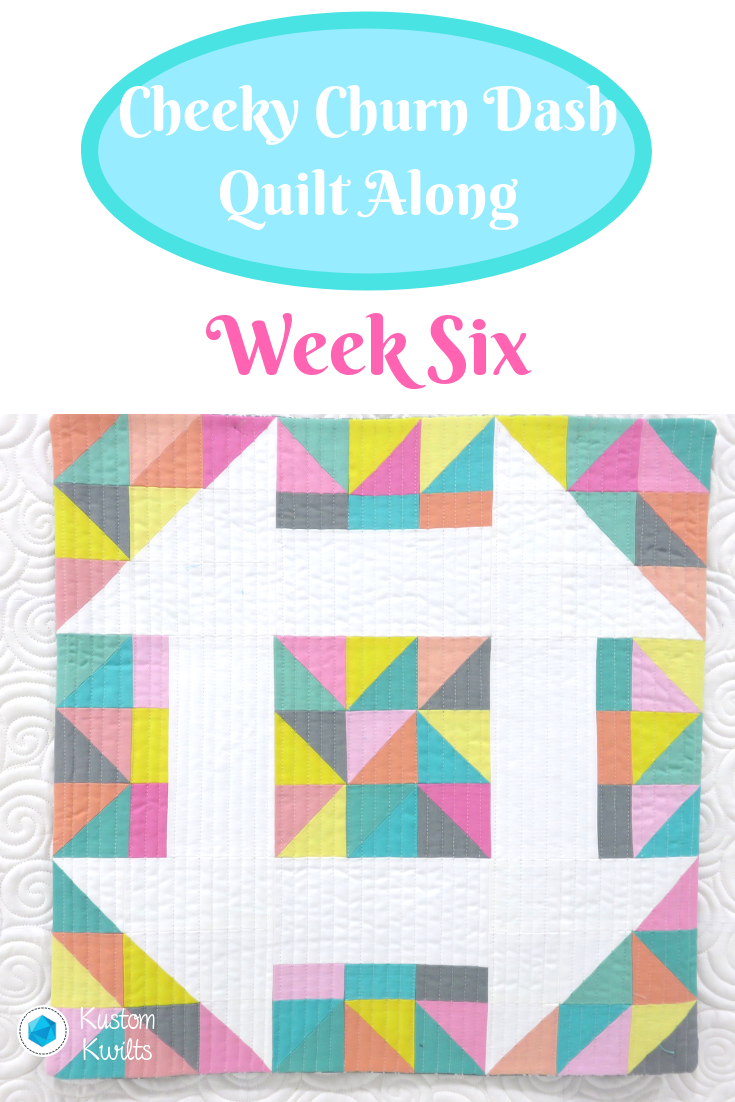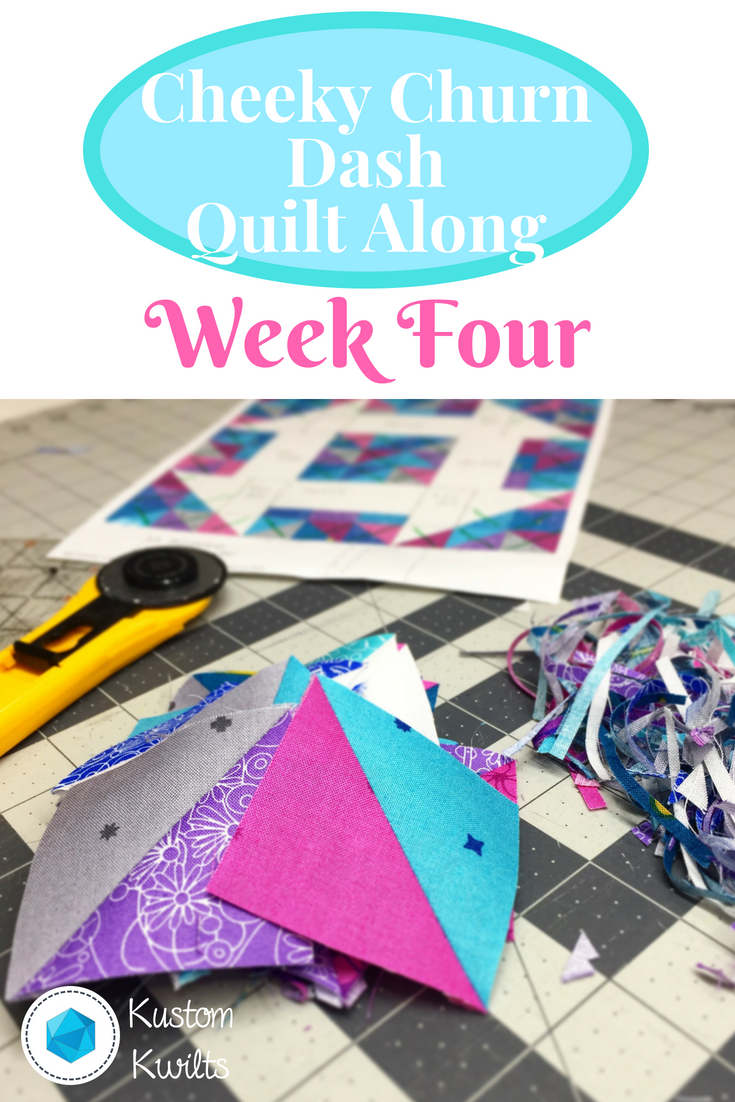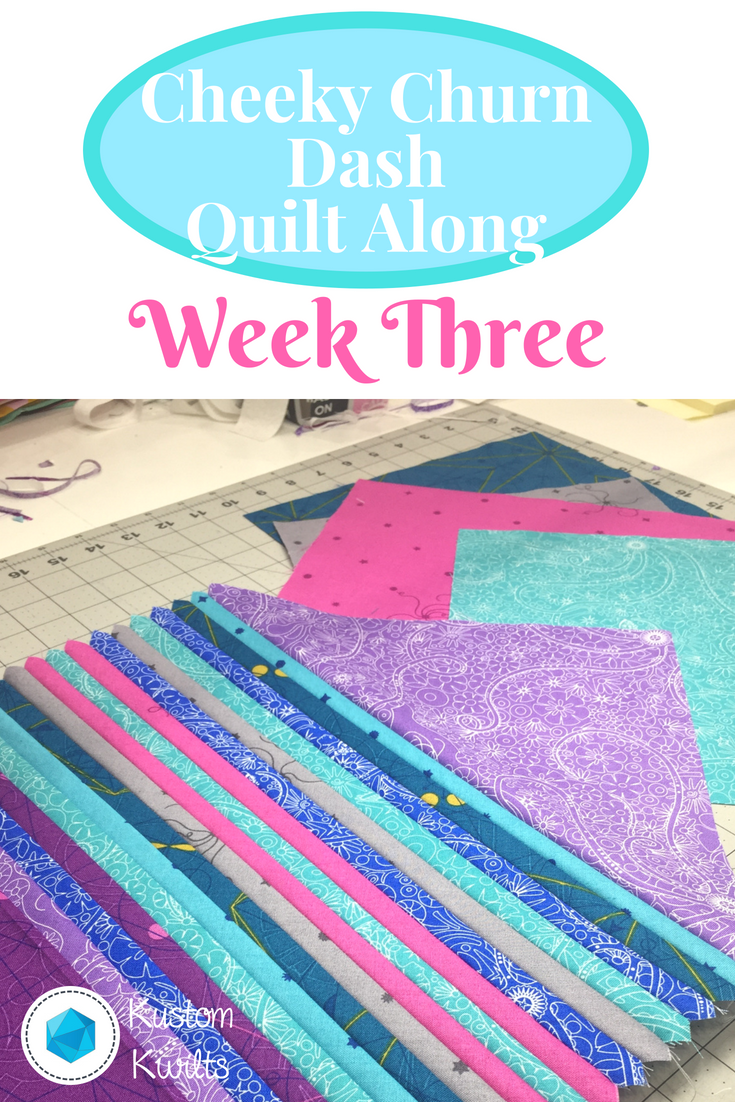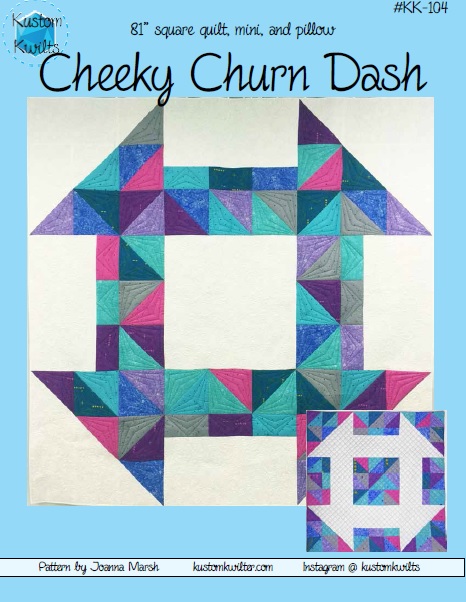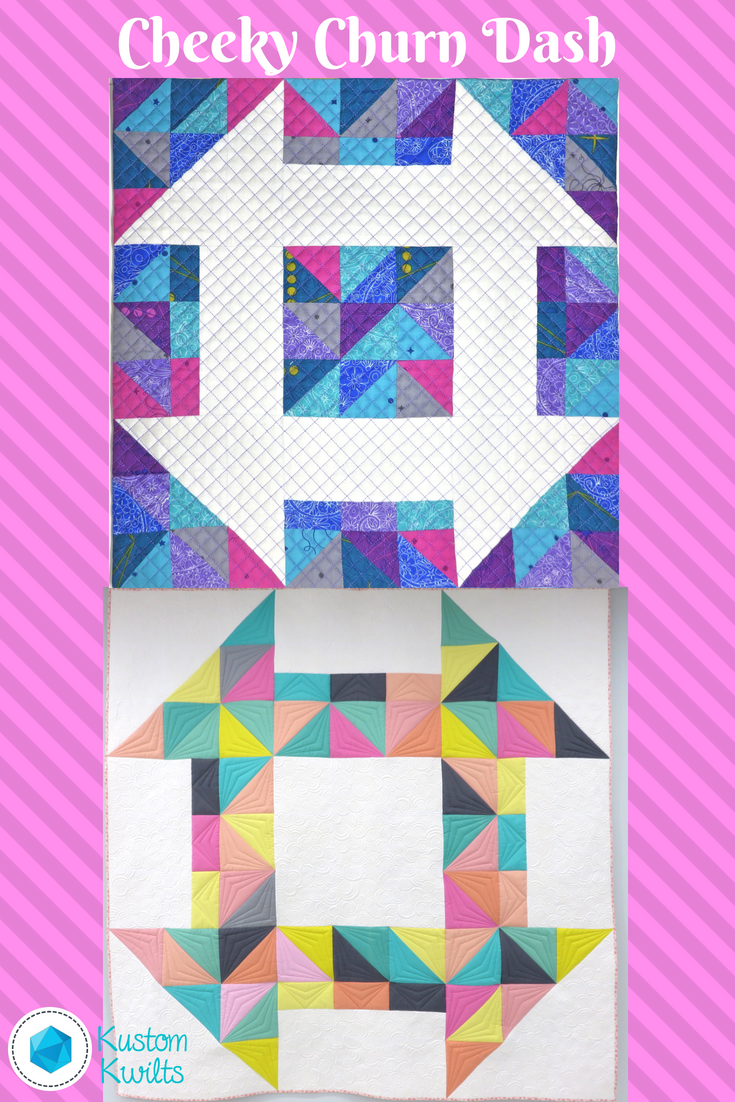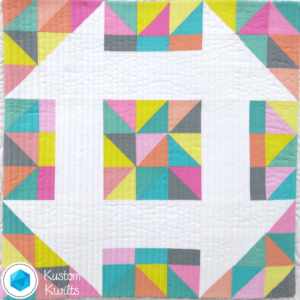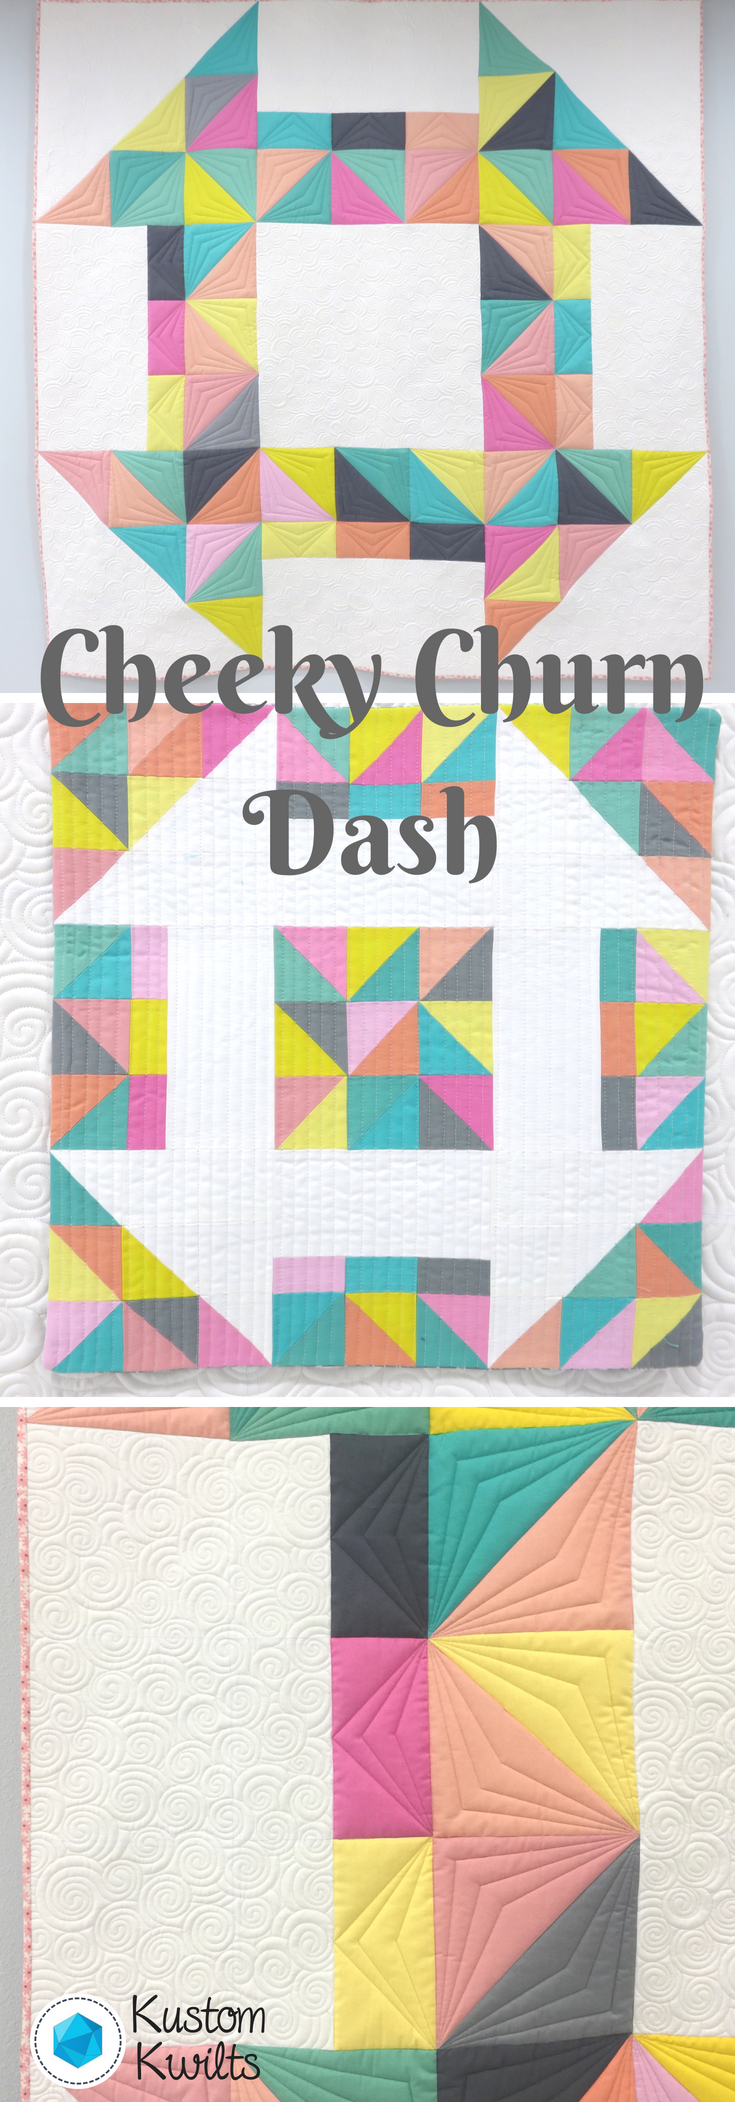
Quilt Along – Week Seven
We’re moving right along into Week Seven of the Cheeky Churn Dash Quilt Along! Head over to theOriginal QAL Postto review the details and schedule, if you need to.
A quick review of what we’ve done so far–scroll to the bottom of this page for links to each weekly post.
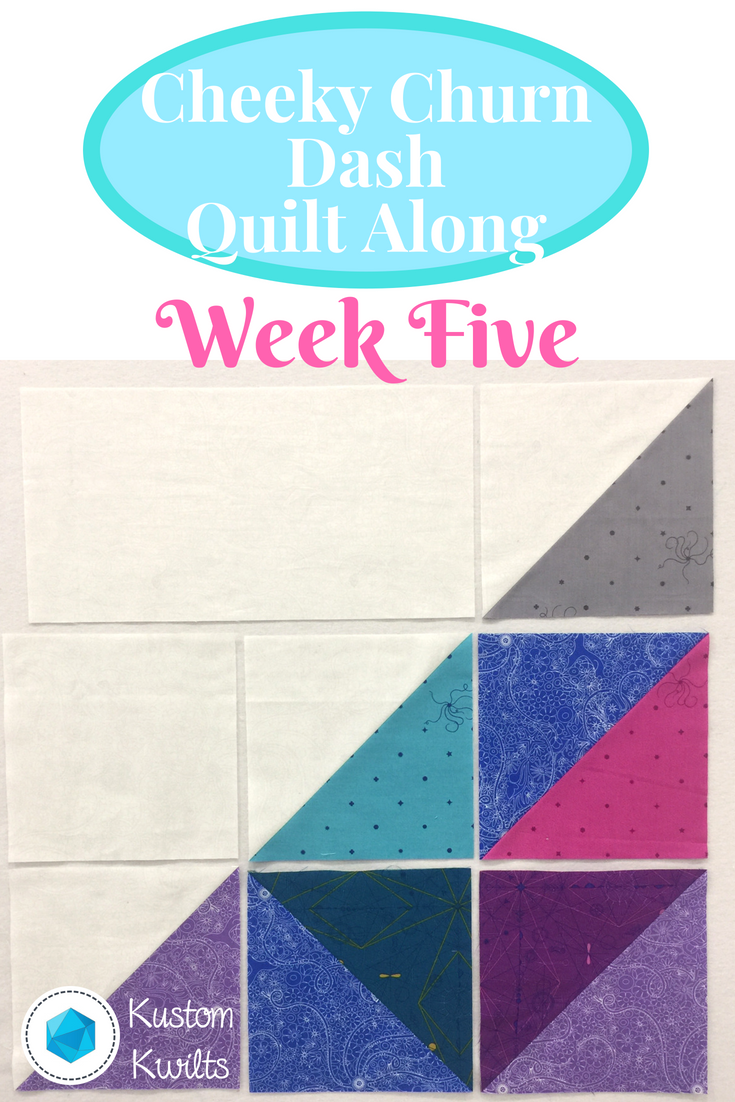
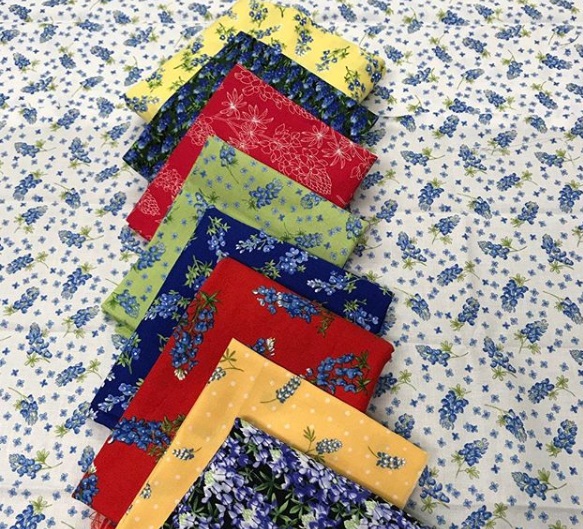
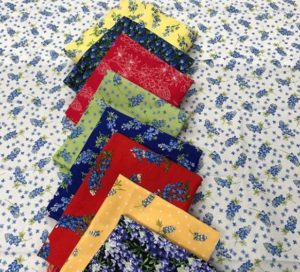
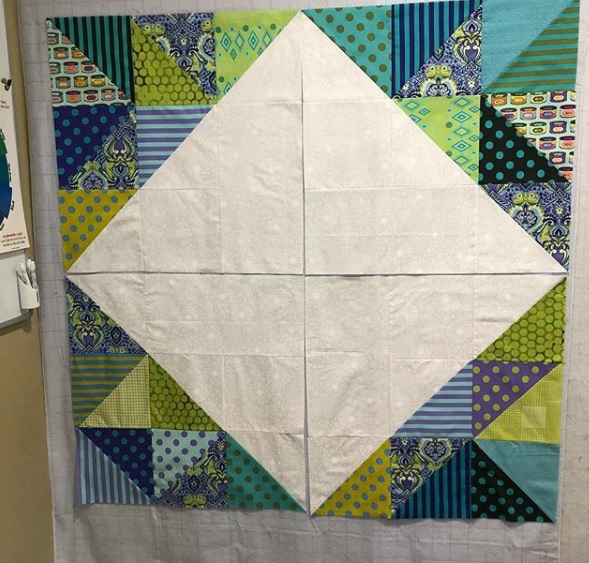
Congratulations to Susan S. for snagging the Week Five prize-a Rotary Cutter and Endurance Blade fromOlfa Creates! This prize was sponsored by the awesome people at Olfa (Thank you so much Olfa!). These were Susan’s sections 1, 3, 7, and 9 from Week Five:
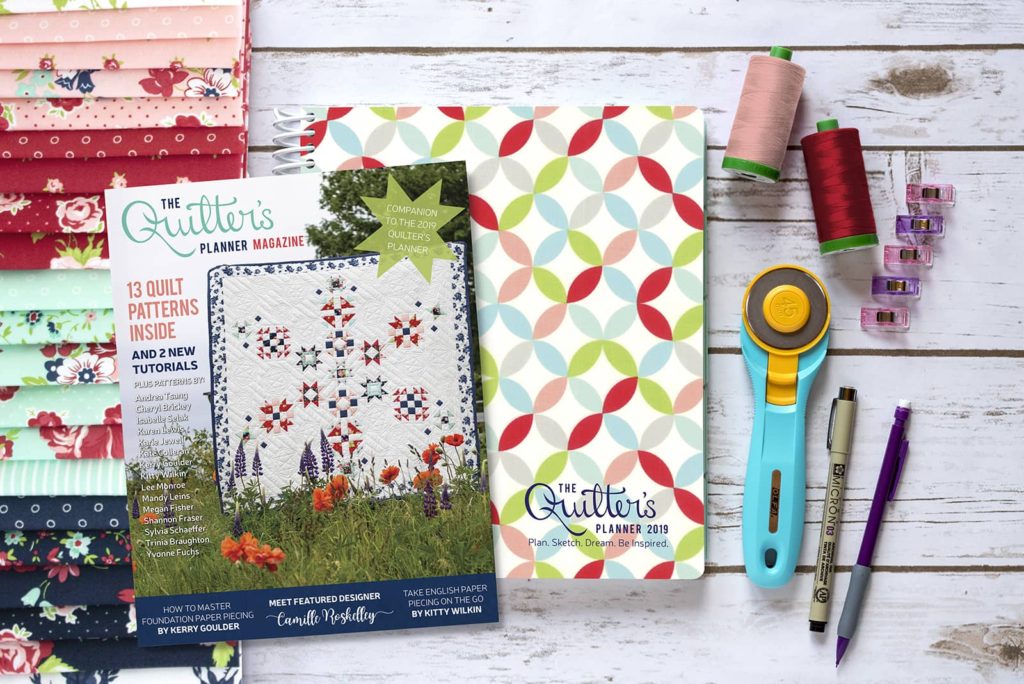
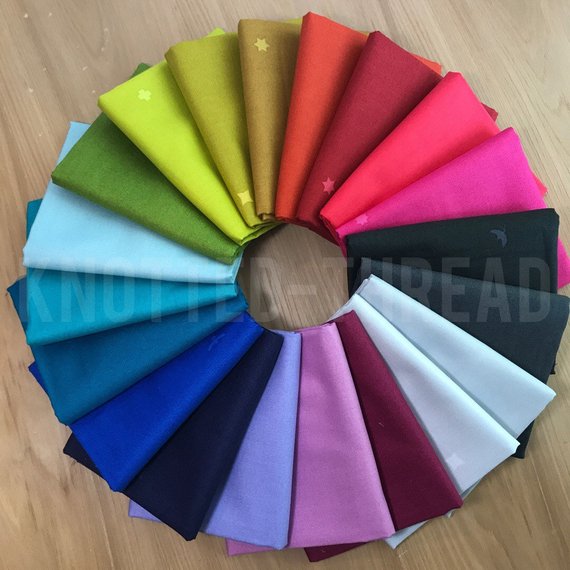
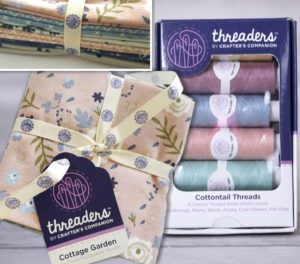
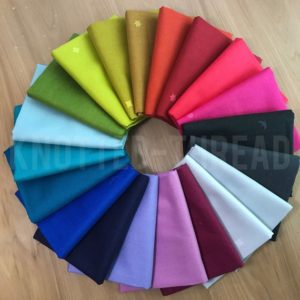
Fabric Discount!

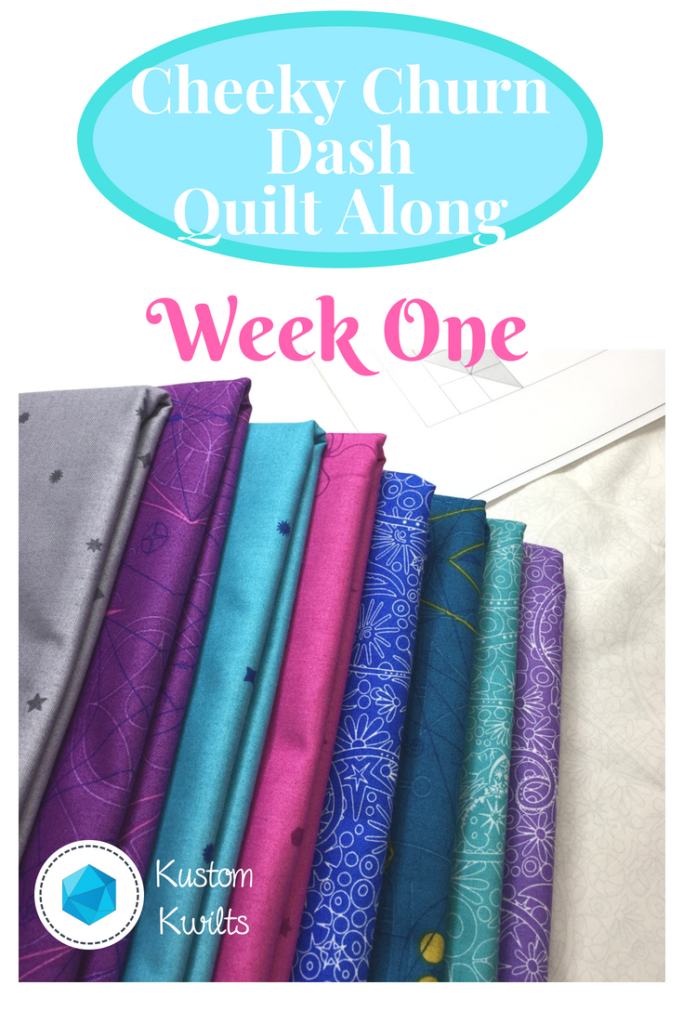
Jennifer atKnotted Threads on Etsyhas joined in the Quilt Along fun to bring all Cheeky Churn Dash QAL participants a 10% discount on fabrics purchased from her shop! She has a great selection of current and modern fabrics, so you’ll want to take advantage of this Use the coupon code:CHEEKYCHURNDASH at checkout.
How to Participate:
Post Your progress on Instagram using the hashtag#cheekychurndashquiltalong
Be sure to include the hashtag when you post to Instagram so everyone else can see what you’re up to, and if you’re in the US, you can enter to win prizes
Stay in the loop!
If you haven’t signed up for the weekly emails that will go out for the Quilt Along,sign up here. There might be some added info and bonus content for you as a little treat!
Alright, so here’s the breakdown for Week Seven:
- Week Six was a catch up week. Here’s the action list to complete for Week Seven!
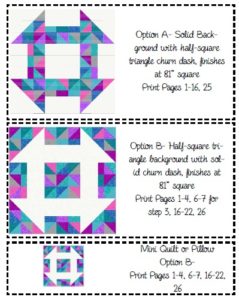
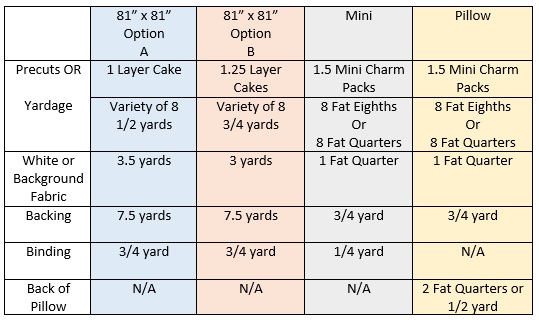
- For Option A-we’re on pages 12-13 and Option B-pages 21-22 in your pattern this week.
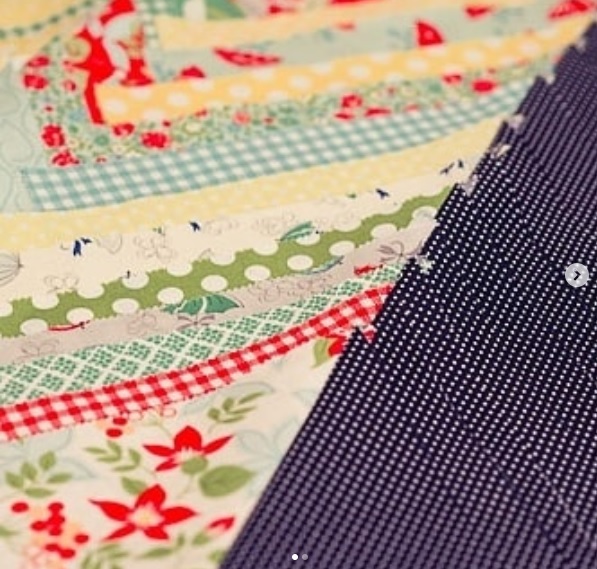
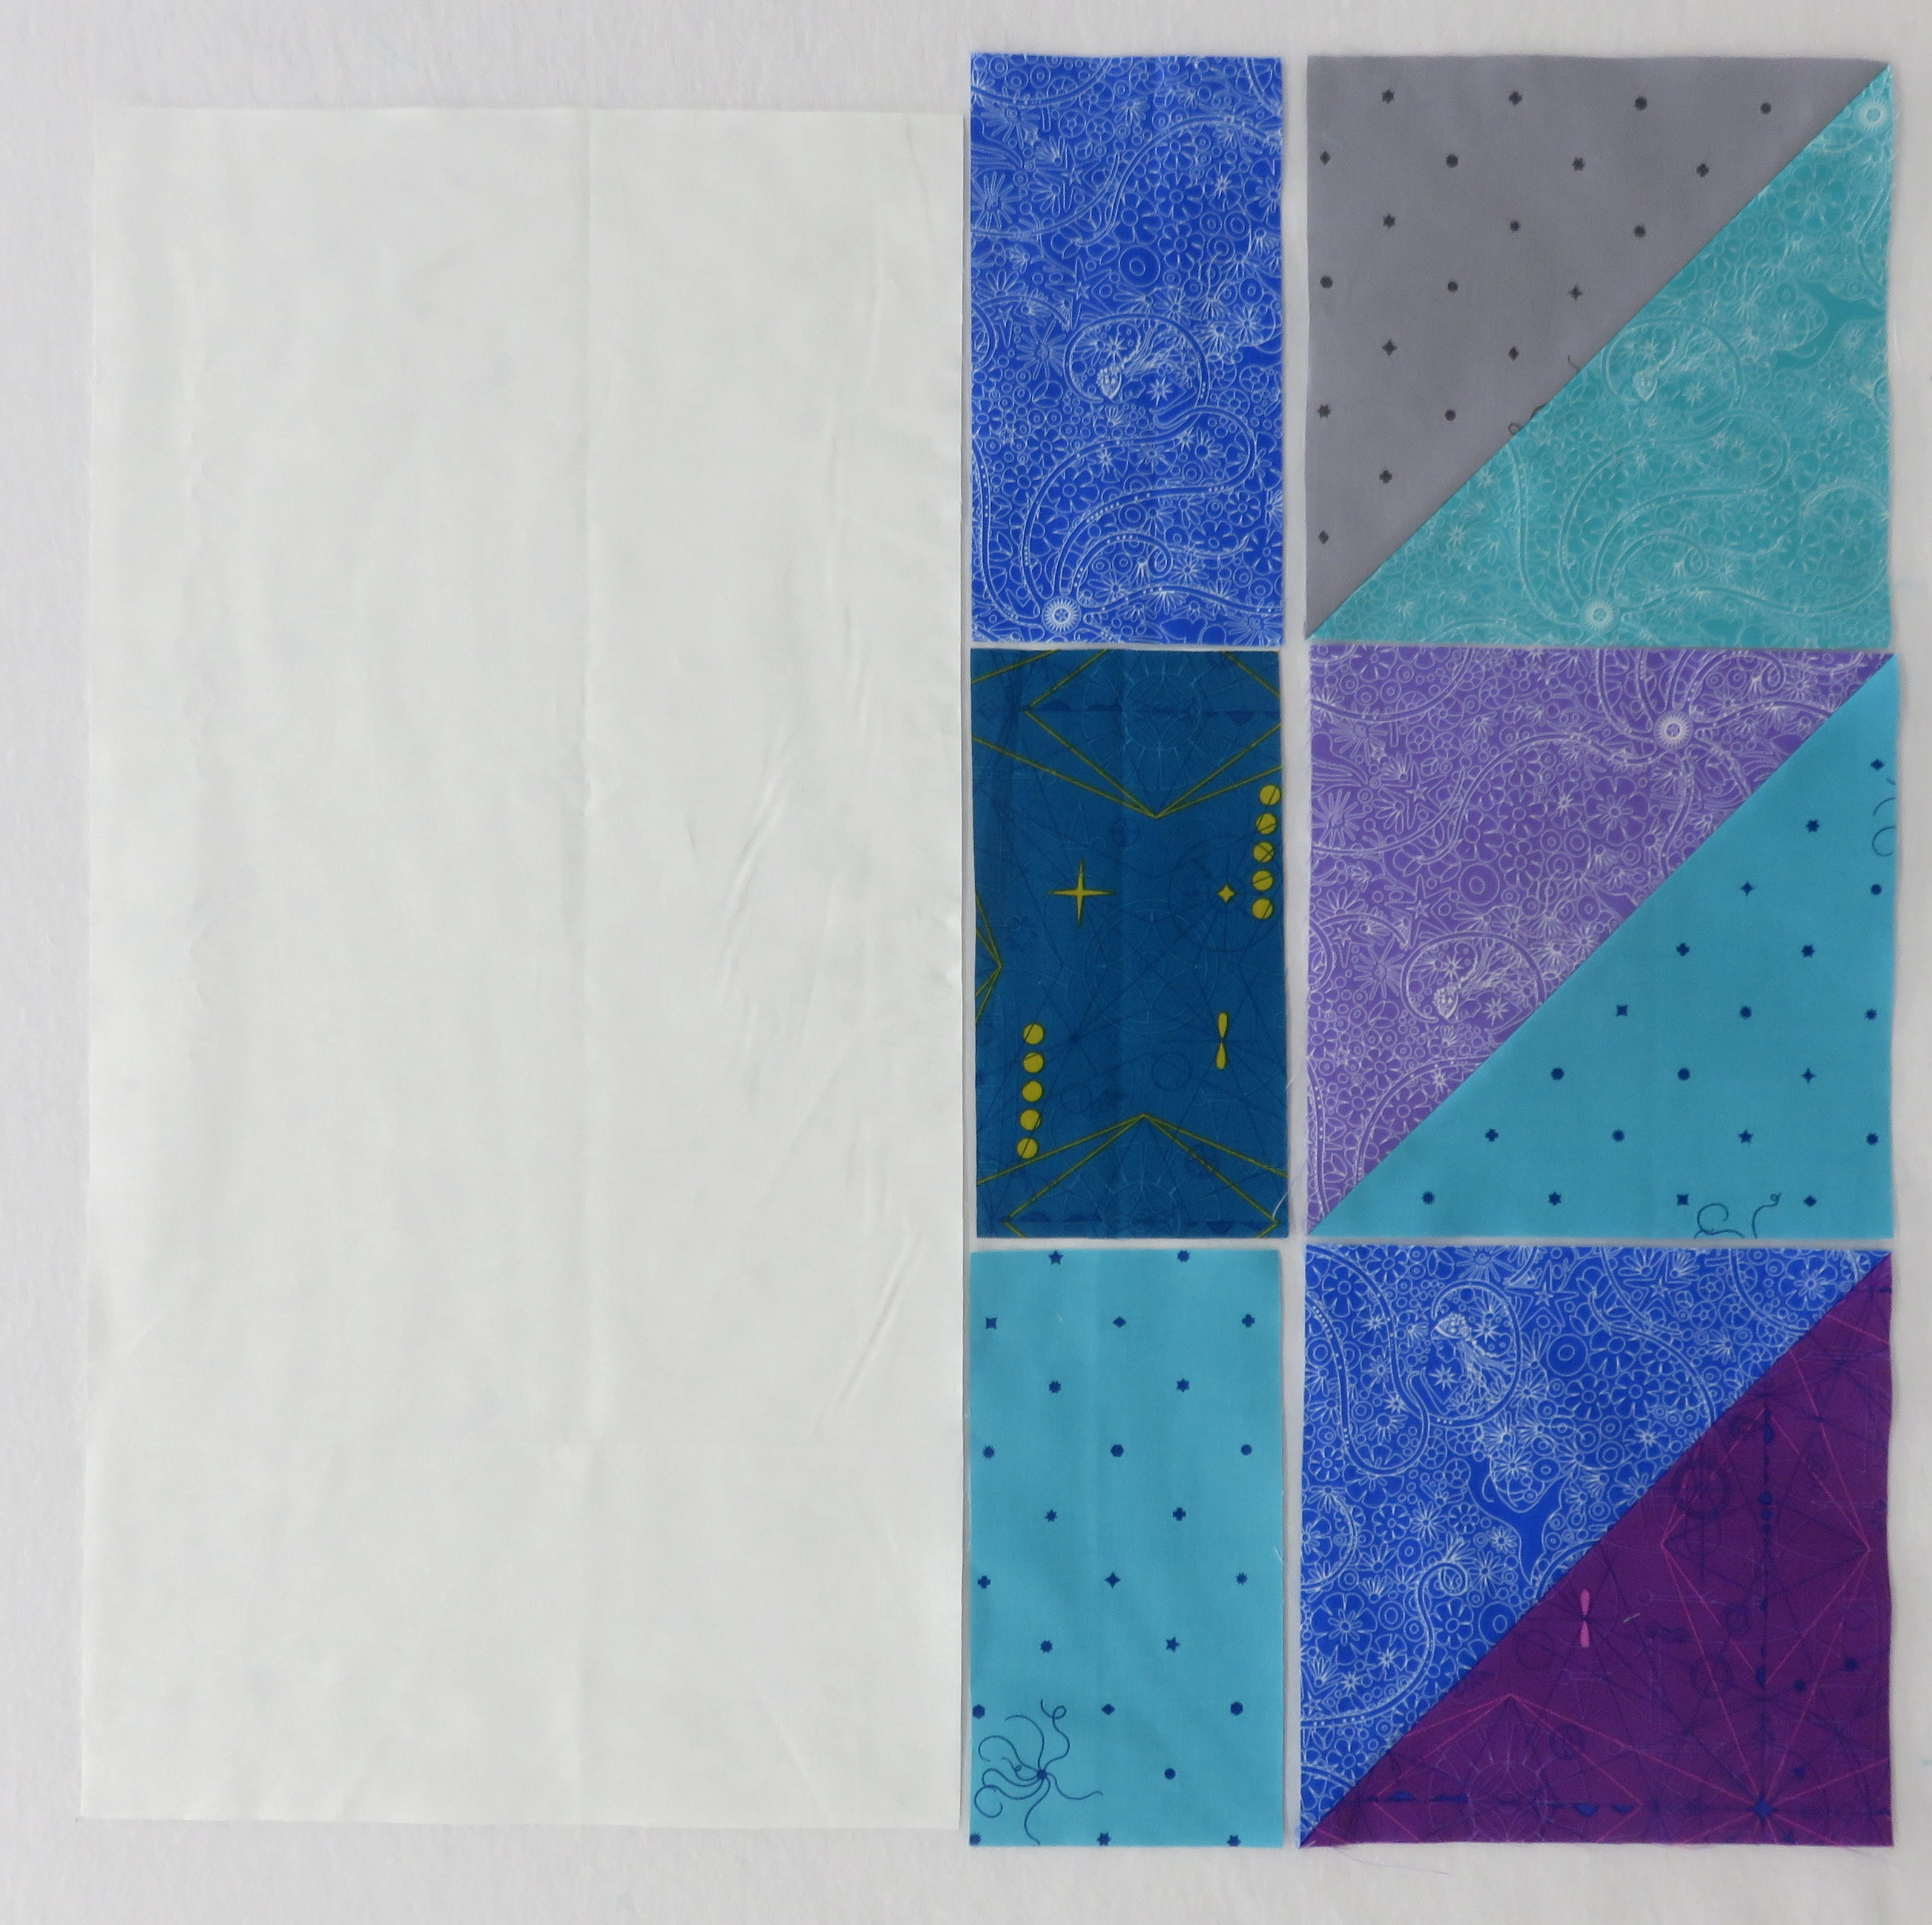
- Assemble sections 2, 4, 6, and 8.
- Take a look at your coloring sheet–and lay out your pieces prior to pinning and sewing the sections together.
- These sections all have the same construction, except they are slightly rotated each time.
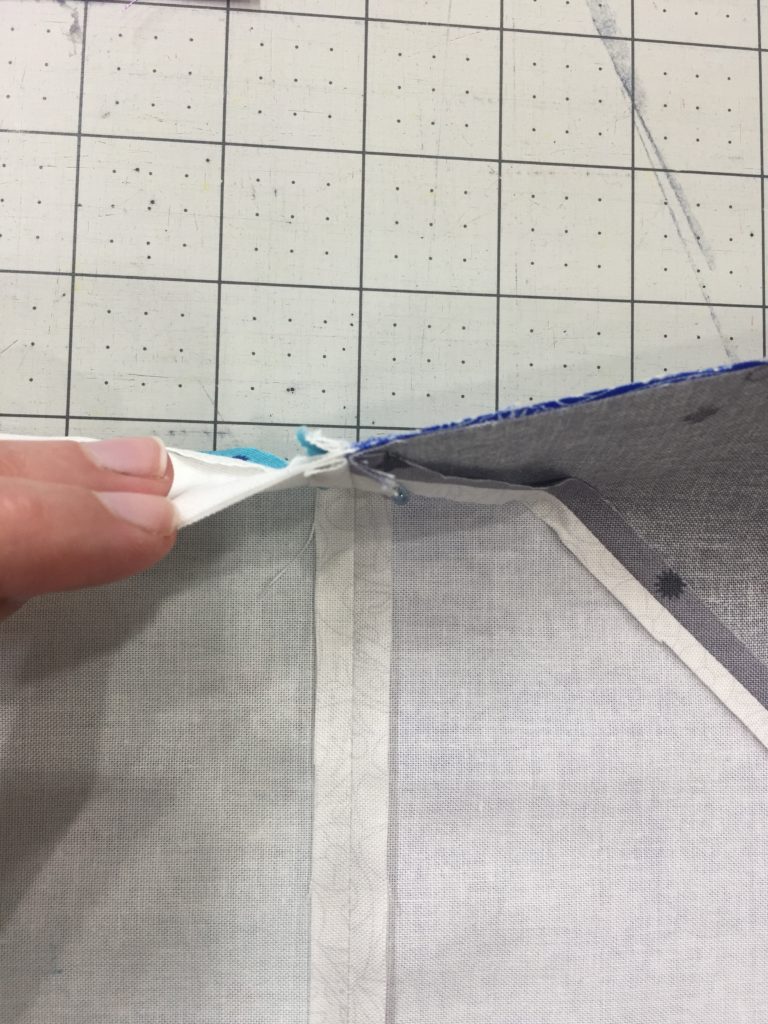
- Make sure you check that you pin at your seam intersections whenever you have a seam intersection so everything lines up as it should.
- Double check your layout prior to sewing each section together, and press when you’re done!
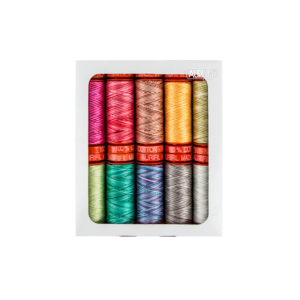
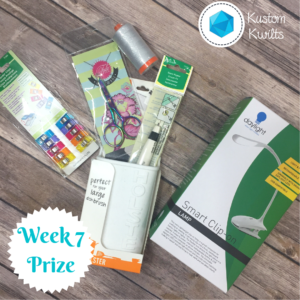
- This week, post a picture of your completed sections 2, 4, 6, and 8 on Instagram using the #cheekychurndashquiltalong hashtag. The sections can be all in one picture, or you can do multiple pics in one post, or multiple posts. As long as all four completed sections are posted, you’ll be good to go. Be sure you post your IG picture with the hashtag before the start of Week Eight to qualify for this week’s prize! I’ve curated a sweet little prize of my favorite notions and must have sewing tools!! Included in your winnings: Rainbow Clover Binding clips, Tula Pink snips, Aurifil Thread in my FAVORITE color for piecing, the absolute best Clover Seam Ripper, A Holster to keep all your goodies close at hand, and a clip on lamp by Daylight Company! Check it out:
Next week, we’ll be assembling section 5. If you opted to make Option A, section 5 is all in one piece already 🙂
Cheeky Churn Dash Quilt Along Posts:
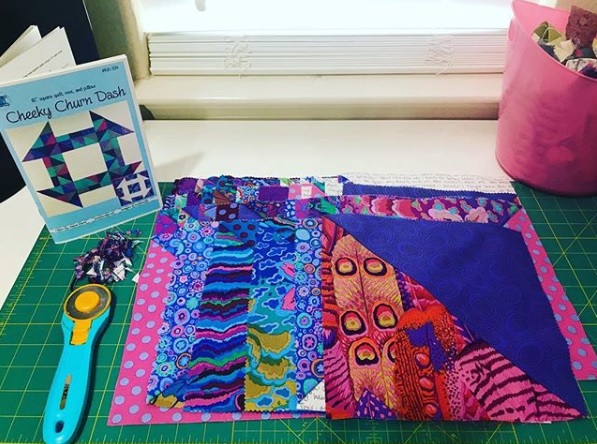
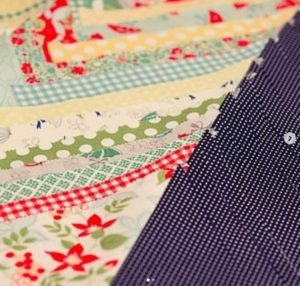
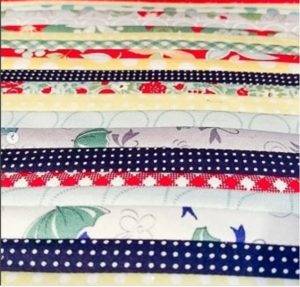
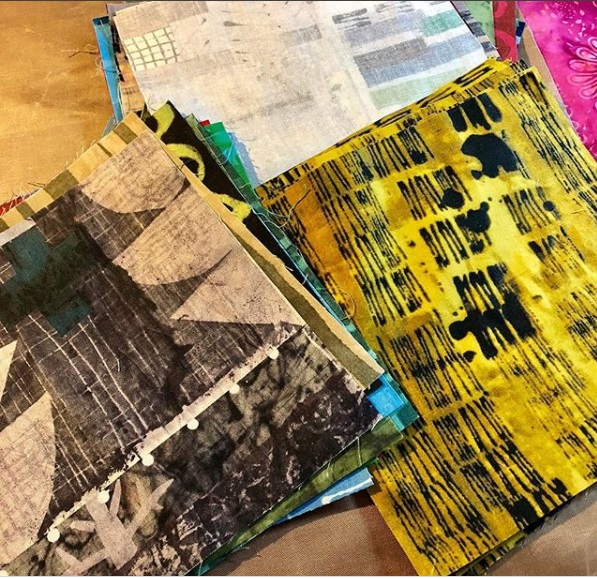
Week One– Introduce yourself and gather your fabrics
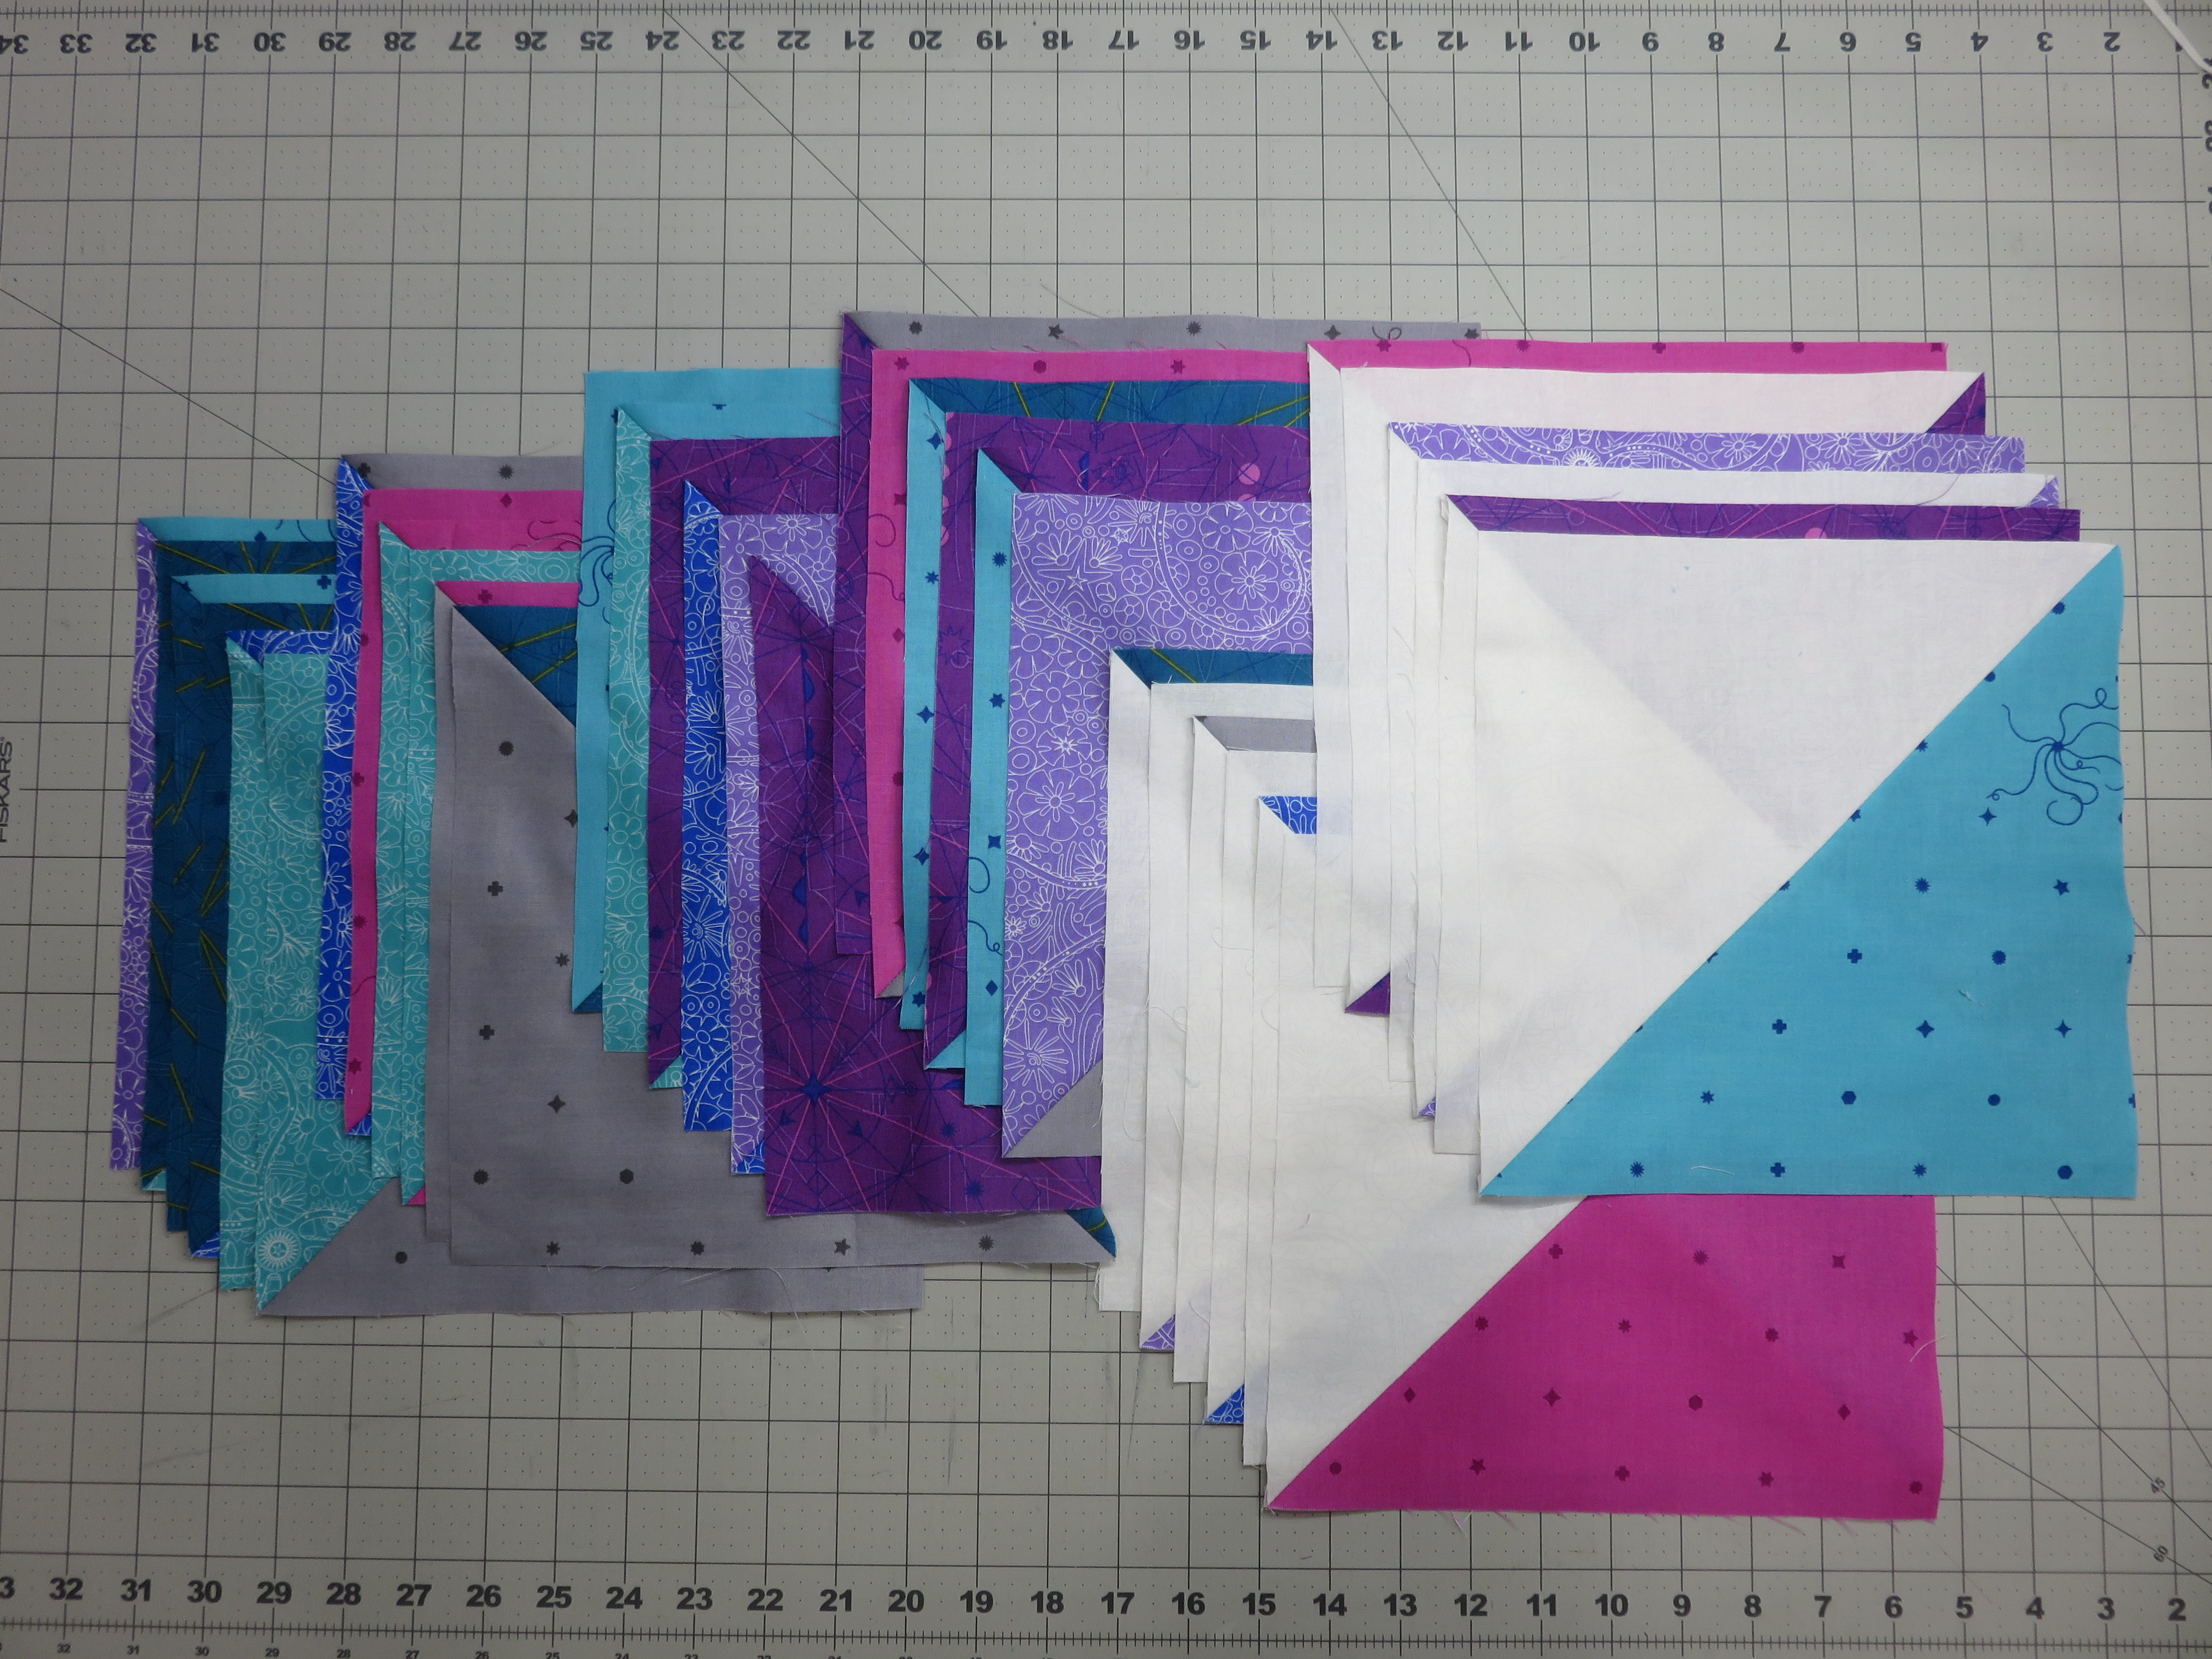
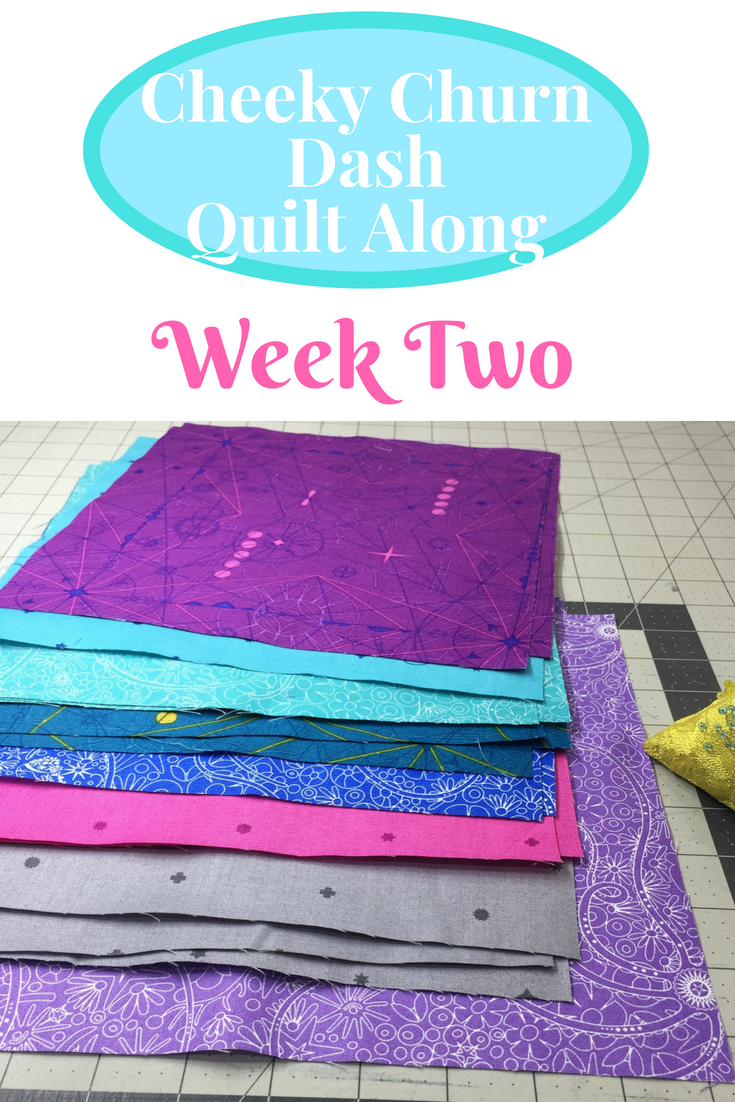
Week Two– Starch and cut your fabrics
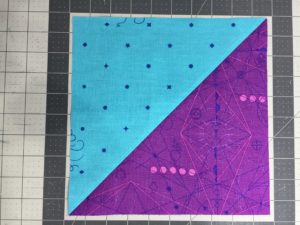
Week Three– Assemble and press the HSTs
Week Four– Square up and trim all HST blocks
Week Five– Assemble sections 1, 3, 7, and 9
Week Six– Catch Up!