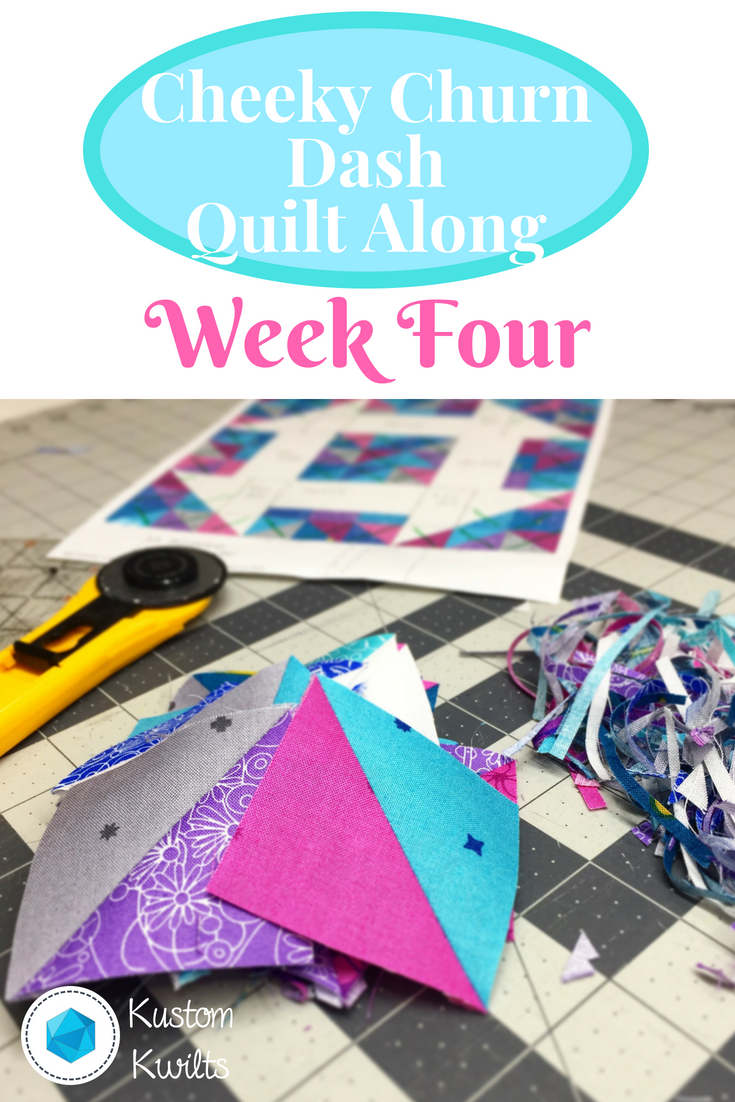
Quilt Along – Week Four
We’re moving right along into Week Four of the Cheeky Churn Dash Quilt Along!
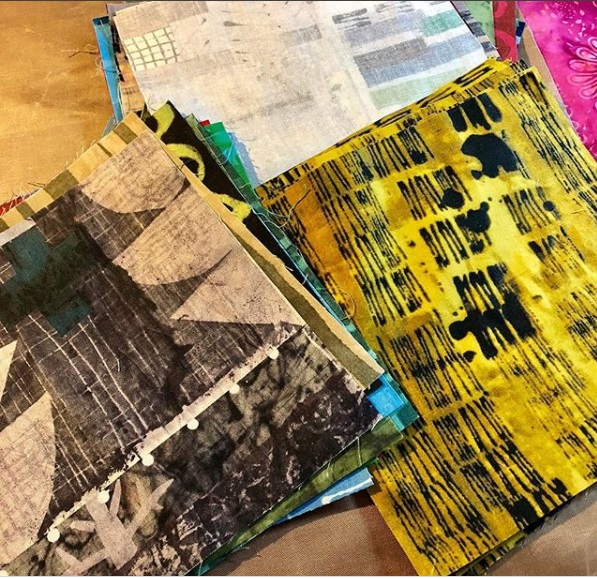
Congratulations to Ruth B. for snagging the Week Two prize-a Tula Pink De La Luna fat quarter bundle! This bundle was sponsored by Kustom Kwilts (me!). This was Ruth’s stack of fabric cuts for week 2:

A quick review of what we’ve done so far–scroll to the bottom of this page for links to each weekly post.
Fabric Discount!

Jennifer atKnotted Threads on Etsyhas joined in the Quilt Along fun to bring all Cheeky Churn Dash QAL participants a 10% discount on fabrics purchased from her shop! She has a great selection of current and modern fabrics, so you’ll want to take advantage of this Use the coupon code:CHEEKYCHURNDASH at checkout.
How to Participate:
Post Your progress on Instagram using the hashtag#cheekychurndashquiltalong
Be sure to include the hashtag when you post to Instagram so everyone else can see what you’re up to, and if you’re in the US, you can enter to win prizes
Stay in the loop!
If you haven’t signed up for the weekly emails that will go out for the Quilt Along,sign up here. There might be some added info and bonus content for you as a little treat!
Alright, so here’s the breakdown for Week Four:
- In Week Three, we sewed all the half square triangles for either Option A or Option B. Then we pressed all of our HSTs. Here’s the action list to complete for Week Four!
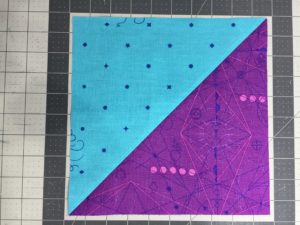
- Week Four is pretty easy. Grab your rotary cutter and a quilting ruler and slide your HSTs over to a cutting mat.
- For the 81″ square quilt size–Option A and Option B, you’ll square up all your HSTs to measure 9.5″ square.
- For the mini or pillow size, you’ll square up all your HSTs to measure 2.5″.
- To do this, you’ll need to make sure the diagonal of your HST is exactly centered within the square measurement. Then trim off any excess as needed.
- Check out a quick video tutorial of how to line up your ruler when trimming your HSTs.
- That’s it! It is a little labor intensive, but it’s worth it to go back and check that all your HST blocks measure correctly before we start putting this quilt together.
- This week, post a picture of your stacks of trimmed and squared up HST blocks (and trimmings/rotary cutter if you have them!) on Instagram using the #cheekychurndashquiltalong hashtag. Be sure you post your IG picture with the hashtag before the start of Week Five to qualify for this week’s prize!
This week’s prize is sponsored by The Quilter’s Planner! I just purchased my 2019 Quilter’s Planner, and it’s amazing! I’m so excited that they’ve jumped on board to sponsor a 2019 Quilter’s Planner for Week Four.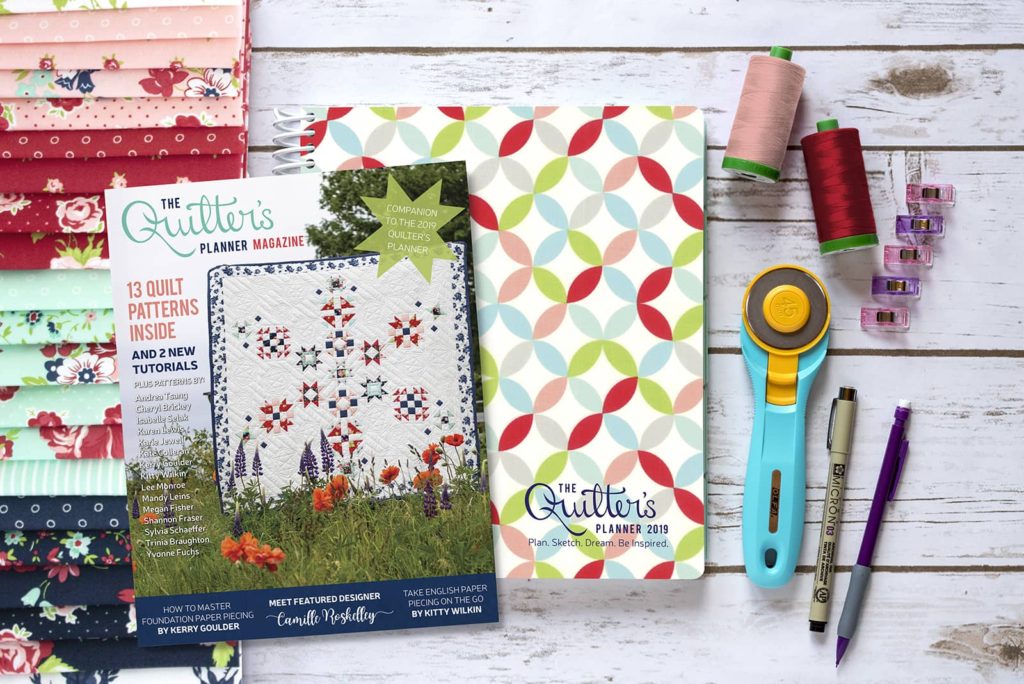
Next week, we’ll be assembling sections 1, 3, 7, and 9!
Cheeky Churn Dash Quilt Along Posts:
Week One– Introduce yourself and gather your fabrics
Week Two– Starch and cut your fabrics
Week Three– Assemble and press the HSTs