Tag: fmq
Get your Graffiti Quilting on!
Free motion quilting tutorial – How to quilt pebbles
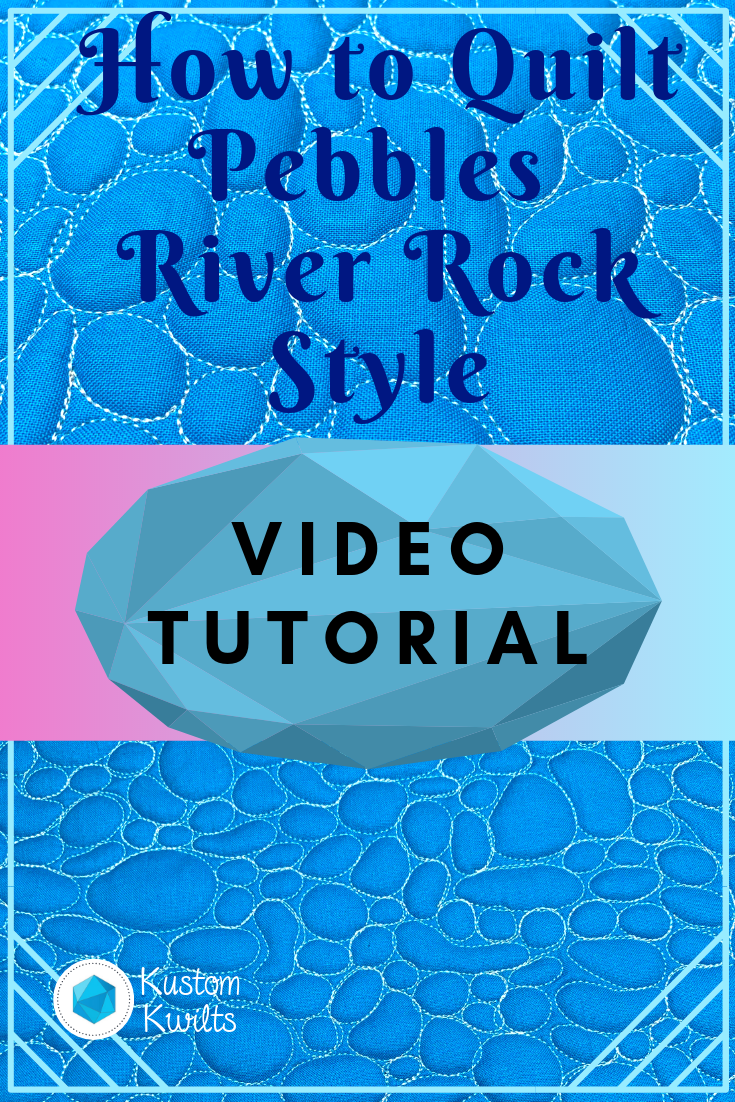
Pebbles are a favorite of mine when there are lots of small spaces that need extra texture. The thing is, it can get kind of boring to quilt the same size pebble over and over AND OVER again until the cows come home. Right?
I like to change up the size of the pebbles to add a little more interest and create a river rock effect. It helps to take some of the monotony out of it, but lets you keep all that ooey-gooey texture that you’re going for. Sometimes, quilting the same shape so much will make you get a little road weary, and I’ve found this is a great way to avoid that.
Continue reading Free motion quilting tutorial – How to quilt pebblesHow to quilt orange peels – free motion quilting tutorial
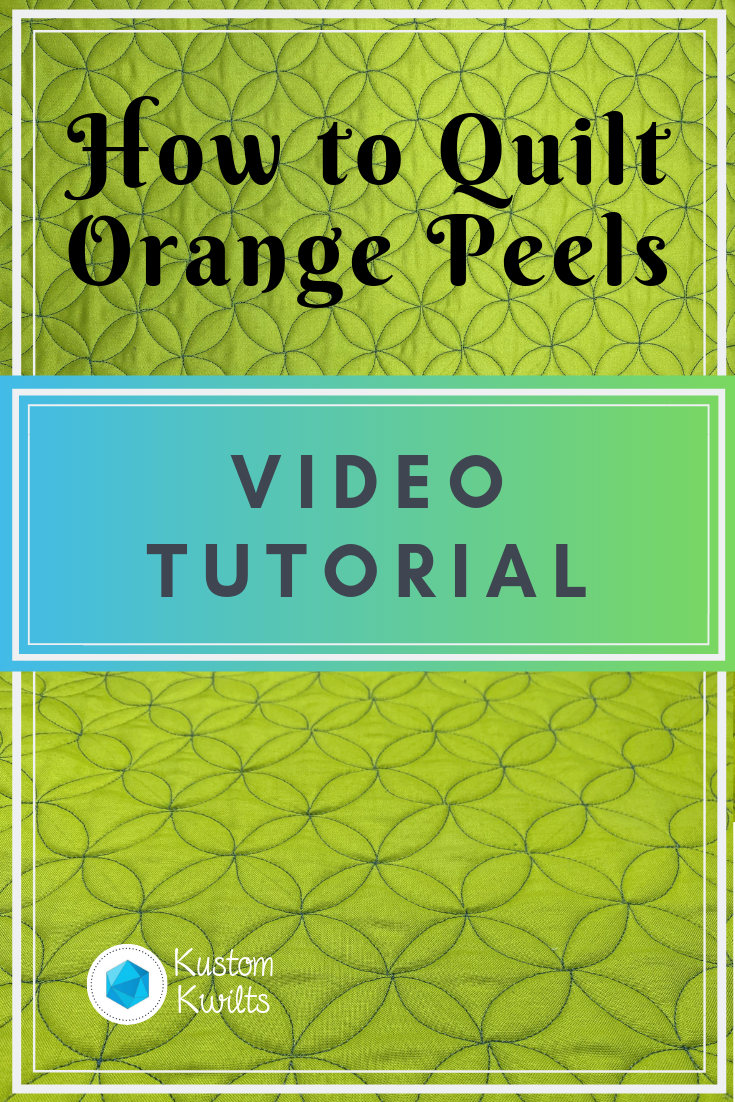
Have you ever seen a really cool geometric quilting design? Then you look at it and immediately think it’s too complicated to quilt yourself? With orange peels, that’s just not true! If you’d like to learn how to quilt orange peels, I’ve got a tutorial that breaks the design down into smaller pieces. All you need to start is a ruler (not a longarm quilting ruler–any ruler will do), marking tool, and your sewing machine and fabric.
Begin by marking out a grid of your choice. For this video tutorial, I marked out a 1.5″ square grid. You should also decide if you want a vertical x horizontal grid, or if you’d like to mark it on point (as I did in the video). After you mark your grid, mark a few of the curved pieces that are going to go in and around the grid you drew as a visual guide before you start quilting.
Now that you’ve marked a few visual guides, you’re ready to get started. Quilt a few half circles as the video shows on the outer edge of the quilt. It’s easier for me to quilt half of the circle, and then go back down the line to quilt the remainder. But do what works for you, and find what you like best! Learning how to quilt orange peels is really just quilting several circles that interlock. Don’t make it more complicated than it is. And know this: The more you quilt that circular motion, the easier it will get. The orange peel shape might not come naturally at first, but the more you do it, the better it will look.
Video tutorial
How can I use orange peels?
I love using Orange peel designs if I have a large background on a quilt to work with. Also, the orange peel design looks fantastic if you’re quilting up a panel to be used for a bag. I did a modified orange peel design when I made myself some new cosmetic bags for travelling. It really takes the travel bag up a notch, especially if you imagine it without the quilting and just solid green fabric. You can see the full blog post I did here.
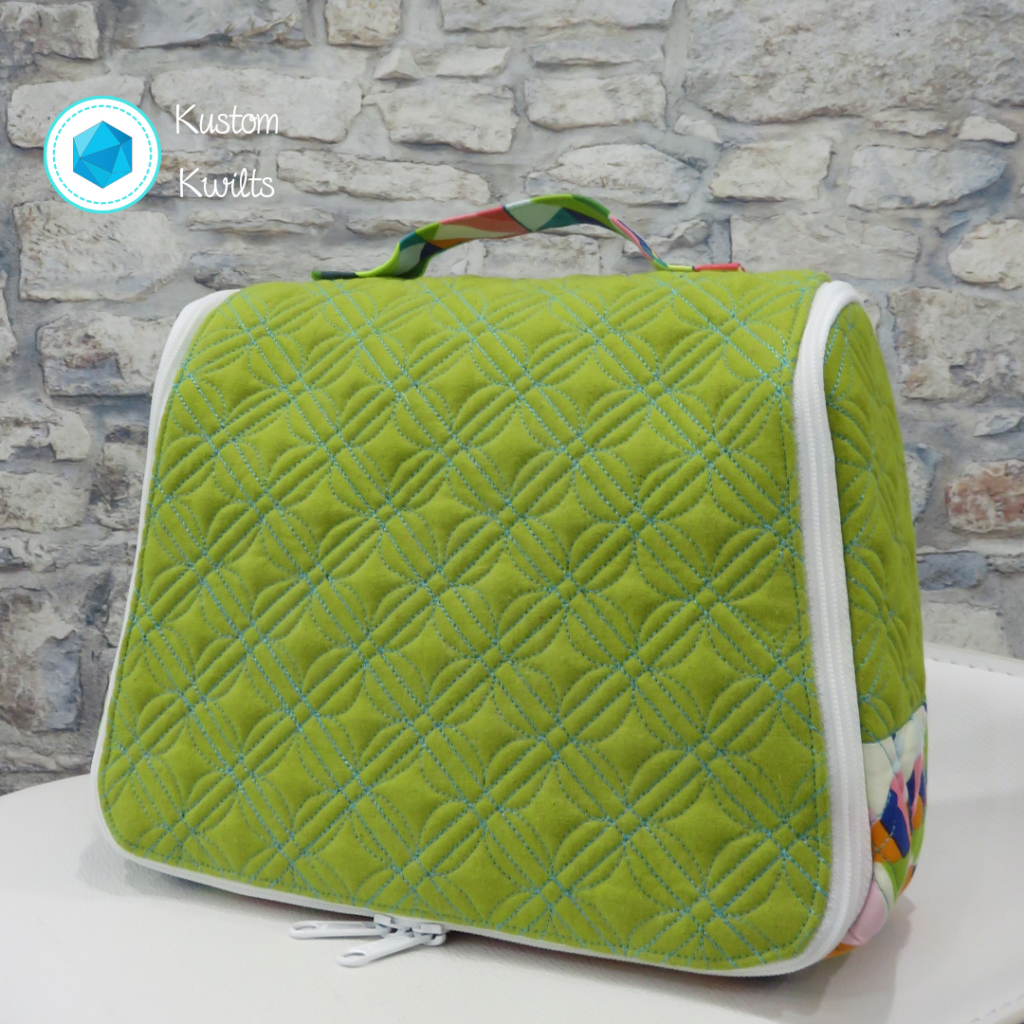
Orange peels look great as a motif that you want to be seen. If you’ve got a lot of negative space, it can really add a lot of punch to the overall look! Even if you don’t have your machine handy, this is a great design to practice with graph paper. Grab a few sheets and take them with you for moments of free time and you’ll be good to go!
Quilting feathered wreaths – free motion quilting tutorial
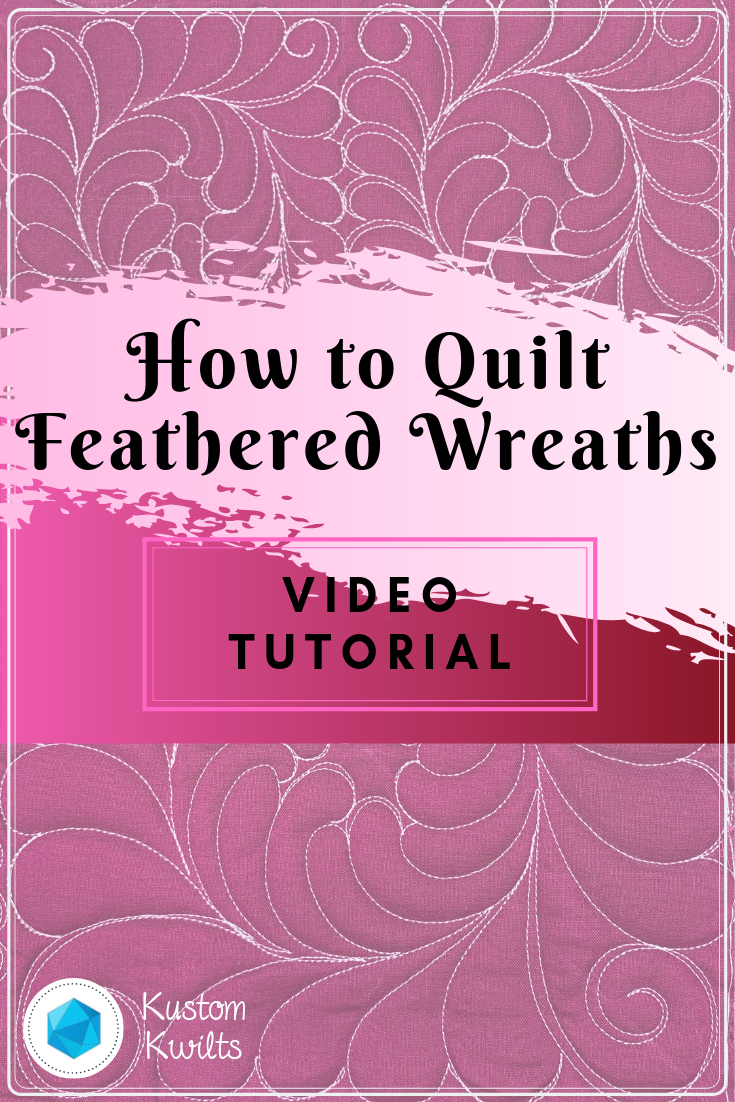
Let’s talk about quilting feathered wreaths! Feathers are so much fun to quilt, and it’s nice to know when and how to use them. If you’re new to quilting feathers, you can see a basic tutorial on feathers below, or see the blog post:
Now that you’ve got the hang of basic feathers, let’s talk about quilting them in a circle. There are a few things you’ll need to think about before you get started:
Continue reading Quilting feathered wreaths – free motion quilting tutorialHow to quilt feathered swirls
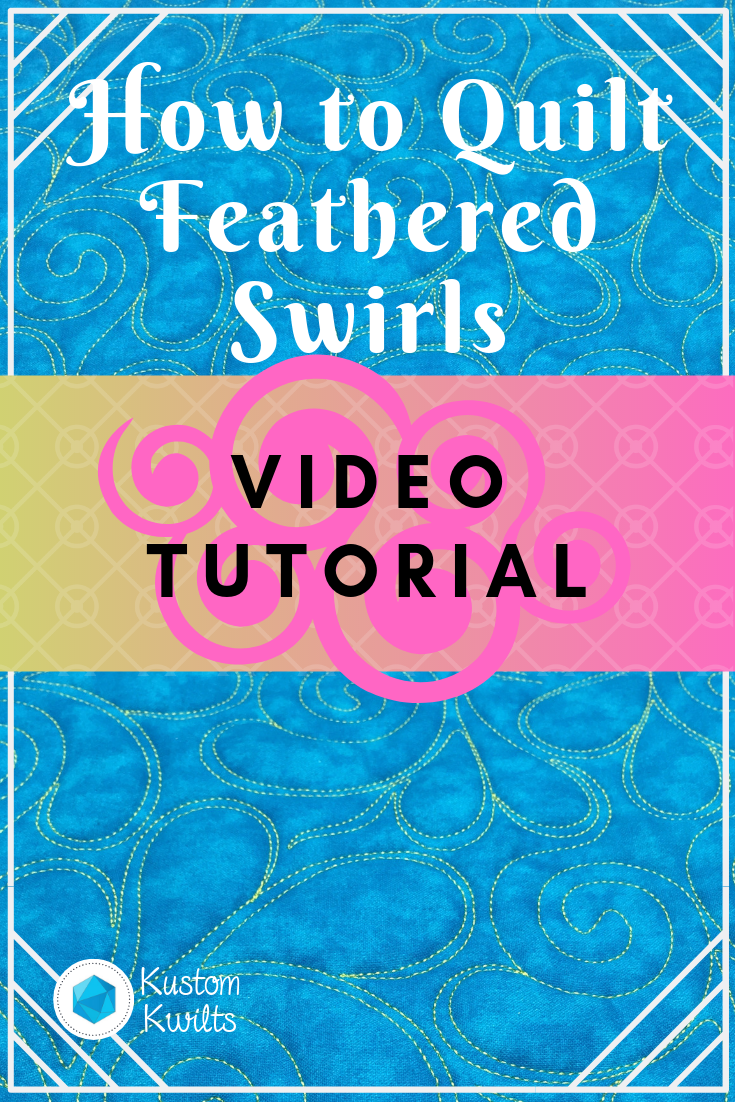
Have you ever wanted to combine a couple of different quilting motifs, but didn’t know where to start? In this video tutorial, you’ll learn how to use feathers and swirls together to quilt feathered swirls! Learning how to quilt feathered swirls will give you another great tool for your quilting tool box and you’ll be able to tackle that negative space in your quilt in no time at all!
Video tutorial – how to quilt feathered swirls
How to quilt stacked swirls
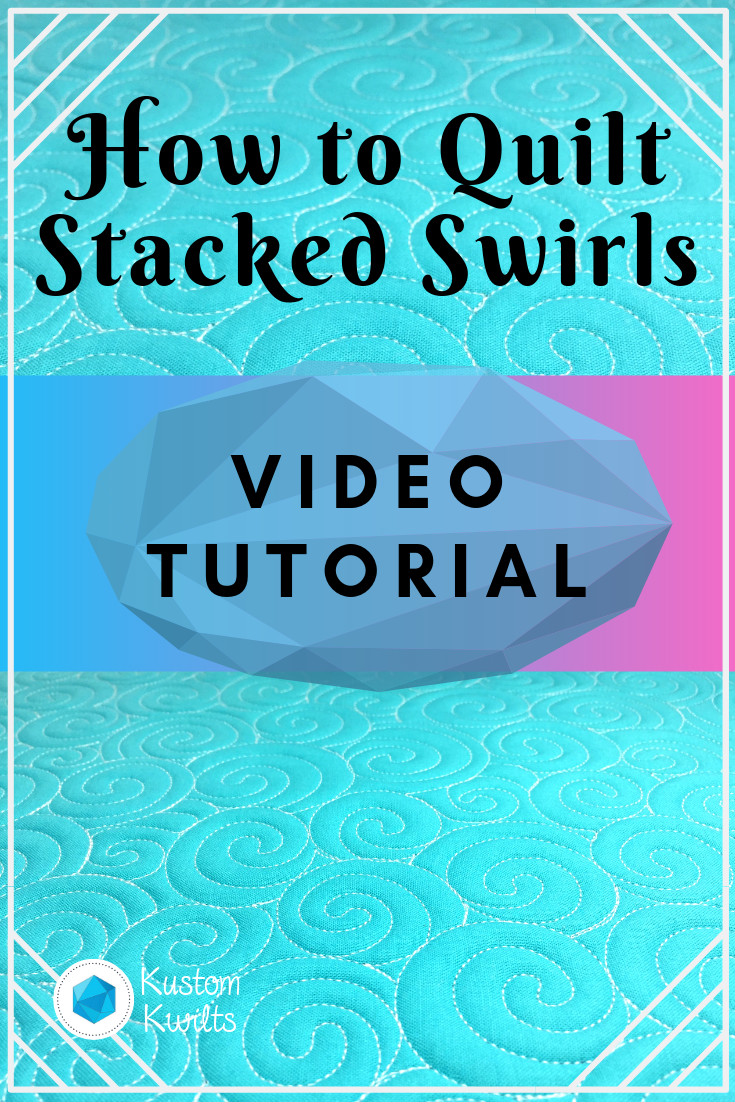
Good Monday morning! I’m so excited to share a new video tutorial with you this morning. I just LOVE to quilt stacked swirls in the background of quilt blocks and in negative space. They create amazing texture and fill up a space without a lot of thought and concentration. This video will show you how to quilt stacked swirls and how to navigate to the spaces you want to quilt.
Continue reading How to quilt stacked swirlsInspired Free-Motion Quilting (and giveaway!)
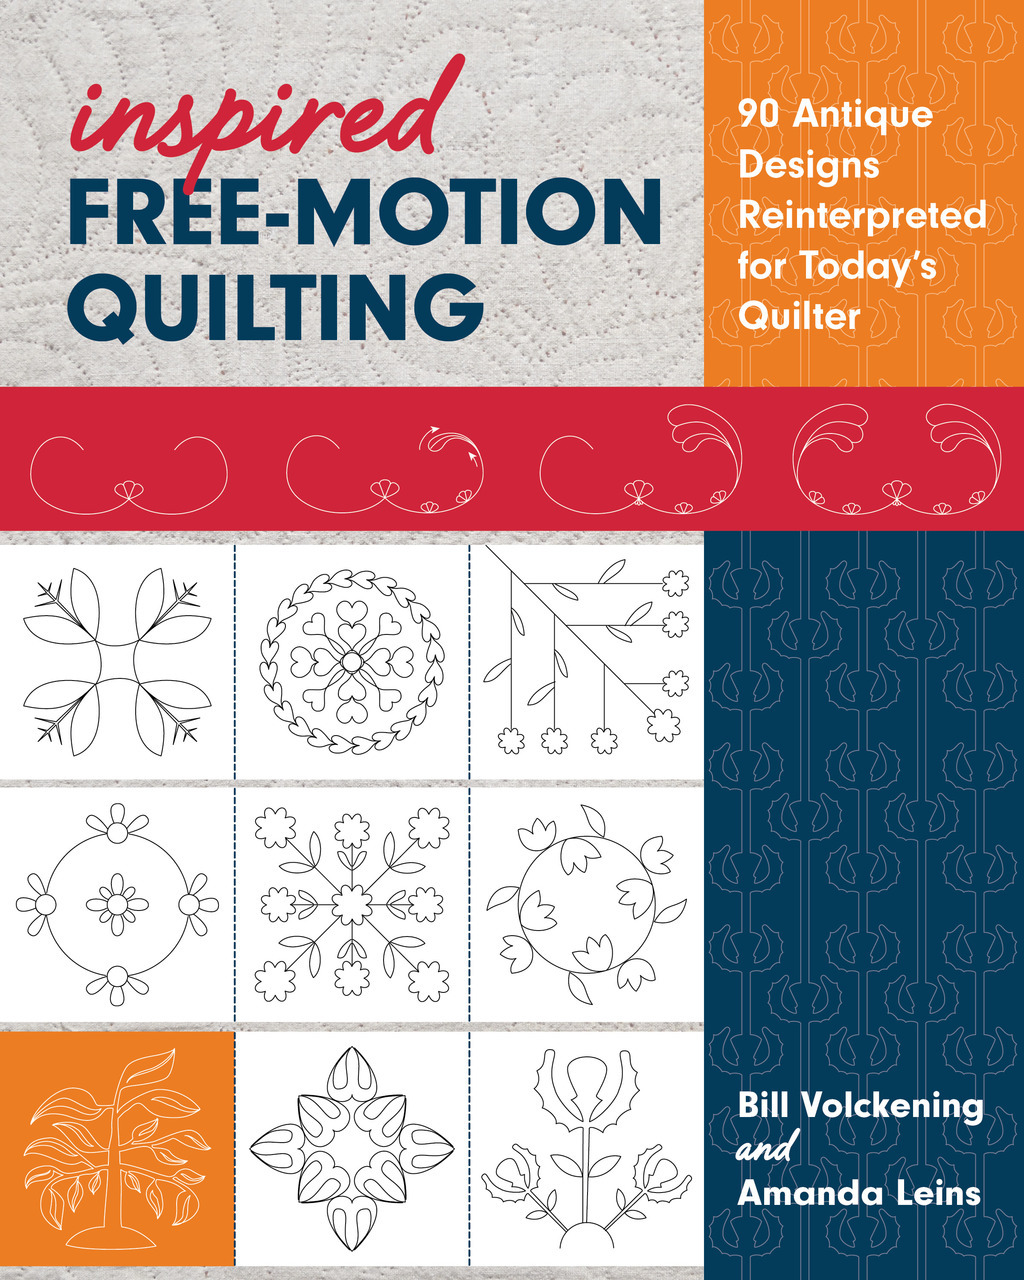
This has been such a busy and exciting week for me! I had a little time away from sewing celebrating the Christmas season with our family (and our daycare was closed for almost two weeks–insert the screaming face emoji here ;). All joking aside, it was wonderful to get to spend so much time with the family and remember what’s important in life! I hope you were able to rest, recharge, and be around the people you love.
One thing I’m super pumped about is Amanda Leins and Bill Volckening’s new book Inspired Free-Motion Quilting. The book is described as “90 Antique designs reinterpreted for today’s quilter”. I do a lot of custom quilting, and this book is really inspirational, as far as brainstorming designs goes. There are pages of antique quilts with really amazing quilting designs, along with step-by-step instructions on how to execute and master each design. It’s a great reference for seasoned quilters and beginners alike. I’m so excited to be a part of the Inspired Free-Motion Quilting blog hop and team up with Mandy Leins and C&T Publishing to give away one free PDF copy (that means the giveaway is open internationally!!!) of this awesome book! Read to the end for details on how to enter.
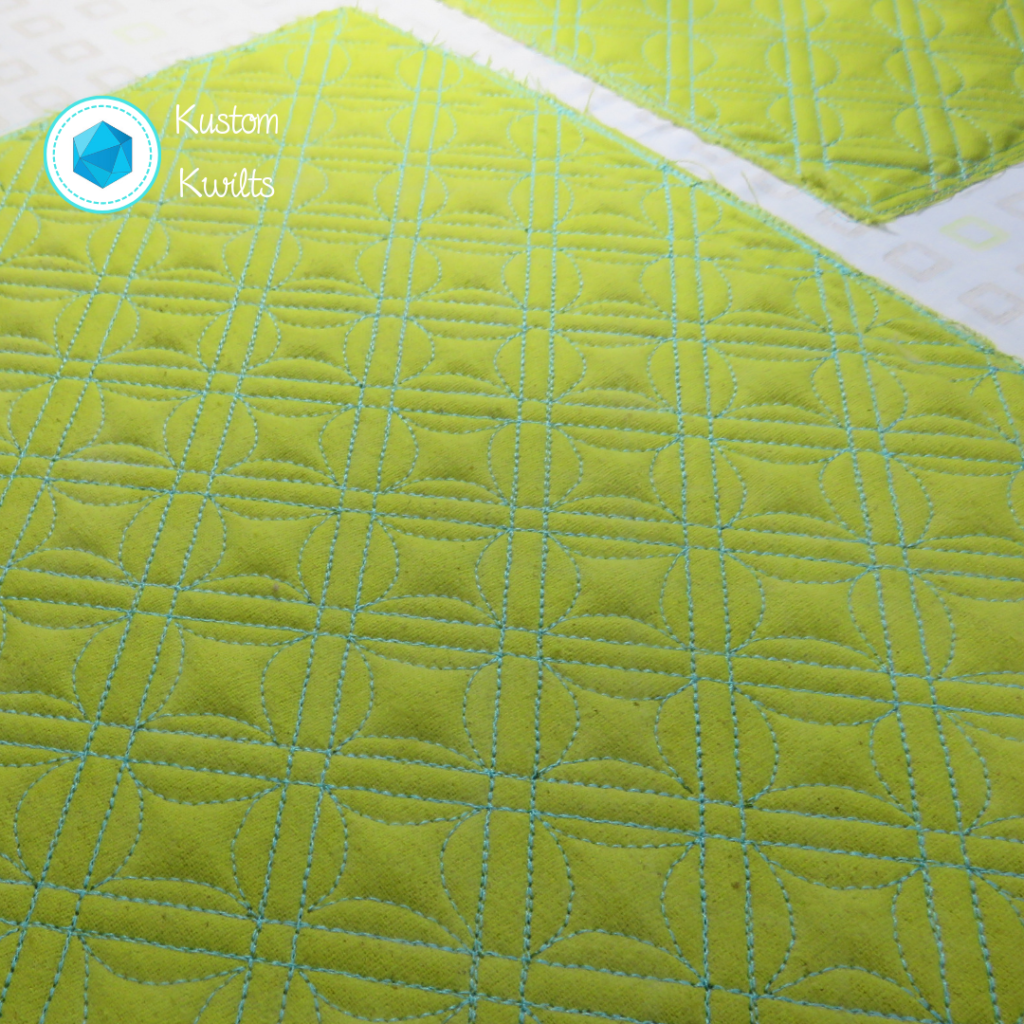
As soon as I was able to flip through Inspired Free-Motion Quilting, two designs immediately caught my eye that I knew exactly what I wanted to use them for. My two favorite motifs from the book are “Double lines and orange peel” and “Echoed Crosshatch”. I really enjoy making bags (in addition to the quilting I do), and I like to add a bit of decorative quilting to the exterior of the bag, if I’m able to. I had a new pattern I was really excited to try–The Gloss Cosmetic Bag by Sew Sweetness (Sara Lawson). The pattern is available with purchase of the Minikins Season 2 pattern bundle on Sara’s site.

This is a really great way to spice up some solid fabric–and solid colors show off the quilting with less distractions than prints. I cut the green linen-canvas fabric I had slightly larger than the pattern called for and quilted it prior to assembling the pattern. I loved the instructions and diagrams that are included with the book–they really leave no room for error, even if you’re just starting out. I’m really thrilled with how impactful the design is that I selected from the book. I chose “Double Lines and Orange Peel” for a classic motif that would really look great on a cosmetic bag. I love the definition and texture it gives the solid–in what would otherwise be a really boring cosmetic bag. It’s not as easy to see in the picture, but I opted to skip the orange peels on the patterned fabric on the bottom of the case, and only quilted the echoed crosshatch.
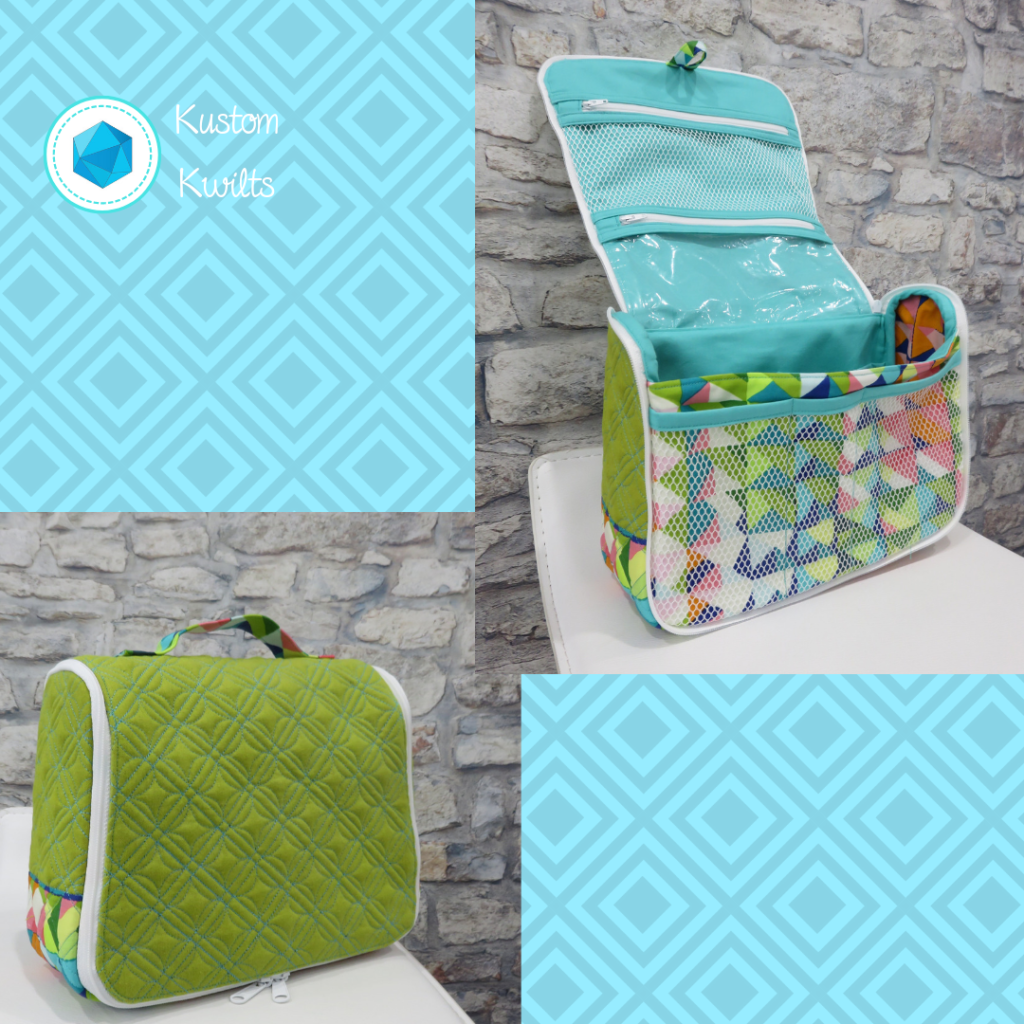
I quilted the bag components on my longarm, but it would be easy to do this sort of quilting on a domestic. Just pop on a walking foot and measure out your straight lines, and follow the simple instructions for free-motion quilting the orange peels between the lines to finish up. I used a slightly contrasting thread color for a little pop, but I’m dying to make another in black canvas with black thread for subtle texture and style.
Amanda and Bill do a fantastic job of sharing some amazing antique quilts and their in depth knowledge of how to reproduce the motifs, and I highly recommend Inspired Free-Motion Quilting as a must have reference for quilters! Make sure you read below to enter the giveaway, and check out the other blog hop participants’ posts for more chances to win!
- January 7: C&T Publishing, Bill Volckening
- January 8: Amanda Murphy of Amanda Murphy Design, Kim Lapacek of Persimmon Dreams
- January 9: Teri Lucas, Lynn Harris, Debby Brown of Debby Brown Quilts
- January 10: Robin Koehler of NESTLINGS by Robin,
Mary Abreu ofConfessions of a Craft Addict , Patty Murphy of Patty Murphy Handmade - January 11: Joanna Marsh of Kustom Kwilts, and Amanda Leins of Mandalei Quilts
Giveaway Details
Here’s what you came for!! C&T Publishing has so generously allowed me to give away one PDF copy of Inspired Free-Motion Quilting. All you need to do to enter is like my Instagram post and tag a friend in the comments OR leave a comment on THIS blog post telling me why you’re excited to get a copy of this book! The giveaway is open internationally and will close Sunday, January 13, 2019 at 6:00 PM, CST. The winner will be notified by me soon thereafter. Good luck!!!
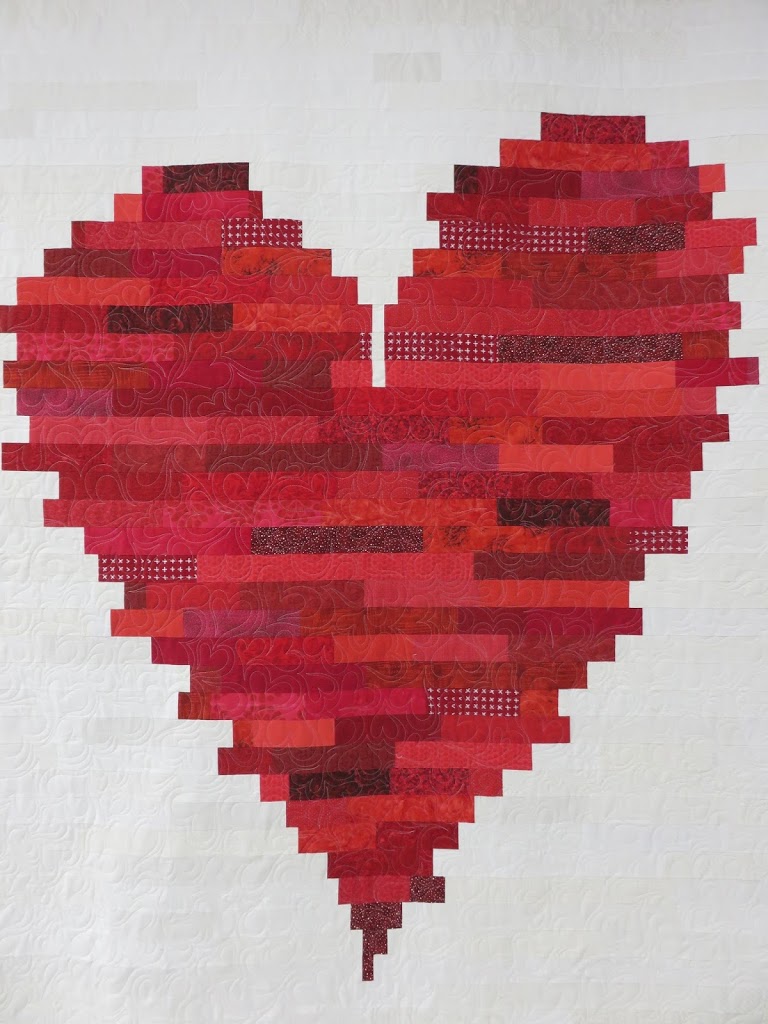
Red Heart Quilt – client quilt
 |
| Quilt Pieced by Debra B. |
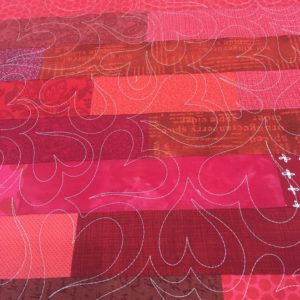
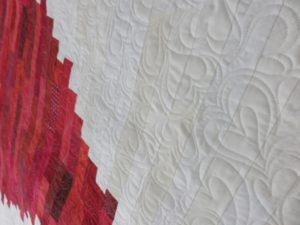
This was such a joy to quilt–check out the close up of the free motion hearts 🙂
 |
Quilting for Market with Urban Artifacts Fabrics by Leslie Tucker Jenison
So I guess this is part 2 of my Quilt Market preparations posts…The quilting edition!
| Putting the binding on… |
| Quilt designed by Liberty Worth with Urban Artifacts fabrics by Leslie Tucker Jenison |
The next quilt was designed by Allison Chambers of the San Antonio Modern Quilt Guild and was inspired by mid-century modern style. I love this quilt! I was aiming to keep the quilting modern but understated and used a blending thread instead of a highly contrasting one. I did some geometric ruler work with stitch in the ditch on this one.
| Quilt designed by Allison Chambers using Urban Artifacts Fabric by Leslie Tucker Jenison |
| Quilt designed by Allison Chambers using Urban Artifacts Fabric by Leslie Tucker Jenison |
