
Have you ever been at a loss for how to fill negative space in a quilt? I know I’ve sometimes struggled with what quilting motif is the right one, and I wanted to share some of the fills I use the most. I made a quick video tutorial on how to quilt feathers and I think you’ll really love some of the tips I give in it 🙂
How to quilt feathers
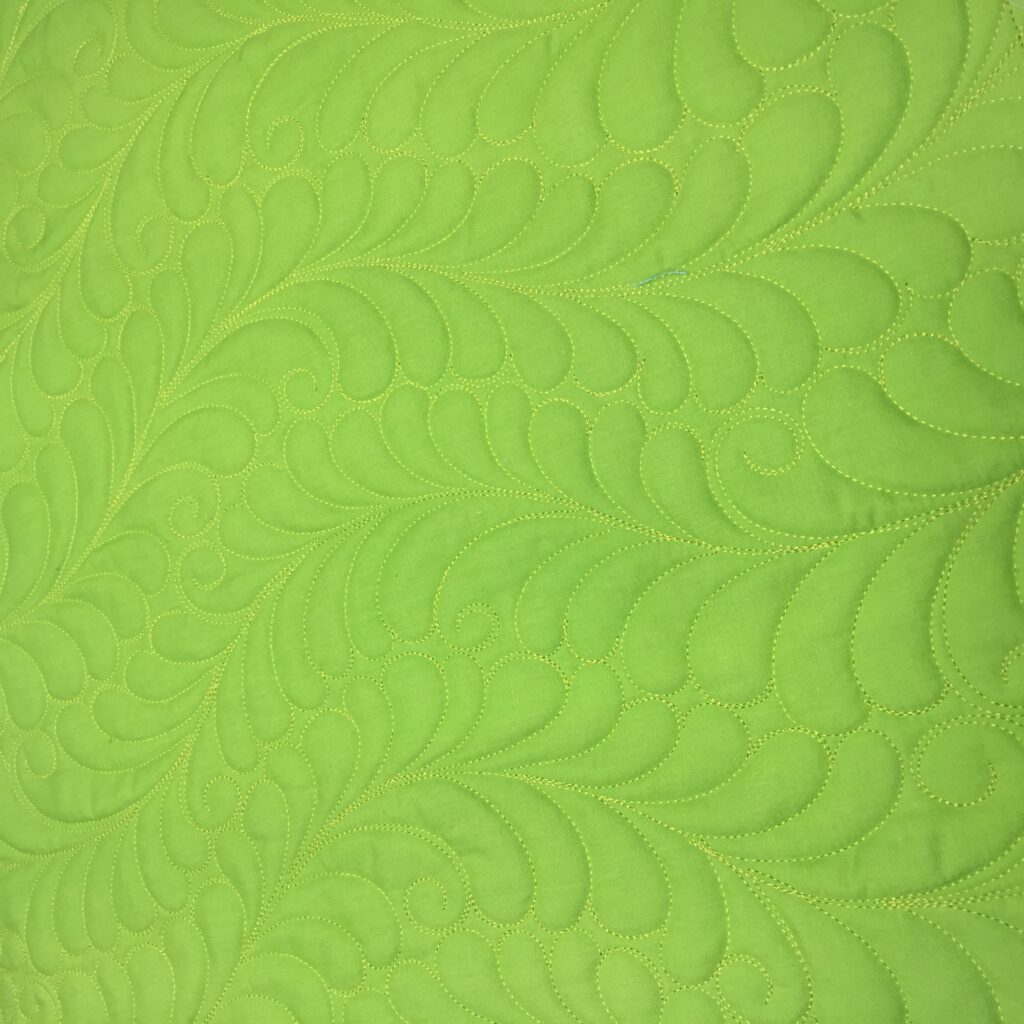
I love quilting feathers. They add so much movement and texture and fill a space quickly. When I first started quilting, I had a hard time quilting feathers. They came out ugly and wonky and wobbly. So I decided to stop wasting so much fabric and grabbed some scratch paper and just drew them over and over again. They were still ugly and inconsistent, but I could gradually see some progress. It seemed like one day, it just clicked, and my feathers suddenly looked like feathers. I was happy that I only drew on paper and didn’t go through that much fabric, batting, and thread before my feathers started coming together!
Putting needle to fabric
Once you’re confident that you’re ready to start quilting, grab some fabric, batting, and a good contrasting thread so you can have better visibility while you quilt. I think it’s easier in the beginning to mark the spines of your feathers, and even mark some of the feathers so you have some guidelines. I like to use a chaco liner or some sort of white chalk marker that easily rubs away or wipes off. Practice is definitely going to be your friend, and if you can just quilt feathers for an entire afternoon, you’ll really begin to see a lot of progress between your ending feathers and what you started with.
I hope you’ll check out the video tutorial I created to help you quilt one of my favorite motifs. You can click on the video below, or follow this link to see the video on youtube.