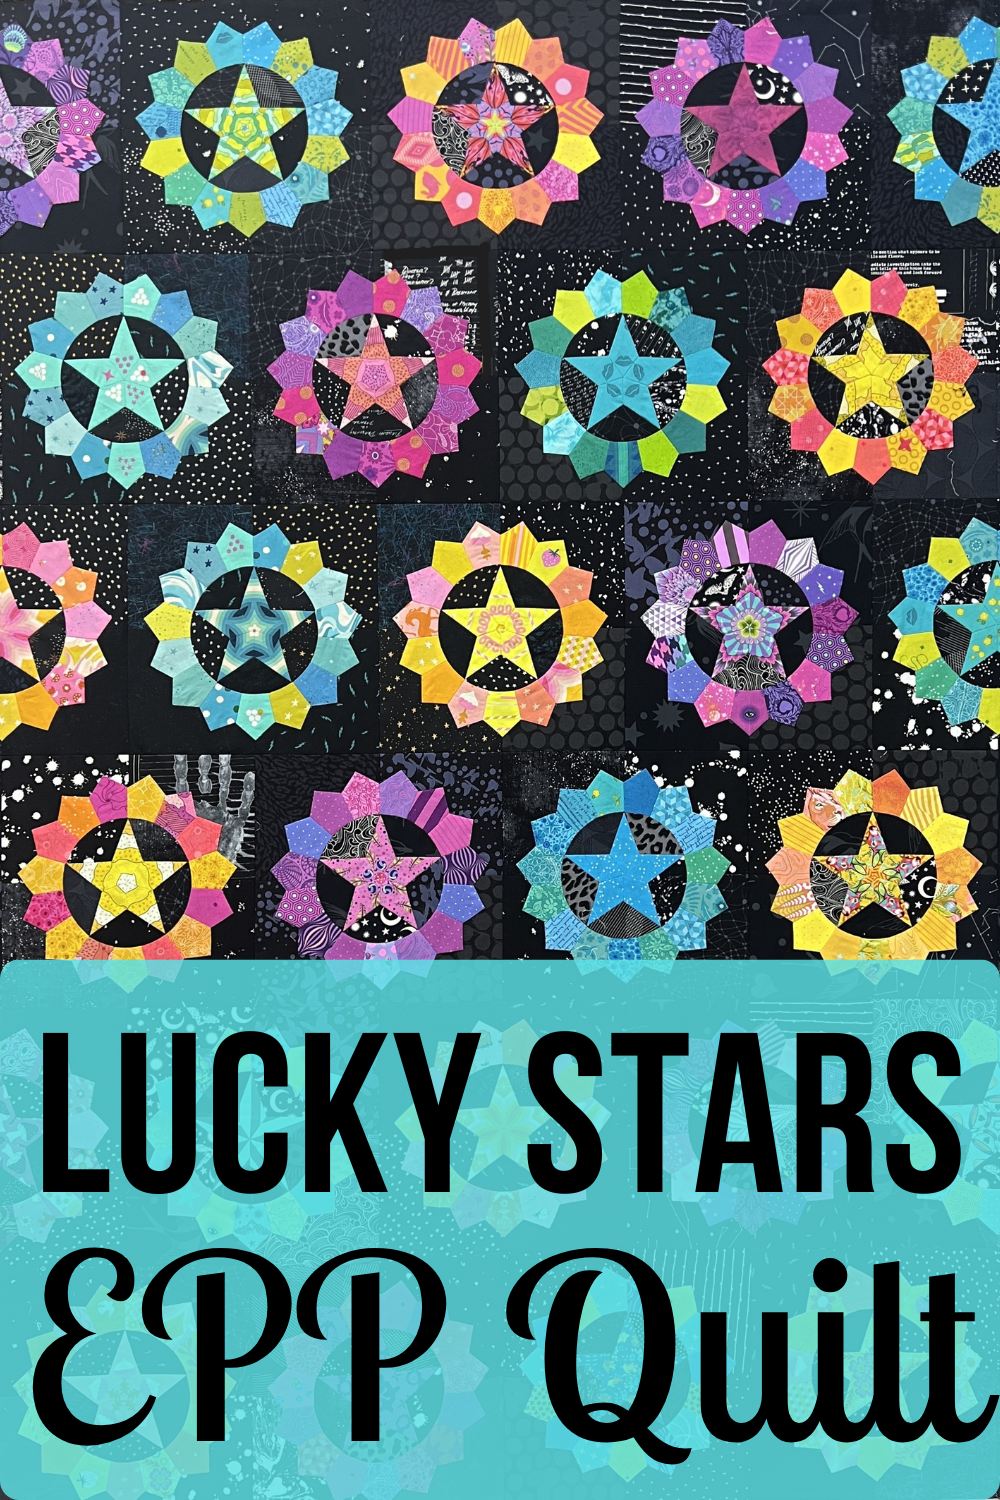
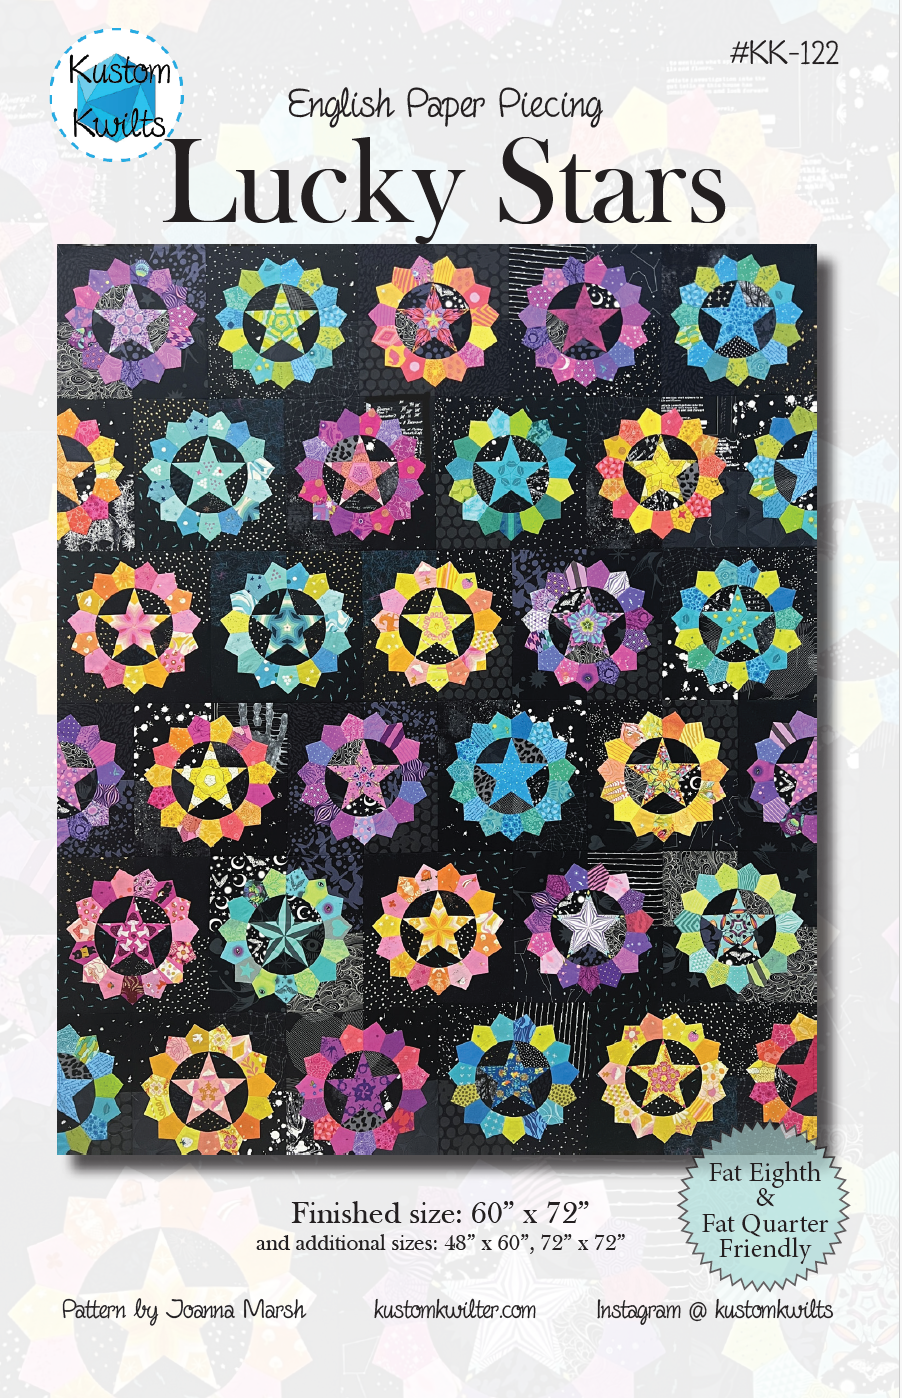
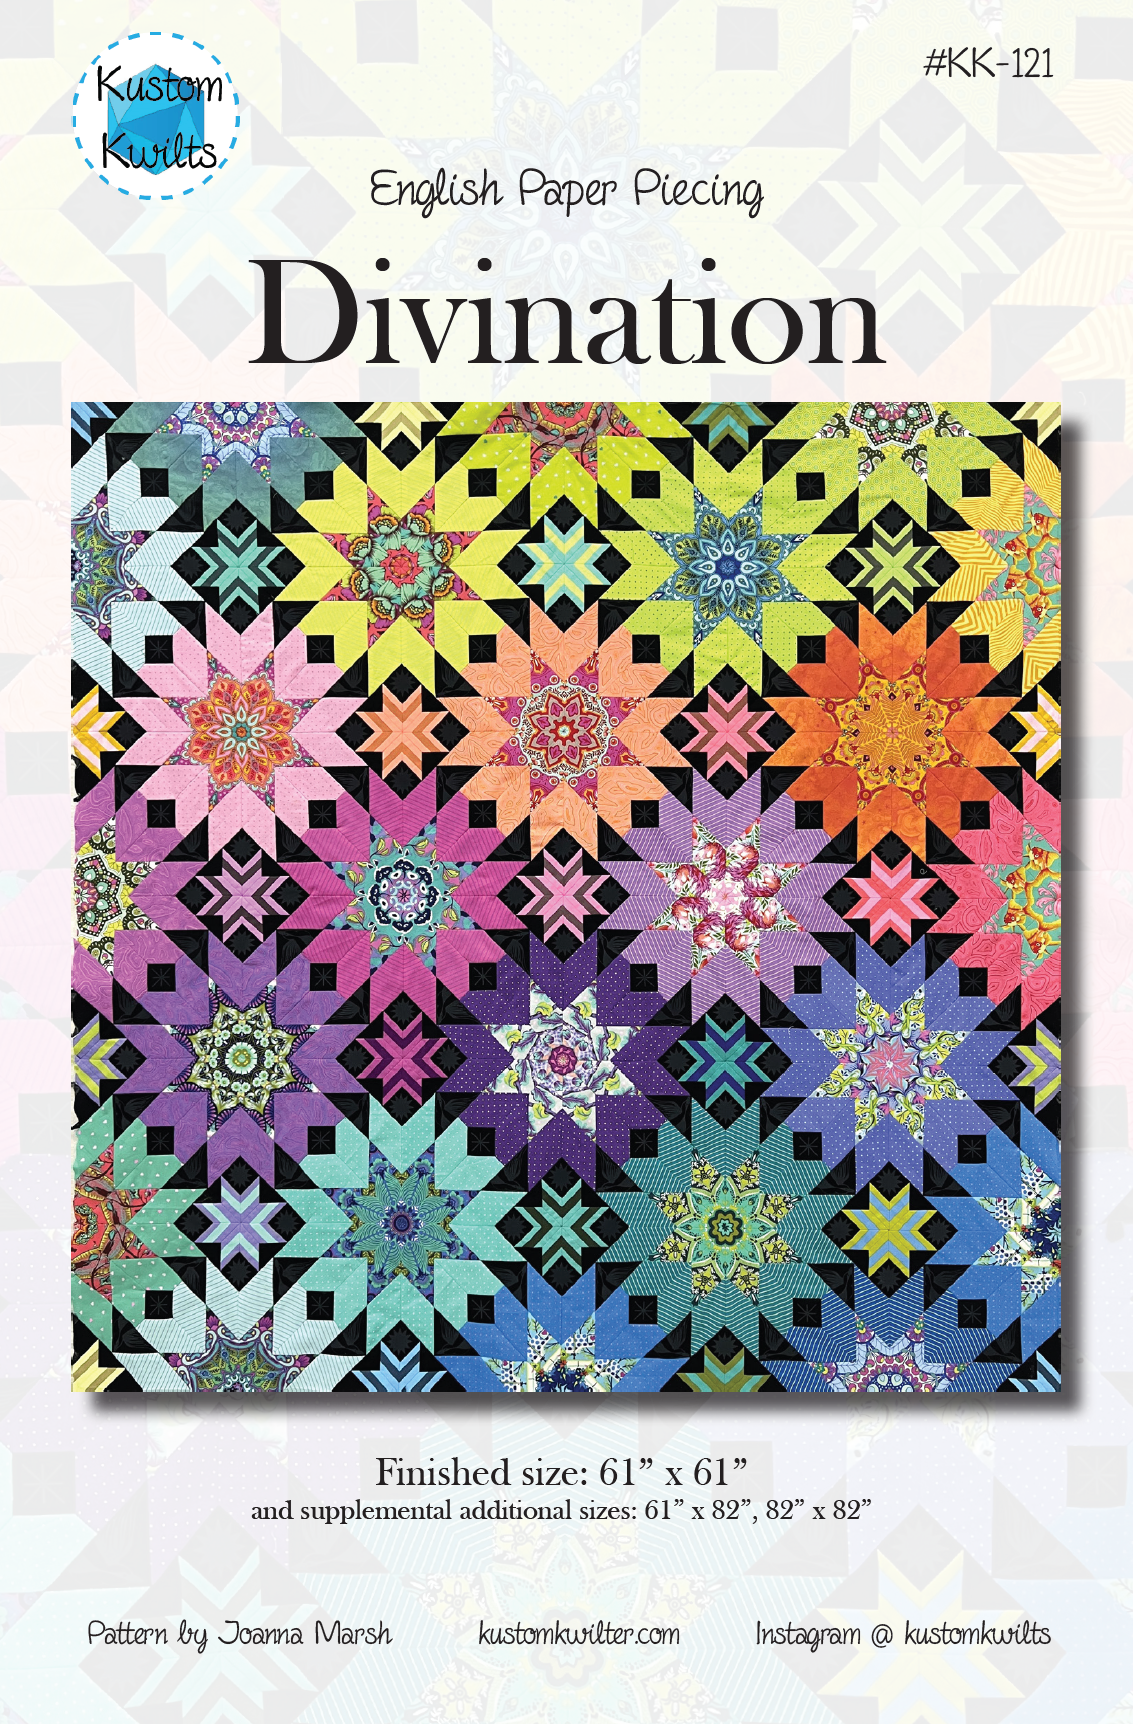
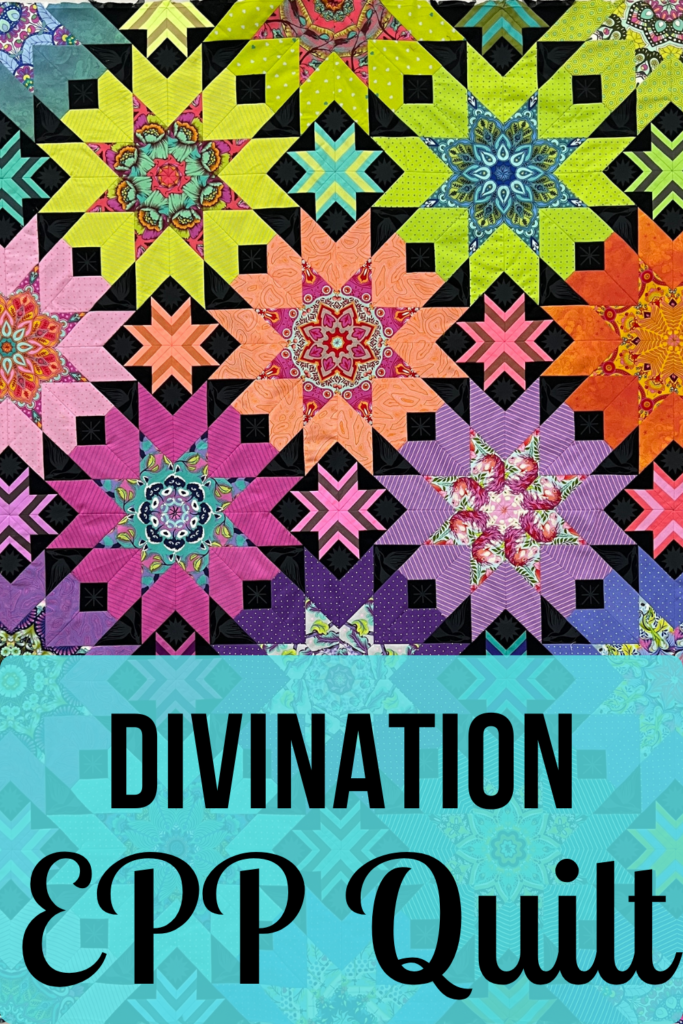
The Lucky Stars EPP quilt is a fun and unique English Paper Piecing Pattern. The simple, yet bold design allows you to build your sewing and quilting skills, while still providing a big impact. Try this pattern with a little fussy cutting, or go entirely scrappy to use up your stash. Fabrics requirements are calculated using solids so you have a starting point for how much fabric you may need for the quilt, along with backing construction methods for each. This pattern is great for your favorite fabrics to really make them shine! Fabrics used for the cover quilt are from various fabrics by Libs Elliott, Giucy Giuce, Alison Glass, Andover, Ruby Star Society, and Tula Pink. Various black and dark grey fabrics were used for the “background” fabric. The cover quilt has a dark background, but this quilt will also look stunning with a light background.
Fabric Kits can be purchased HERE.
Assembly methods for this quilt are: English Paper Piecing for the star portion of the quilt, standard machine piecing for the background squares, and a small amount of very basic applique to attach the stars to the background blocks (Lucky Stars blocks can also be topstitched down to the backgorund if you wish to avoid the applique). Very detailed, step-by-step videos are included (links on the 2nd page) with the pattern.
Embroidery Perfection tape may be purchased here. This tape is helpful as basting tape to sew the inset circle.
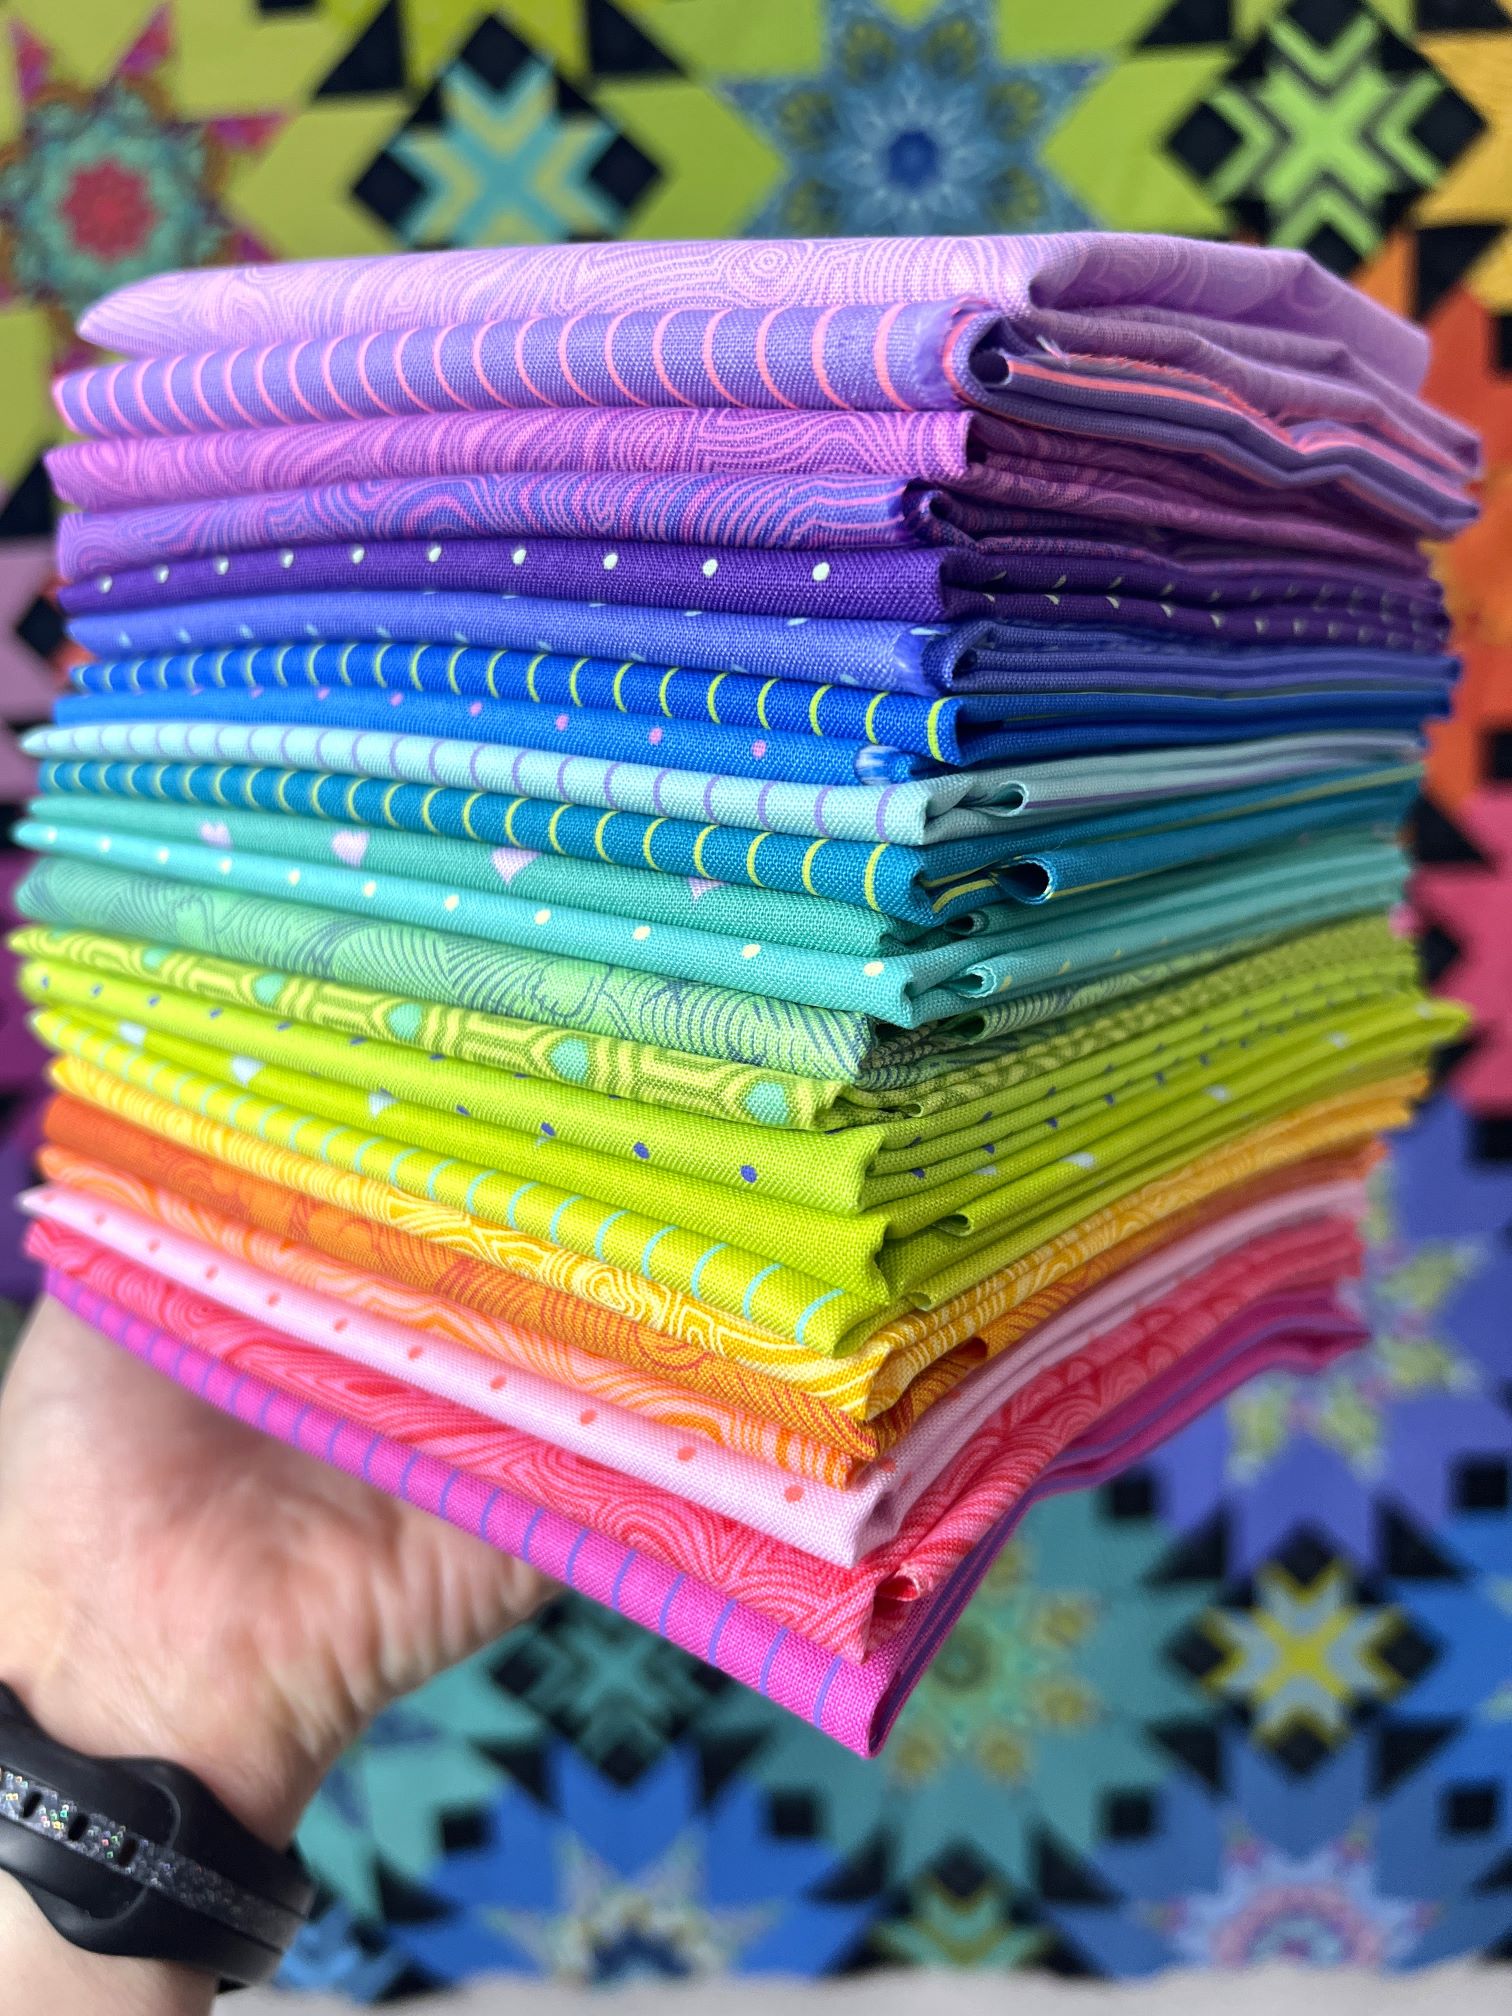
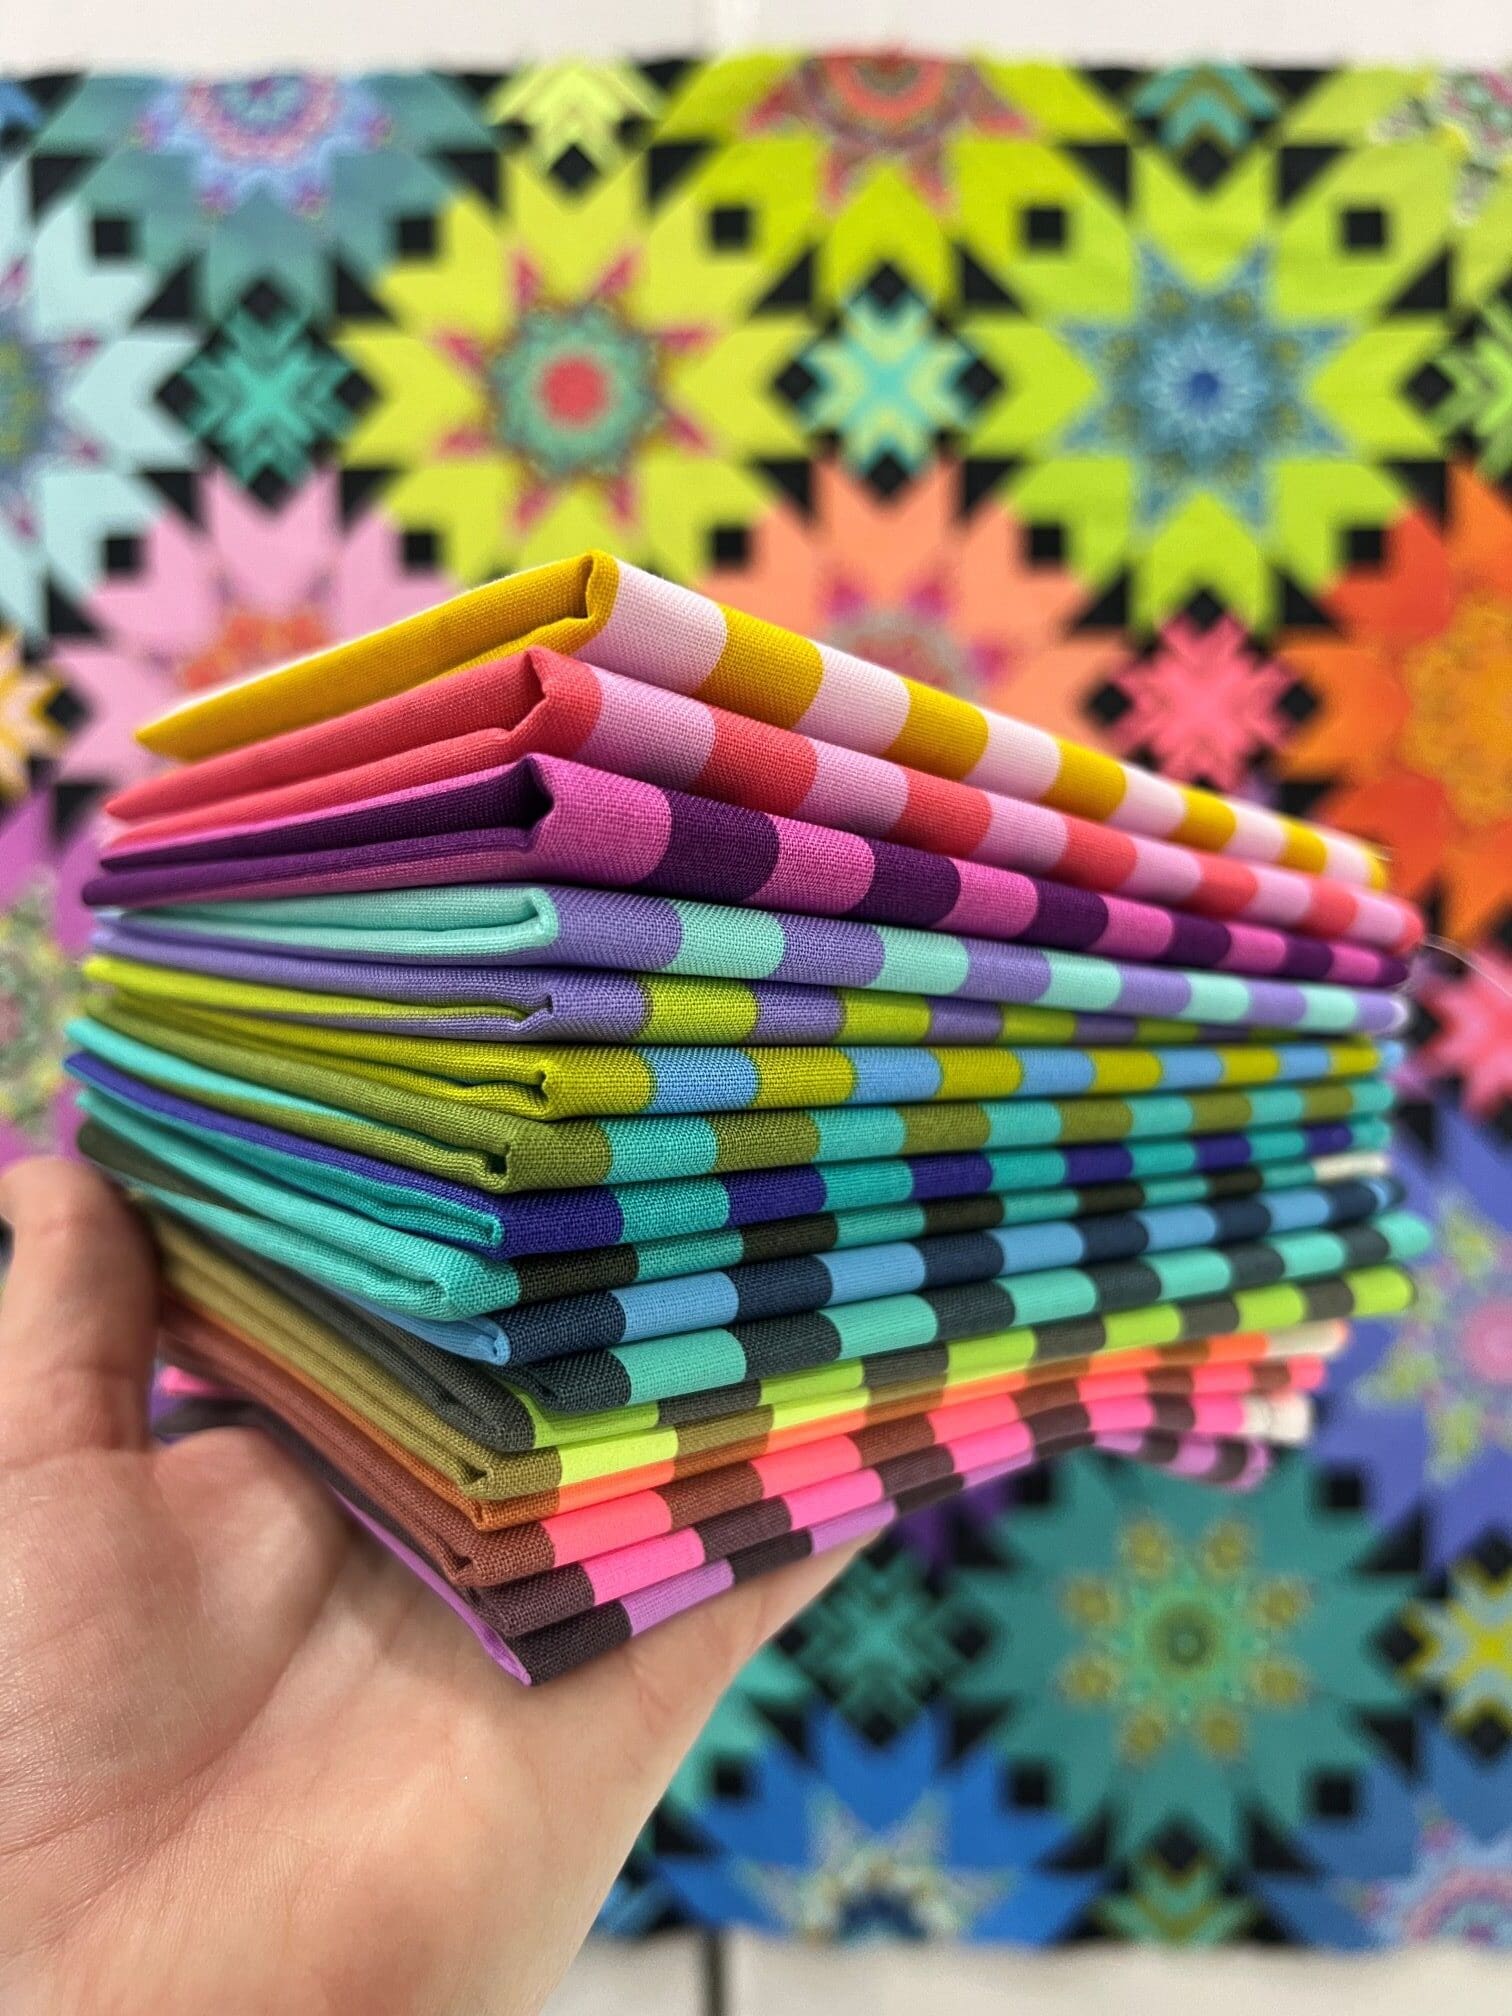
Find coordinating fabric bundles for a scrappy look for this pattern here: Rainbow Bundle and Stripes Bundle
Included with the pattern (linked on p.2 of the pattern) is a password protected link to supplemental materials that includes access to (You will also have access to a PDF download after purchasing any version of the pattern):
- Printable coloring sheet for all sizes so you can reprint as many times as needed
- Basting diagram so your seams spin and nest perfectly
- Printable fussy cutting templates (this is especially useful if you are overseas and want to avoid shipping acrylic templates)
- Cutting diagrams to maximize fabric usage
- Printable papers
- Various different colorways for inspiration
PDF Pattern includes
- Everything listed above; access to the supplemental bundle
- Instant download of the pattern with the option to print and cut out the cutting templates.
- This option does not include the EPP paper set, but does include full size images of the paper pieces within the pattern.
- Detailed coloring/planning sheet.
- Helpful cutting instructions and detailed piecing diagrams.
- The finished size is Throw – 60″ x 72″, with supplemental instructions to complete larger sizes: 48″ x 60″ and 72″ square.
- Skill level is intermediate, and does require some basic knowledge of English paper piecing. The pattern has step-by-step instructions with pictures to guide you through.
- Very detailed, step-by-step videos are included (links on the 2nd page) with the pattern.
- Instructions for assembling quilt backings for all sizes.
- The listing does not include the actual quilts in the photos.
- Pattern assumes the quilter has basic knowledge of piecing and quilting.
Full Kit includes
- Password protected access to the supplemental bundle listed above
- 8.5″ x 5.5″ booklet pattern includes a coloring page and fabric amounts required (basic calculations with solids–fussy cutting will require adjustments).
- A physical paper pattern, template and paper set that requires shipping – ONLY AVAILABLE TO addresses within the US and Canada. See my Etsy shop for other international orders.
- Detailed coloring/planning sheet.
- Helpful cutting instructions and detailed piecing diagrams.
- The finished size is Throw – 60″ x 72″, with supplemental instructions to complete larger sizes: 48″ x 60″ and 72″ square.
- Skill level is intermediate, and does require some basic knowledge of English paper piecing. The pattern has step-by-step instructions with pictures to guide you through.
- Very detailed, step-by-step videos are included (links on the 2nd page) with the pattern.
- Instructions for assembling quilt backings for all sizes.
- Complete set of English Paper Piecing papers to finish the 60″ x 72″ quilt
- Complete set of THREE acrylic fussy cutting templates with 3/8″ seam allowance.
- The listing does not include the actual quilts in the photos.
- Pattern assumes the quilter has basic knowledge of piecing and quilting.
Printed Pattern and Template Set includes
- Password protected access to the supplemental bundle listed above
- 8.5″ x 5.5″ booklet pattern includes a coloring page and fabric amounts required (basic calculations with solids–fussy cutting will require adjustments).
- A physical paper pattern and acrylic template set that requires shipping – ONLY AVAILABLE TO addresses within the US and Canada.
- Detailed coloring/planning sheet.
- Helpful cutting instructions and detailed piecing diagrams.
- The finished size is Throw – 60″ x 72″, with supplemental instructions to complete larger sizes: 48″ x 60″ and 72″ square.
- Skill level is intermediate, and does require some basic knowledge of English paper piecing. The pattern has step-by-step instructions with pictures to guide you through.
- Very detailed, step-by-step videos are included (links on the 2nd page) with the pattern.
- Instructions for assembling quilt backings for all sizes
- Complete set of THREE acrylic fussy cutting templates with 3/8″ seam allowance.
- This option does not include the EPP paper set (does include full size images of the paper pieces within the pattern).
- The listing does not include the actual quilts in the photos.
- Pattern assumes the quilter has basic knowledge of piecing and quilting.
SVG files for cutting your own papers, along with the PDF pattern may be purchased here.
The purchase of this pattern is limited to one person per pattern, and should not be copied or distributed. Items made from this pattern may be sold on a small scale. Please credit the pattern design as Kustom Kwilts Patterns.
For International shipping options, visit my Etsy shop