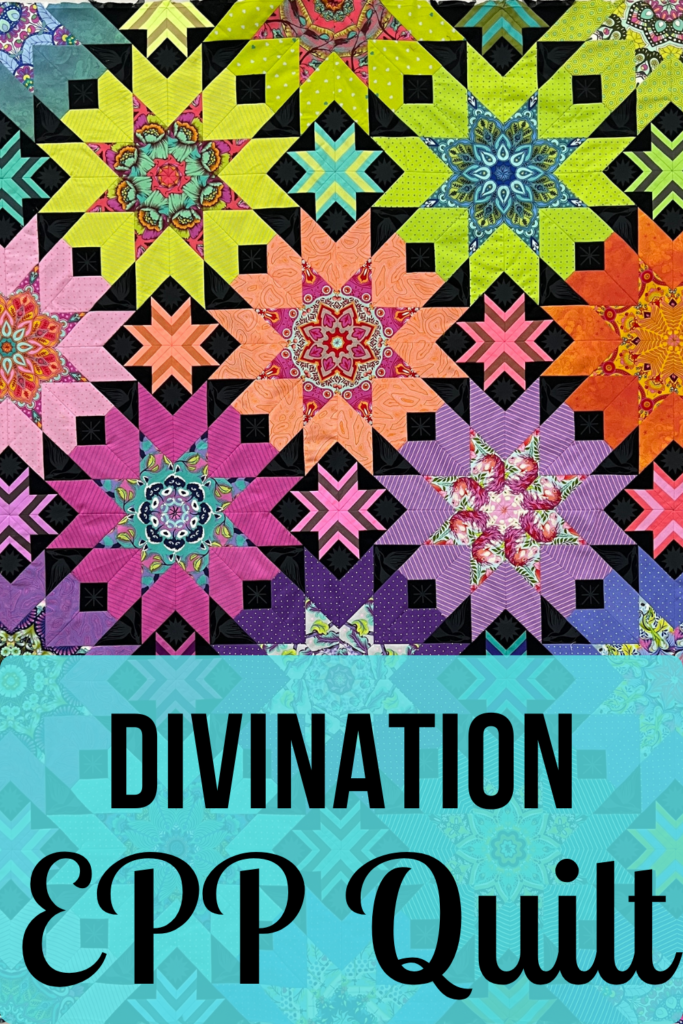
I’m so thrilled to finally have my Divination EPP quilt pattern out in the world! I am such a huge fan of 8-pointed stars that I knew I wanted my next pattern to be composed primarily of that shape. English paper piecing is such a wonderfully fun past time, and I really had so much fun picking fabrics and fussy cutting each of these blocks. This pattern looks deceptively intricate, but each fussy cut print is paired with a “blender” fabric that reads as a solid, so it simplifies the fabric selection quite a bit. It’s a great confident beginner project for those familiar with EPP, but not ready to pair complex fabrics together for each and every block.
The Hexie EPP Stocking Pattern is finally here! This is a perfect pattern for a quick finish, and it saves time and fabric by not having to fussy cut. I designed these stockings to have a similar look to the cute Buffalo Plaid that has a more clean and modern Christmas-y look, but with hexagons. The pattern details how to make the stocking using the 3-color solids, or for a more fun look, a 6-color solid multicolor stocking. Using solids eliminates the need to spend tons of extra time fussy cutting, and you can use the stack and cut method to cut multiple hexies out at once. I think the most I was able to cut at one time was 8 pieces.
My labor of love (aside from longarming) this year has been the Spellbound EPP pattern! When Tula Pink released her black and white line called Linework, I knew I wanted to make something really special with it. I love black and white fabrics and adding a pop of color to them really sets them apart. I’ve had a blast on this journey picking the fabrics and fussy cutting different elements of each fabric to make it shine. The Spellbound quilt pattern will be available this Friday, October 29!
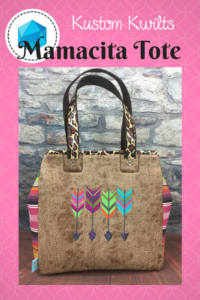
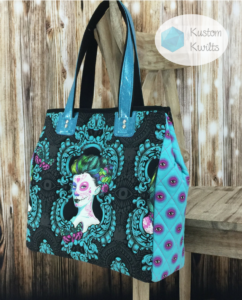
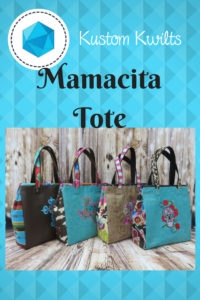
Today is the official release day for the Mamacita Tote Pattern! Hip hip hooray!!! I’d love to tell you the story behind this pattern and why it’s so dear to me.
Mamacita Tote with Serape
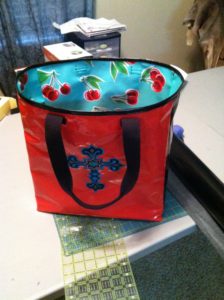
When I first started sewing, I loved to make things that were useful (that still applies today). I love the feeling I get when I plan a project and sewing that last stitch, and the overwhelming feeling of pride I get when I know I made something that I love (or someone else will love). I loved quilting, but I loved making bags even more. I used to be an agriculture science teacher, so my purses were always getting filthy from being at stock shows and around livestock all the time. I did some research on fabrics that were easy to clean, and I came across oilcloth. Long story short, oilcloth is a wonderful fabric that doesn’t fray, wipes clean, and, in my experience, has a ridiculously long life. So I’m going to show you my very first go at what evolved into today’s Mamacita Tote:
My very first oilcloth bag
It isn’t exactly swoon worthy, but I loved it. I used this bag for about a week before I realized the importance of interfacing and stabilizer in a bag this size, and made from all oilcloth. It didn’t stand up on its own and was pretty floppy. Also, when you sew with oilcloth, the holes made by the needle are permanent. That means if you don’t lengthen your stitches, you’ll get lots of perforations that will weaken the fabric. Hence, sewing the straps directly to the oilcloth where all the weight will be stressing the fabric = terrible idea. I still have this bag in my sewing room and love to bring it out and see how far my design has come since January 2013. That’s right. This pattern has been FIVE YEARS in the making.
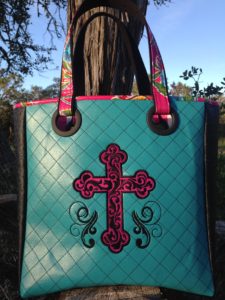
I needed a better way to attach the straps and I wanted a more stable, sturdy bag. So another year of trying out different things and I came up with using large drapery grommets as the strap attachments. I really loved this, but after I got a package of grommets from the manufacturer and they were all cracked from shipping, it was time to rethink using them. I couldn’t risk having one break and then go through the hassle of replacing them all the time. Quality supplies are my top priority.
The second generation Mamacita Loca bag
I really like embroidering the vinyl or quilting it (or both!) and adding unique embellishments to make each bag unique. Late in 2017, I have the absolute best version of this bag that I could dream of. I’ve made over 200 of these bags, and even sell custom Mamacitas on Etsy. They have an updated strap attachment that is stylish and functional, and I love the look of them. I recently made my favorite Mamacita Tote EVER from Tula Pink’s latest line- De La Luna in quilting cotton. Although I really like using oilcloth for the lining since it’s so easy to clean, I love the bright and vibrant colors in Tula’s line, so I’ll sacrifice the wipability for that, and just try really hard to keep my 1.5 year old from spilling her milk in it 😉
Mamacita Tote in De La Luna
The Mamacita Tote has been my ultimate labor of love, and I know this pattern by heart. I love that the lining keeps me organized with all the pockets, and that I can still be stylish or trendy with my fabrics. Every time I make one, I remember how much I’ve grown as a sewist and how much I’ve learned from all my trial and error and fearlessness as a novel sewer. I’d love to see your take on the Mamacita Tote and I hope you’ll share your creations with me (use the hashtag #mamacitatote or tag me @kustomkwilts) so I can see the amazing work you’ve done!
Good morning! So many milestones going on in our household this week–our little girl turned 6 months last week (How has it already been half a year???) I celebrated my first mother’s day, started the baby on her first solid foods, and it’s my husband’s birthday this week. Needless to say, it’s been super busy, and I feel like I’ve been to the grocery store almost every day this week. Do they give frequent flier miles for multiple grocery store trips in one day? I should also mention we live 12 miles from the nearest grocery store… I’m sure you can relate to the feeling that you’re flying by the seat of your pants on household chores and checklists. Laundry, dishes, etc., etc., but I wouldn’t trade it for the world! One of the many reasons I love English Paper Piecing is the opportunity to slow down and enjoy the process of hand sewing. I also love combining multiple parts of the sewing and design process and planning out a project from start to finish. There is something so satisfying in making something completely from start to finish…even if it sometimes feels like you’re recreating the wheel.
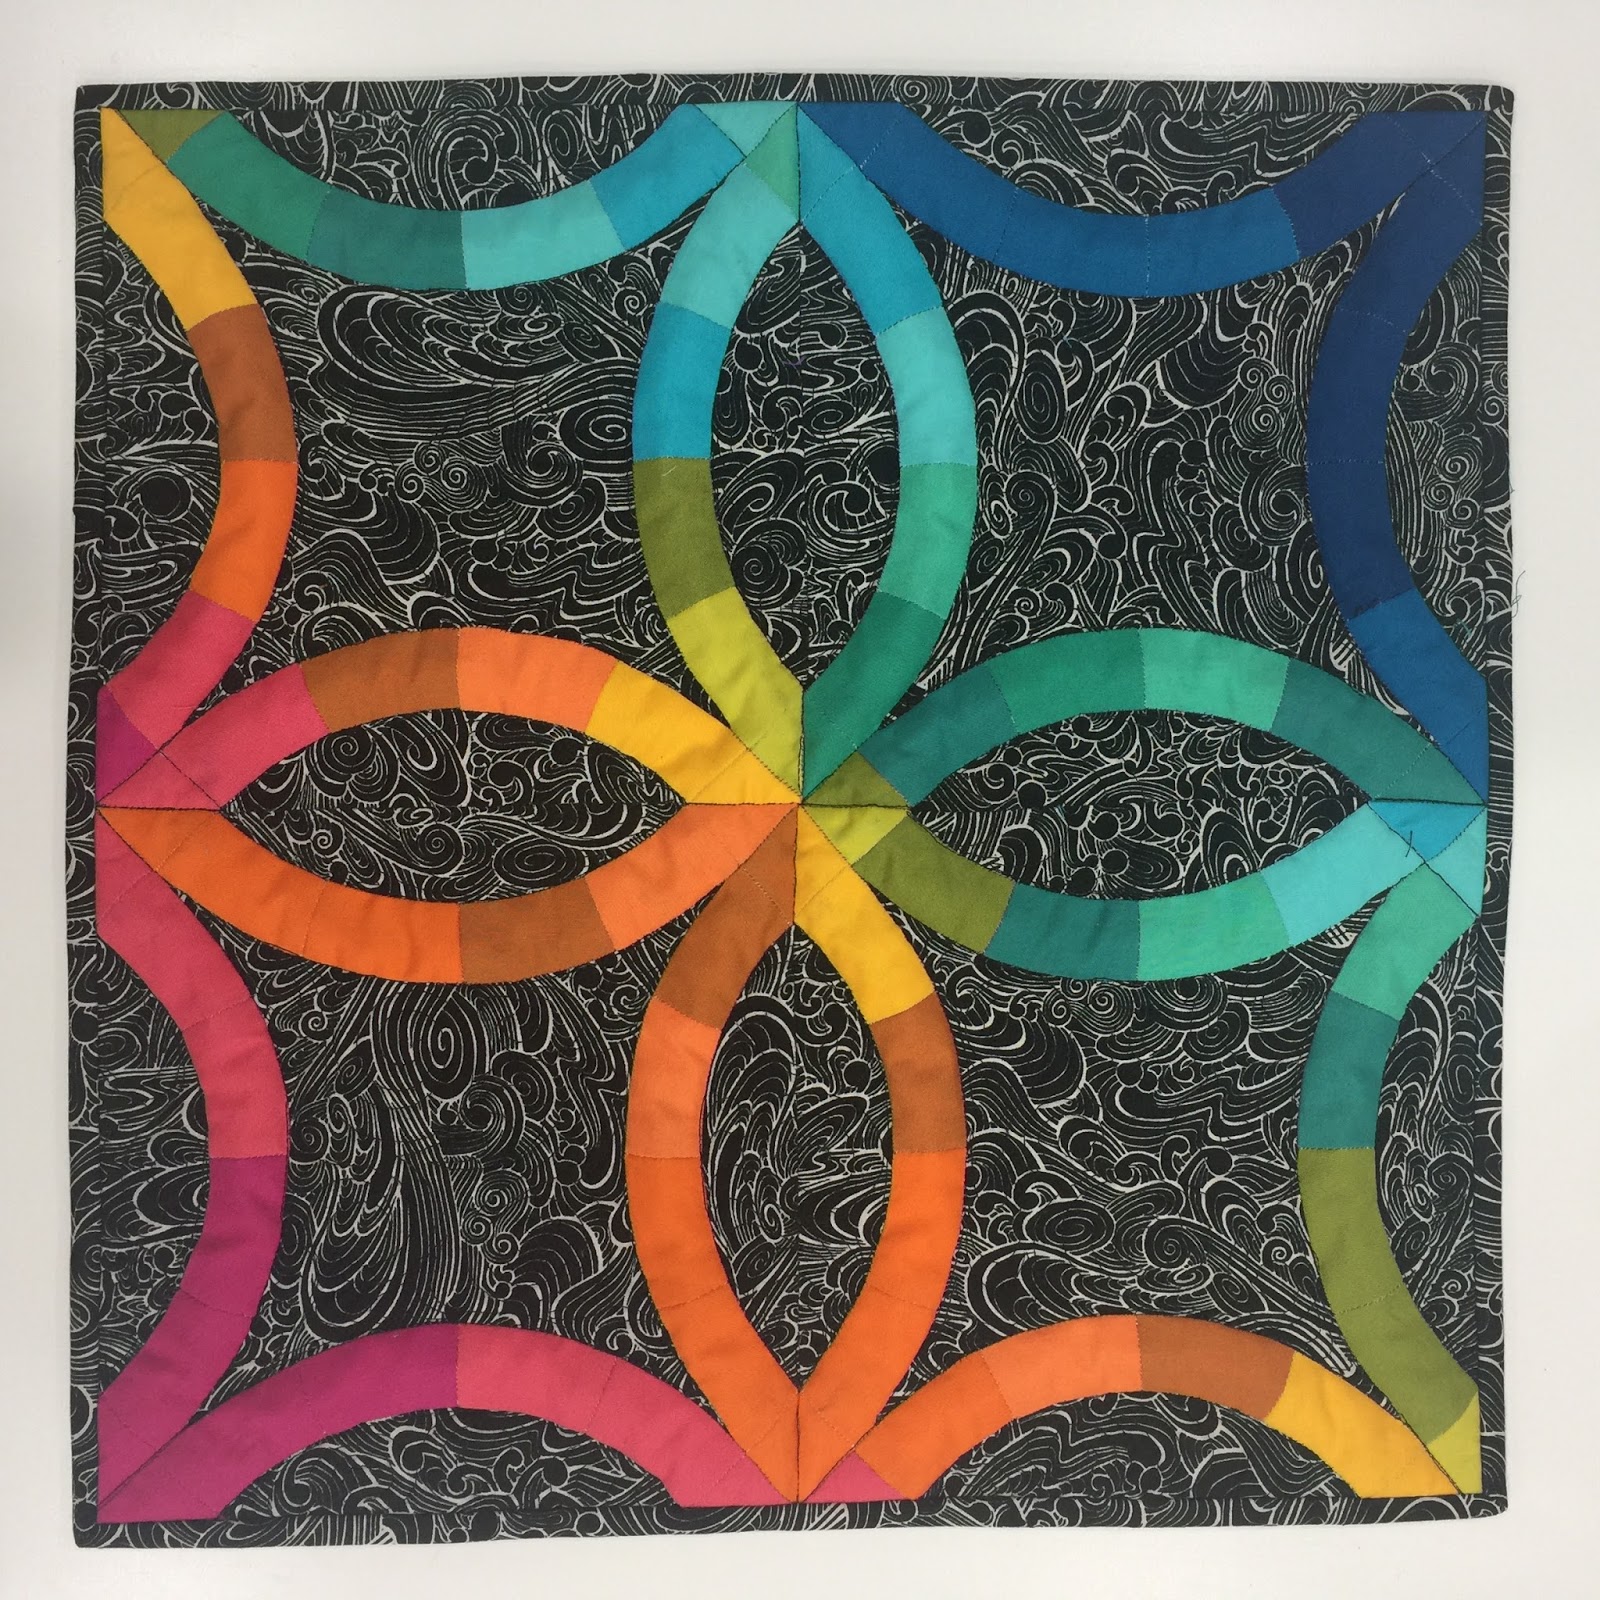
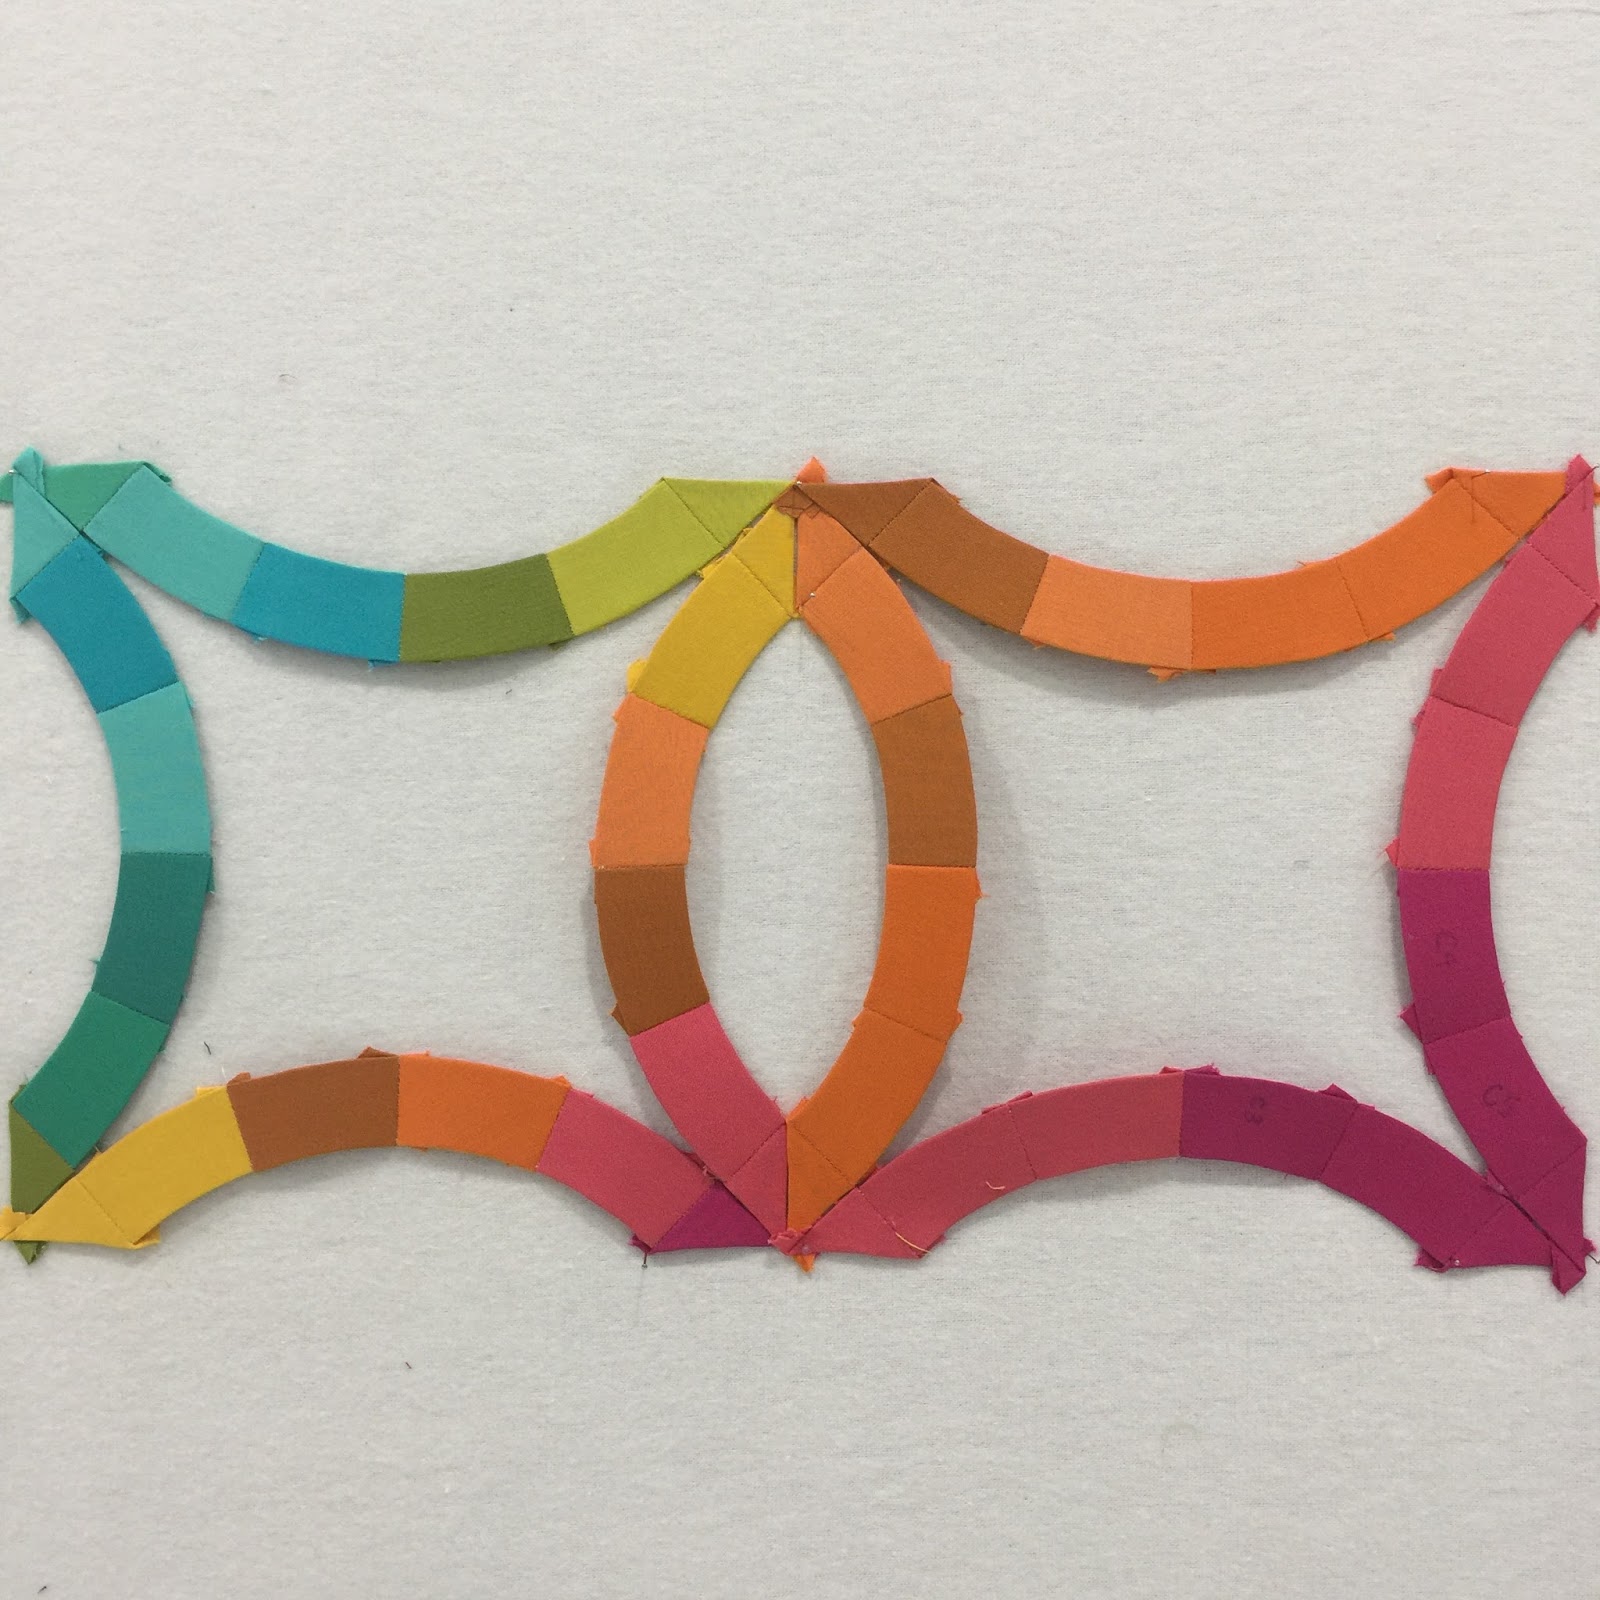
I started by sitting down with my EQ7 software and designing a mini quilt for our local Modern Quilt Guild. We recently had our first silent auction event and mini quilt show (SO FUN!). Then I printed templates onto cardstock for the EPP pieces and started thinking about my fabrics. I had a great charm pack of Kaufman Kona Cotton Solids that I had been holding onto for over a year, and thought this would be a great opportunity to use it. I traced and cut out my fabrics, and then had to pause when I selected my background fabric.
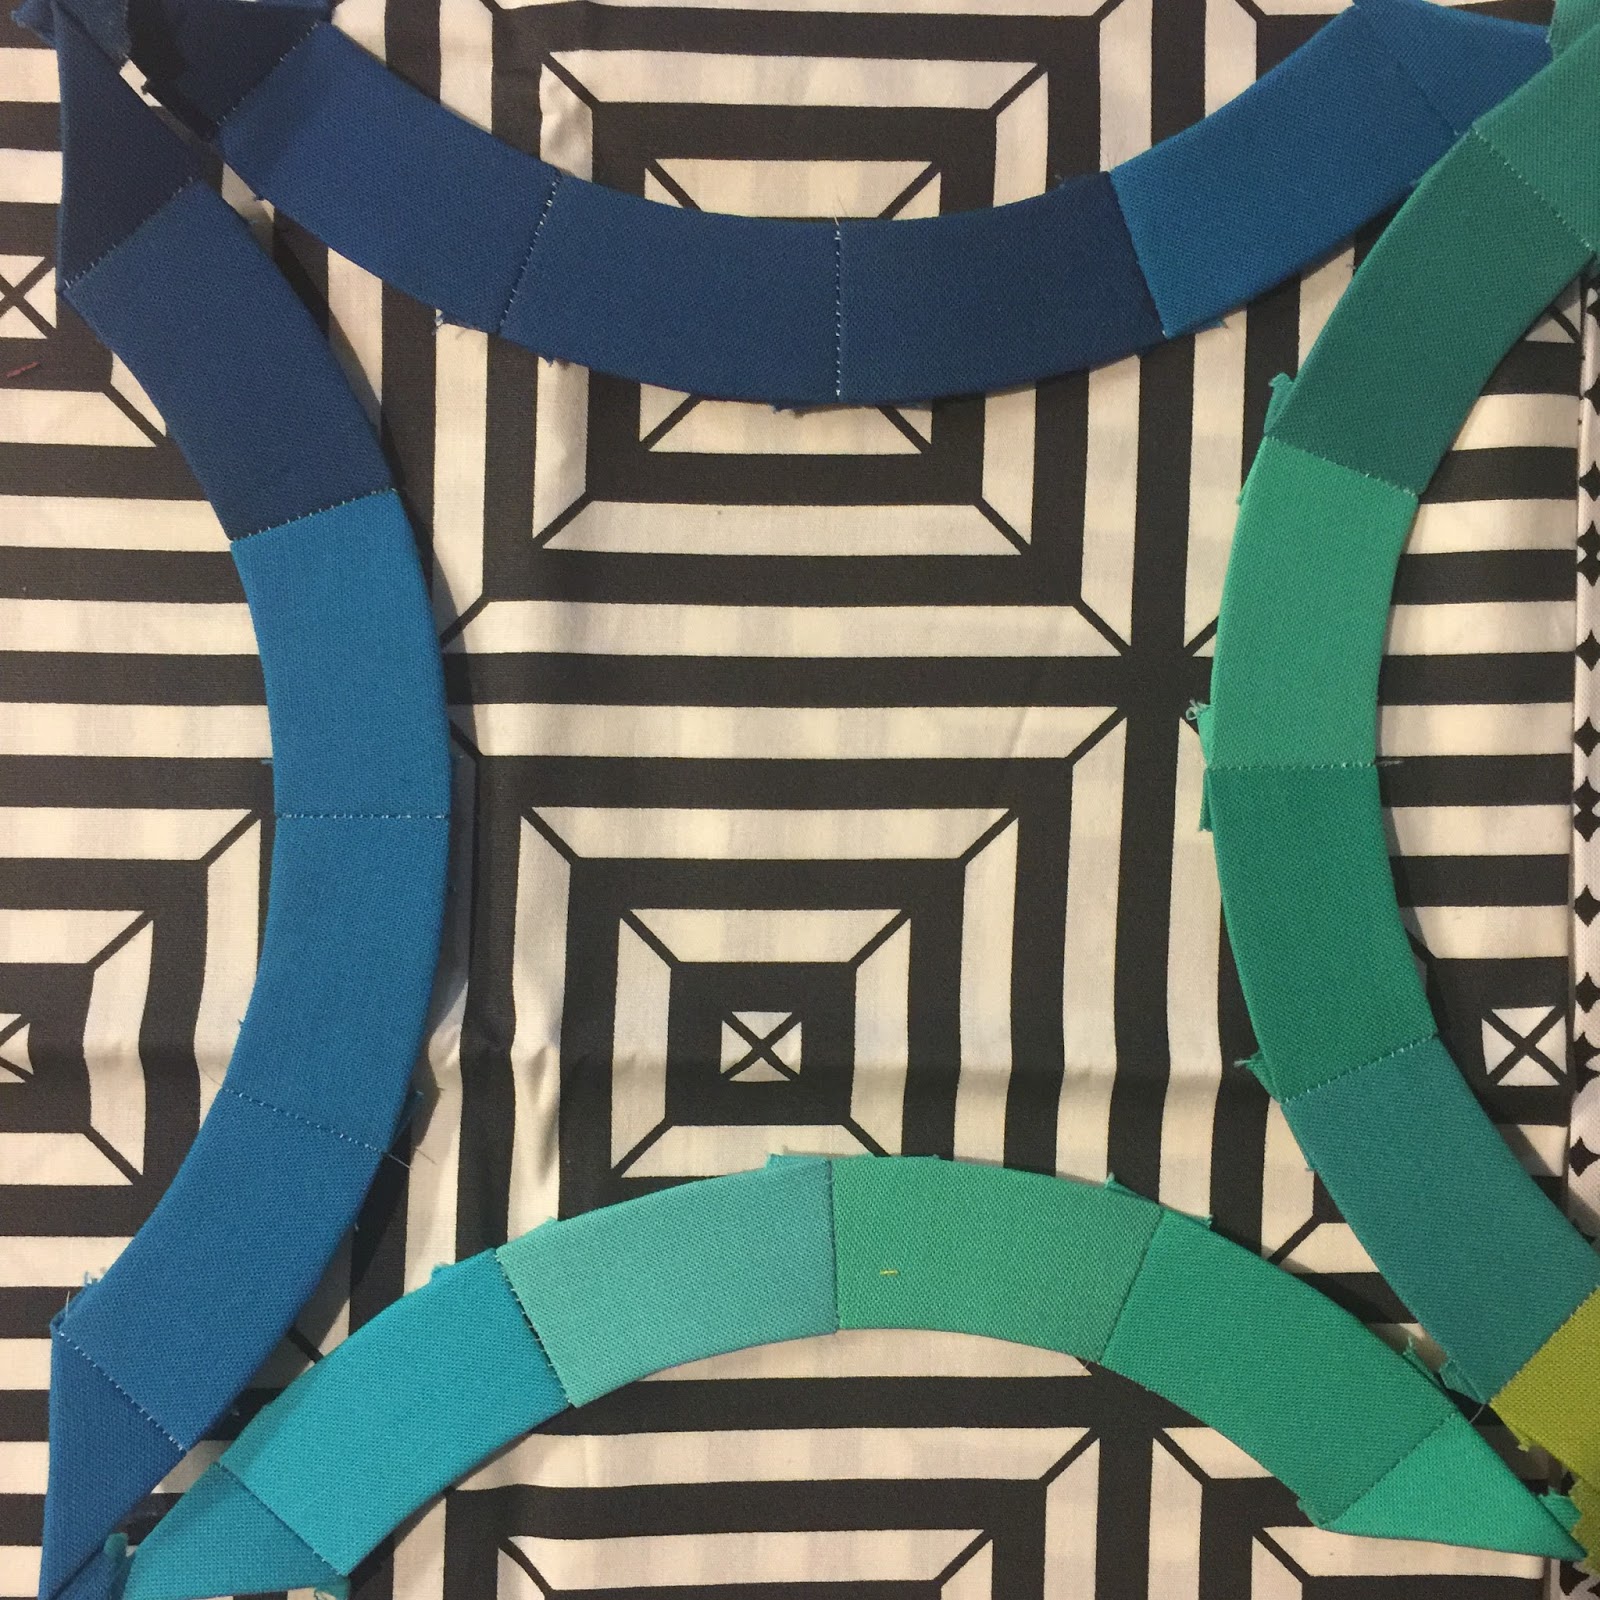
I knew I didn’t want white, and I really like the effect black and white patterned fabrics have with solids. So I auditioned a few different fabric choices–I really thought I wanted to go with a black and white stripe, but I opted for a more solid-reading print instead. I pieced together a few of the DWR pieces and then placed them on top of my background fabric choices. Pictured below is what I thought I was going to go with, but I instead selected a Tula Pink True Colors black and white print. Because…Tula!!!
From the basic design in EQ7 (They already have the blocks drawn up…I just sized them to fit my needs), printing the cardstock, then cutting the fabrics, I got to take a breath and piece in my leisure time. HA. Leisure time…You know what I mean. The semi-quiet moments in the house when my hair wasn’t on fire 😉
Then I loaded the mini on my longarm and did some simple stitch in the ditch around the wedding rings and some loopy swirl combos on the black and white background that blend nicely. It may seem kind of dumb to longarm a mini quilt, since you need a little bit more backing fabric than you would if you were to quilt it on a domestic, but I figured I paid for that huge machine and I’m going to get my money’s worth! Plus, I had just taken a fresh quilt off of the frame, and I had to take advantage of it before I loaded my next quilt. It made for a slightly quicker finish than if I’d done it on the domestic sewing machine.
I was thrilled with the results, and playing with the color gradation and high-contrast background was really a lot of fun. But mostly, I was able to really enjoy the process and each step along the way. I don’t know about you, but from the day I started sewing, I’ve always eyed the double wedding ring quilts. I’m not sure I have the patience at this point in my life to see a full-sized quilt through, so this mini quilt was the perfect opportunity for me to cross a DWR quilt off my quilting bucket list. I had also never taken the time to hand piece curves before, but it wasn’t as bad as I thought it might be. Really, I had built it up to be this super scary moment, when all you really need to do is take a little extra time and carefully mark the centers of each EPP piece prior to piecing it, and make sure you line the centers up while adjusting the curves. I hope your sewing adventures take you somewhere awesome this week, and try to slow down and enjoy the process behind what you’re doing. I know I really enjoy the projects where I can slow down a bit and take a break from the hustle and bustle of life. Happy sewing friends!