I played with the quilt design for the Gems in the Night Sky Quilt in EQ7 for probably a week straight before I had my final layout the way I wanted it. I changed the background fabric, moved blocks around, completely deleted blocks, changed color arrangement, the list goes on and on. It’s funny how after you’re done with something, all the time you spent on it just kind of vanishes, and you don’t think about the labor of love you put into it.
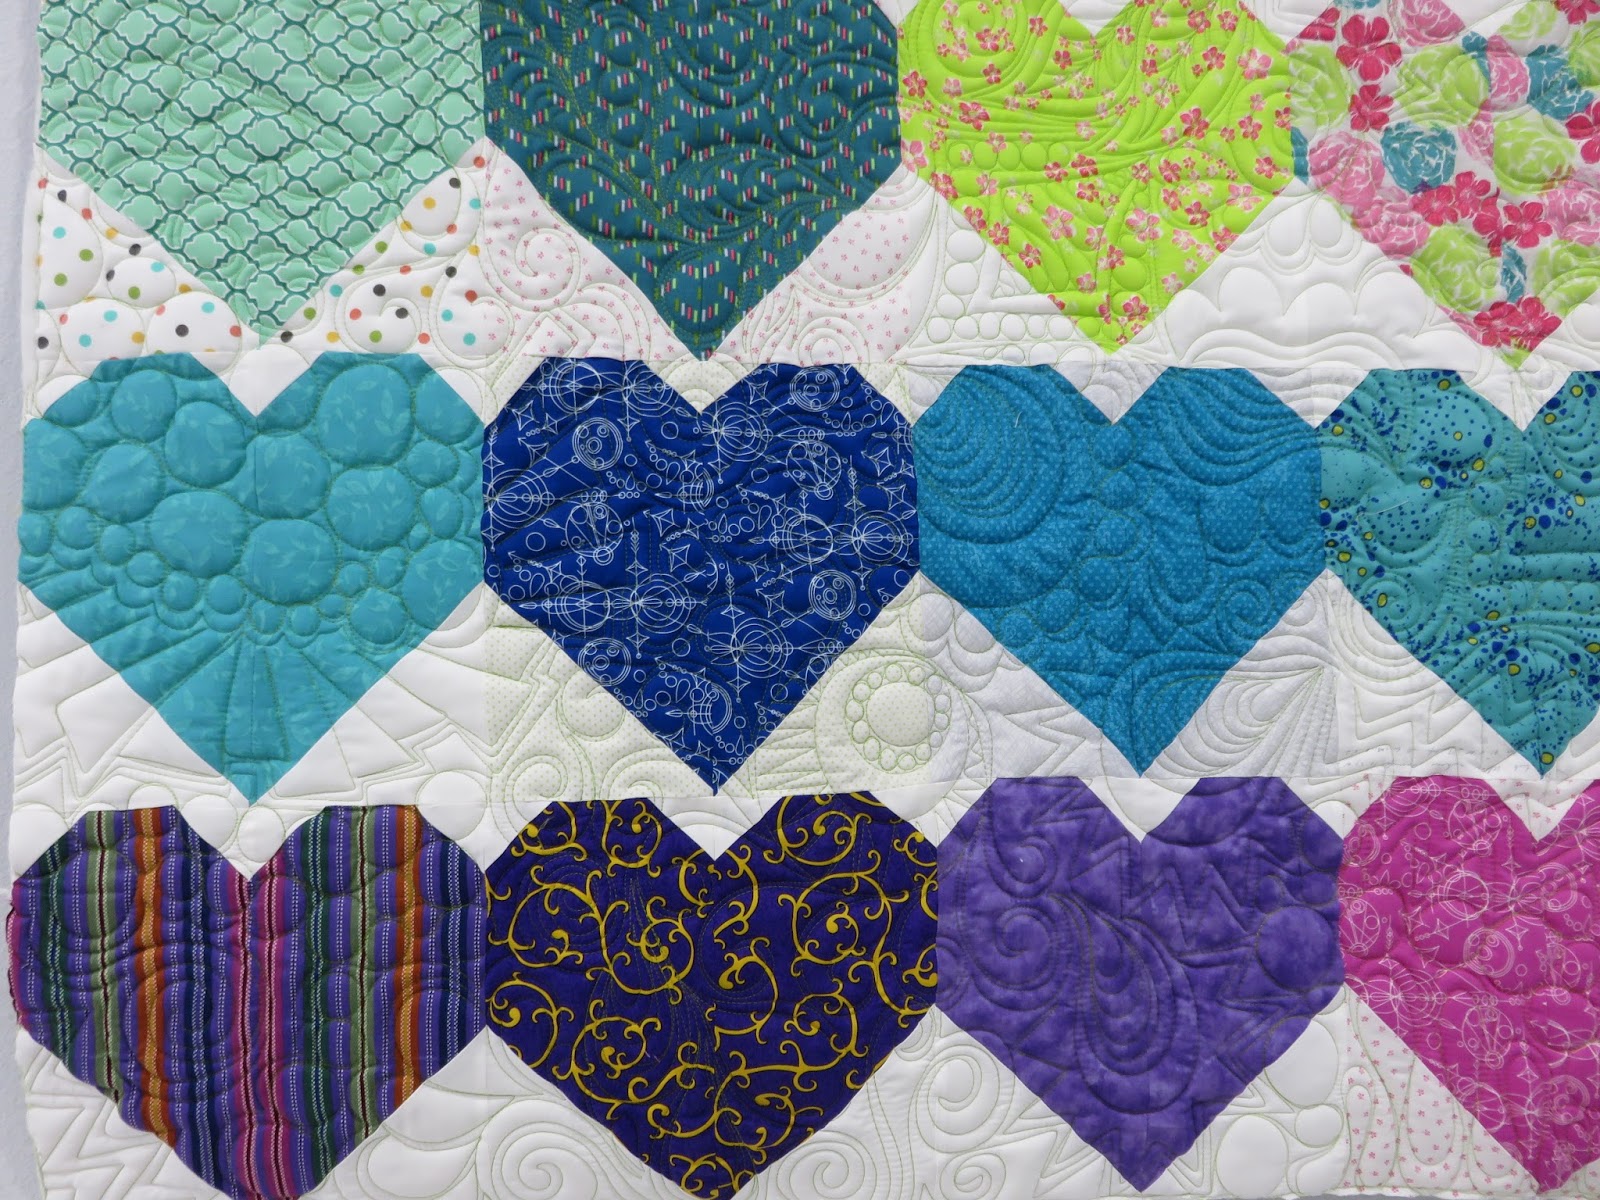
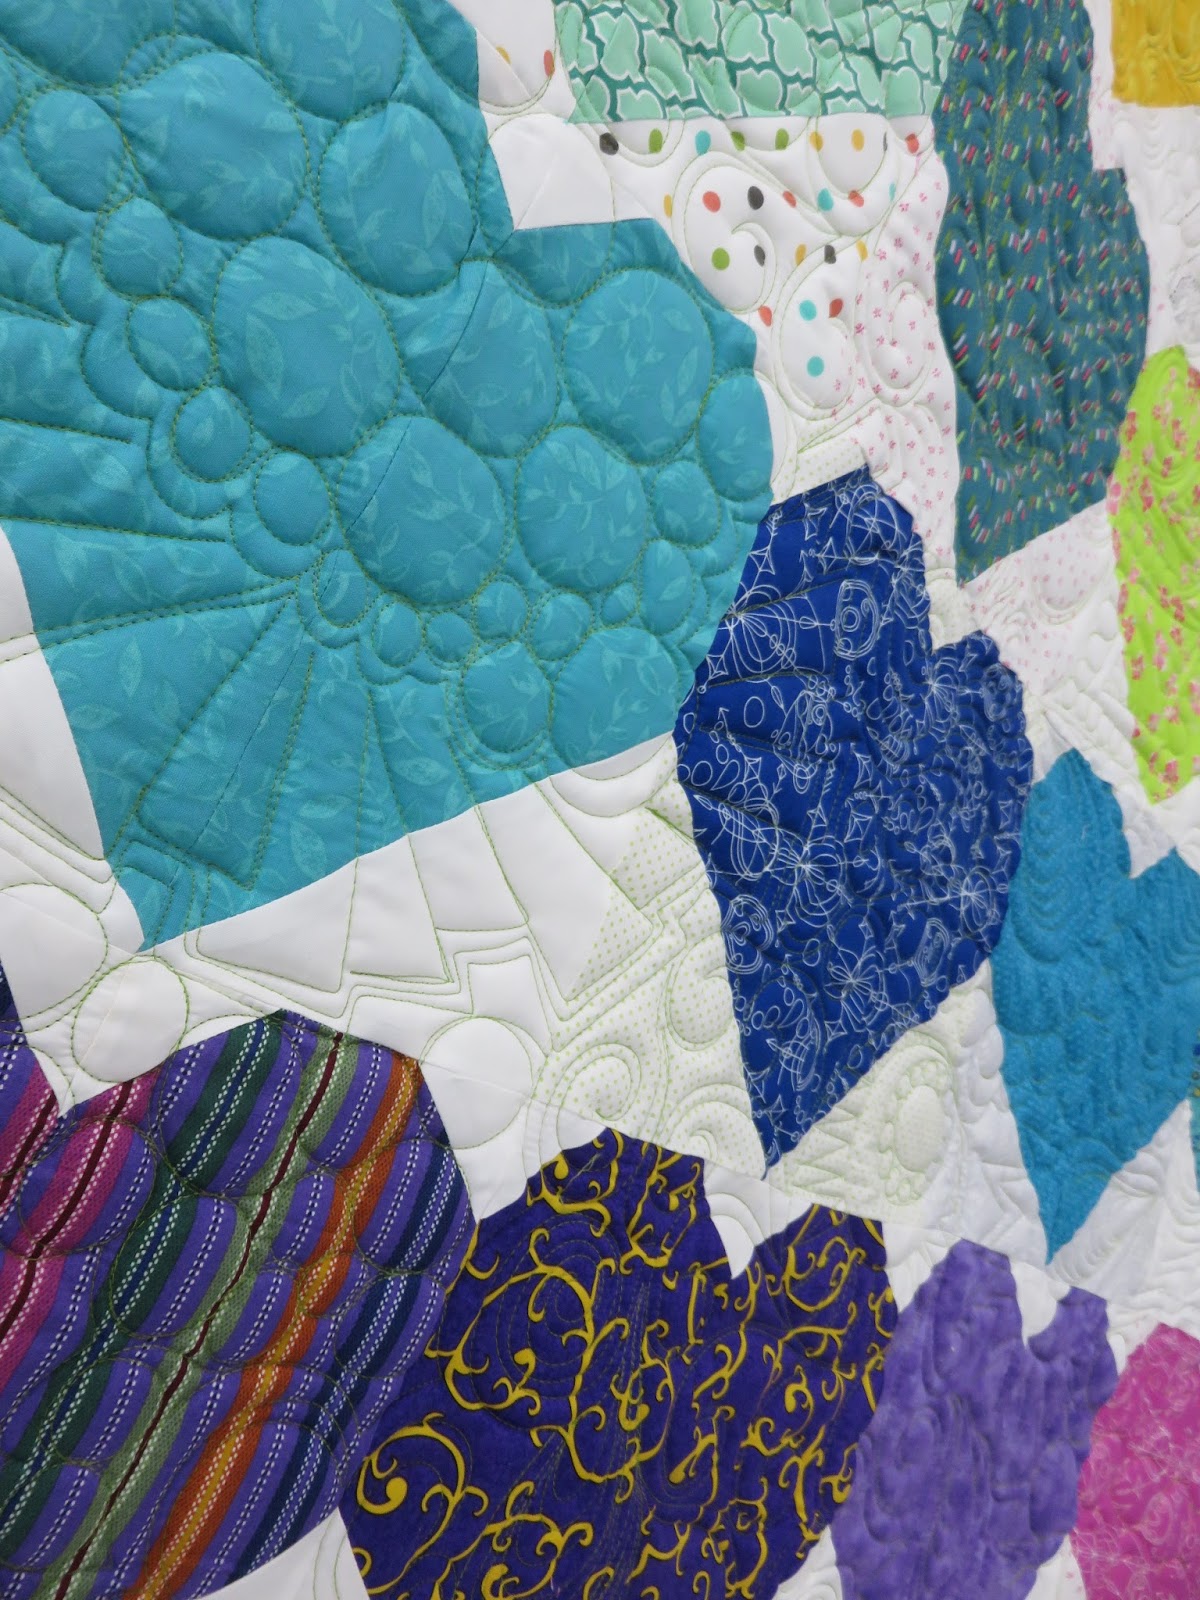
This quilt. All the hearts. I had the awesome chance to design and make this quilt for Janome’s brand new machine launch–the 9400. I’m not going to lie, this quilt took FOREVER. But packing it in a shipping box and saying goodbye forever was nearly as difficult as giving away your first born.
And then I saw the picture of it on the Janome website once the machine was released, and it was like seeing photos of a long lost friend. And I might have squealed out loud at the top of my lungs 🙂
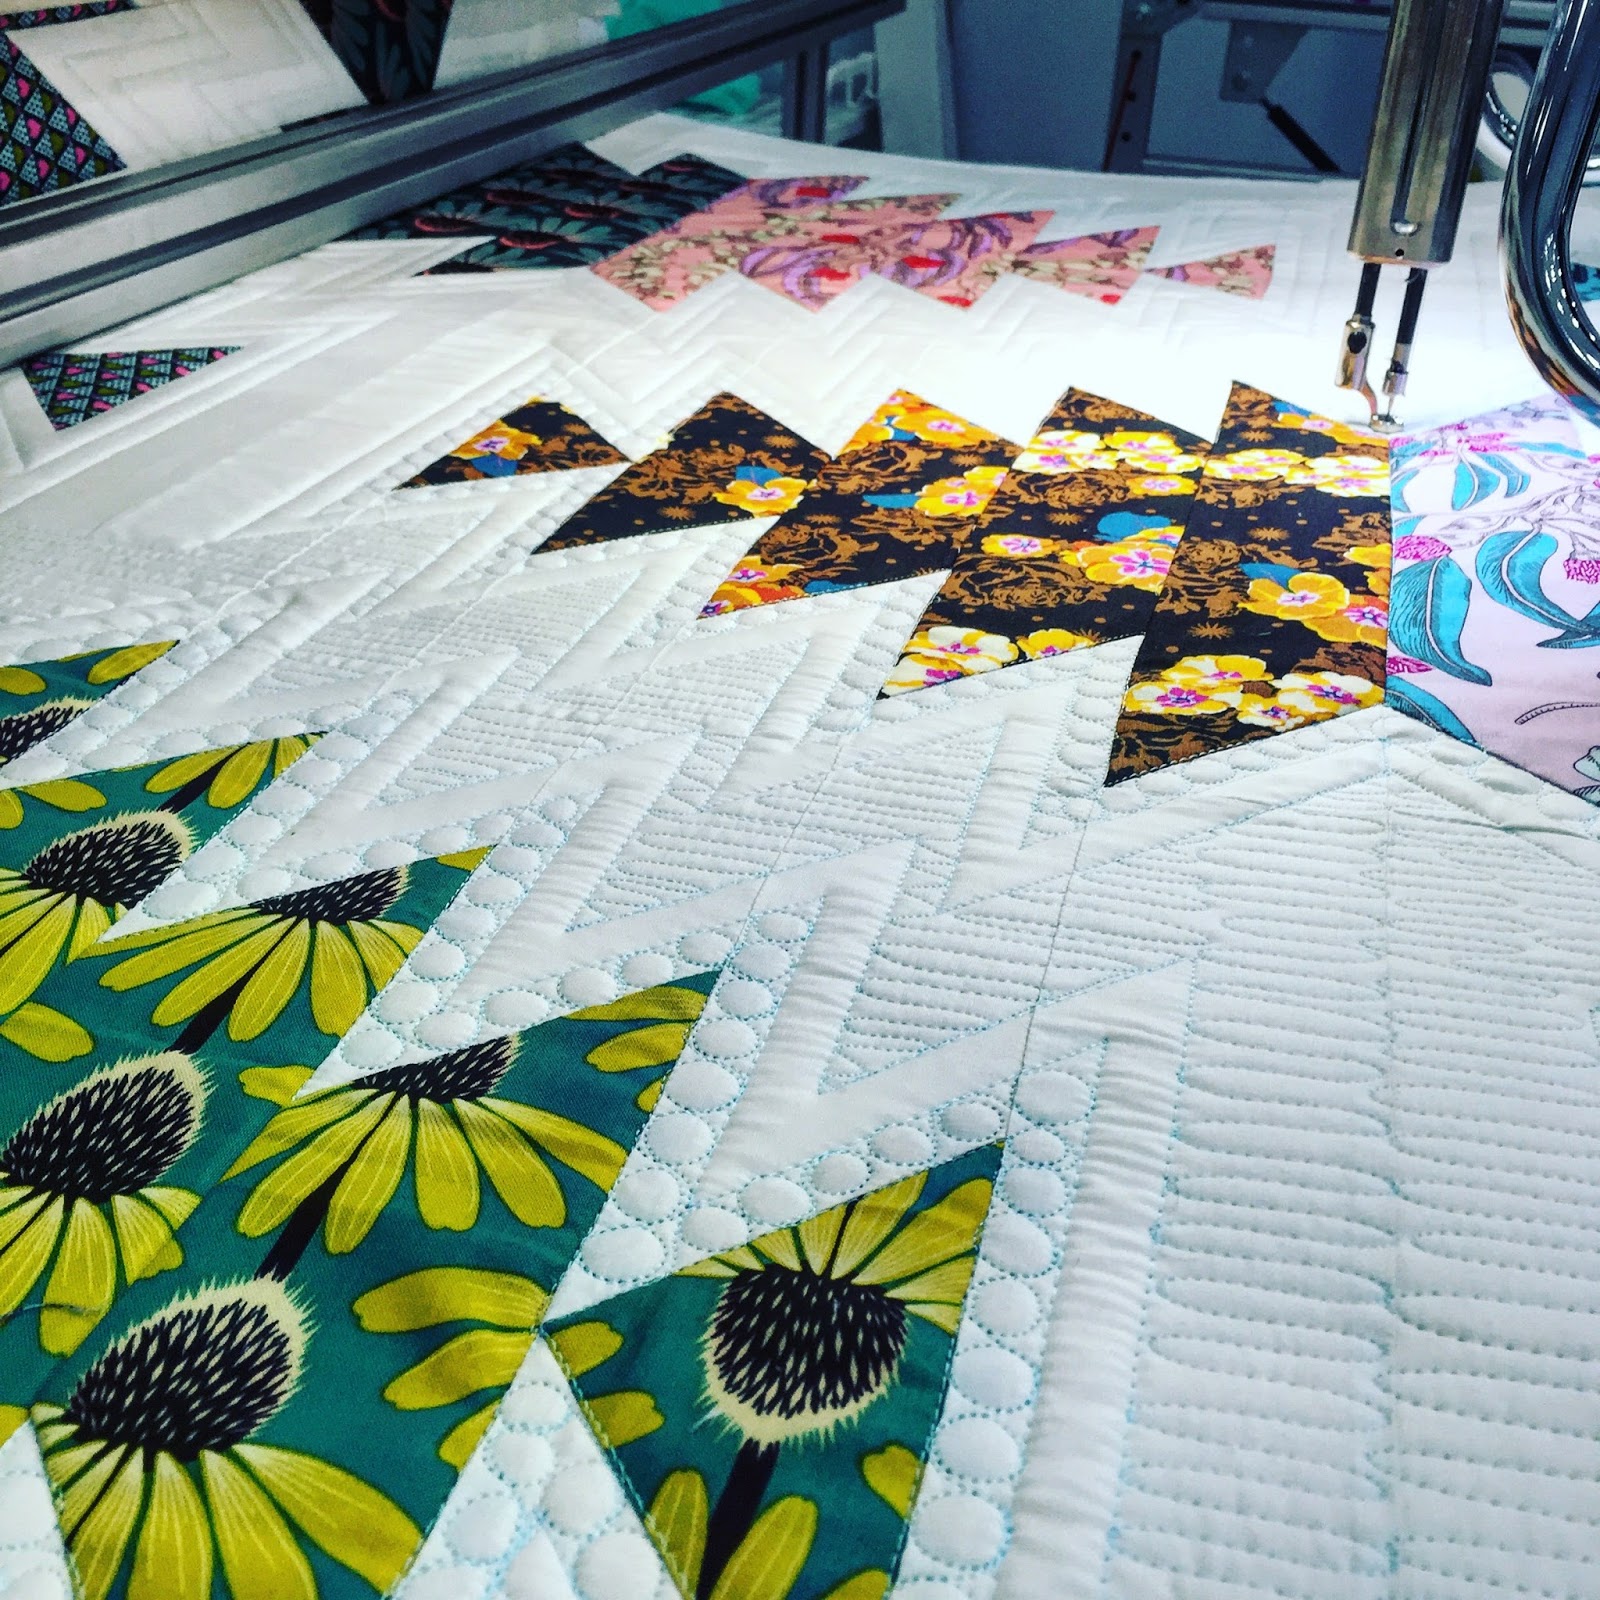
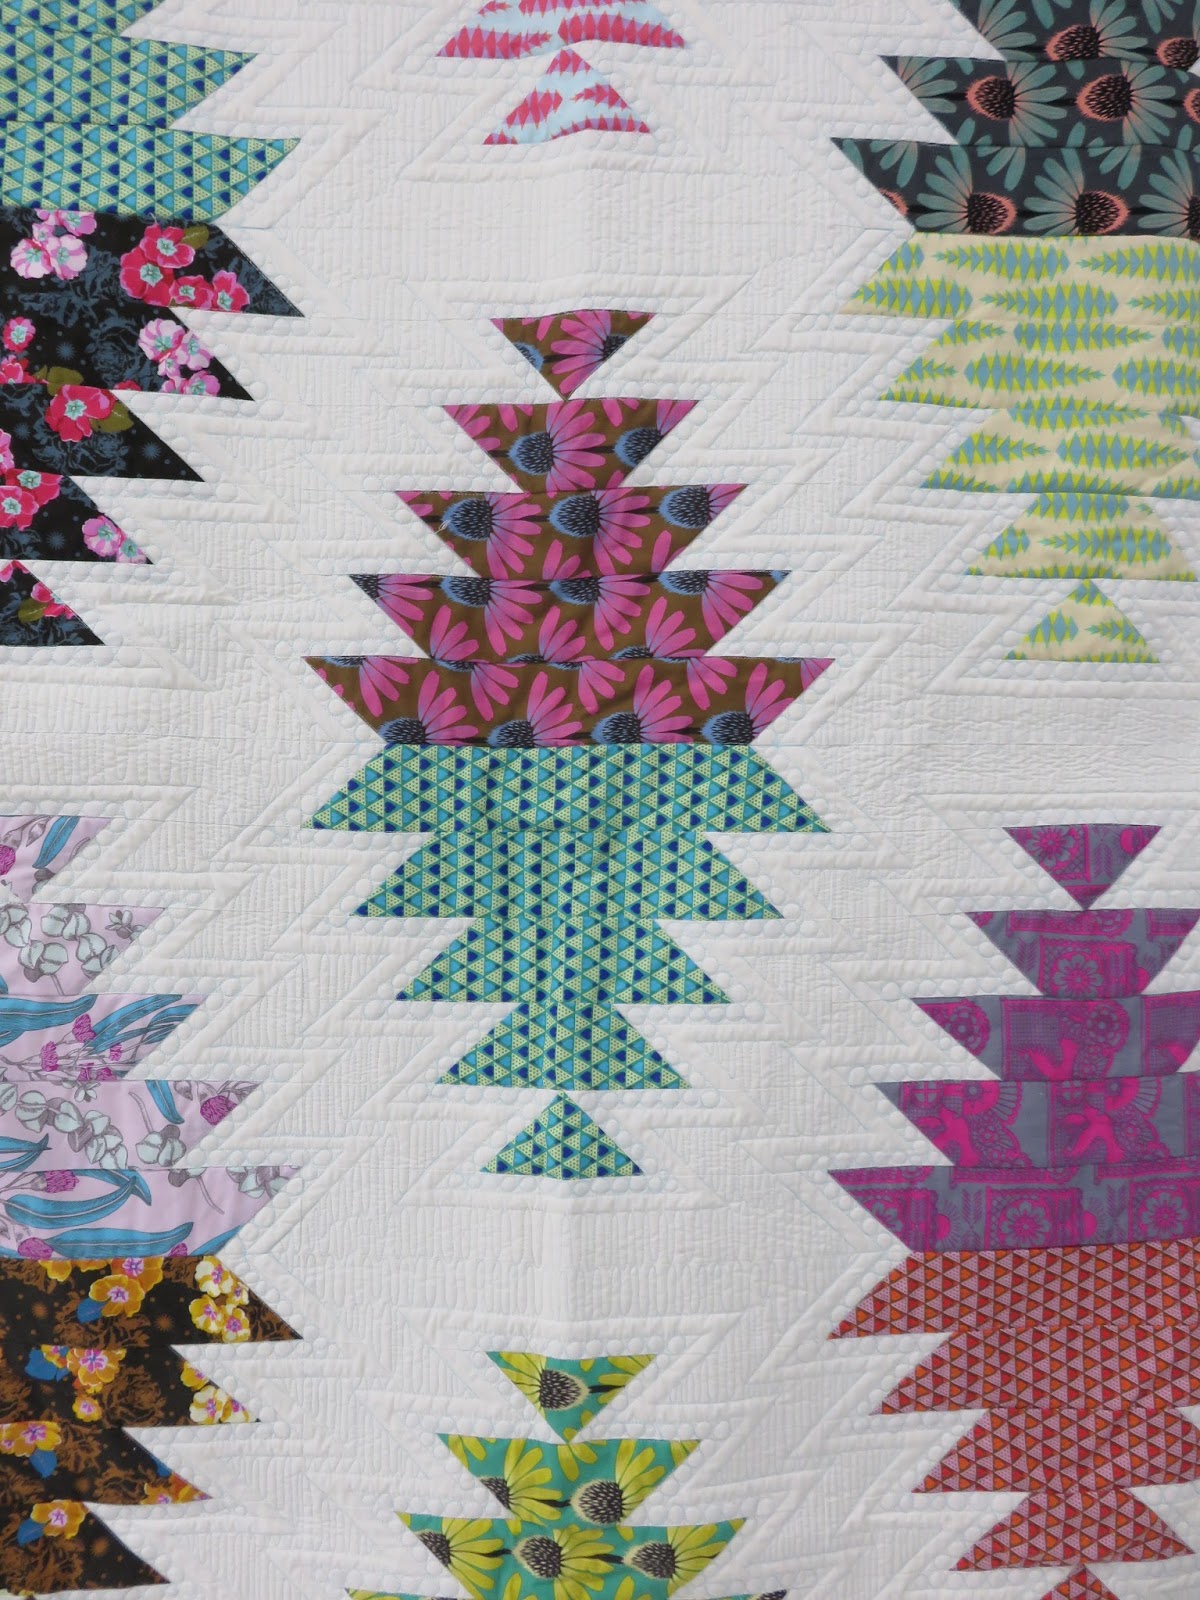
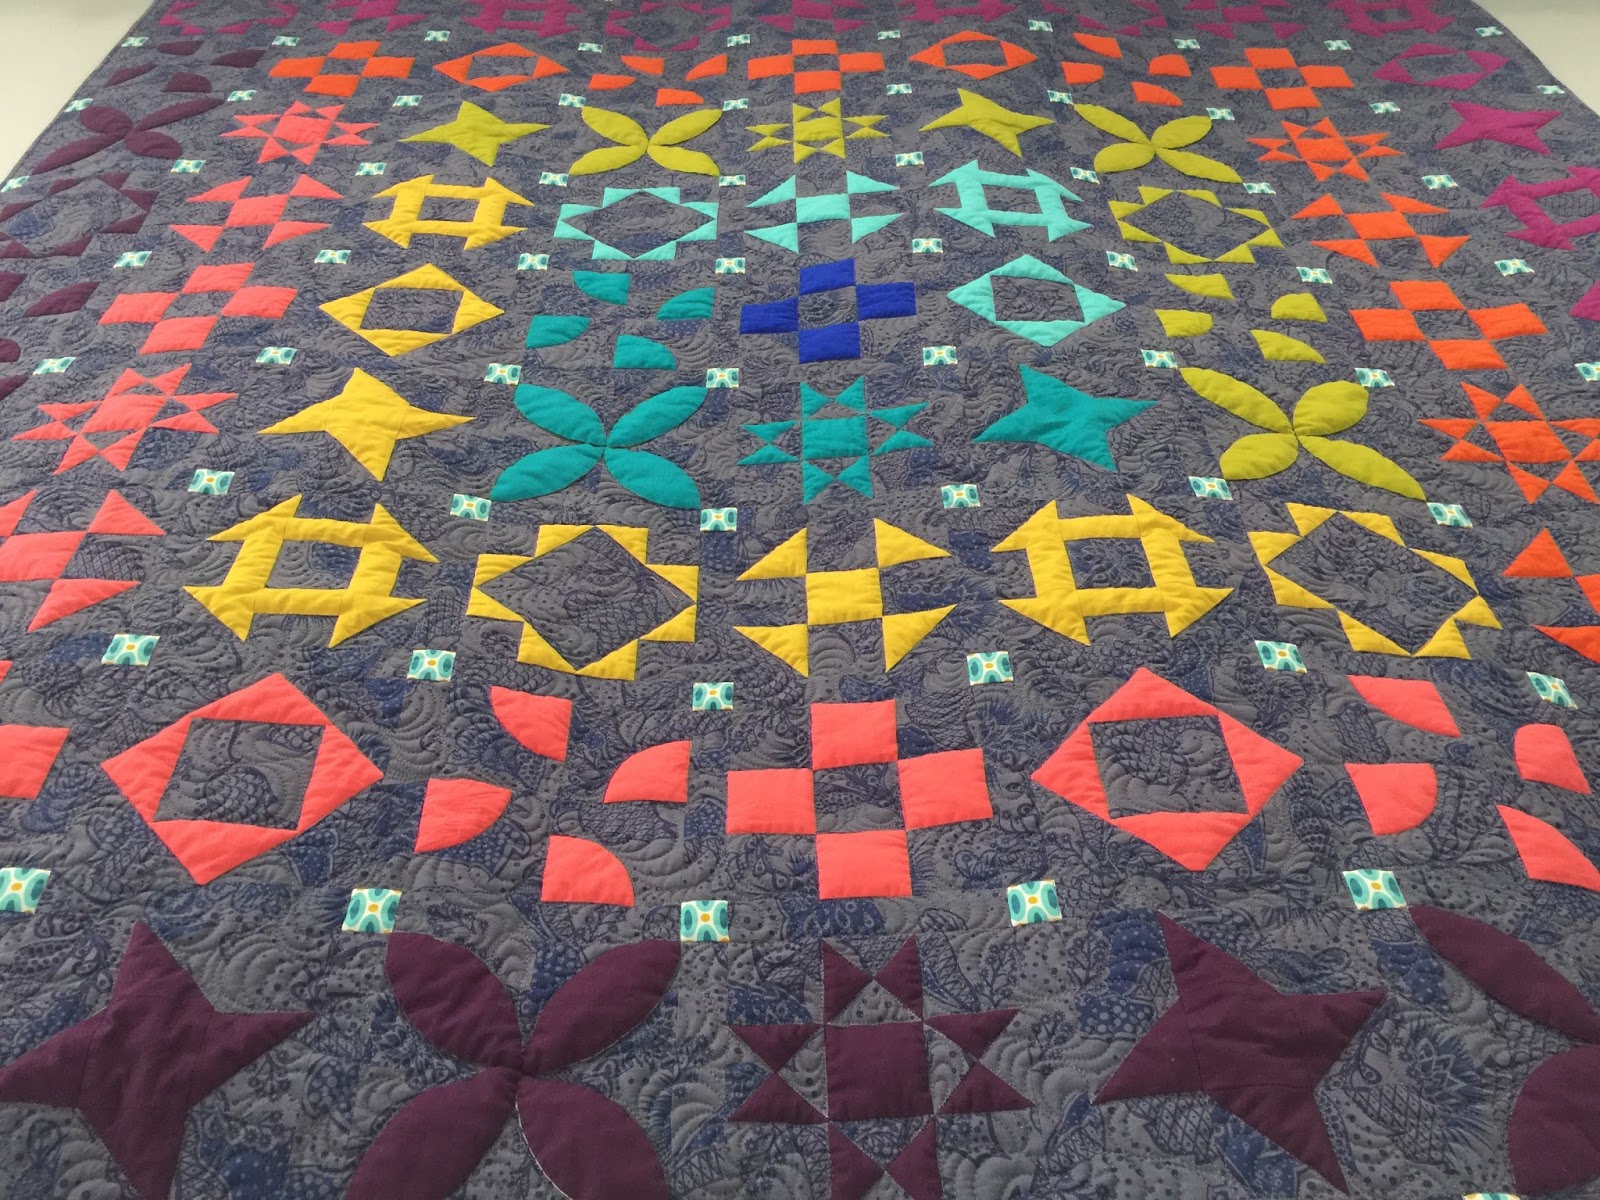
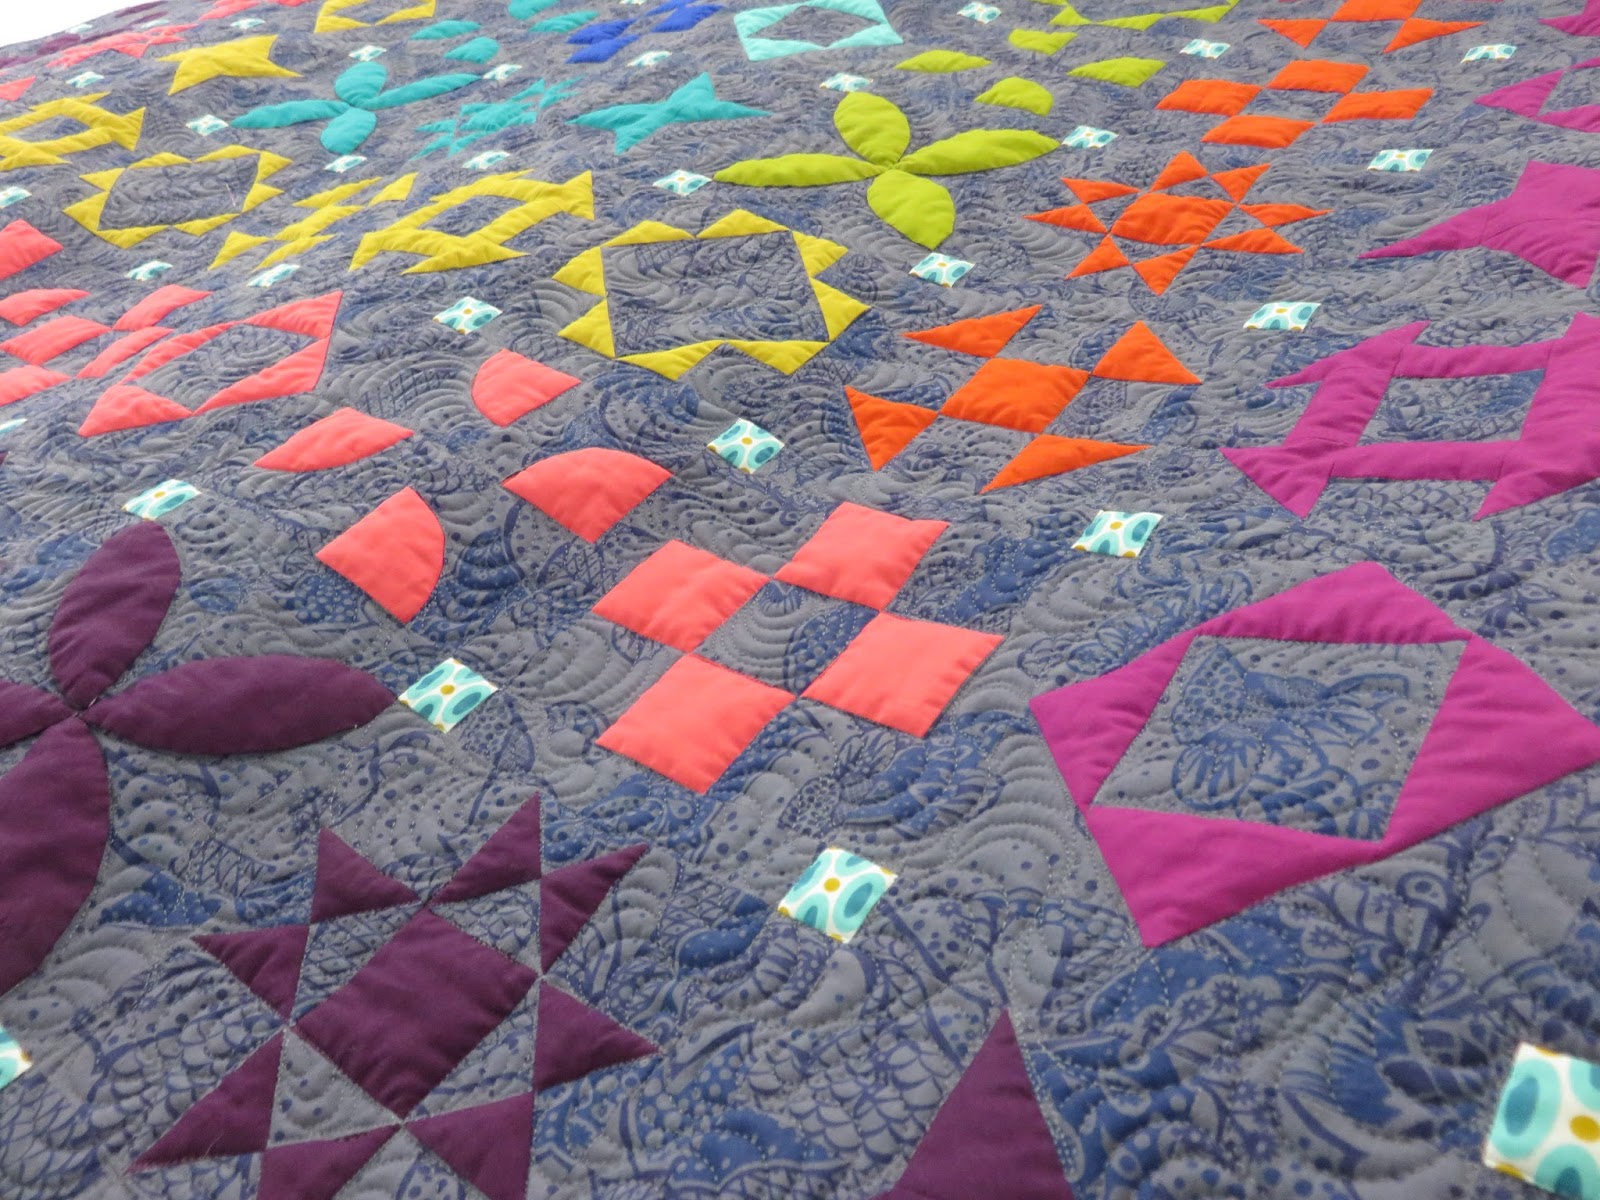
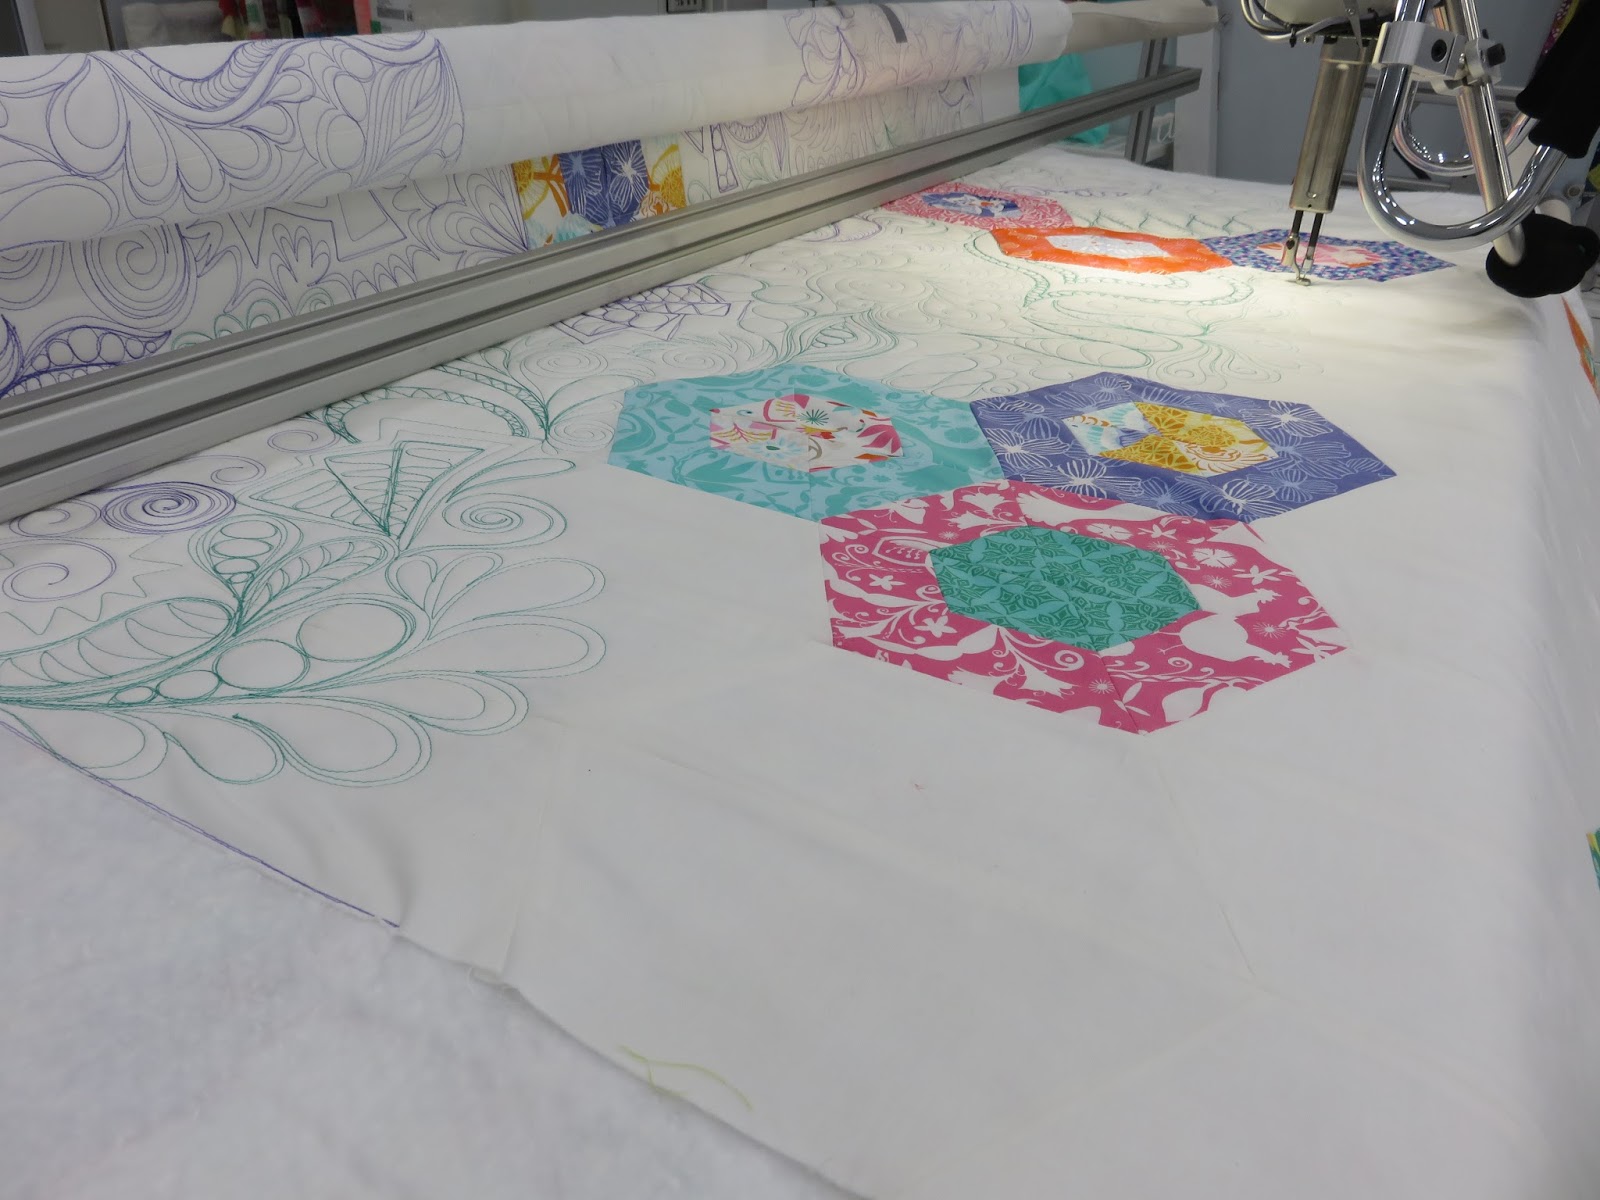
So there were 81 blocks- with 9 different block constructions. At first glance it kind of looks like someone took a Dear Jane quilt and dumped a bucket of modern over it (which is fine with me!), but if you look a little closer, you will see the blocks are just made with alternating colors and arranged in a way that it deceives you into thinking there are a lot of different blocks in this quilt.
This was pieced with the Michael Miller Cotton Couture bundle that’s available at Janome dealers, and the background fabric is Anna Maria Horner’s True colors- filigree in dusk. I think the combination is just dreamy.
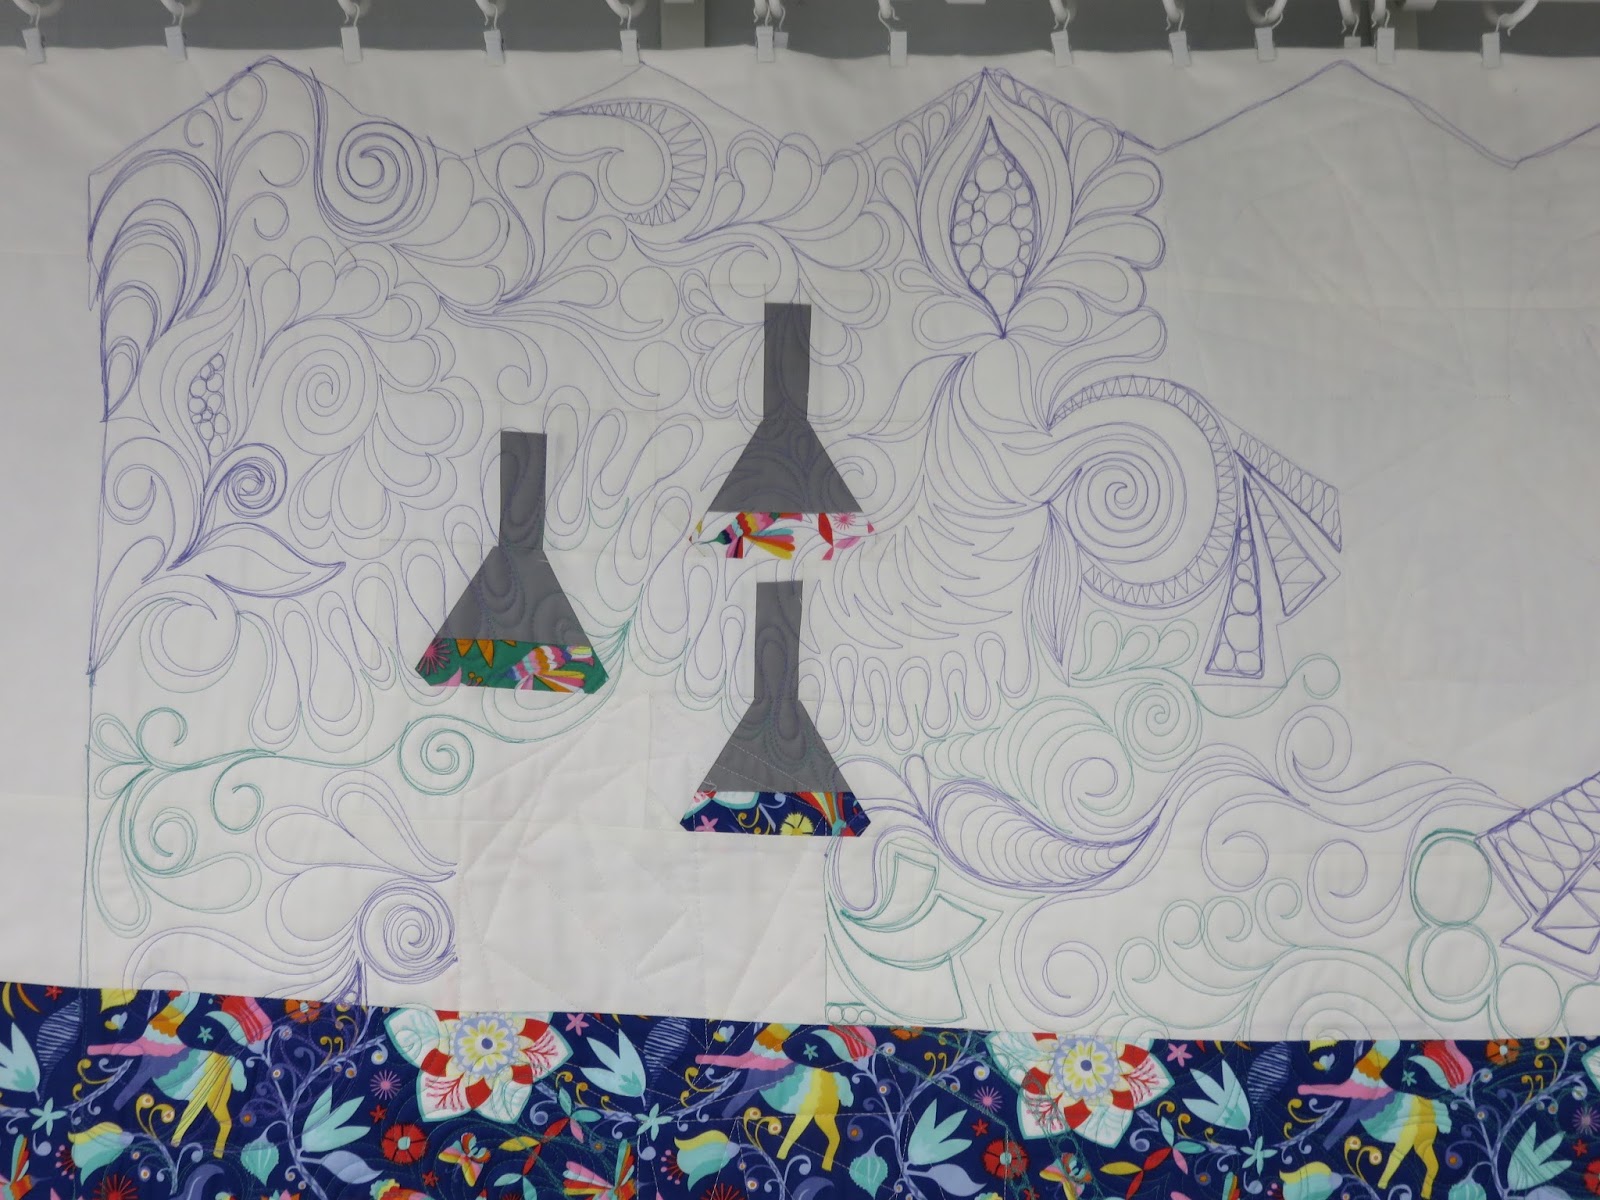
Sometimes I love the backs of quilts more than the front. I like to press my seams open to eliminate a lot of bulk when I quilt.
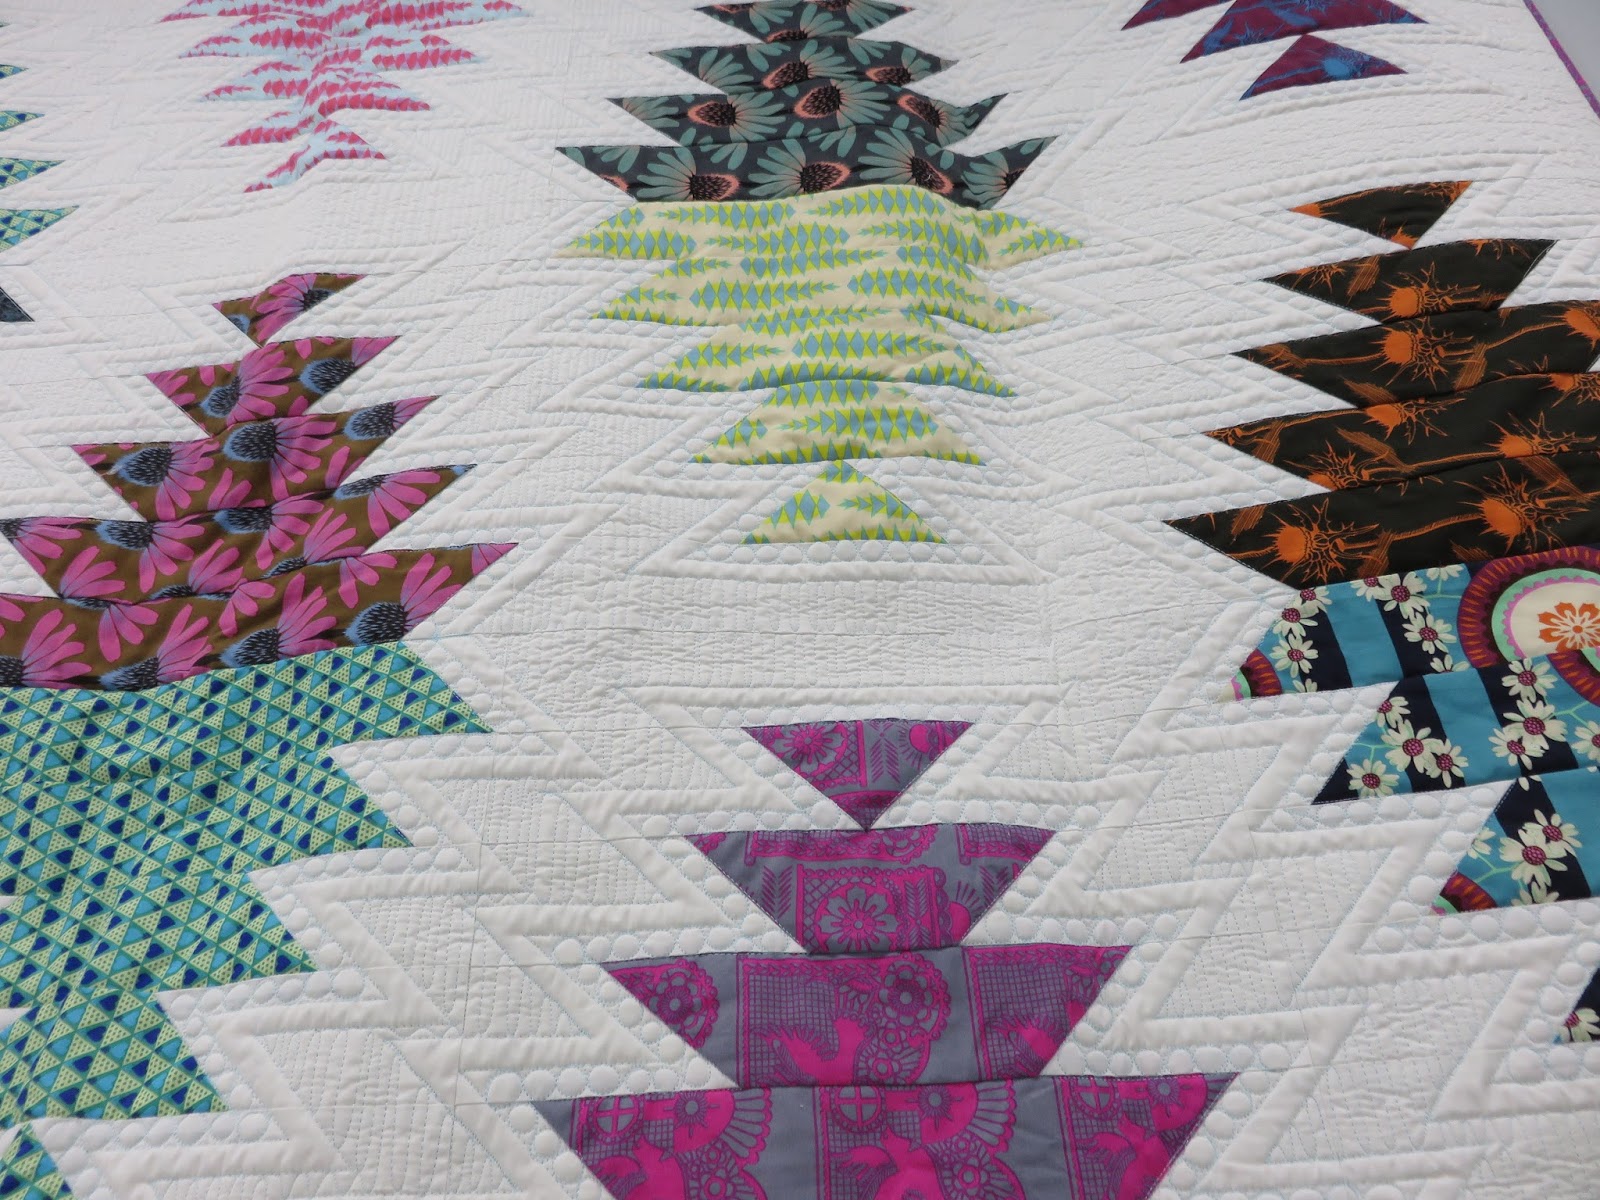
And then it was quilted with Stitch in the ditch around the bright colors and heavily quilted on all of the AMH fabric. I had to keep this a secret for so long, that I nearly forgot about it once the machine was finally released. So I’m finally able to share and show my little labor of love.