Have you ever picked up someone’s journal or diary and caught a glimpse of who that person is and what drives them? Even if it belonged to a total stranger? That’s how I often feel when I get a t-shirt quilt commission. Sometimes It’s t-shirts, sometimes ties, sometimes clothing from a deceased loved one, but what my clients may not realize is that by the time I am done with the finished item/quilt, I feel like I personally know the person the items belonged to.
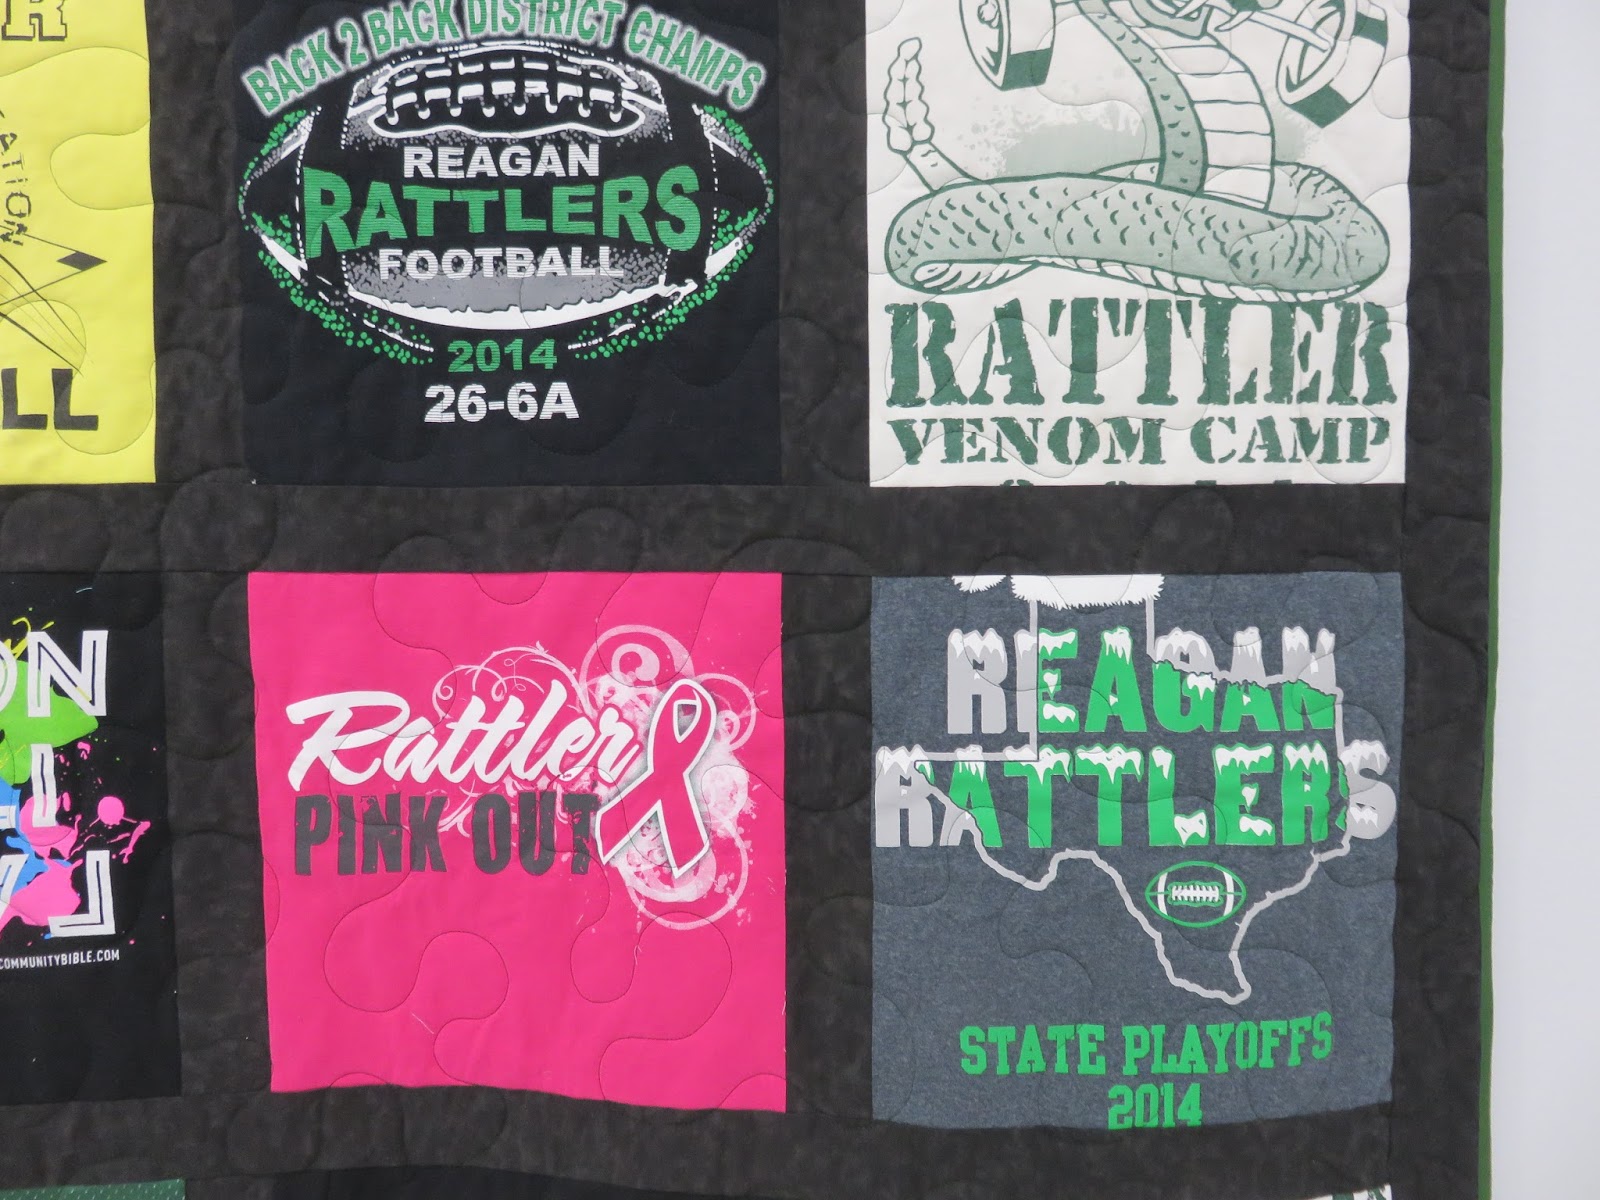
I recently completed a t-shirt quilt for a graduating senior who was an avid football player. And let me tell you…Momma did an awesome job of saving shirts from elementary school on up! This was probably the largest t-shirt quilt I’ve done, being nearly king-sized when completed.
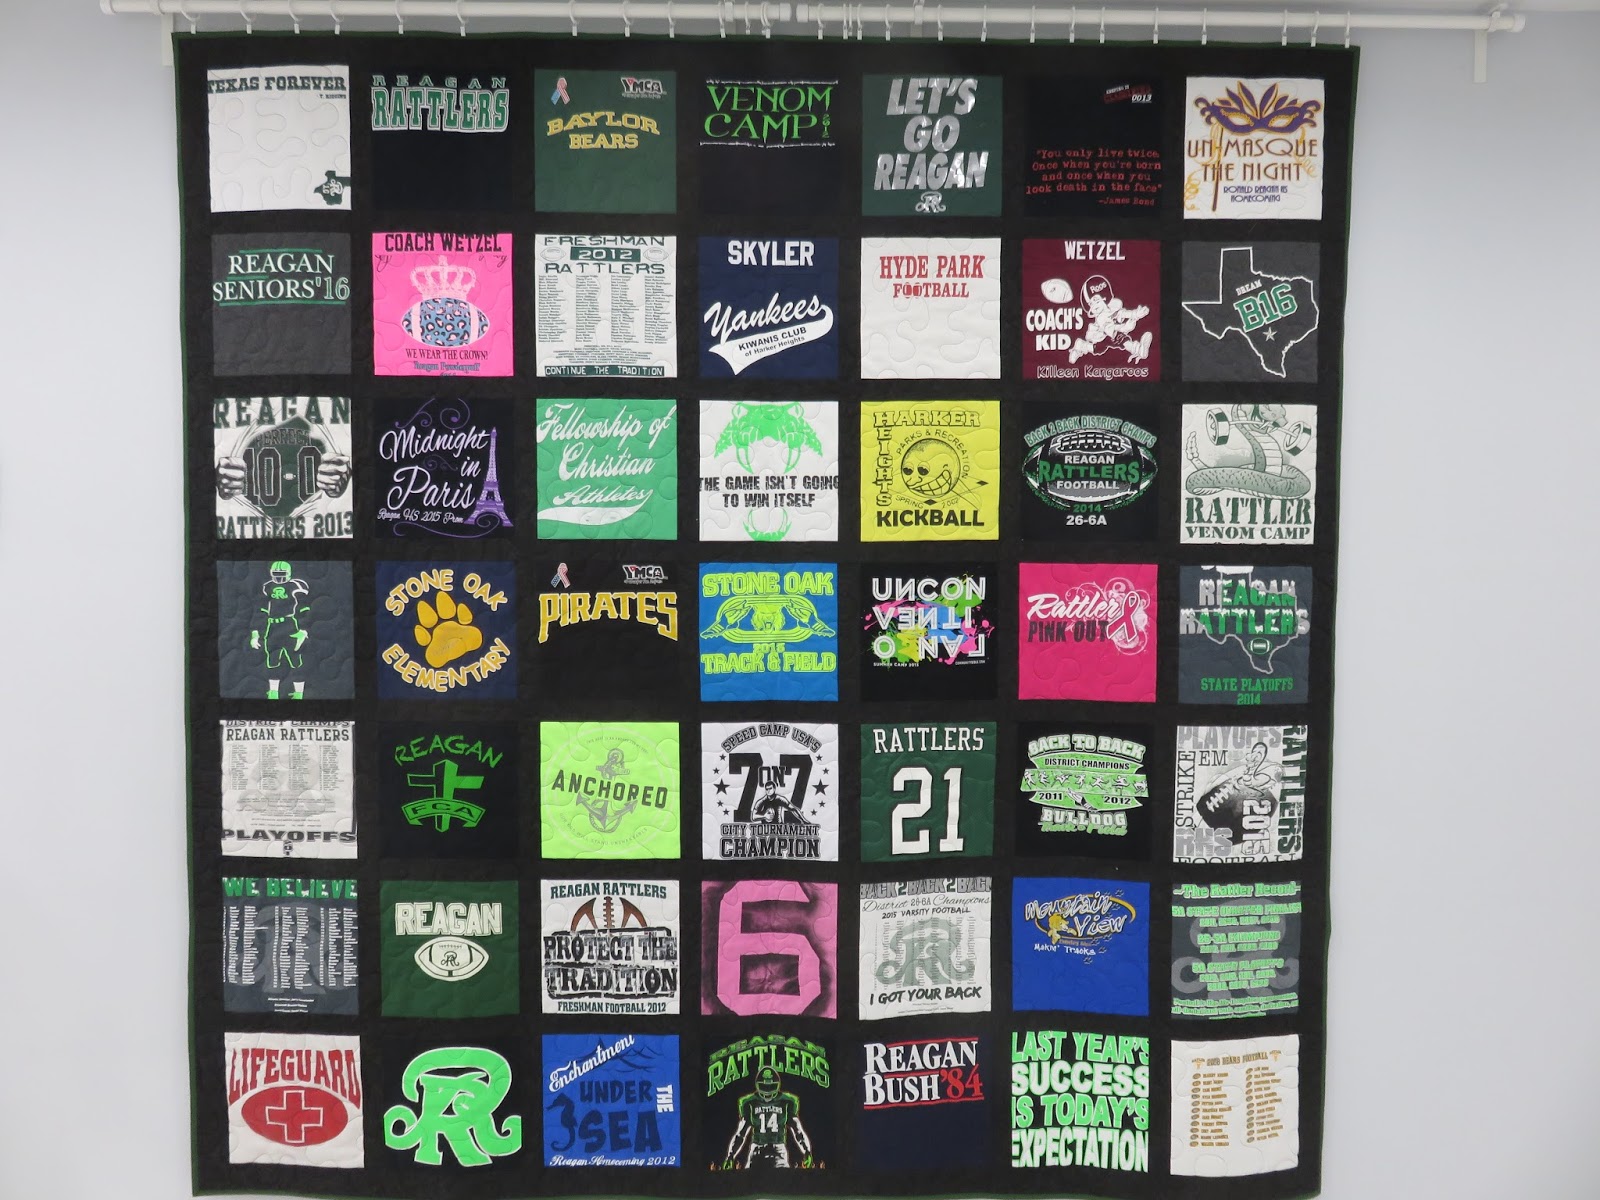
Seriously…this sucker was a monster.
This is going to sound totally lame, but I feel like I know this kid and went through each achievement with him! While cutting out the shirt blocks, sometimes your mind just wanders. A lot of things about this quilt reminded me of when I was in high school. Thinking about football games and pep rallies and all the fun and carefree days.
It is such a joyful process to make something that parents are putting so much thought into to gift their child. Who wouldn’t want to be a part of that? I am so happy that I’ve found my thing–and that it can bring other people a little joy and happiness.