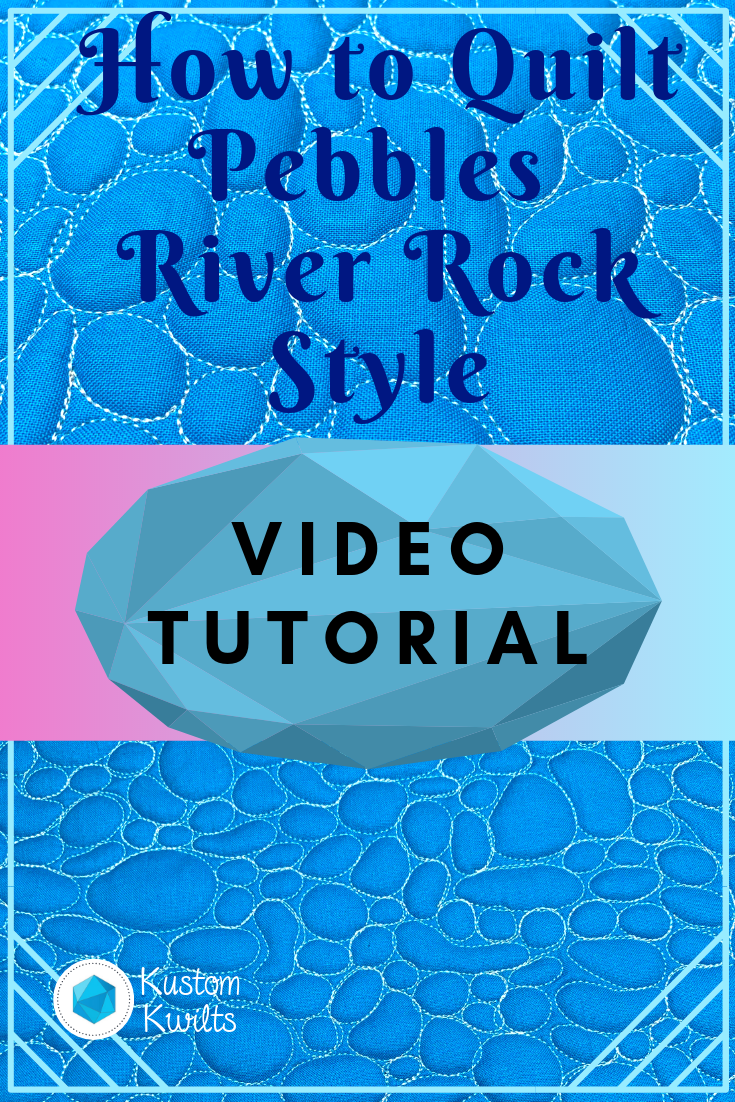
Pebbles are a favorite of mine when there are lots of small spaces that need extra texture. The thing is, it can get kind of boring to quilt the same size pebble over and over AND OVER again until the cows come home. Right?
I like to change up the size of the pebbles to add a little more interest and create a river rock effect. It helps to take some of the monotony out of it, but lets you keep all that ooey-gooey texture that you’re going for. Sometimes, quilting the same shape so much will make you get a little road weary, and I’ve found this is a great way to avoid that.
Continue reading Free motion quilting tutorial – How to quilt pebbles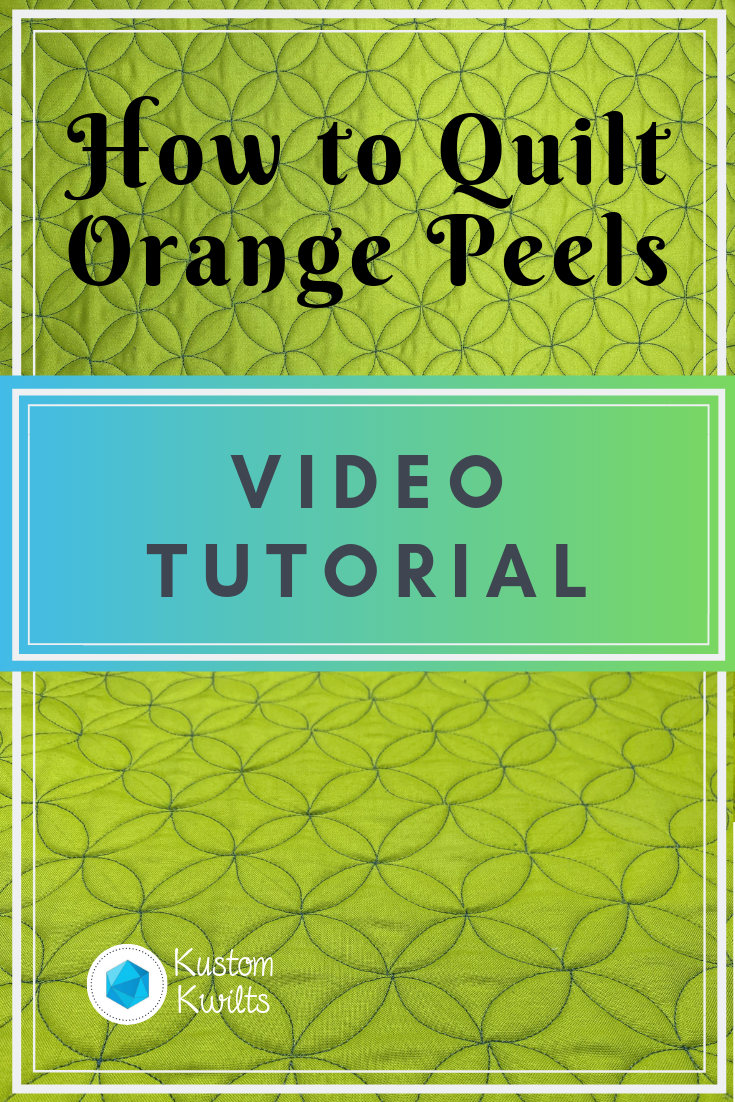
Have you ever seen a really cool geometric quilting design? Then you look at it and immediately think it’s too complicated to quilt yourself? With orange peels, that’s just not true! If you’d like to learn how to quilt orange peels, I’ve got a tutorial that breaks the design down into smaller pieces. All you need to start is a ruler (not a longarm quilting ruler–any ruler will do), marking tool, and your sewing machine and fabric.
Begin by marking out a grid of your choice. For this video tutorial, I marked out a 1.5″ square grid. You should also decide if you want a vertical x horizontal grid, or if you’d like to mark it on point (as I did in the video). After you mark your grid, mark a few of the curved pieces that are going to go in and around the grid you drew as a visual guide before you start quilting.
Now that you’ve marked a few visual guides, you’re ready to get started. Quilt a few half circles as the video shows on the outer edge of the quilt. It’s easier for me to quilt half of the circle, and then go back down the line to quilt the remainder. But do what works for you, and find what you like best! Learning how to quilt orange peels is really just quilting several circles that interlock. Don’t make it more complicated than it is. And know this: The more you quilt that circular motion, the easier it will get. The orange peel shape might not come naturally at first, but the more you do it, the better it will look.
I love using Orange peel designs if I have a large background on a quilt to work with. Also, the orange peel design looks fantastic if you’re quilting up a panel to be used for a bag. I did a modified orange peel design when I made myself some new cosmetic bags for travelling. It really takes the travel bag up a notch, especially if you imagine it without the quilting and just solid green fabric. You can see the full blog post I did here.
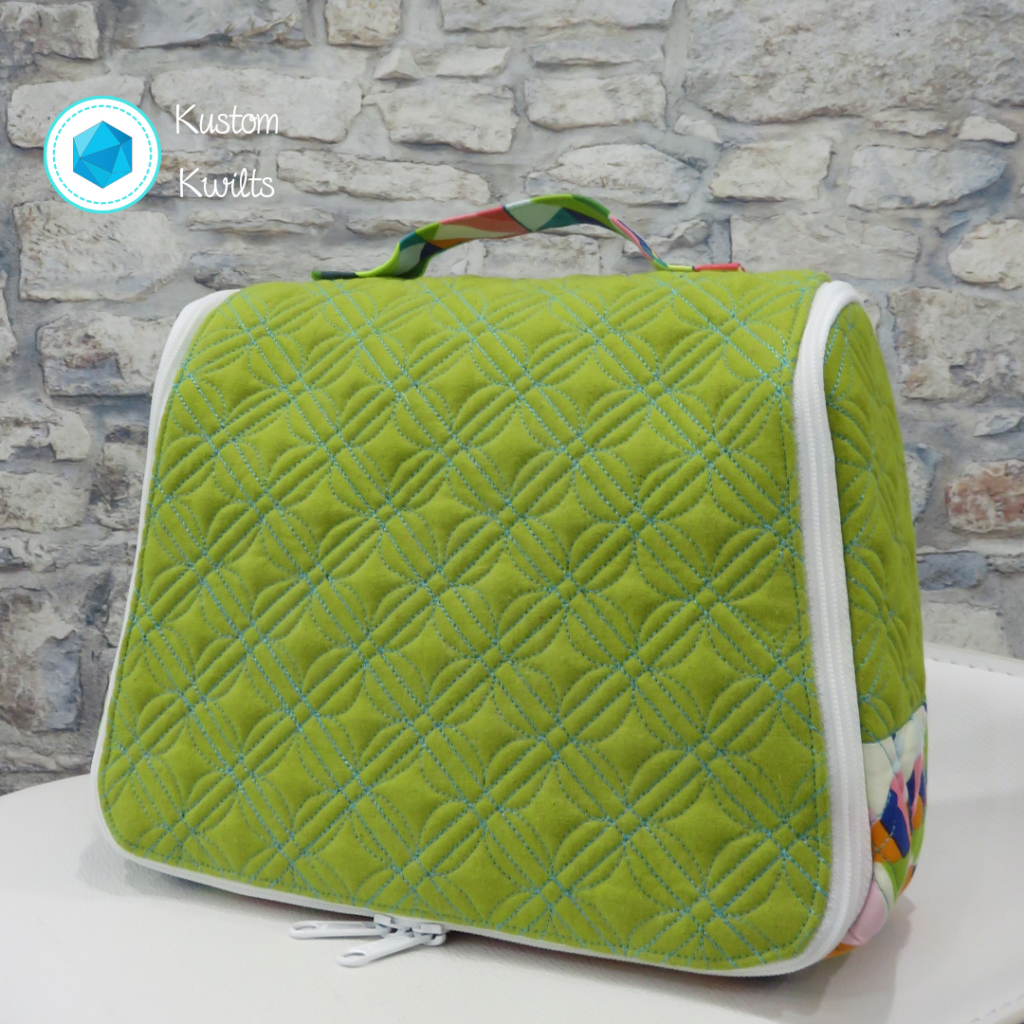
Orange peels look great as a motif that you want to be seen. If you’ve got a lot of negative space, it can really add a lot of punch to the overall look! Even if you don’t have your machine handy, this is a great design to practice with graph paper. Grab a few sheets and take them with you for moments of free time and you’ll be good to go!
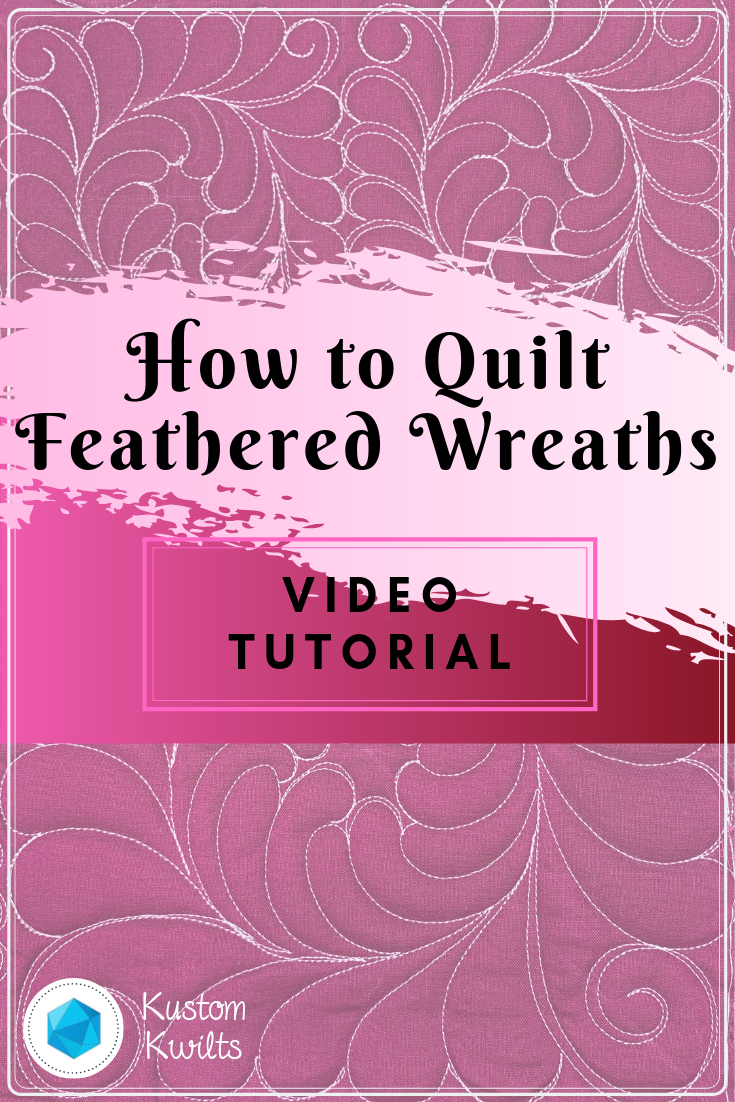
Let’s talk about quilting feathered wreaths! Feathers are so much fun to quilt, and it’s nice to know when and how to use them. If you’re new to quilting feathers, you can see a basic tutorial on feathers below, or see the blog post:
Now that you’ve got the hang of basic feathers, let’s talk about quilting them in a circle. There are a few things you’ll need to think about before you get started:
Continue reading Quilting feathered wreaths – free motion quilting tutorial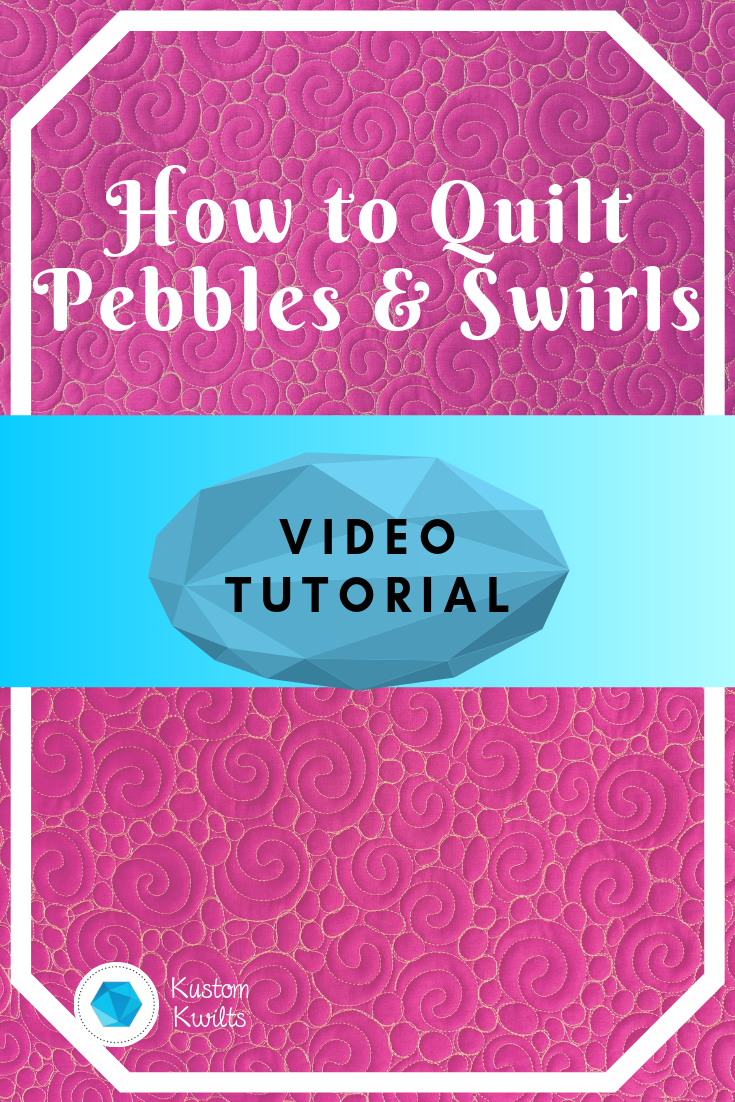
You’ve got a quilt that you’re just dying to add some texture to, right? Pebbles seem like the quilting motif of choice, but you’re a little leery of the repetitive, time consuming motif. You can add some swirls in with the pebbles to make the quilting go a little faster.
I know when I’m quilting pebbles, sometimes I get road weary. You know–that feeling you get when you’ve been driving on a highway for hours with no landmarks in sight? You can’t really remember how many hours you’ve been driving for, and everything in the road looks the same. Your eyes get tired and you start to doze off.
Okay, okay! Maybe it doesn’t happen exactly like that with quilting, but you know what I mean, right? I start to get that same feeling when I’m quilting pebbles. I’ve found that adding some easy swirls in with the pebbles really mixes it up and keeps me on my toes. Pebbles are pretty time consuming too, so the larger swirls take up a little of that space and help to solve that problem.
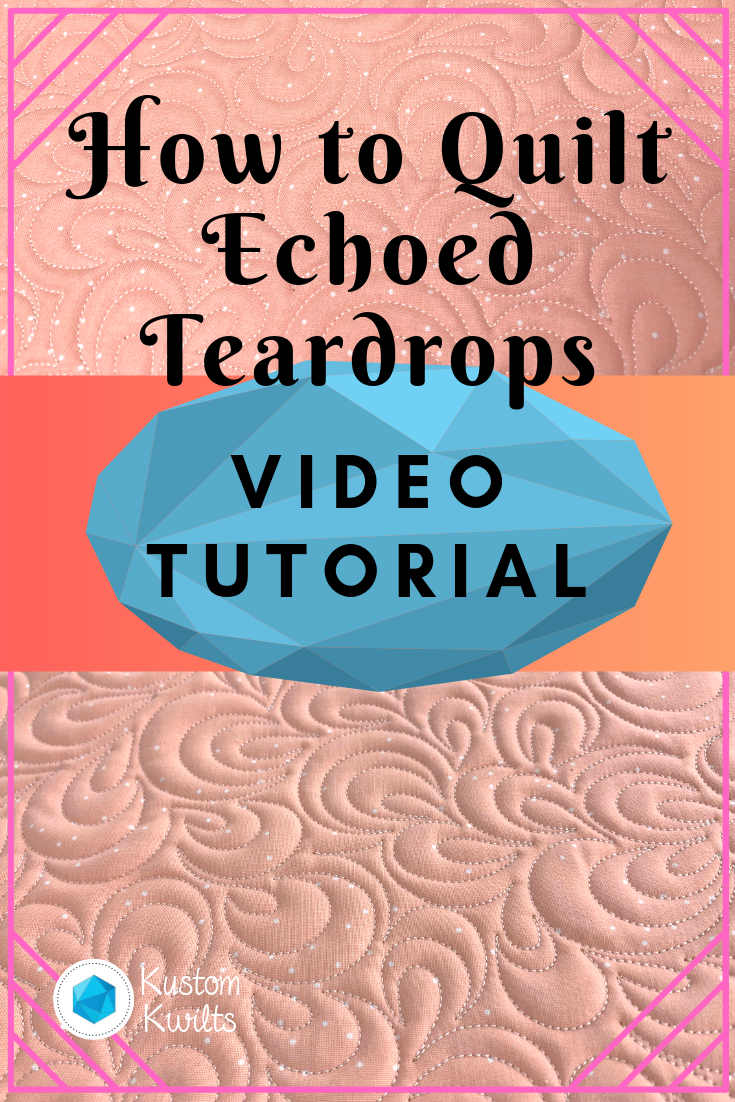
Learning new free motion quilting techniques is an ongoing process when you’re a quilter. In this video tutorial, you’ll learn a quick and easy fill that doesn’t take much practice to master. Unlike quilting circles or swirls, you don’t need as steady of a hand to be able to make beautiful tear drop shapes.
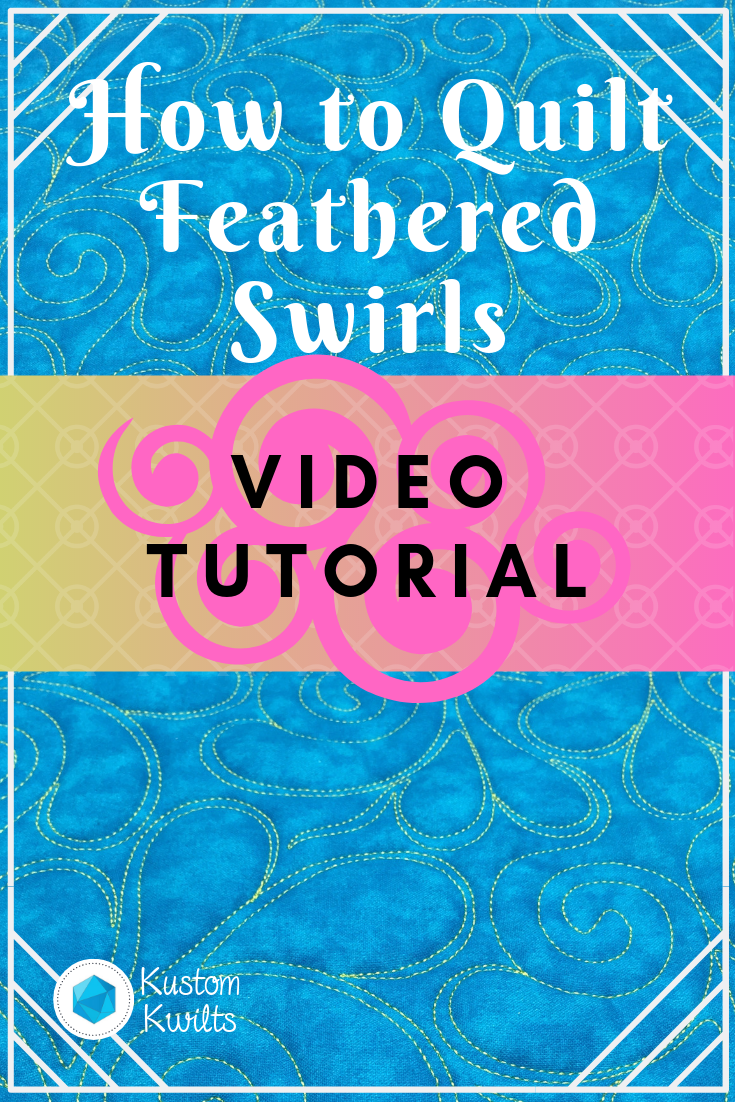
Have you ever wanted to combine a couple of different quilting motifs, but didn’t know where to start? In this video tutorial, you’ll learn how to use feathers and swirls together to quilt feathered swirls! Learning how to quilt feathered swirls will give you another great tool for your quilting tool box and you’ll be able to tackle that negative space in your quilt in no time at all!
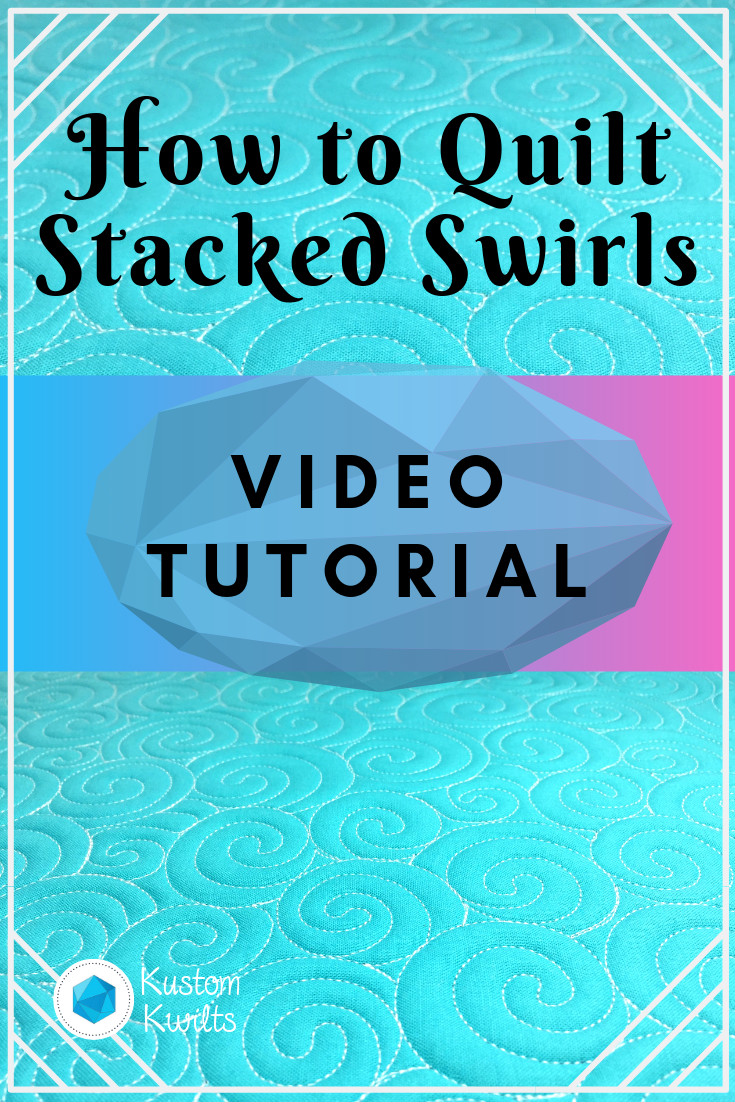
Good Monday morning! I’m so excited to share a new video tutorial with you this morning. I just LOVE to quilt stacked swirls in the background of quilt blocks and in negative space. They create amazing texture and fill up a space without a lot of thought and concentration. This video will show you how to quilt stacked swirls and how to navigate to the spaces you want to quilt.
Continue reading How to quilt stacked swirls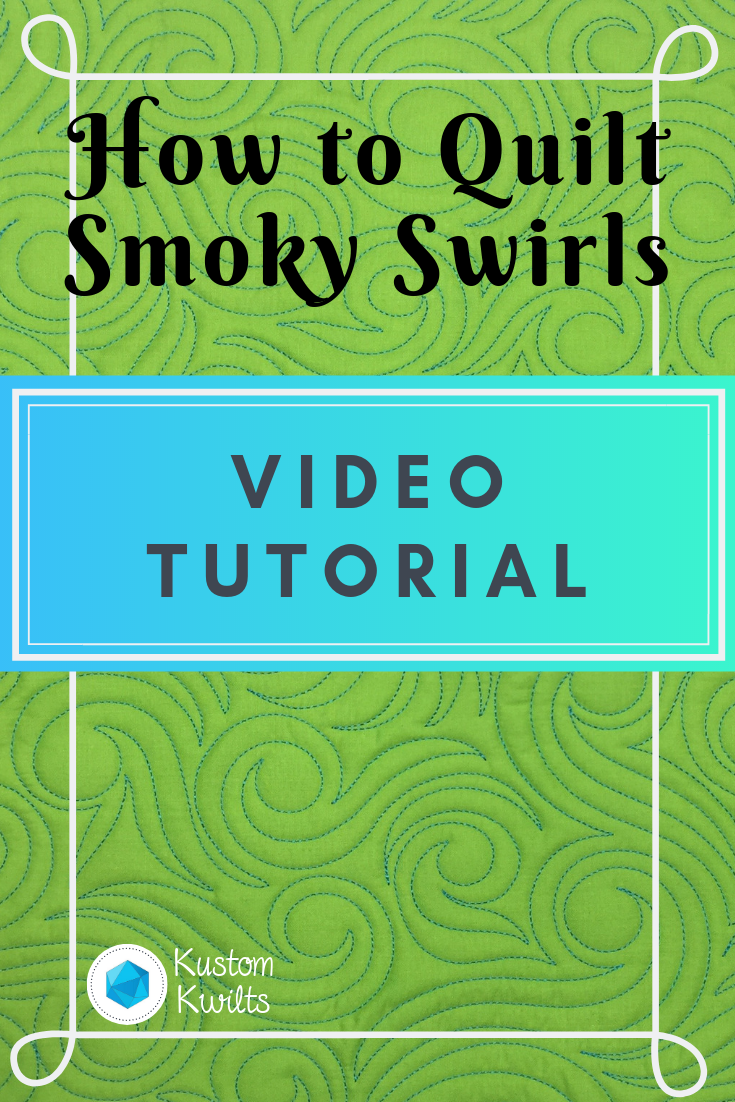
Want to learn how to quilt swirls? Sometimes it’s difficult to determine what should go in the negative space of a quilt. I really like using swirls to quilt empty space because it gives texture and movement. It can also double as smoky swirls or wind looking swirls to create a darker look, or mimic the weather.
Continue reading Learn how to quilt swirls – video tutorial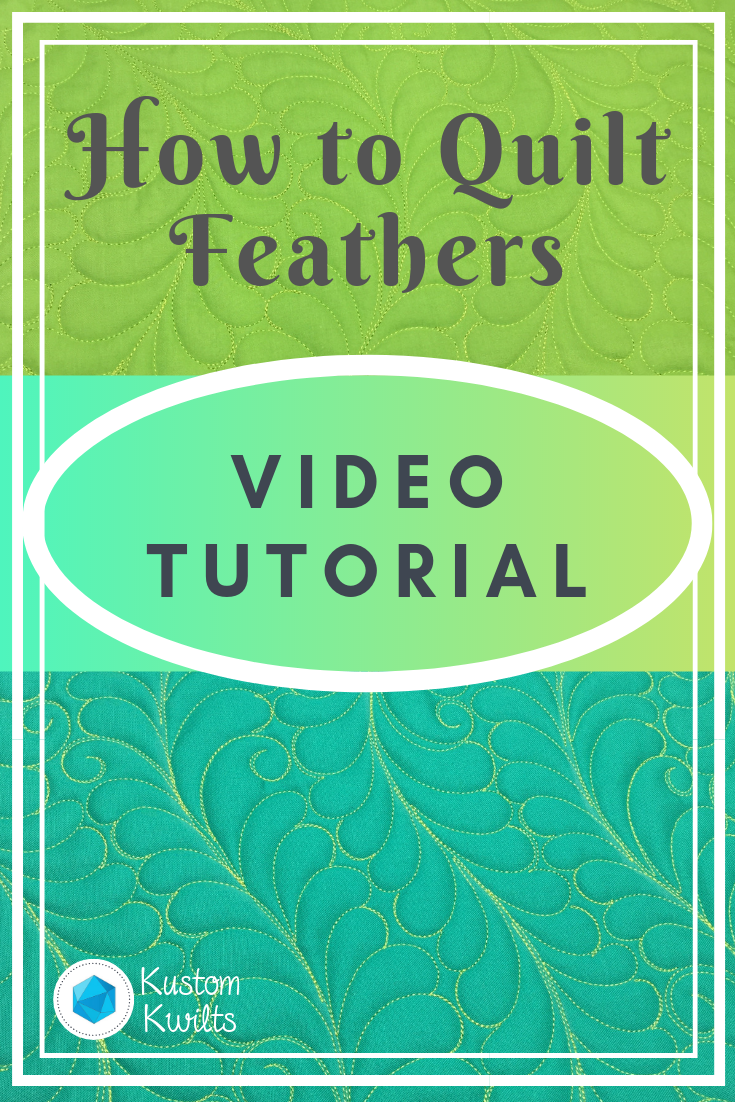
Have you ever been at a loss for how to fill negative space in a quilt? I know I’ve sometimes struggled with what quilting motif is the right one, and I wanted to share some of the fills I use the most. I made a quick video tutorial on how to quilt feathers and I think you’ll really love some of the tips I give in it 🙂
Continue reading How to quilt feathers – video tutorial