So…It pretty much seems like everyone I know is either pregnant or just had a baby here lately. I am in that season of my life where the wedding invitations have stopped and the baby shower invitations are lining my mailbox! That being said, I get a LOT of joy making things for people’s new babes. While I work on it, I wonder if they’ll be curled up on the couch with it, playing outside and dragging it through the mud, becoming a couch fort in the living room…I love it!

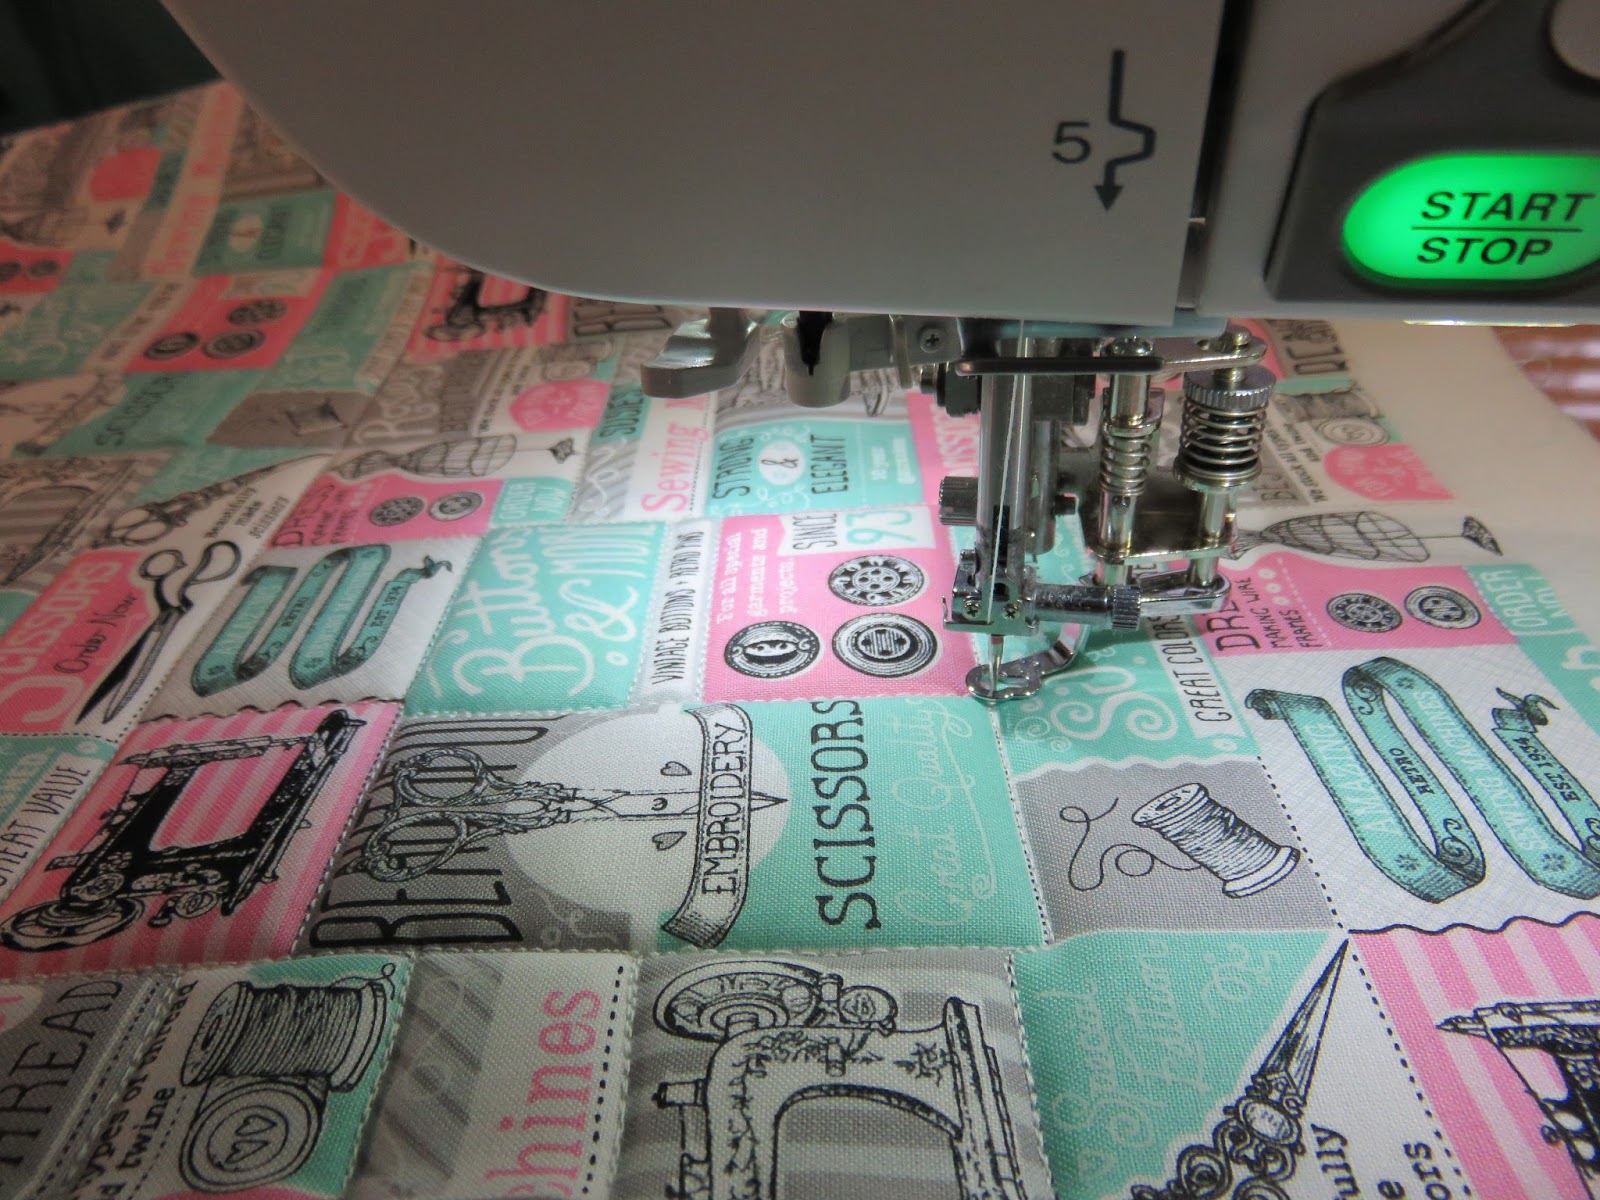
This was the appliqued fabric before I started quilting it.
I had a close friend from college ask me to make a Harry Potter themed baby quilt for her brother’s first child. She pretty much gave me free reign to come up with whatever (which is AWESOME!!!), so I thought I would applique the deathly hallows symbol, followed by “lways” so that it kind of looked like “always”-just google it, I’m sure there are examples! I made a fun template out of poster board and traced it onto the fabric I wanted, used some Wonder Under and fused that bad boy to my background fabric to get ready to applique!
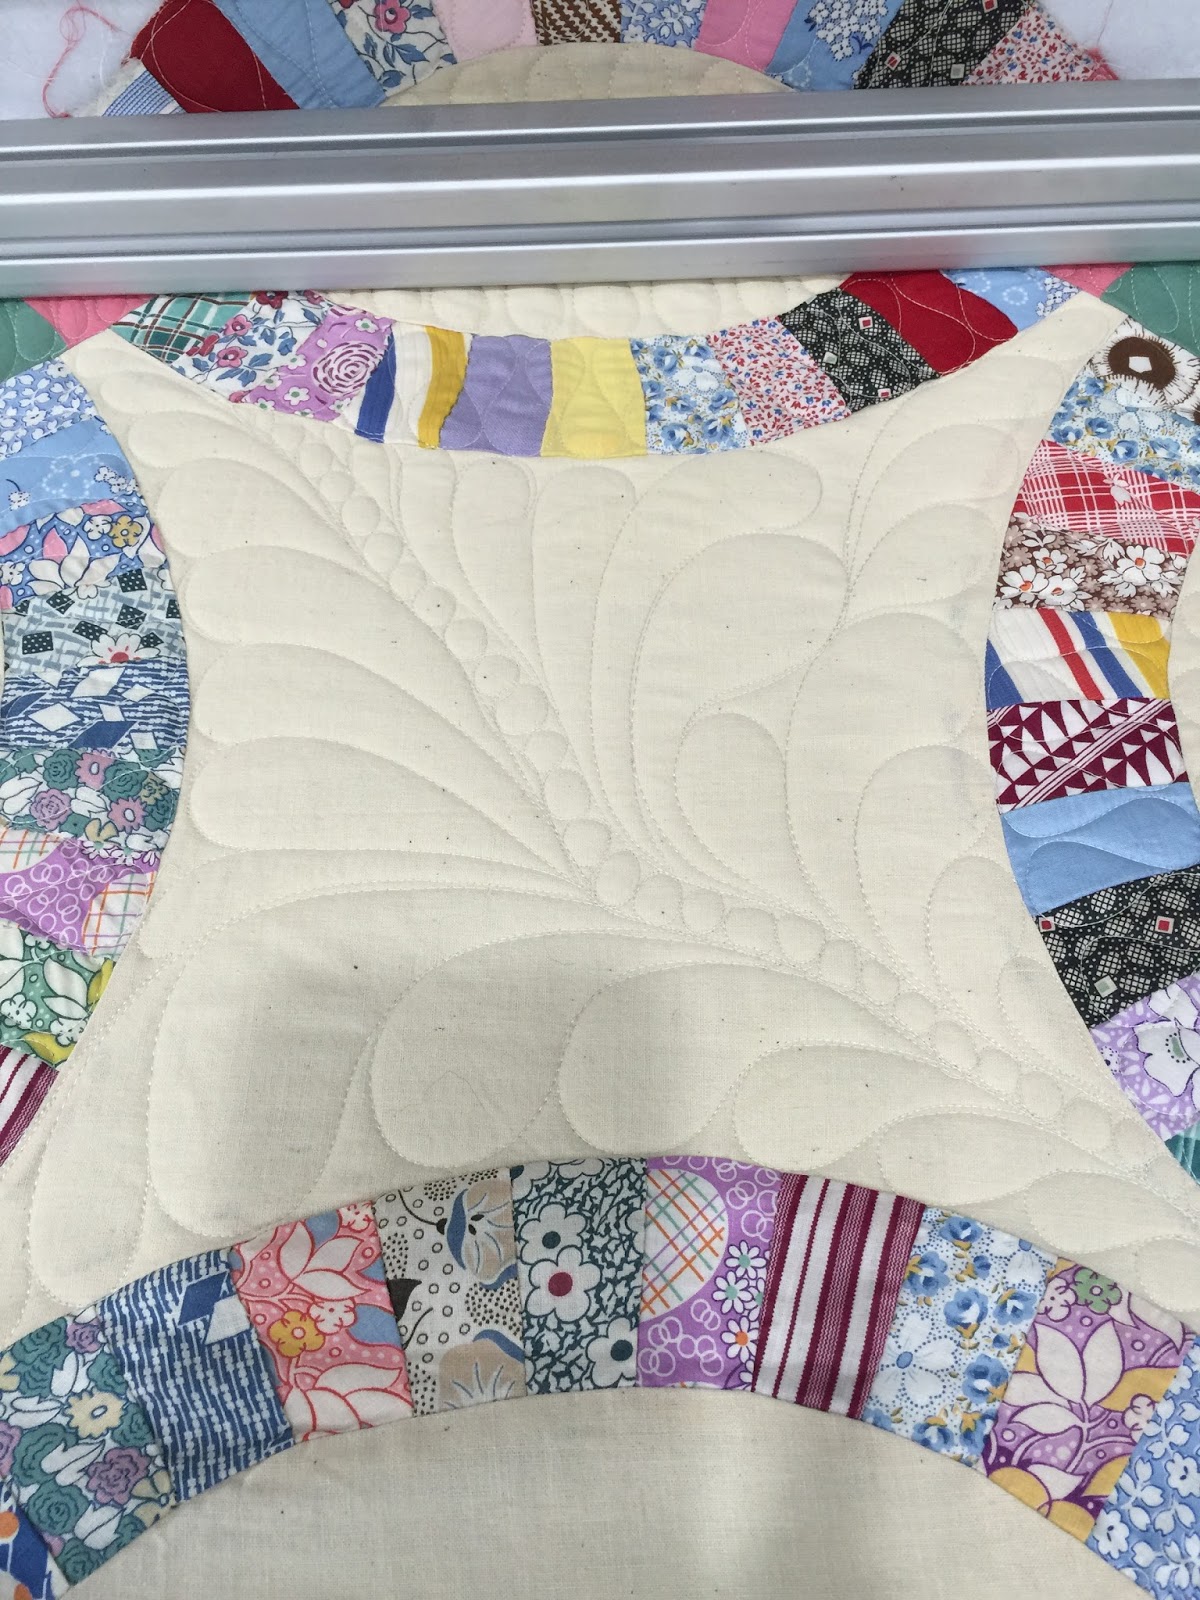
I was really excited about the quilting process and wanted my free motion quilting to LOOK like MAGIC would look.
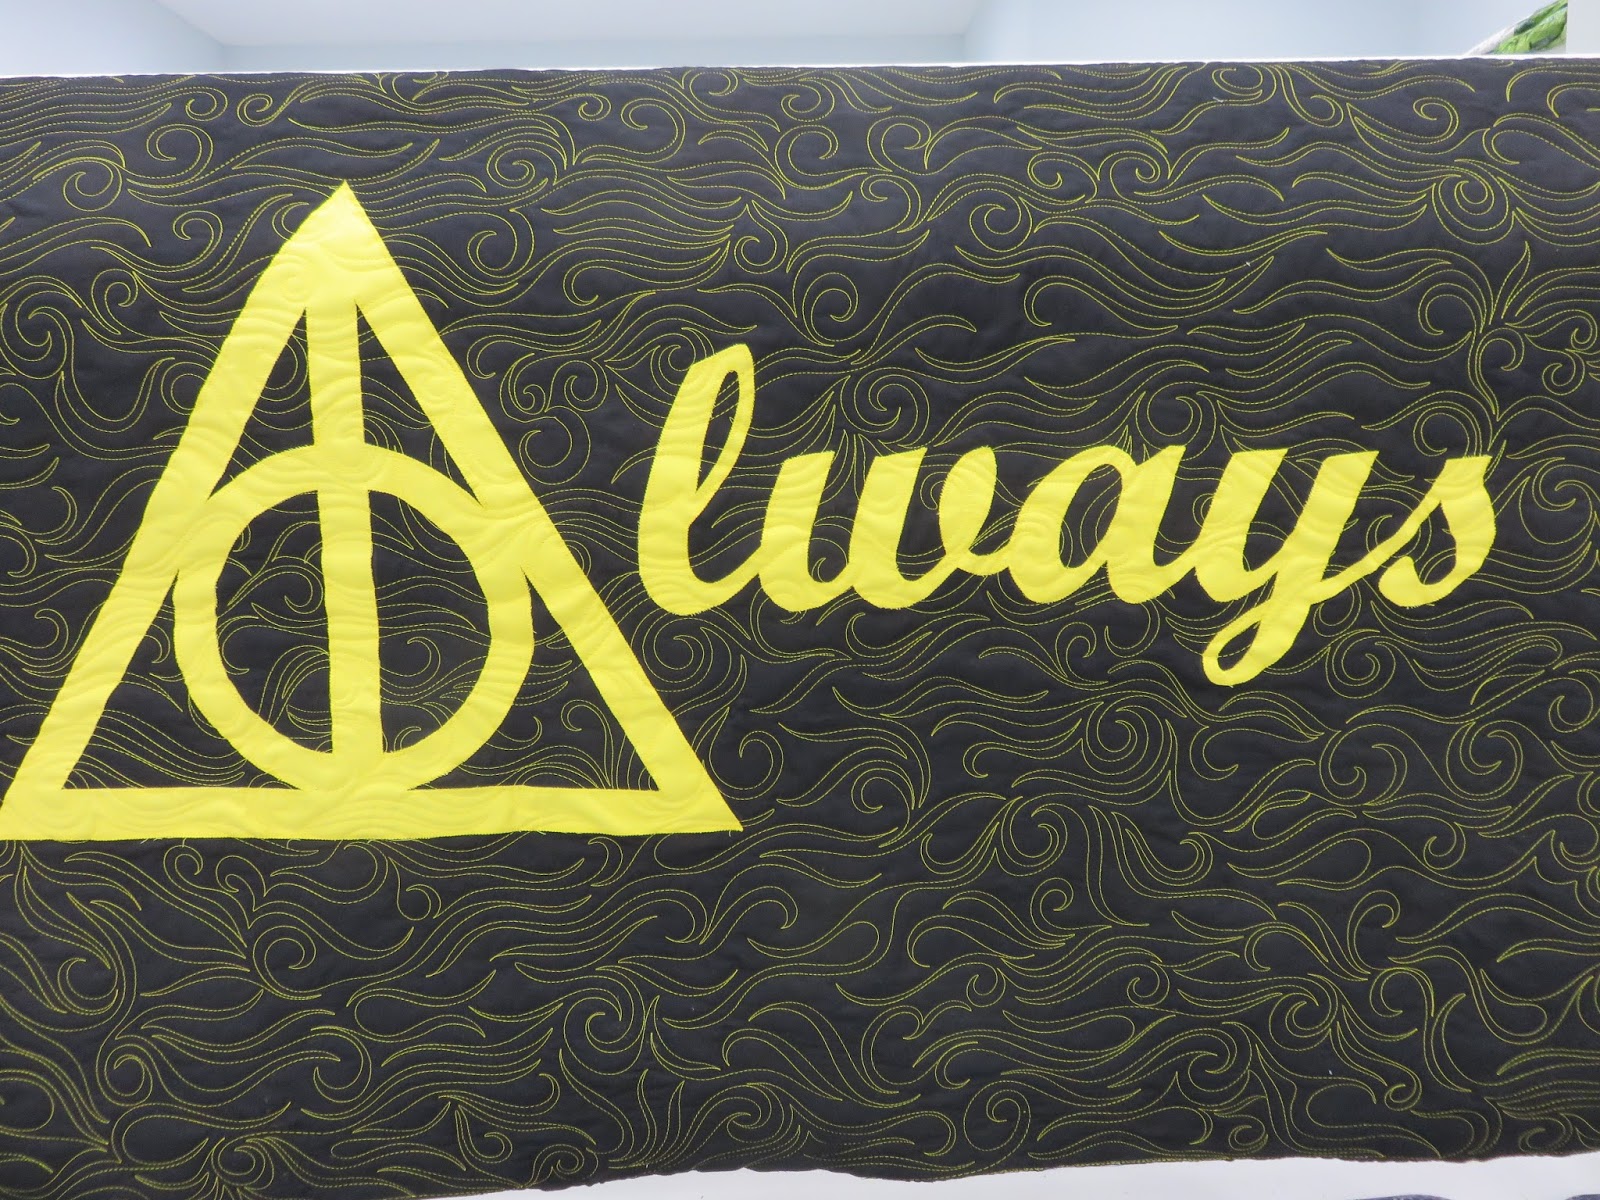
Just pulled from the longarm frame!
I’m not really sure what that means, but I tried my best to quilt what I thought magic looked like in thread form. And I loved the outcome.
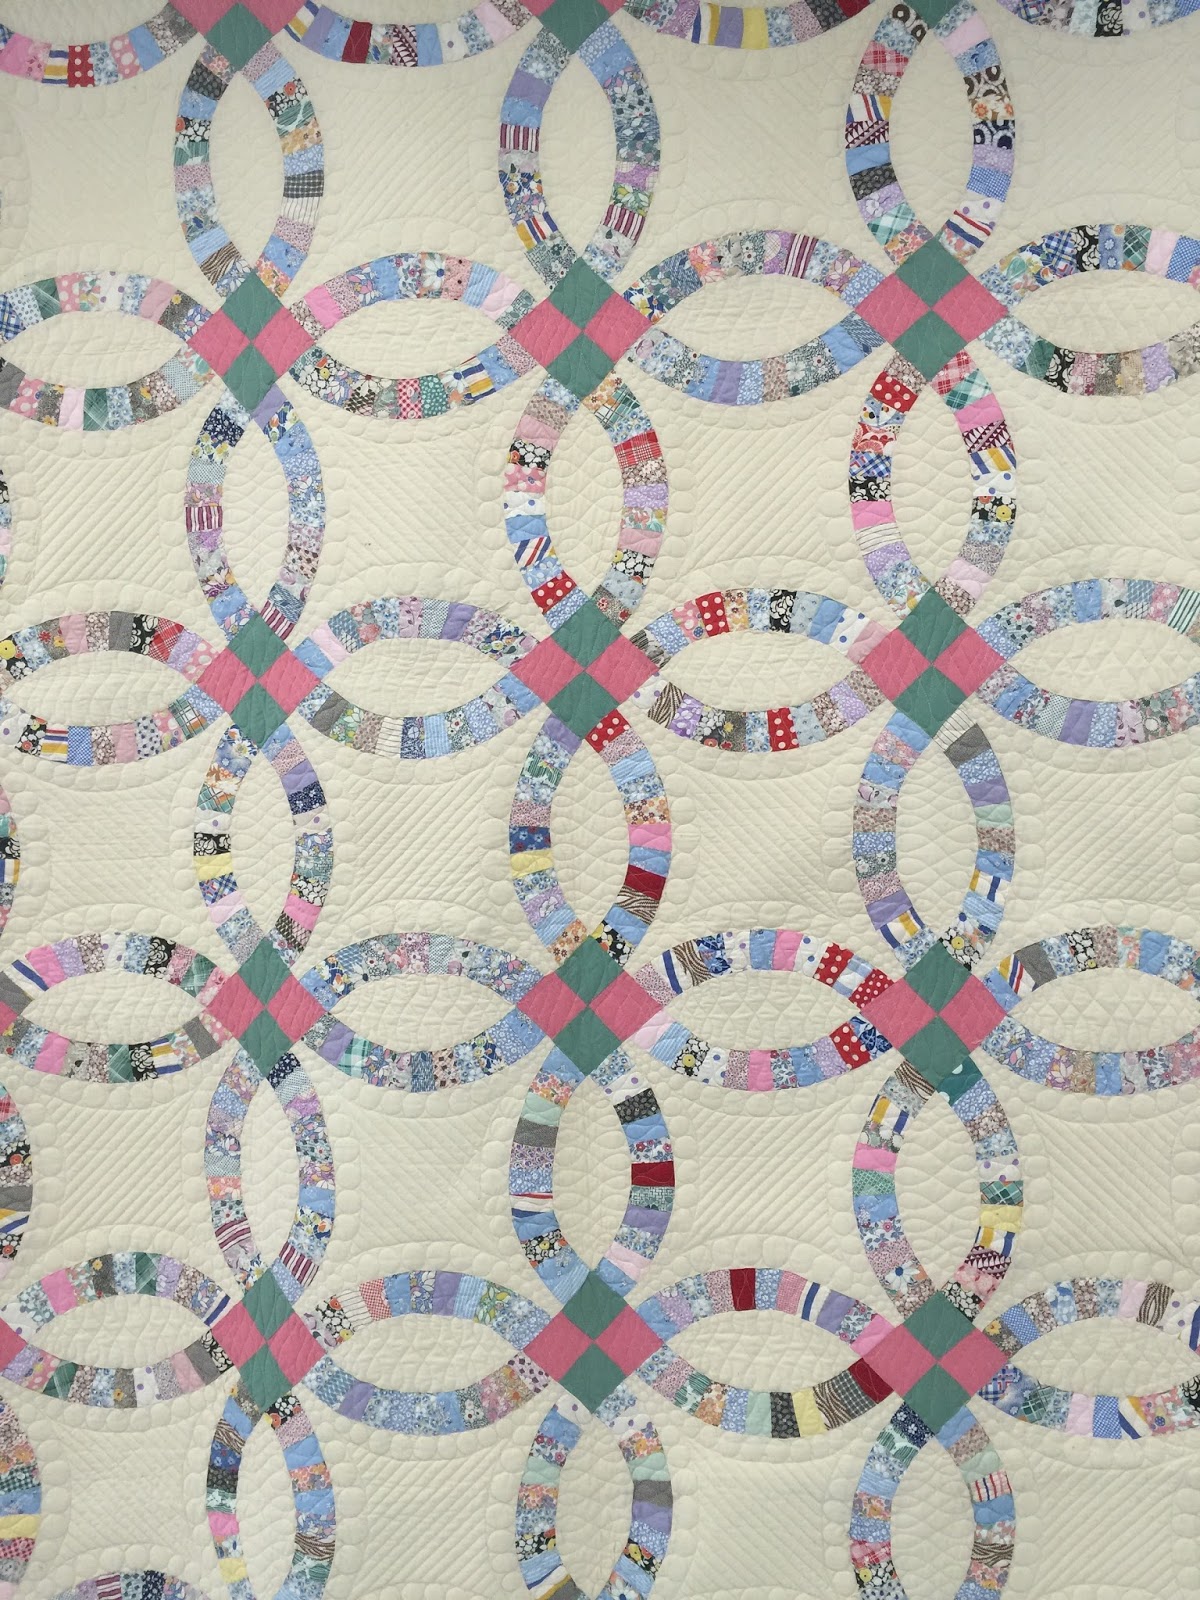
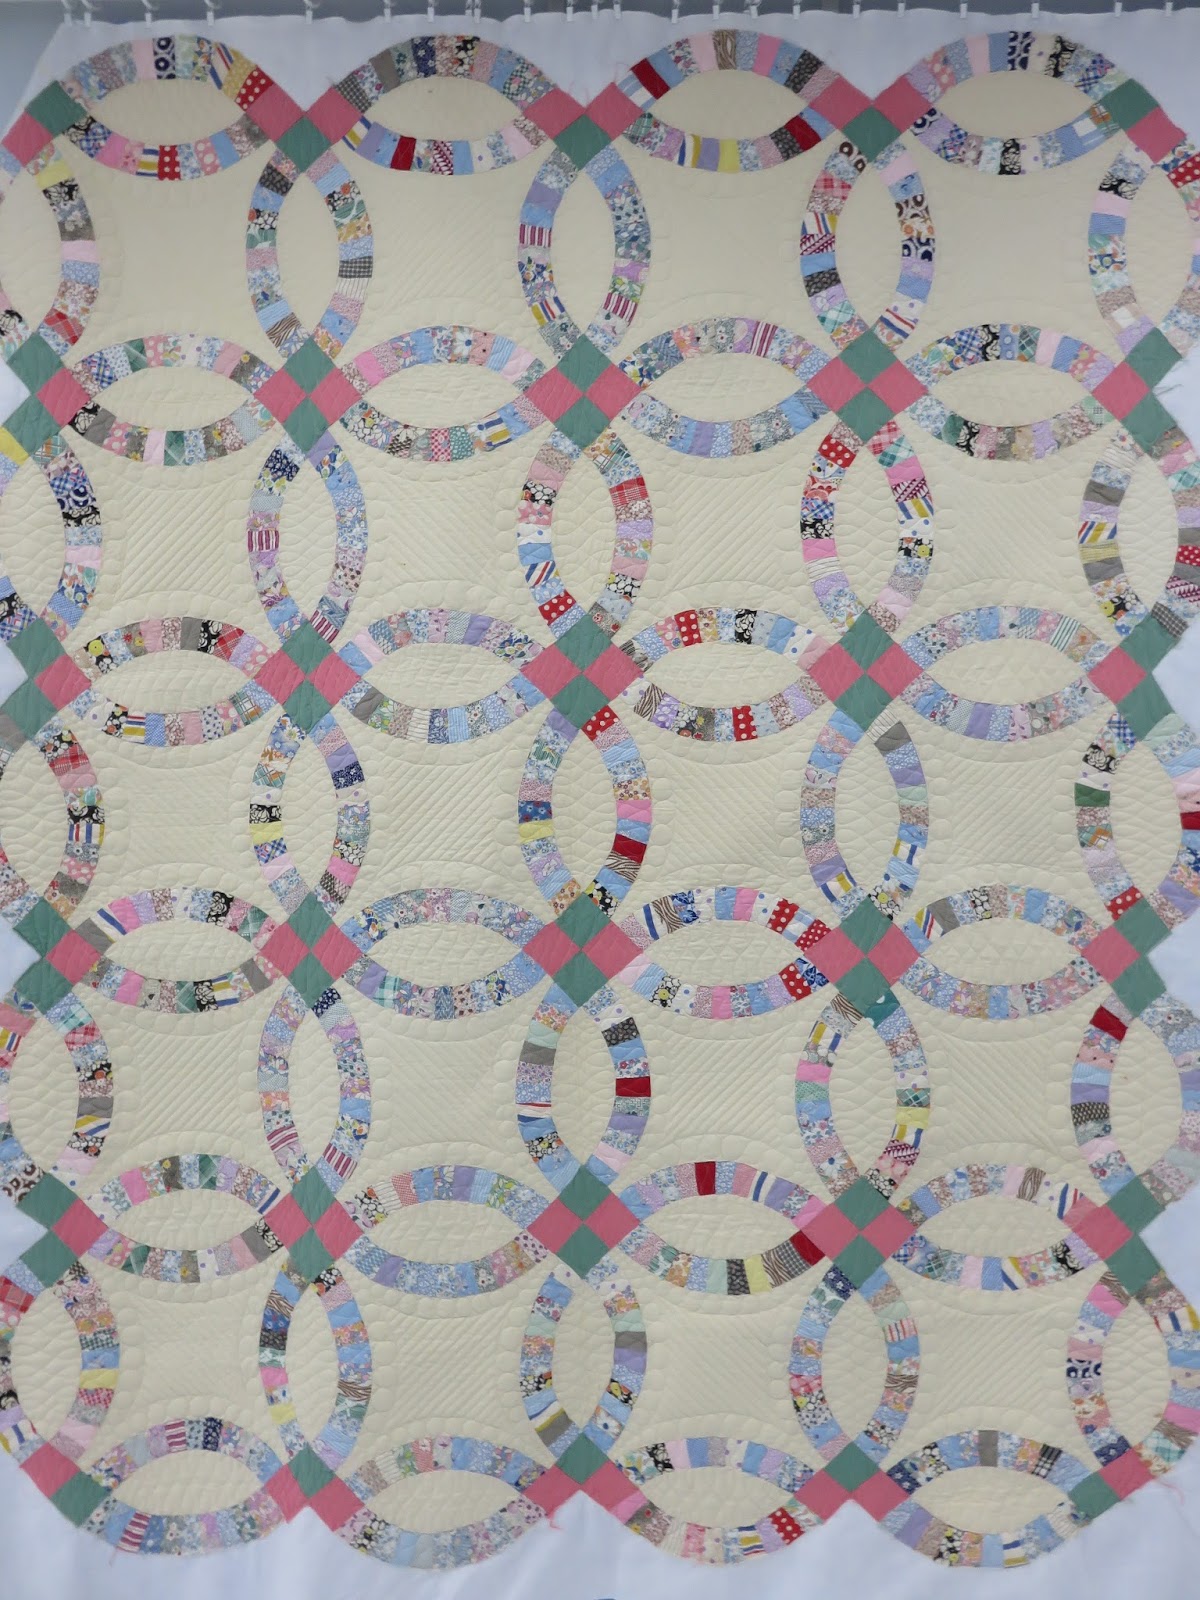
I used the Harry Potter-y chevron fabric that I think was really meant to be college colors for the backing and really love how it turned out. I’m not usually a huge applique person, but I definitely will be trying it with more projects in the future! And I really hope and pray that this kiddo is a Harry Potter fan!

Roughly crib sized finished baby quilt!