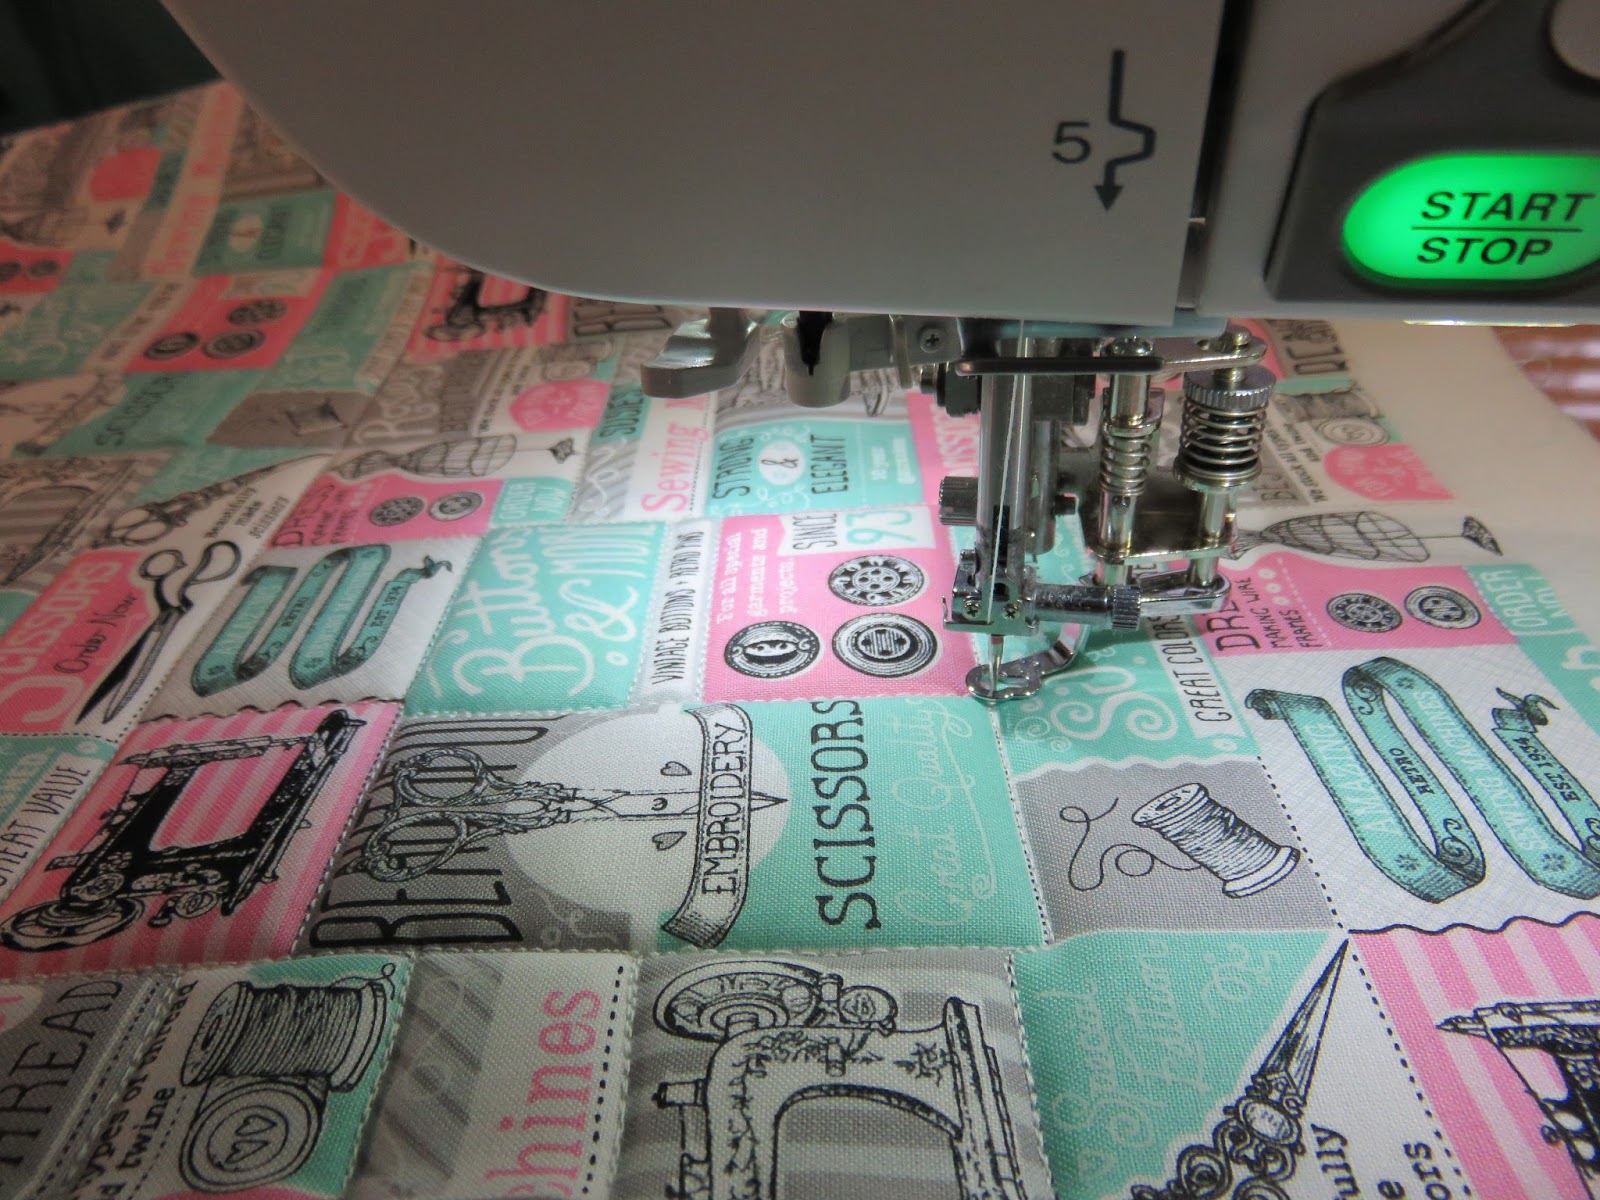
I had the awesome opportunity to quilt a very talented quilter’s Texas Road Trip QAL quilt. The design for the quilting was fairly straight forward and not that complicated, but the impact was really breath taking. Straight lines and curved lines work separately to really make the quilt pop.

These are some of the great swirls that this quilter chose for her design. So gorgeous and free flowing. I really loved quilting this because there were lots of people in our guild completing this quilt along at the same time, and I enjoyed seeing how differently they were quilted. In the picture above, you can see a little snippet of a post it that I pinned to the next section as a reminder to stop quilting swirly loops and switch to straight lines 🙂
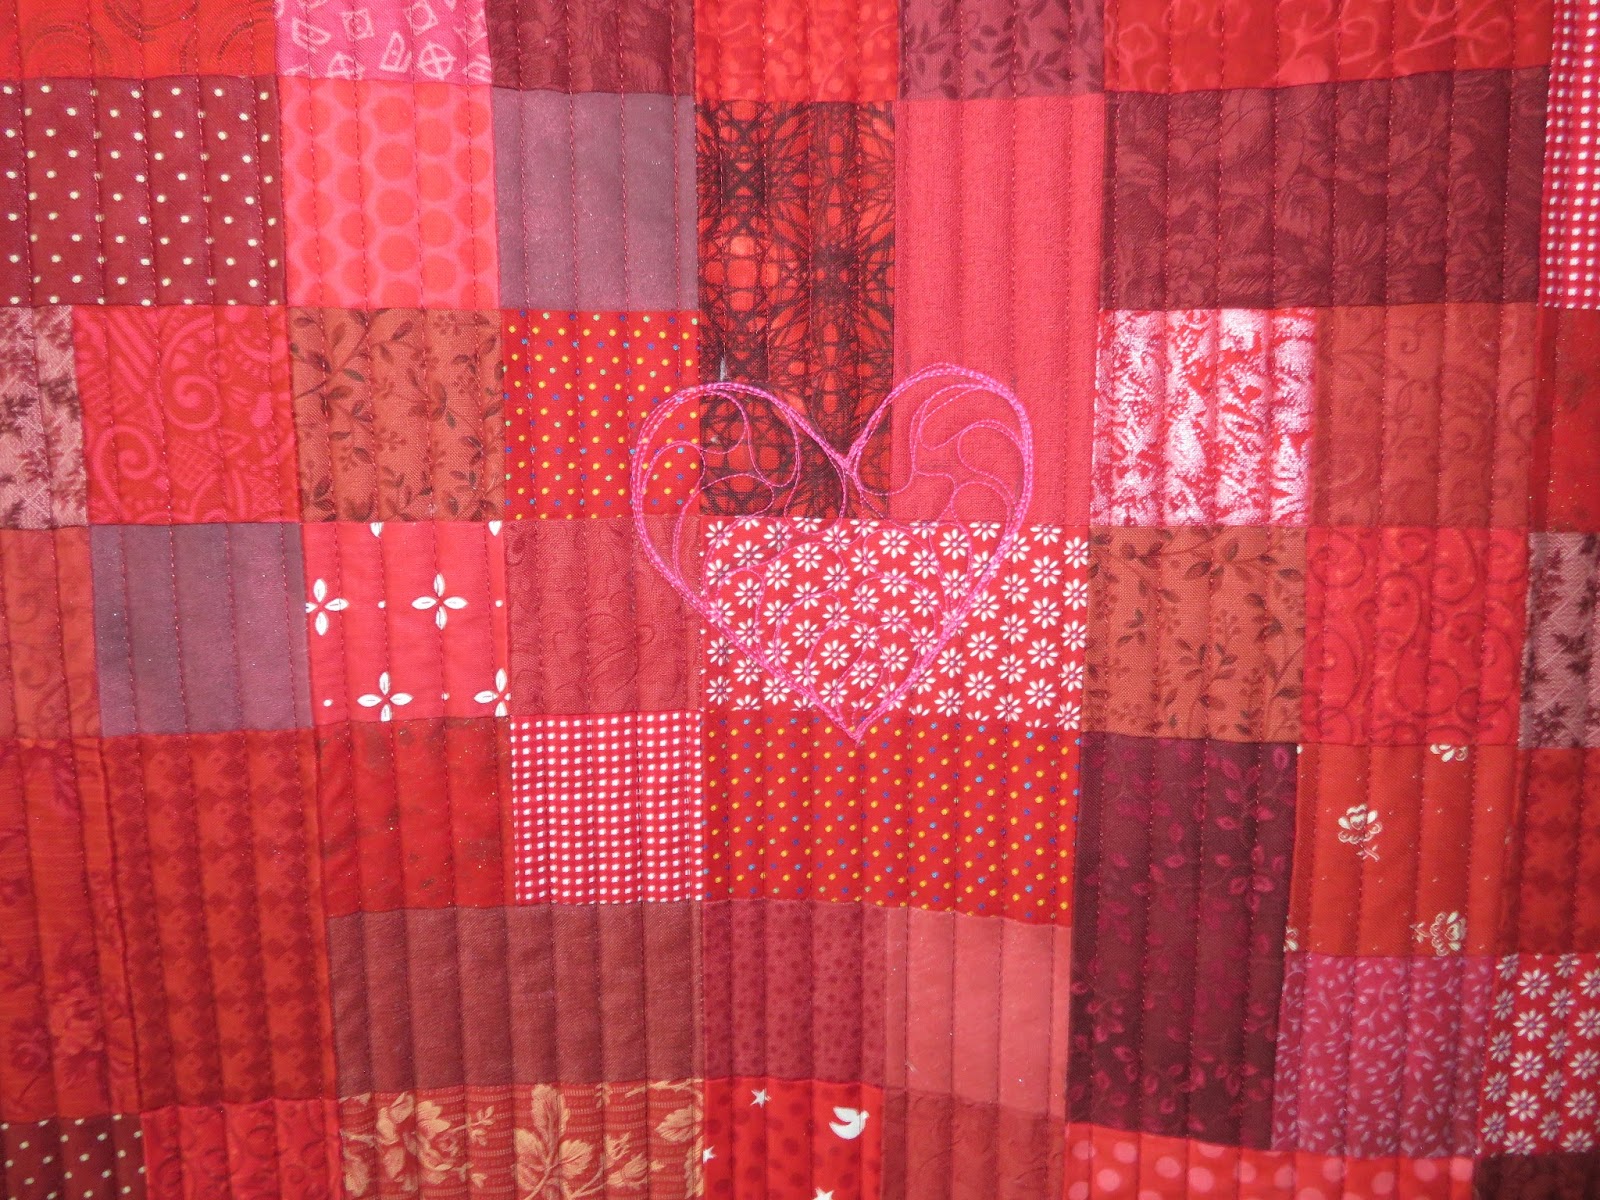
Another great detail that this quilter chose was to put a heart over the center of San Antonio–in hot pink thread. It really was so much fun to quilt, and the swirly loops are really relaxing to kind of get lost in.
And here’s a picture of the finished quilt:

I absolutely LOVE the scrappy reds in the Texas shape and the scrappy low volume background. Normally, I’m not a red person…but this quilt…WOW! I just had to share one of my favorite quilts that I’ve longarmed for someone else. I hope you get to enjoy some time sewing, or doing whatever makes you happy this week! Until next time….