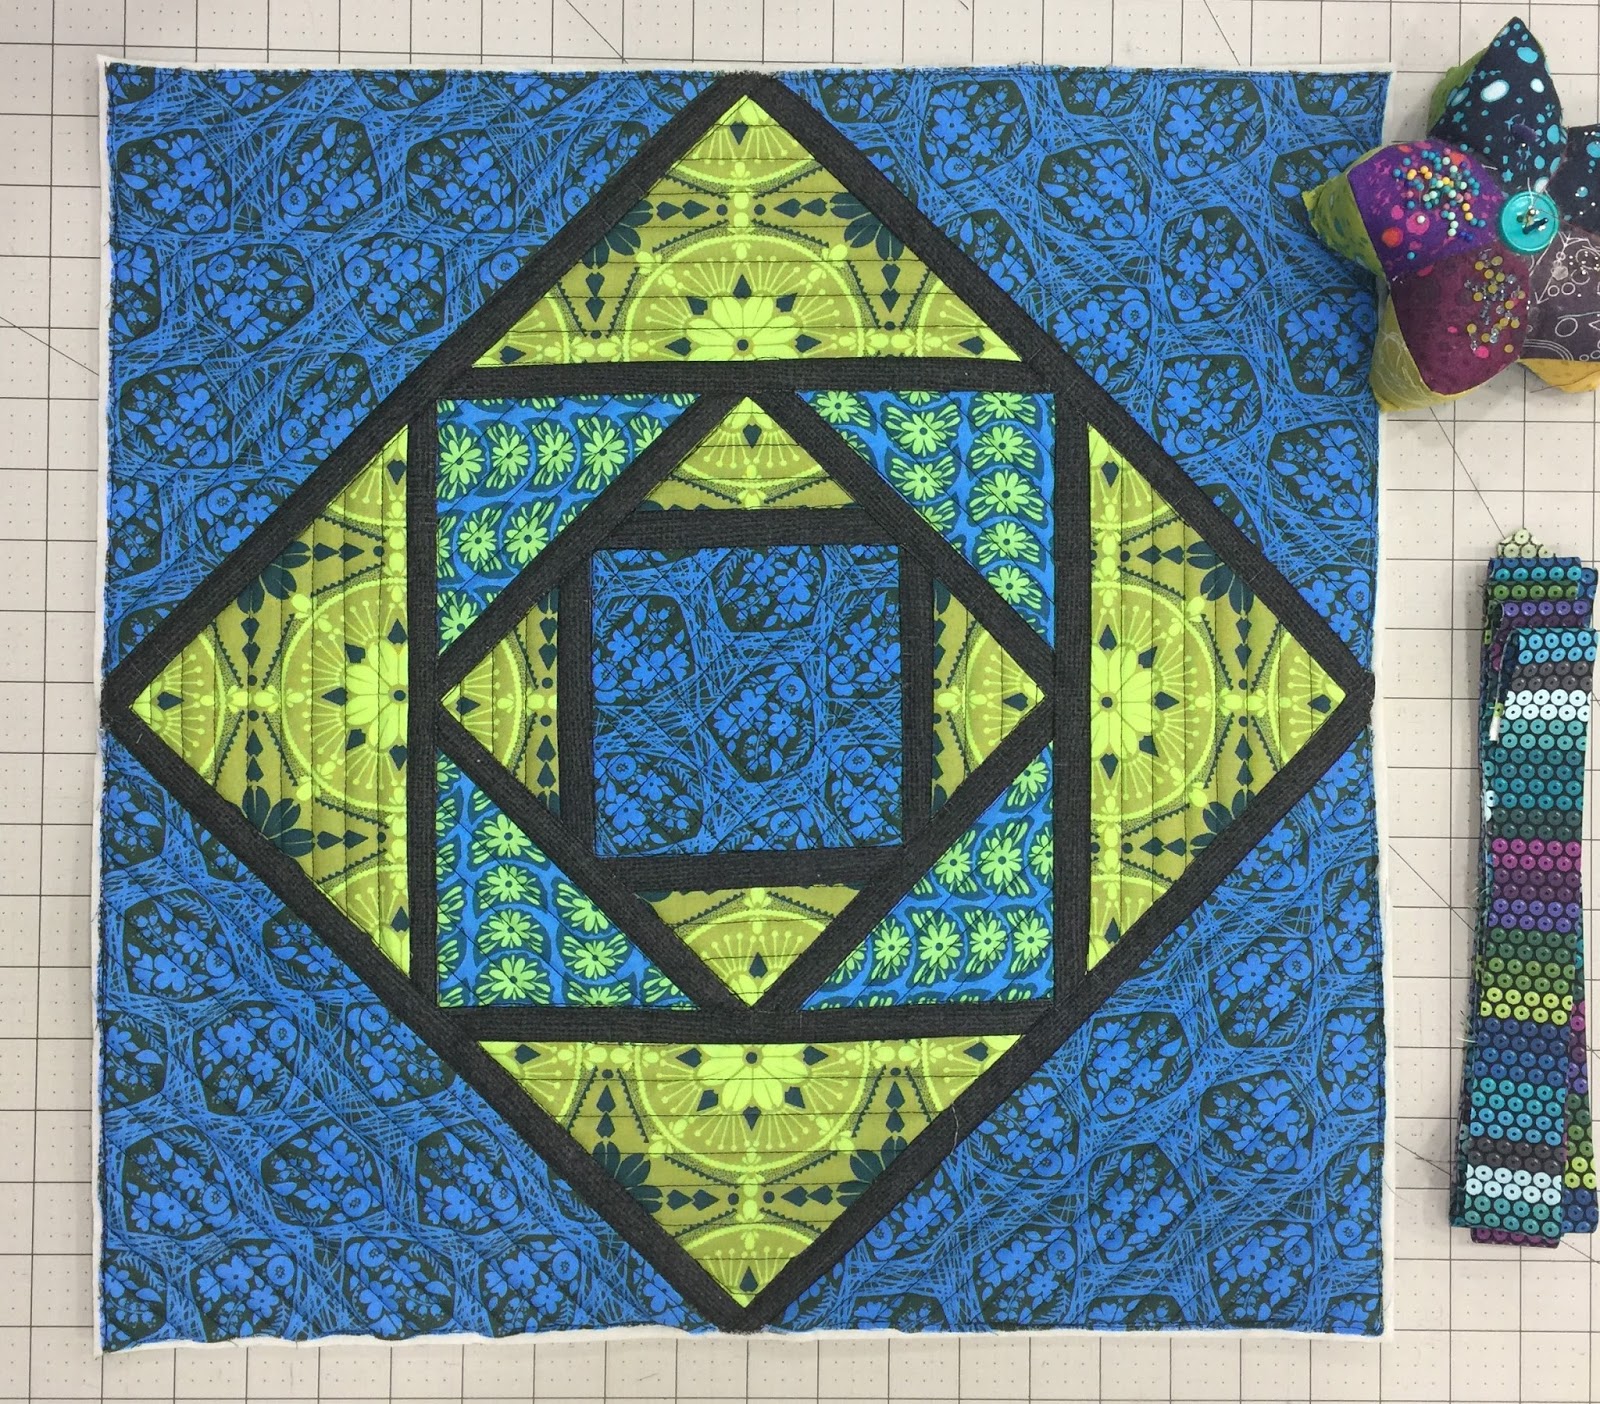
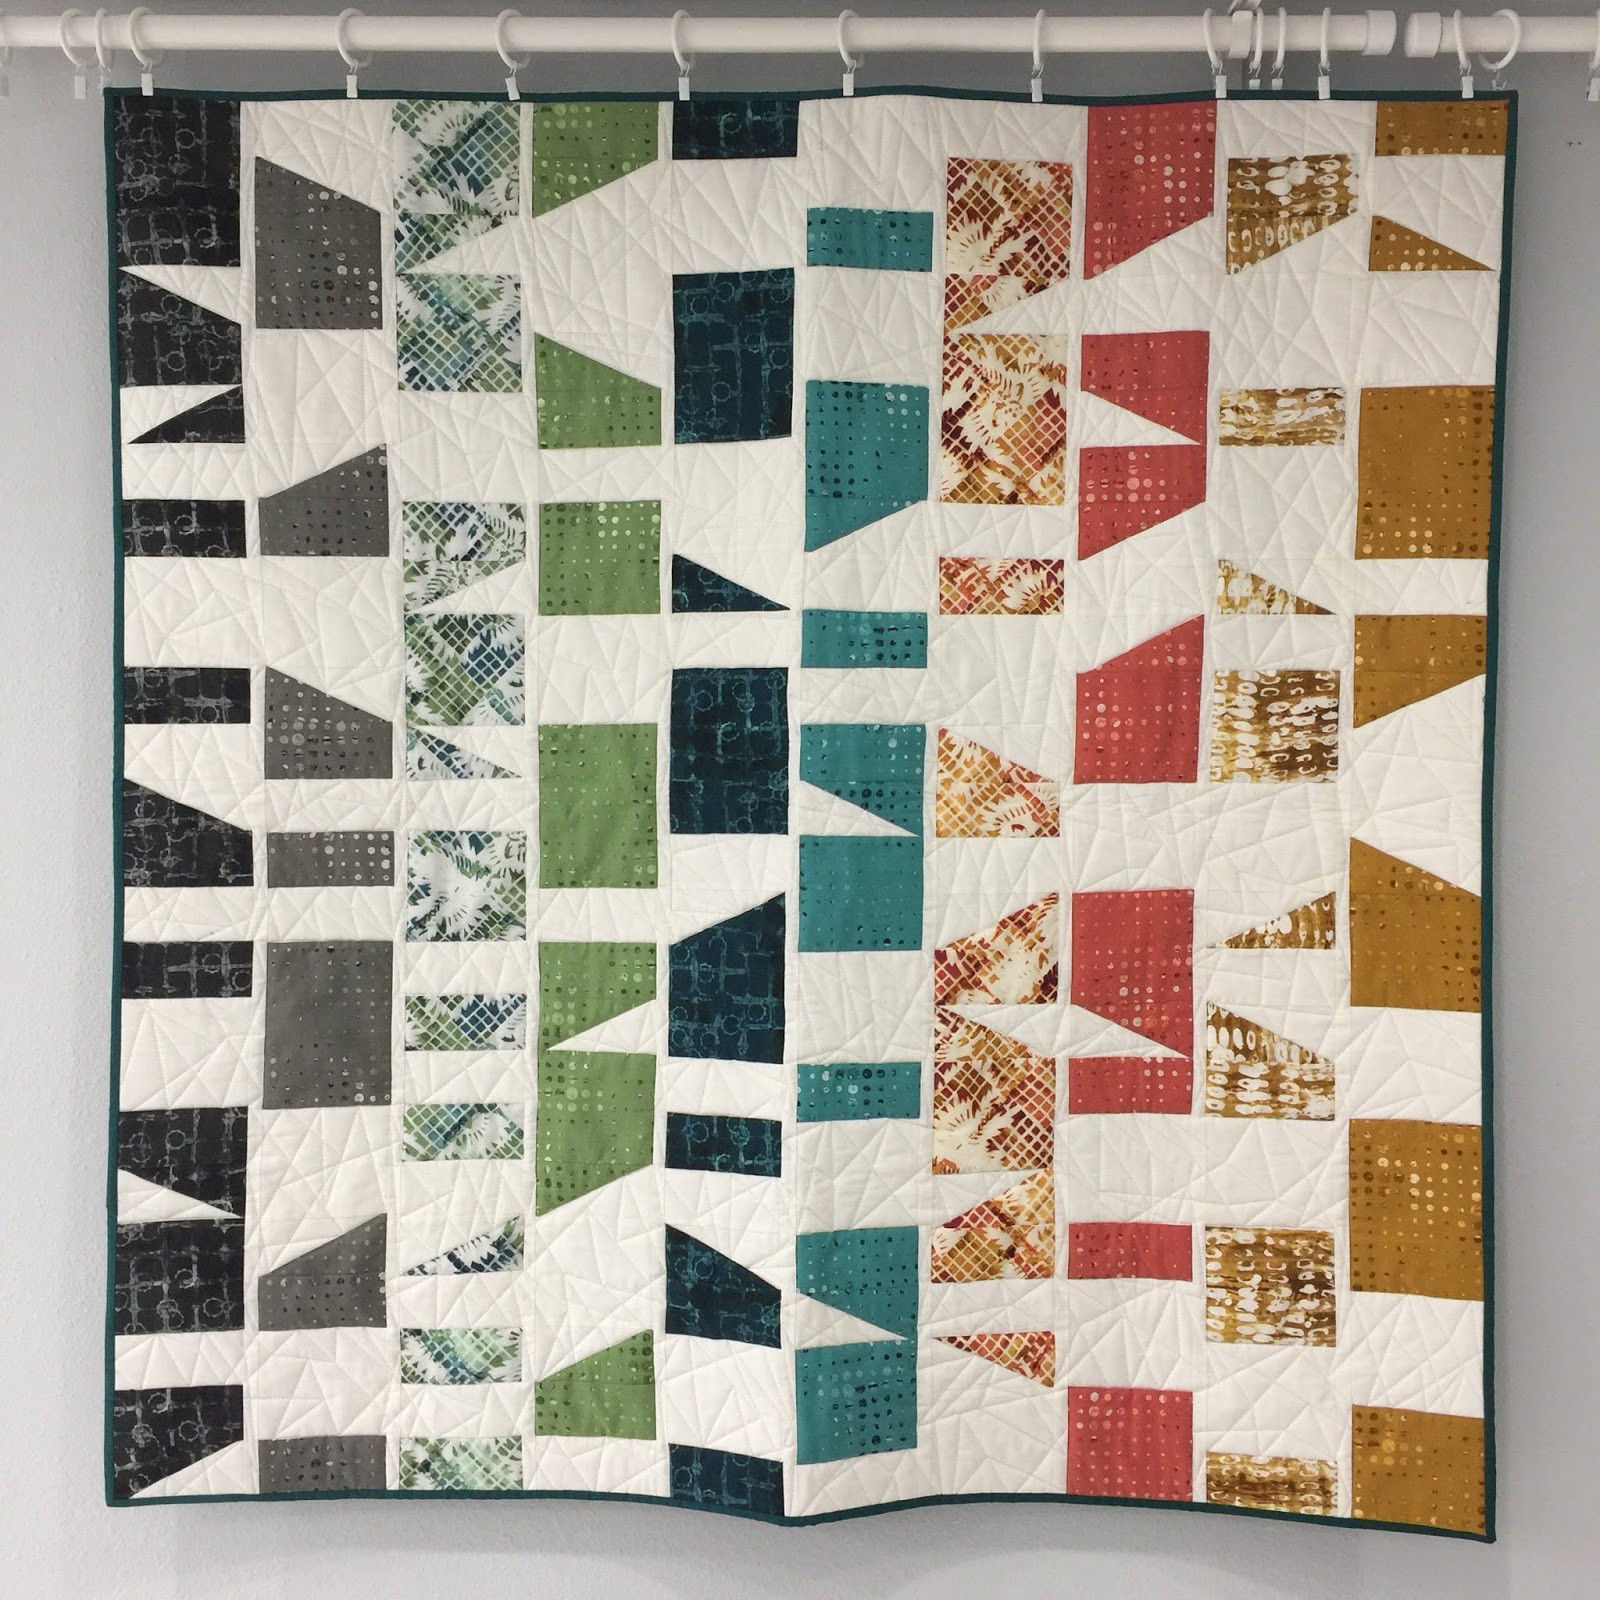
I usually am not such a sucker for holiday deals and sales…but when Alison Glass had her twelve days of Christmas, I couldn’t resist. I ordered the pattern below (picture from Alison Glass’s website) in the kit format. And I have to say…I have NEVER purchased a quilt kit before. I take immense pleasure in selecting fabrics and design for a quilt, but it was so nice to not have to think about those things for once. I opened the pattern, cut up all the fabric that was sent to me, and I whipped this quilt top up in about 4 days.

I have yet to quilt the top…I’m thinking of adding some applique to the center of the white parts of the quilt to add a little more to it, but haven’t quite decided yet. I had allowed myself a few days of selfish sewing prior to the end of 2016, and this was the project I chose to do. It’s a great pattern–especially if you want to just follow someone else’s instructions (the blocks are foundation paper pieced), and you don’t even have to worry about being too mindful of the piecing process.
 |
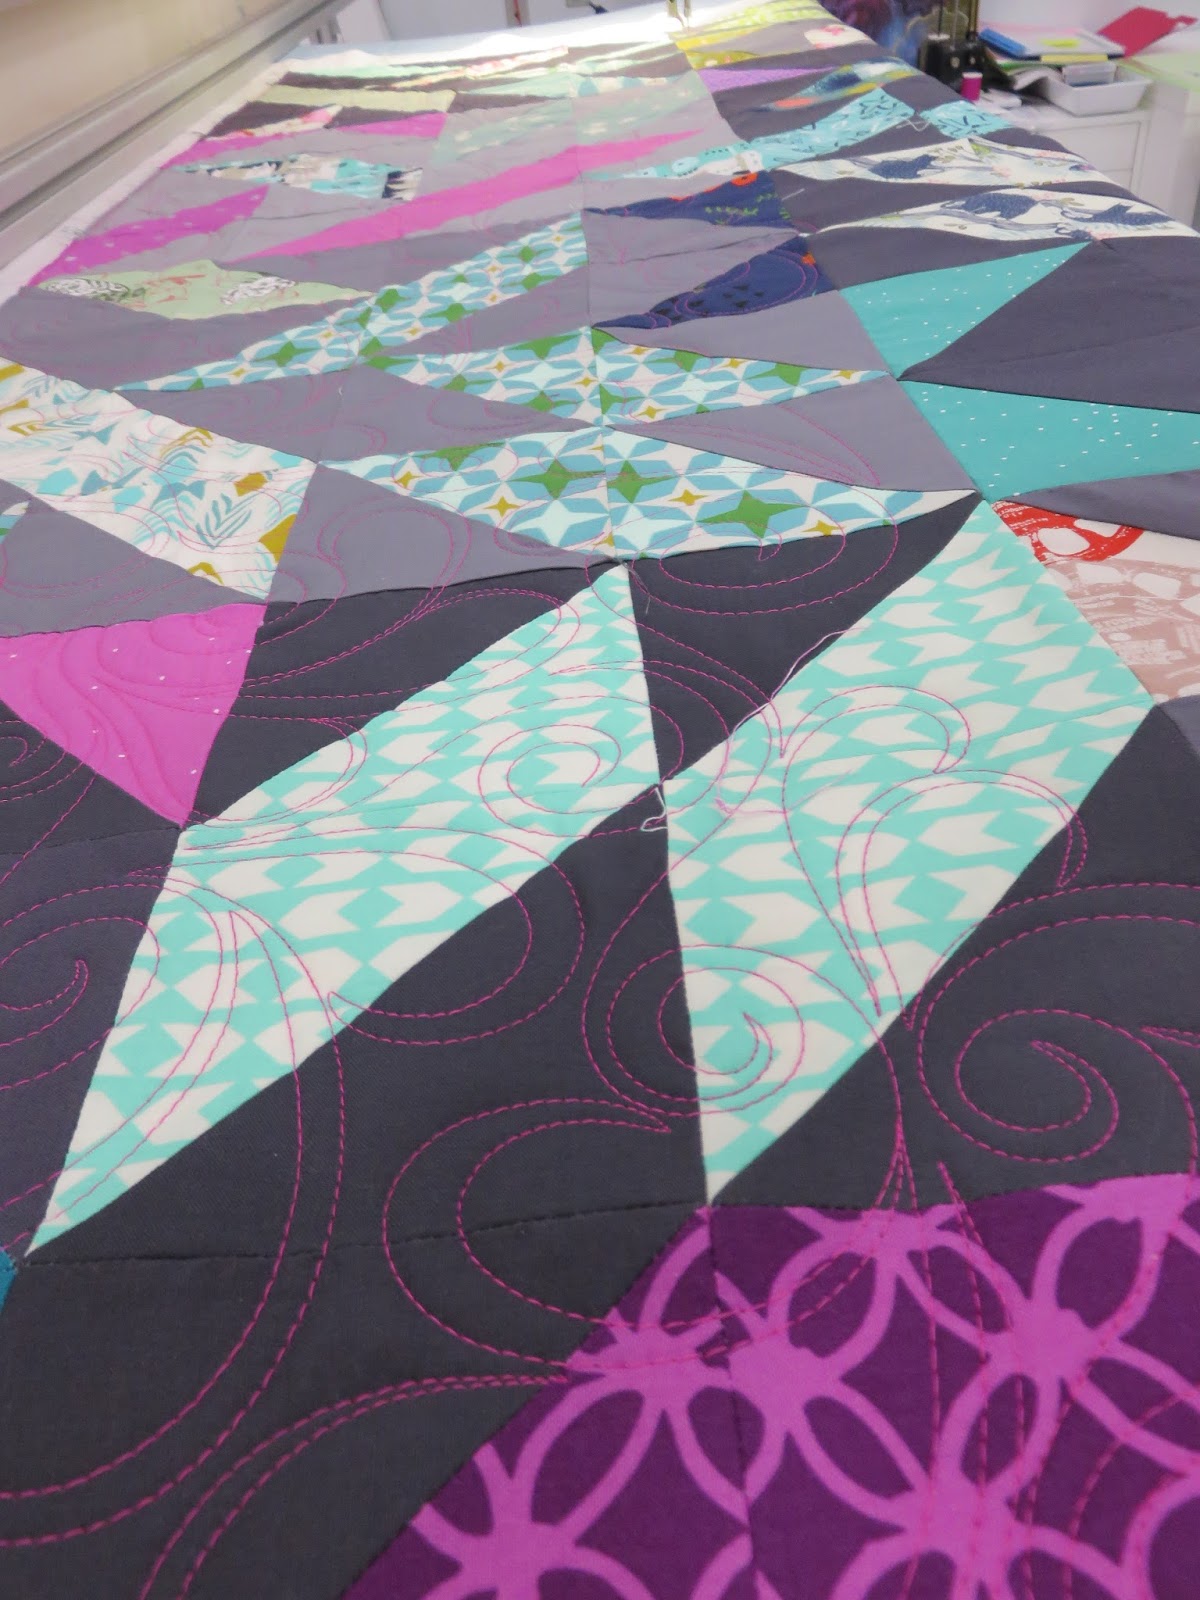
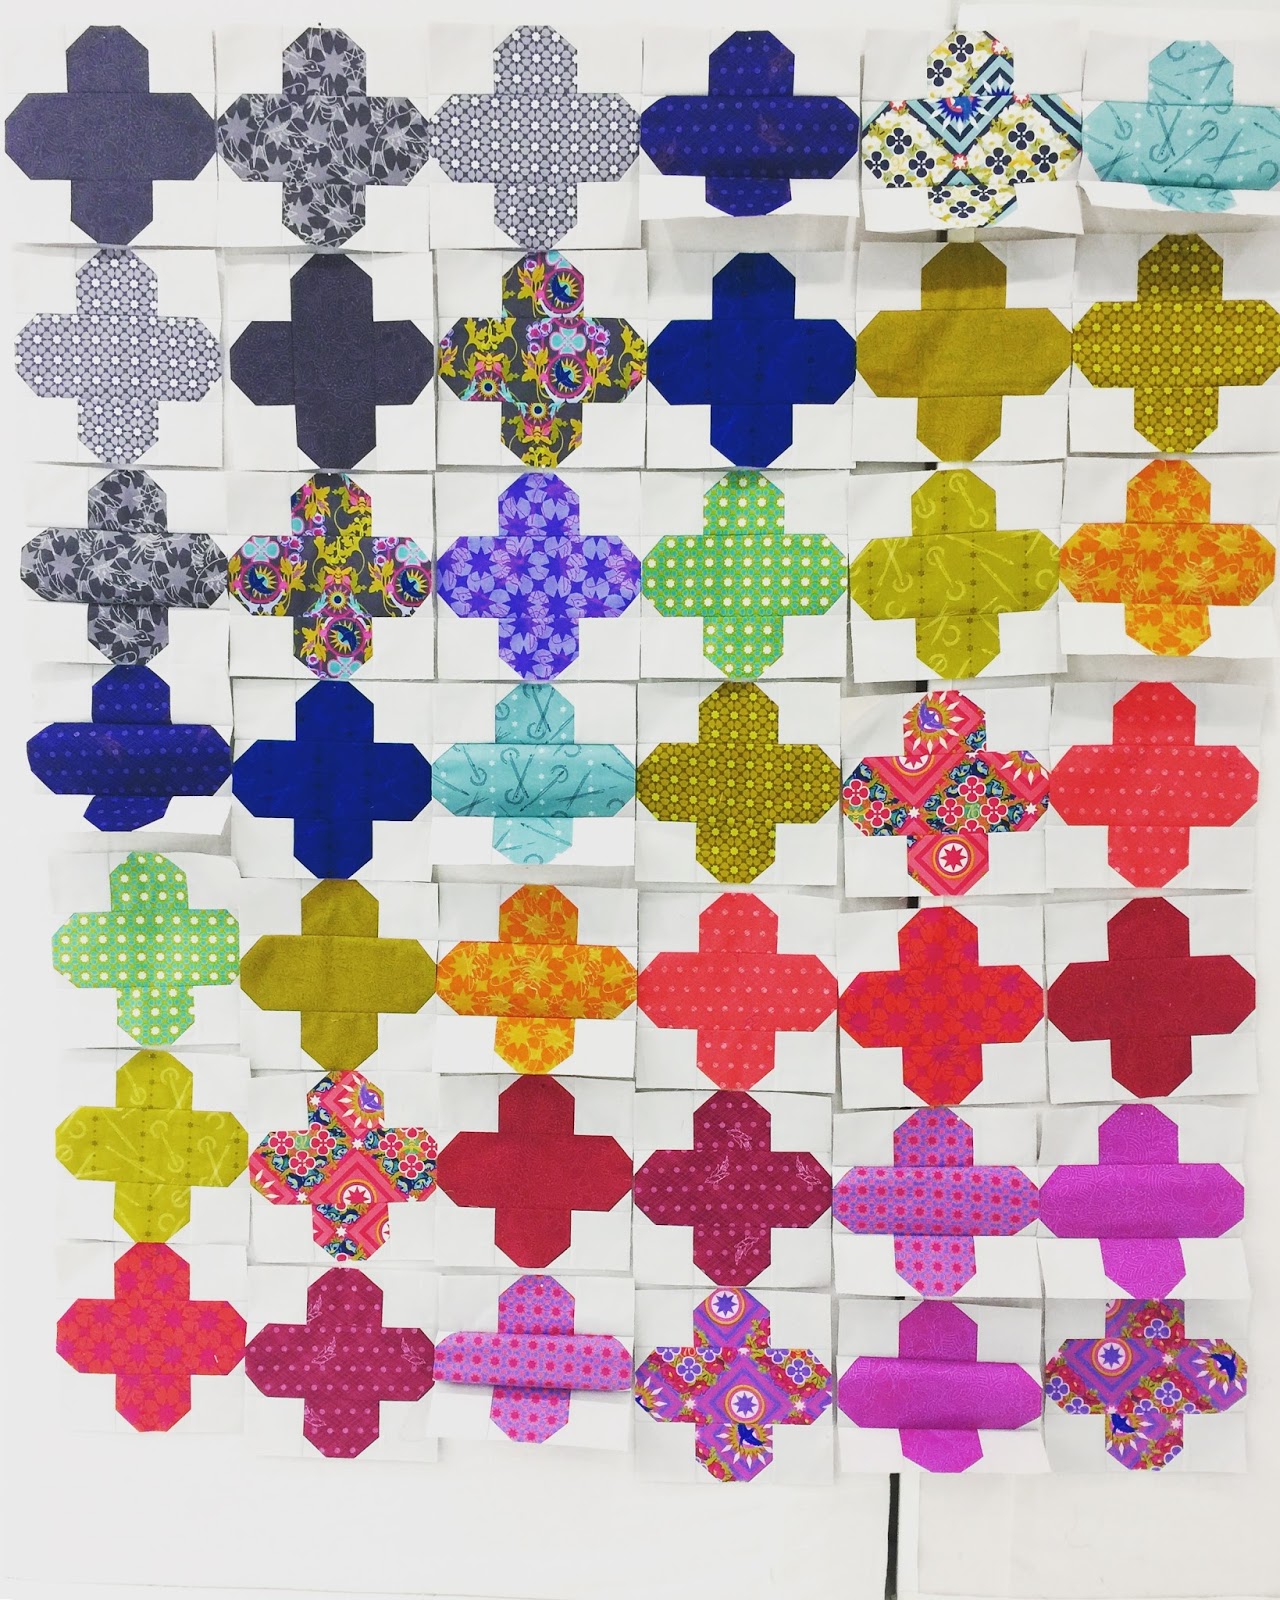
| foundation paper pieced blocks ready to be assembled |
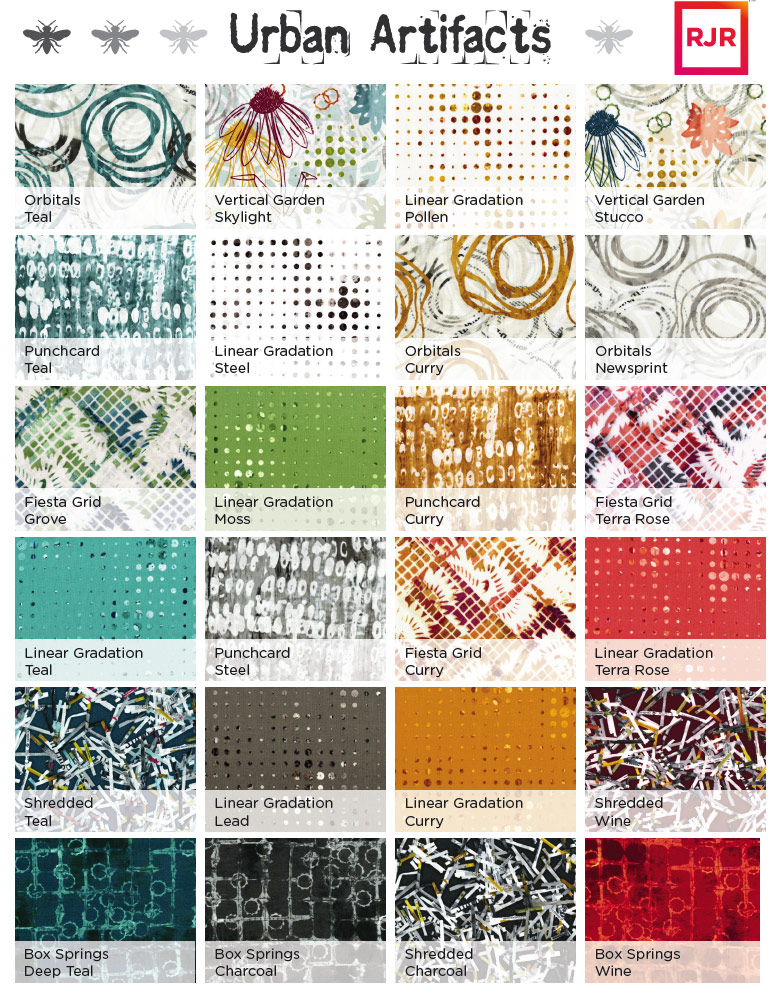
The kit I purchased came with Alison’s newest line of fabric-Seventy Six. I added a few blocks to the standard pattern to increase the dimensions slightly. I really didn’t think this pattern would come together as quickly as it did, and didn’t really have a backing in mind for it when I finished. So I just wanted to share my bit of selfish sewing for 2016. And while this isn’t really a pattern review, I have to say the pattern is extremely easy to follow (and the kit even came with enough fabric for me to make 12 extra blocks–increasing the size from a 5×6 layout to a 6×7 block layout.) and such a pleasure to make.
 |
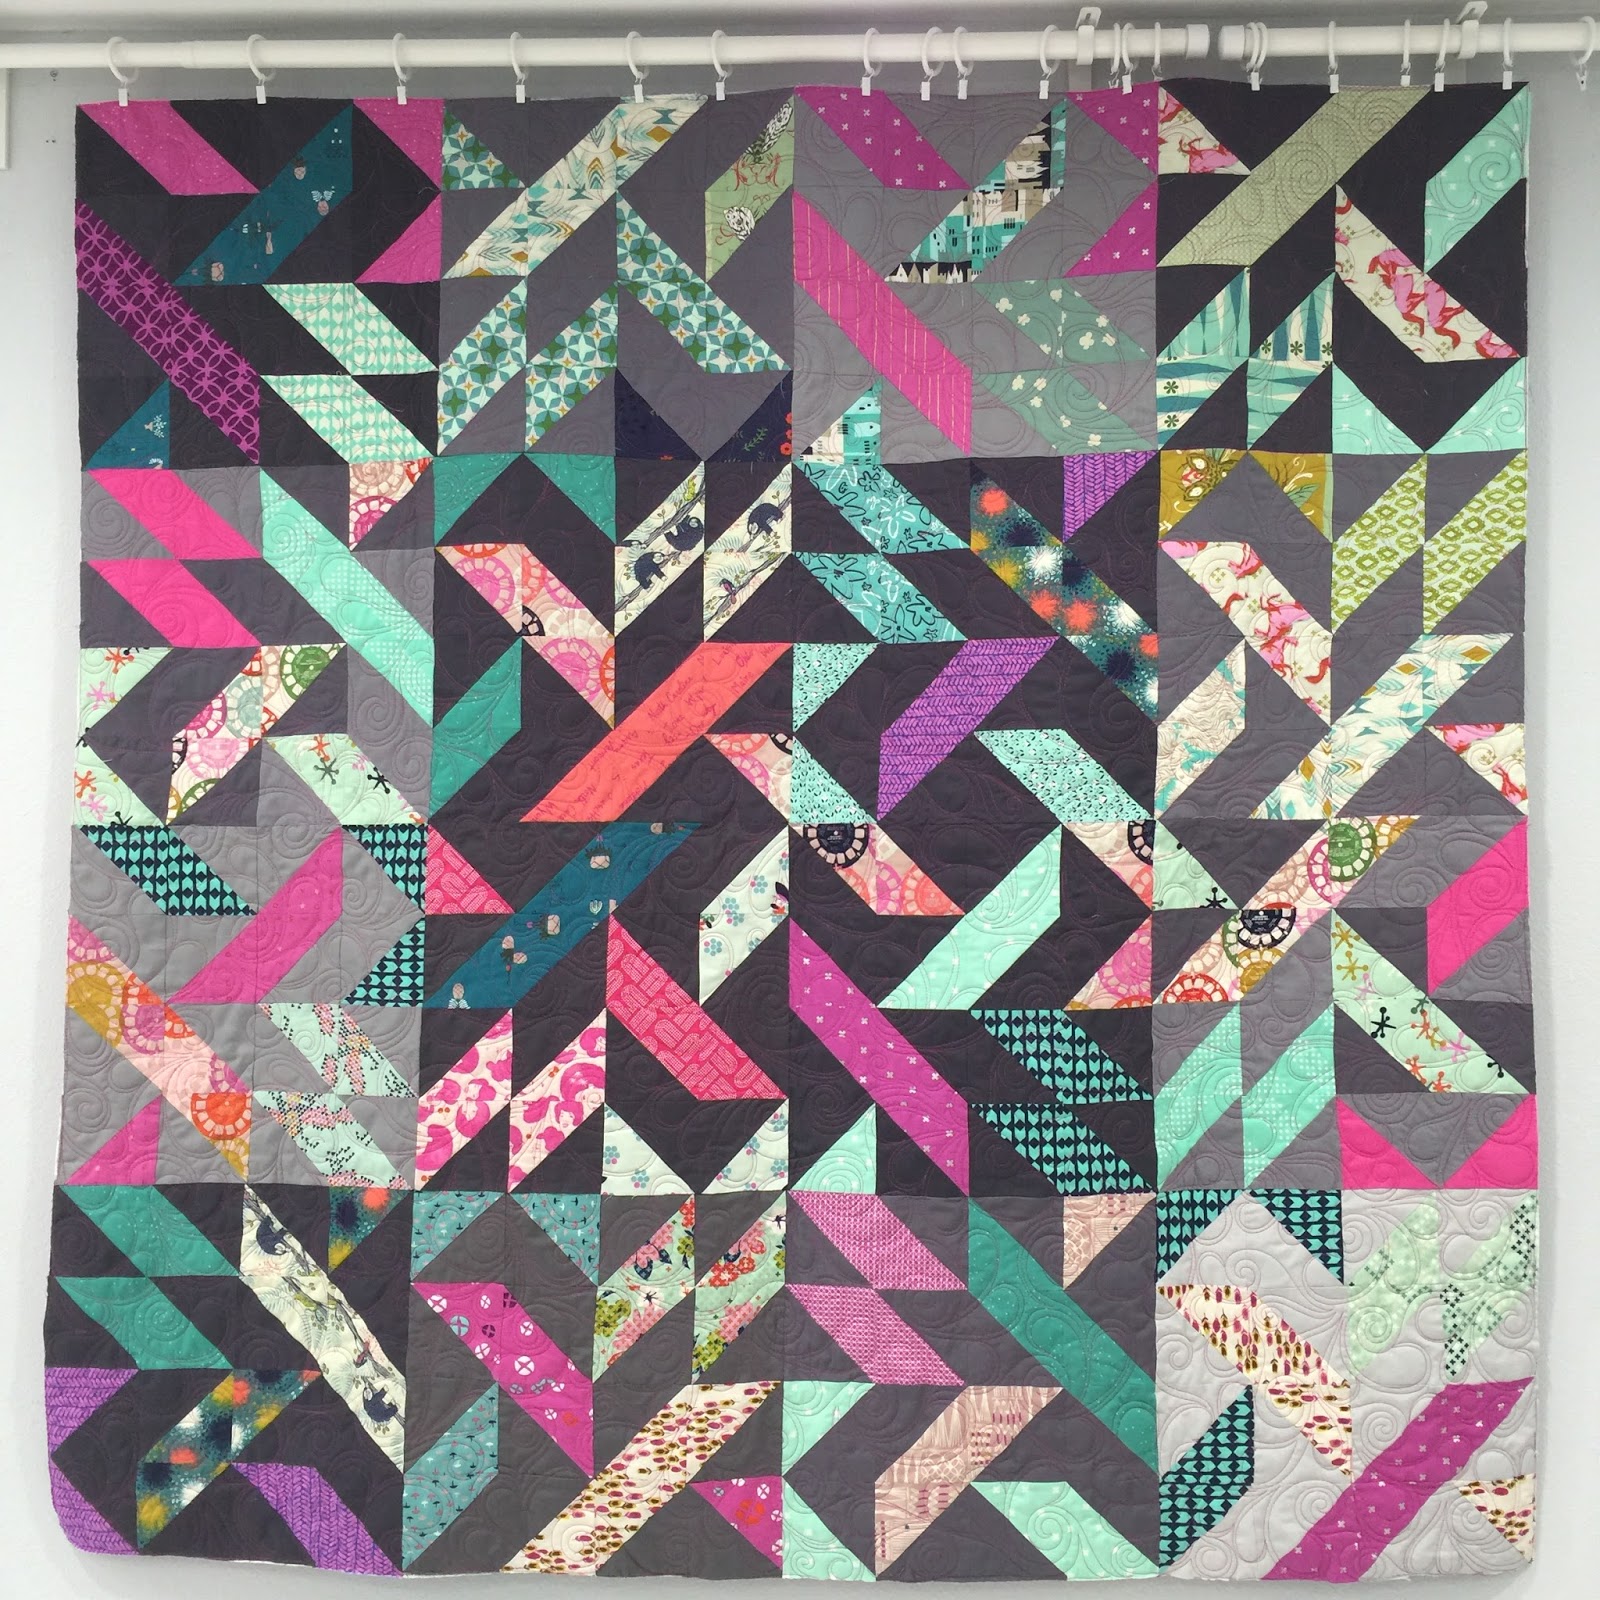
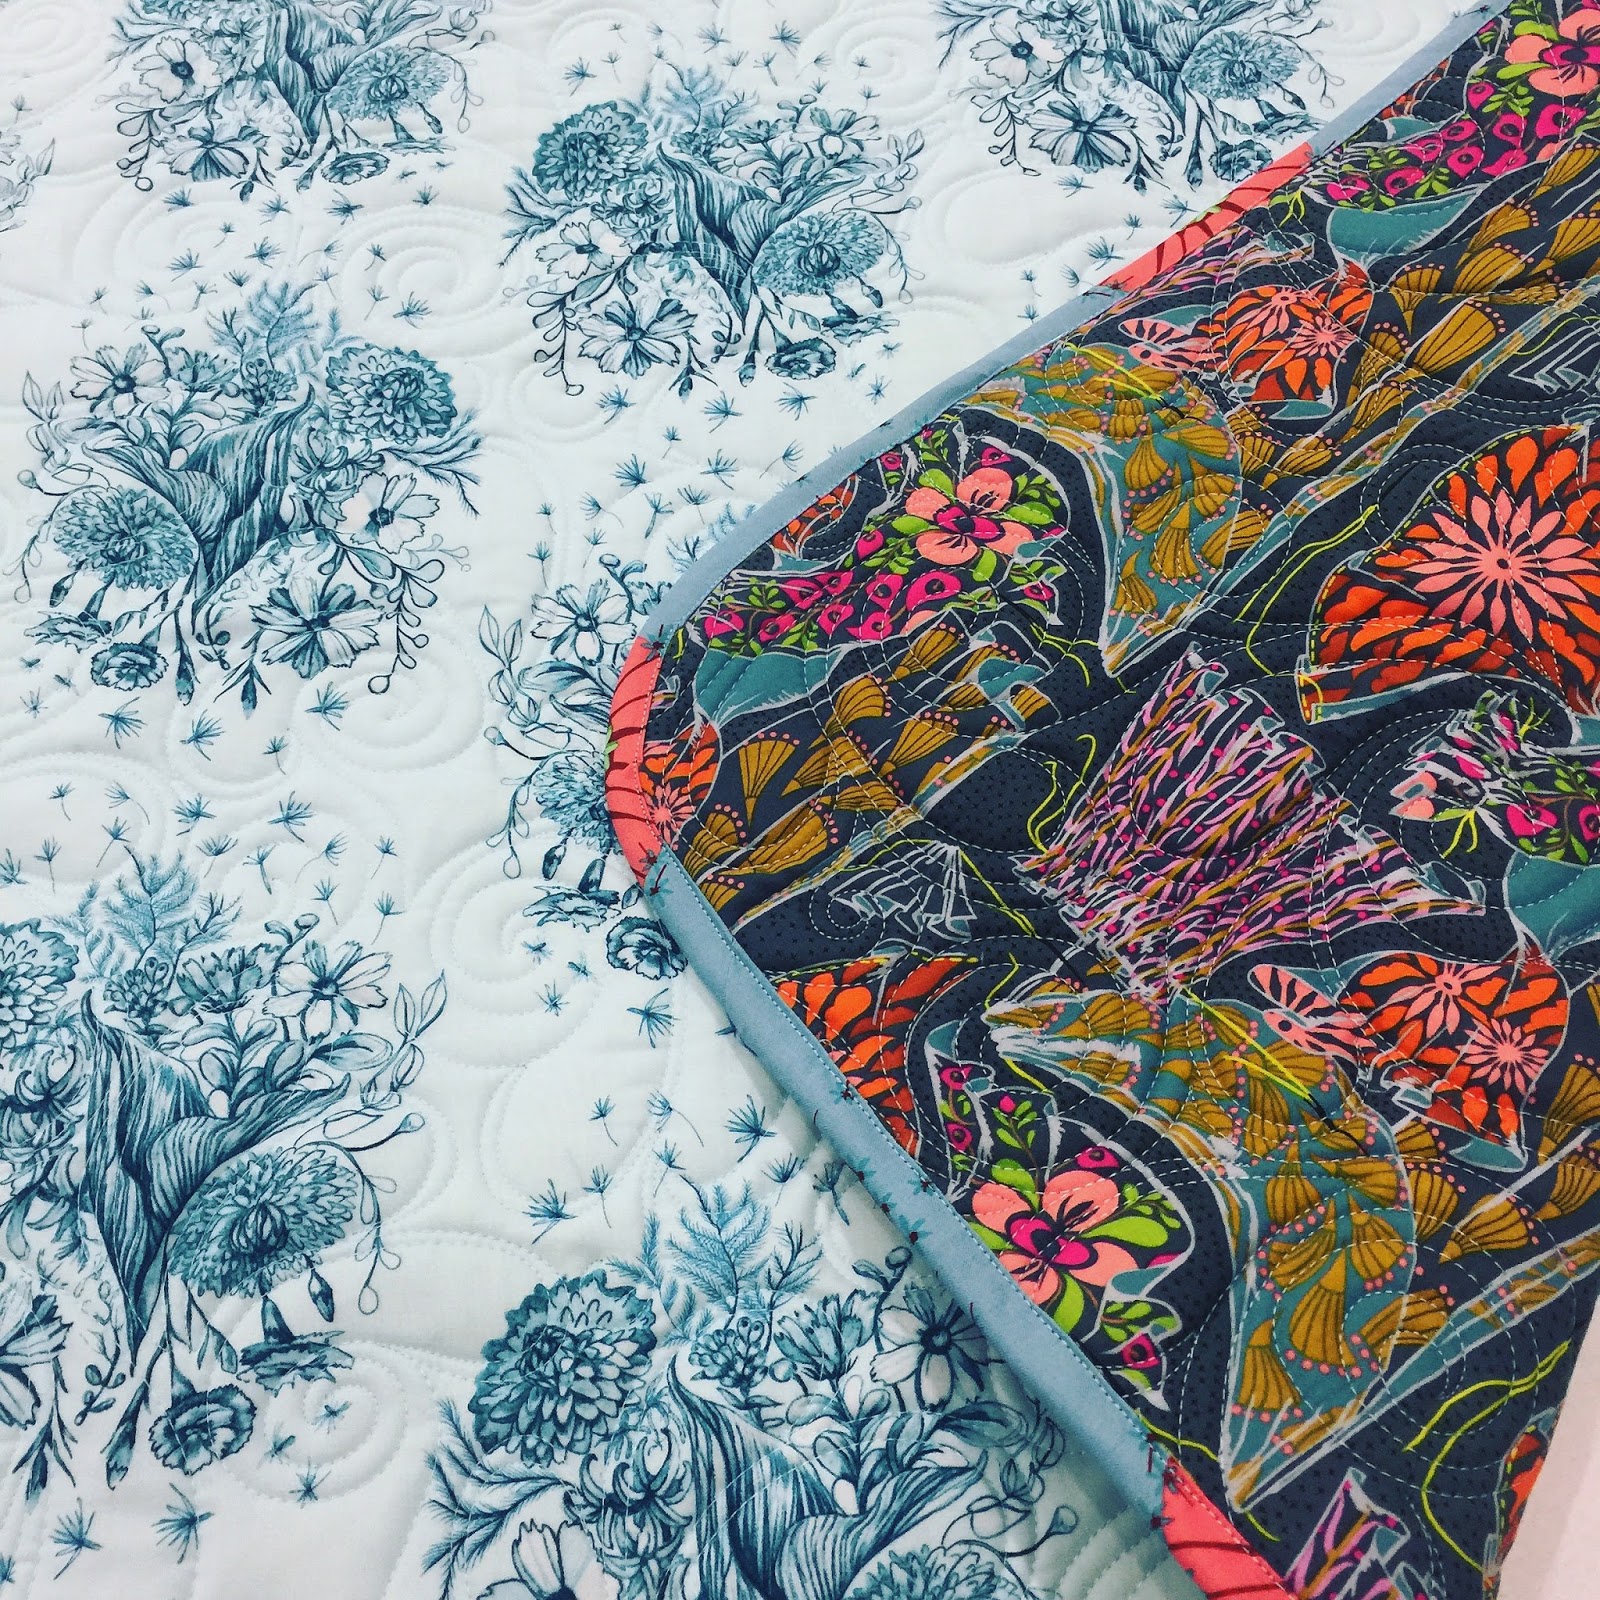
| My nearly finished quilt top |