Posted on

Free pattern! Water resistant pool tote

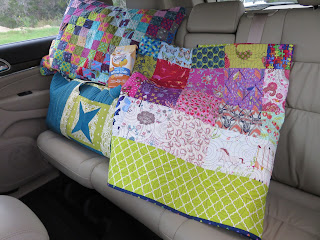
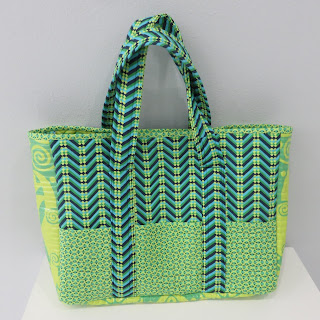
 If you’re planning a trip to the pool, river, beach this summer, you’ve got to whip up this painless pool tote lined with laminated cotton.  Throw your wet towels in and you don’t have to worry about them getting water spots on the car seats or even forgetting about them in the car (hey…don’t judge…we’ve all done it!)

Water resistant pool tote

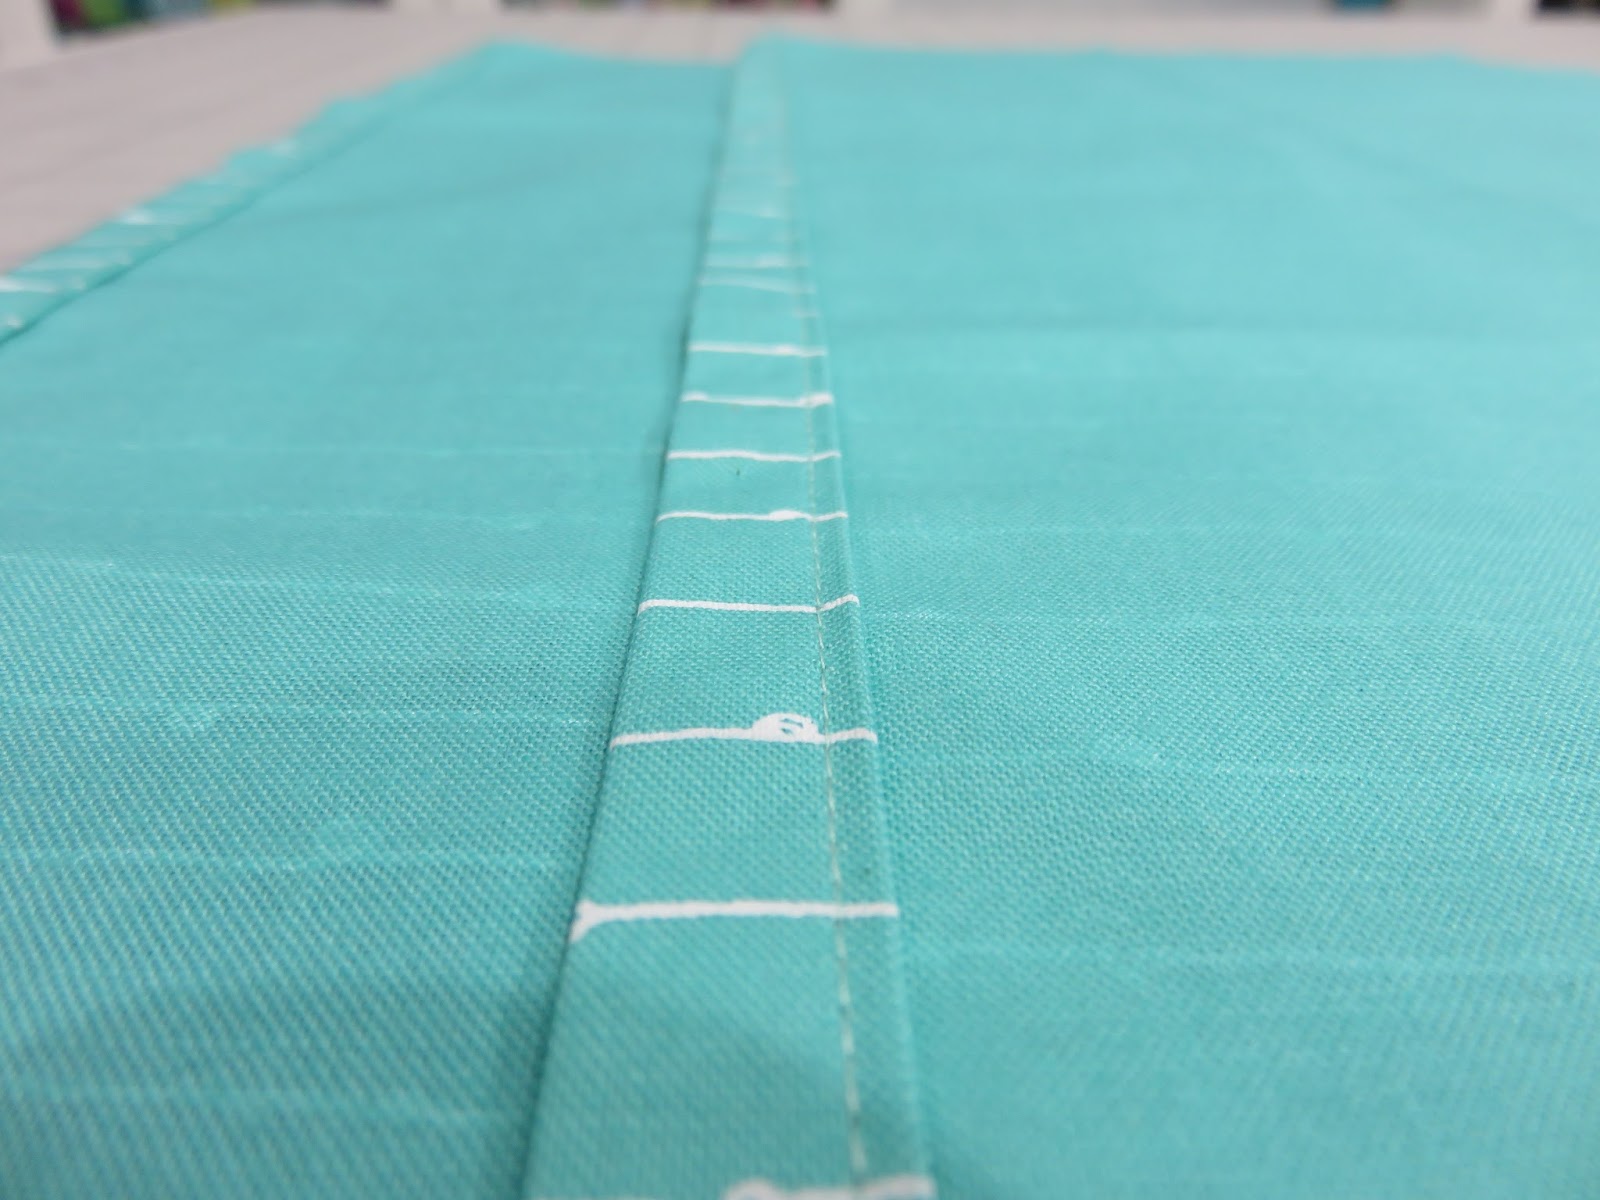
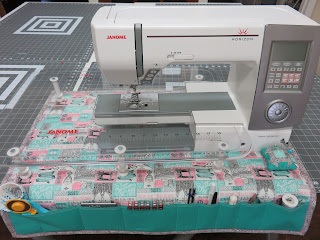
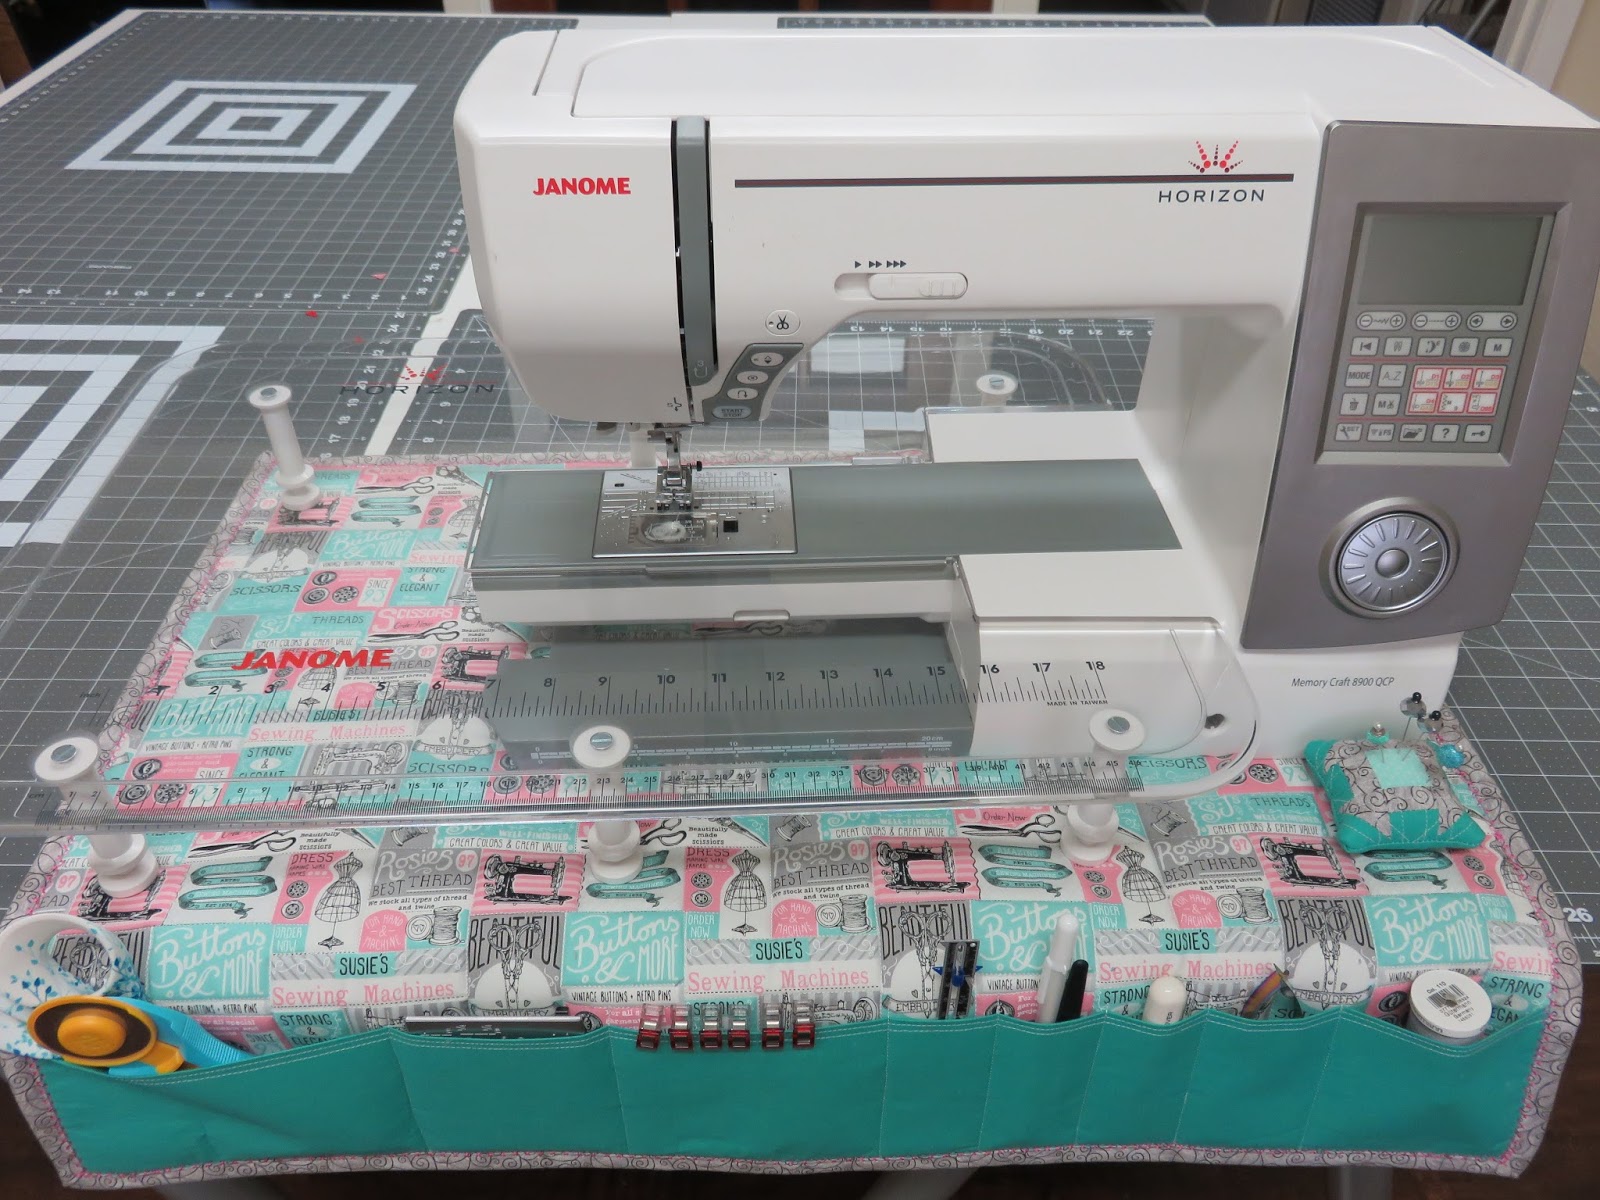
The only thing extra you might want to pick up, as far as sewing machine accessories, is a teflon foot.  Teflon feet are absolutely amazing when it comes to sewing any sort of “sticky” fabric.  So if you run your hand over it with pressure, and it doesn’t smoothly run across the fabric, a teflon foot will easily sew it!  Some great examples are glitter vinyl, regular vinyl, oilcloth, and laminated cotton.  Any fabrics that look like they have a sheen or platic-y finish.  Personally, I love to sew with weird fabrics, so I’ve had a teflon foot for a while now.  But if you don’t stray from the beaten path very often, now is the time to stray!!!  You will love the teflon foot, and have so many more interesting sewing options.  

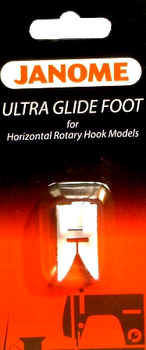
Teflon foot for Janome

So let’s get down to the nitty gritty–This pattern was written for Janome exclusively for the Quilt views blog.  So you can grab the FREE PATTERN HERE

Hop to it and get sewing!  Make something cool this summer 🙂

Posted on

Free Quilt Pattern Alert! Super easy I Spy Quilt pattern to ease your pain on long road trips with the kids

How many times have you been in the car, loaded up the kids to go to grandma’s house, and heard that horrible, awful question…(queue the Jaws music)…”Are we there yet?”  or better yet…”I’m Boooooooored.”  

I Spy Quilt loaded up and ready to go!

I know we’re all super busy in the summer, and it makes finding time to sew pretty difficult.  But now you have a great reason to bust out the sewing machine–you’re going to cure the kids of their road trip boredom by making them an I Spy Quilt!  All you really need are some random novelty prints or scraps–even seasonal fabrics are great for this.  The great thing about this quilt is that NONE of the fabrics need to be cohesive for this to work.  You have a print with elephants?  Elves?  Pirates?  Cactus?  Ballerinas?  They’re all perfect!  The more random the assortment of your fabrics, the longer the kids will be staring at this quilt, absolutely stumped.  

Your layout can be totally random, too!  I tried to lay my squares out from dark to light,
but you can try grouping them by color, theme, etc.  


I had the privilege of teaming up with Janome to write this tutorial for American Quilter’s Society.  So follow this pretty little LINK and head over to get the skinny on how to put this awesome little lifesaver together!  

I quilted mine with some sweet little swirls that were fast and easy!  

Okay, so in all honesty, making this quilt won’t be the end of you ever hearing those two comments from the back seat again, but what the heck!  It’s worth a shot isn’t it?  ðŸ˜‰

Posted on

Couching tutorial

Decorative stitches with a 3-way cording foot 

I had absolutely no idea what couching was when I first heard of it.  I saw a demonstration of couching on a longarm quilting machine, and then very quickly wrote it off (since I didn’t have a longarm at the time), thinking I would never have the means or opportunity to try couching.  You can use couching to emphasize a print on fabric, outline applique, doodle with it, and you can even quilt with it.  

Couching can add a little flair to regular fabric


Well, there are some ways that you can couch without buying a super expensive longarm quilting machine, and then also buying a super expensive couching attachment for said longarm.  You can actually couch by hand–but it takes a while.  And you can certainly try couching by using a domestic sewing machine.  You don’t even have to buy a special foot for it if you don’t want to.  As long as you have a free motion quilting foot that has some sort of round part that the needle goes through, you’re good!  I will say, that if the hole for the free motion foot is really big, you can easily modify it yourself by taking a small piece of scotch tape and covering a portion of the hole (not a portion the needle will travel through).  The smaller the hole on the free motion (or couching) foot, the easier it will be for the yarn to travel where you want it to go.

Make an art piece using couching techniques if that floats your boat!

I wrote a super easy to follow couching tutorial for Janome’s website that can be accessed HERE
So click it and check out how easy couching is!  There are seriously so many things you can do with couching to spice up existing projects.  

Posted on 1 Comment

Dresden Placemats tutorial

Do you need a little something special to liven up your table top decor?  How about whipping up some fabulous new place mats that easily reflect your awesome style?  I recently created a cute little tutorial with a free dresden template that can be downloaded HERE !  


There’s also a really cool-no bind technique that is explained in the tutorial that you’ll just have to try out!  I love this fabric by Sarah Jane Studios for Michael Miller fabrics, and think it’s perfect for spring and most of summer!  

I hope you’ll find some time to sew this week and play around with some cute dresdens!

Posted on

Applique your way to a handmade Mother’s Day!

I’m always looking for creative gifts to make for holidays, birthdays, anniversaries, and it seems like it’s always the same kind of stuff that you could really do without…like, how many cosmetic bags do you really need?  

So I was trying to think about what kinds of gifts would be meaningful to me if I were a mother.  What kind of gift would I cherish and appreciate forever?  

Well, right off the bat, I think about things that represent my “imaginary kids”.  Handwriting samples, drawings, things that could be made more permanent.  But then, I thought not all kids are old enough to draw or write…so how could that stage be permanently captured in a cute way?  My answer was hand prints!  But the painted hand prints are kind of cheesy, and lots of those probably come home from school in the form of turkeys,  reindeer antlers, spiders, butterflies, etc.  

So how about making a functional patchwork pillow with traced hands of the kiddos appliqued on top of the patchwork?  

I got to team up with Janome for this super easy tutorial, and really loved the experience.  If you’re in the need for a super cute, but still functional Mother’s Day gift (or grandmother’s gift!), this is the project for you!  Follow this Link to access the full tutorial and supply list.  

The pillow features Karen Lewis’ awesome fabric range, Blueberry Park.  The back of the pillow is an easy envelope closure that takes minutes to make.

Hemming the envelope closures of the pillow


Sweet little blanket stitch on one of the hands prior to quilting

Selecting thread to go with each hand
For more details, check out Janome’s project page and access the complete, free tutorial!
Until next time, I hope you are able to get some good sewing in!


Posted on

Free tutorial: Using chalk pounce and stencils to make gorgeous quilted pillow shams

Check out my newest tutorial for Janome on the AQS blog this week!  The tutoiral is for Quilted pillow shams that will really step up your bedroom decor and give an extra special touch.


Follow this LINK to see the full tutorial and add some new tools to your quilting toolbox!

I’ve always loved quilting, and was a little skeptical at the stencils.  Especially before I knew about the chalk pads.  I tried them when I first tried my hand at quilting, and used a water soluble pen to trace each stencil line.  And let me tell you…that will be a wonderful deterrent for anyone to never try stencils again.  Time consuming, inefficient, etc.  Then one of my friends had some of the chalk pounce and pads and so I thought I might just go ahead and try it again.  WAY better than tracing each line by hand.  What originally to hours literally changed to minutes.  So if you haven’t loved stencils, maybe try this and you’ll change your mind!

Posted on

Sew organized! Free sewing machine mat and mini pin cushion tutorial

The month of January brings tons of resolutions to improve, organize, etc.  Along with a new year!  I like to stay organized (or at least try to!), and so I teamed up with the awesome people at Janome to bring you a free tutorial for a sewing machine mat/organizer and a mini pin cushion that velcros to the top of it for easy removal.  It’s a fun way to try out some new products that you may not have used and keep your tools handy.  You can find the tutorial at Janome’s project page HERE

Sewing machine mat/organizer with mini pin cushion

There are some really fun features with this tutorial!  If you’ve never used Soft and Stable ByAnnie before, this project gives you the opportunity to try it out.  You can easily substitute regular batting, if you choose to do so.  


Cheater panel for easy quilting
Another fun tip is using a cheater print fabric to guide your quilting!  I picked up this Timeless Treasures fabric at my LQS and quilted around each little square/rectangle to make it look like fun patchwork.  

Mini Churn Dash Pin Cushion

And if you’re not in the market for a sewing machine mat, you’re sure to love this tiny churn dash pin cushion!  It would make such a sweet “extra” for any sewing swap.  And, Lord knows, I can never have enough pin cushions 😉


Decorative stitch binding finish
I also discuss trying out different binding techniques.  So instead of hand stitching your binding down, try a fun decorative stitch to add a little pizzazz!  

I hope you enjoy this fun project and take some time for a little selfish sewing this week 🙂


Posted on

Love is in the Air! Free Heart wall hanging tutorial

Don’t you love seeing all the cutesy Valentine’s Day sewing projects?  I love the typical heart patterns, but wanted to see a different spin on it, so I teamed up with Janome and created this free pattern & tutorial for you–available at the American Quilter’s Society Bog HERE

Love is in the air!  Wall Hanging

This is an intermediate tutorial with a few half-square triangles and some fun quilting techniques.  

Some tips: 
-Pair your bright colors of the hearts with a mellow, low-volume background fabric for more POP!
-Matchstick quilting around the hearts can really set it off, but feel free to try some swirls or crazy feathers for a different effect.
-Try a scrappy binding using all the colors of the hearts.

I hope you enjoy some quilting time today!


Posted on

Crayon Box! New free quilt pattern for Janome

I’m crazy about quilting, but I’m also really crazy about modern quilting.  The colors, the patterns, the newness of it all just makes me love everything about it!  Luckily, I got to create something with the curated Michael Miller Cotton Couture bundle available at local Janome dealers.  It’s bright, cheerful, and has the awesomely saturated colors you can’t get anywhere but from Michael Miller Fabrics (and no, they aren’t paying me to say that).  Cotton couture is my favorite solid to work with right now, because it sews like BUTTER.  I’ve even used it in some garments and loved the result.  So if you’re dying to see it, here’s “Crayon Box”:

Crayon Box by Joanna Marsh

You can find the full tutorial on the Janome website HERE and download the pattern for free!  I had a blast creating this and playing with the colors!  Use the hashtag #thecrayonboxquilt to share your creation.  


There’s also a fun tutorial on how to do scrappy bindings in the free quilt pattern, just like in the picture below (and I just couldn’t resist this Loominous Anna Maria Horner print for my backing):
Scrappy binding tutorial
And for quilting ideas, I did a super fun swirly motif.
Swirly quilting
So run and grab your free pattern and get sewing today 🙂


Posted on

Blue December Pillow tutorial

I had the awesome opportunity to team up with Janome and AQS to offer a free pillow tutorial!  You can find the complete instructions and supply list here: Blue December Quilted Pillow Tutorial


This is such a fun and easy project to do to add to the ambiance of the season, and I love the blue and white colors, as opposed to the more traditional red and green.  So if you have some spare time, get sewing and whip up this sweet pillow!