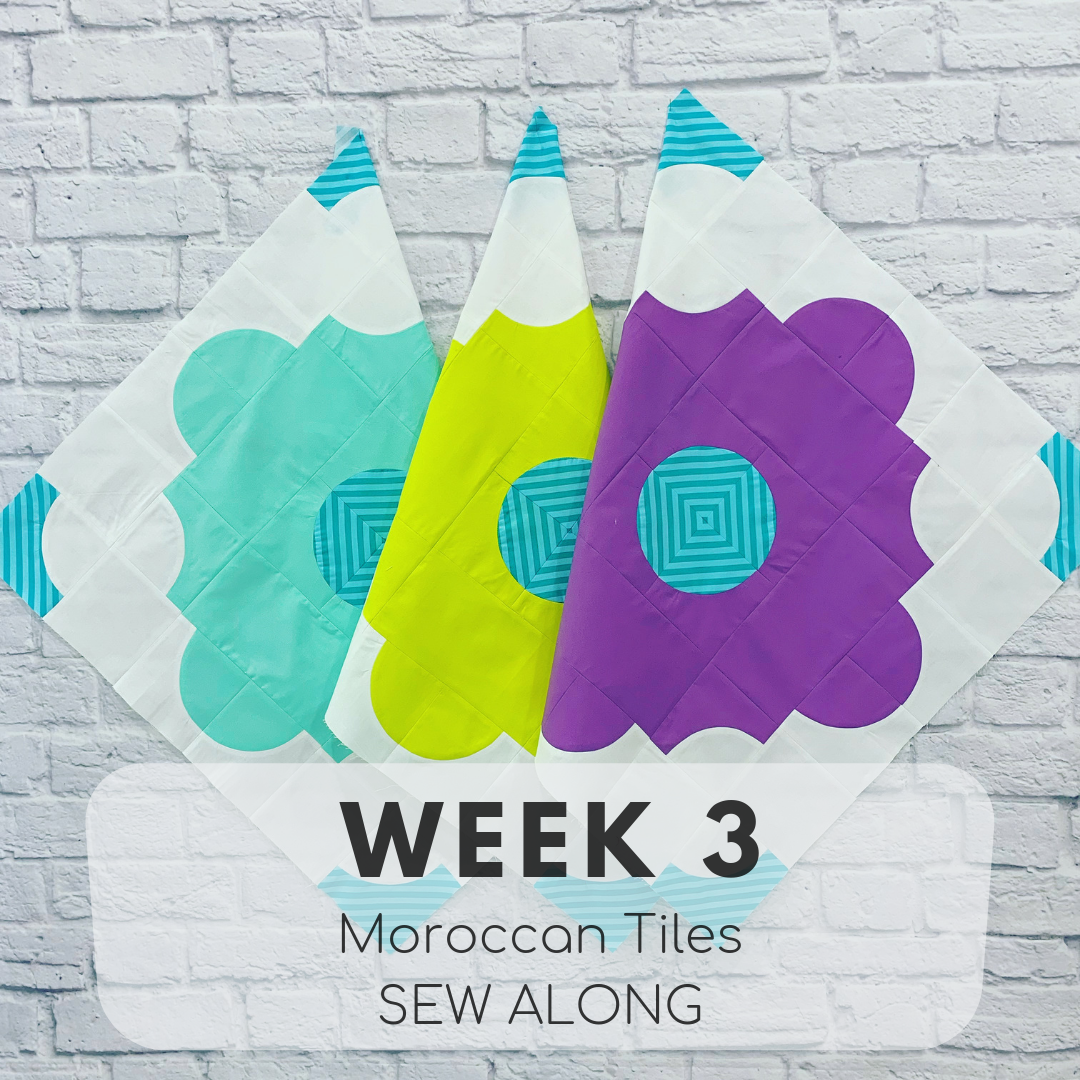
This week, we’ll be focusing on sewing together blocks 1, 2, and 3. If you’re brand new to sewing curves, I’ve got some great tips for you and some video tutorials to help you out. I made quite a few videos in case you’re a newbie, and it may seem like overkill, but I wanted there to be plenty of help available if you needed it. If you’re a seasoned curves-sewist, feel free to skip them!
The first time I sewed curved pieces, I was really intimidated by it all. Honestly, the first few blocks I made looked awful, I had puckers in my fabric, and it obviously wasn’t clicking with me. If this is you too, please hang in there! Practice makes it so much easier. There are several ways to sew curves together, and two of my favorites are pinning the fabric, and not pinning the fabric. I’ve made some videos to help, and you can see them here.
Alright, so here’s the breakdown for Week Two:
- Sew together 3 complete Moroccan Tiles blocks
- the SAL is paced for the throw size (9 blocks), but you can easily make more blocks per week to accommodate the larger sizes, or make less per week to make the baby size.
- Follow steps #6-15 on pages 8-11 of your Moroccan Tiles pattern to assemble each block.
- Don’t forget to match those stripes or fussy cuts if you went that route. I like to pin to match the patterns, or you can try glue basting for a great no-shift match!
- This week, post a picture of your 3 blocks on Instagram using the #moroccantilessewalong hashtag.
I’ll be randomly picking one winner from week three (you have to post the week 3 prompt on Instagram with the hashtag by 6/21/2019 at 11:59 CST) to win an awesome prize! This week’s prize is a SunPrint 2019 FQ bundle from Sew Modern Chicky (the SAL shop sponsor). Check out theOriginal Sew Along postfor more details & the rules.
Continue reading Moroccan Tiles Sew Along – Week 3
