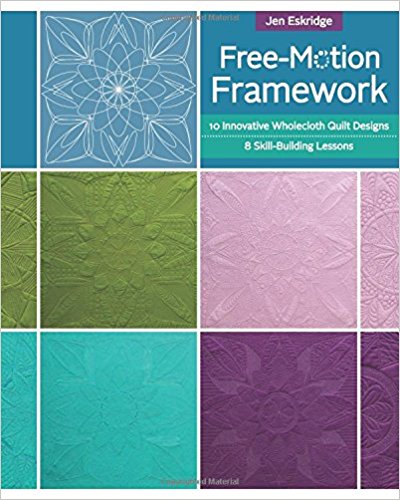
I am delighted to announce that I had the honor of contributing to Jen Eskridge’s new book from CT Publishing called Free-Motion Framework. It’s an amazing book that offers tips and tricks for really building your free motion quilting skills. There are so many amazing contributors (17, in fact!) in Jen’s book, you’ve really gotta check it out! Keep on reading to the bottom for two separate chances to win!
Head over HERE to leave a comment to be entered in the giveaway! Jen will be announcing the winner on June 19th (entry closes June 18). Prizes include: Clover marking tools, Clover Wonderclips, HandiQuilter machine quilting rulers, and a couple of copies of the book! AND…For a second chance to win, I’m giving away a copy as well, courtesy of C&T Publishing! Head over to Instagram @kustomkwilts and enter for your chance to win a copy of the book by:
Following my instagram account @kustomkwilts
Liking the giveaway post
Tag a friend!
You must do all three to be entered to win! My giveaway will close Sunday, July 10 and I’ll announce the winner Monday July 11, 2018. The giveaway hosted by me is closed. Congratulations to Marnie Anderson on winning a copy of the book!
Free-Motion Framework launched at Spring Quilt Market this past May, and is available on Amazon now. Check it out here! The book includes ten designs that can be transferred to a whole cloth or a single piece of fabric as your quilting guide. I quilted two of the samples included in the book, and really loved how simple the process was for transferring the design to the fabric and then starting to plan your quilting ideas.
Jen gives lovely suggestions for how to create your own designs and fill the area creatively. This book is a wonderful exercise in working out your quilting muscles and trying something new. The skills to be gained from this are limitless, but I found that it really helped me plan block based quilting designs much more efficiently and gave me some new ideas I hadn’t tried before. I really like the idea of using hand guided free motion quilting in conjunction with some simple ruler work and straight lines.
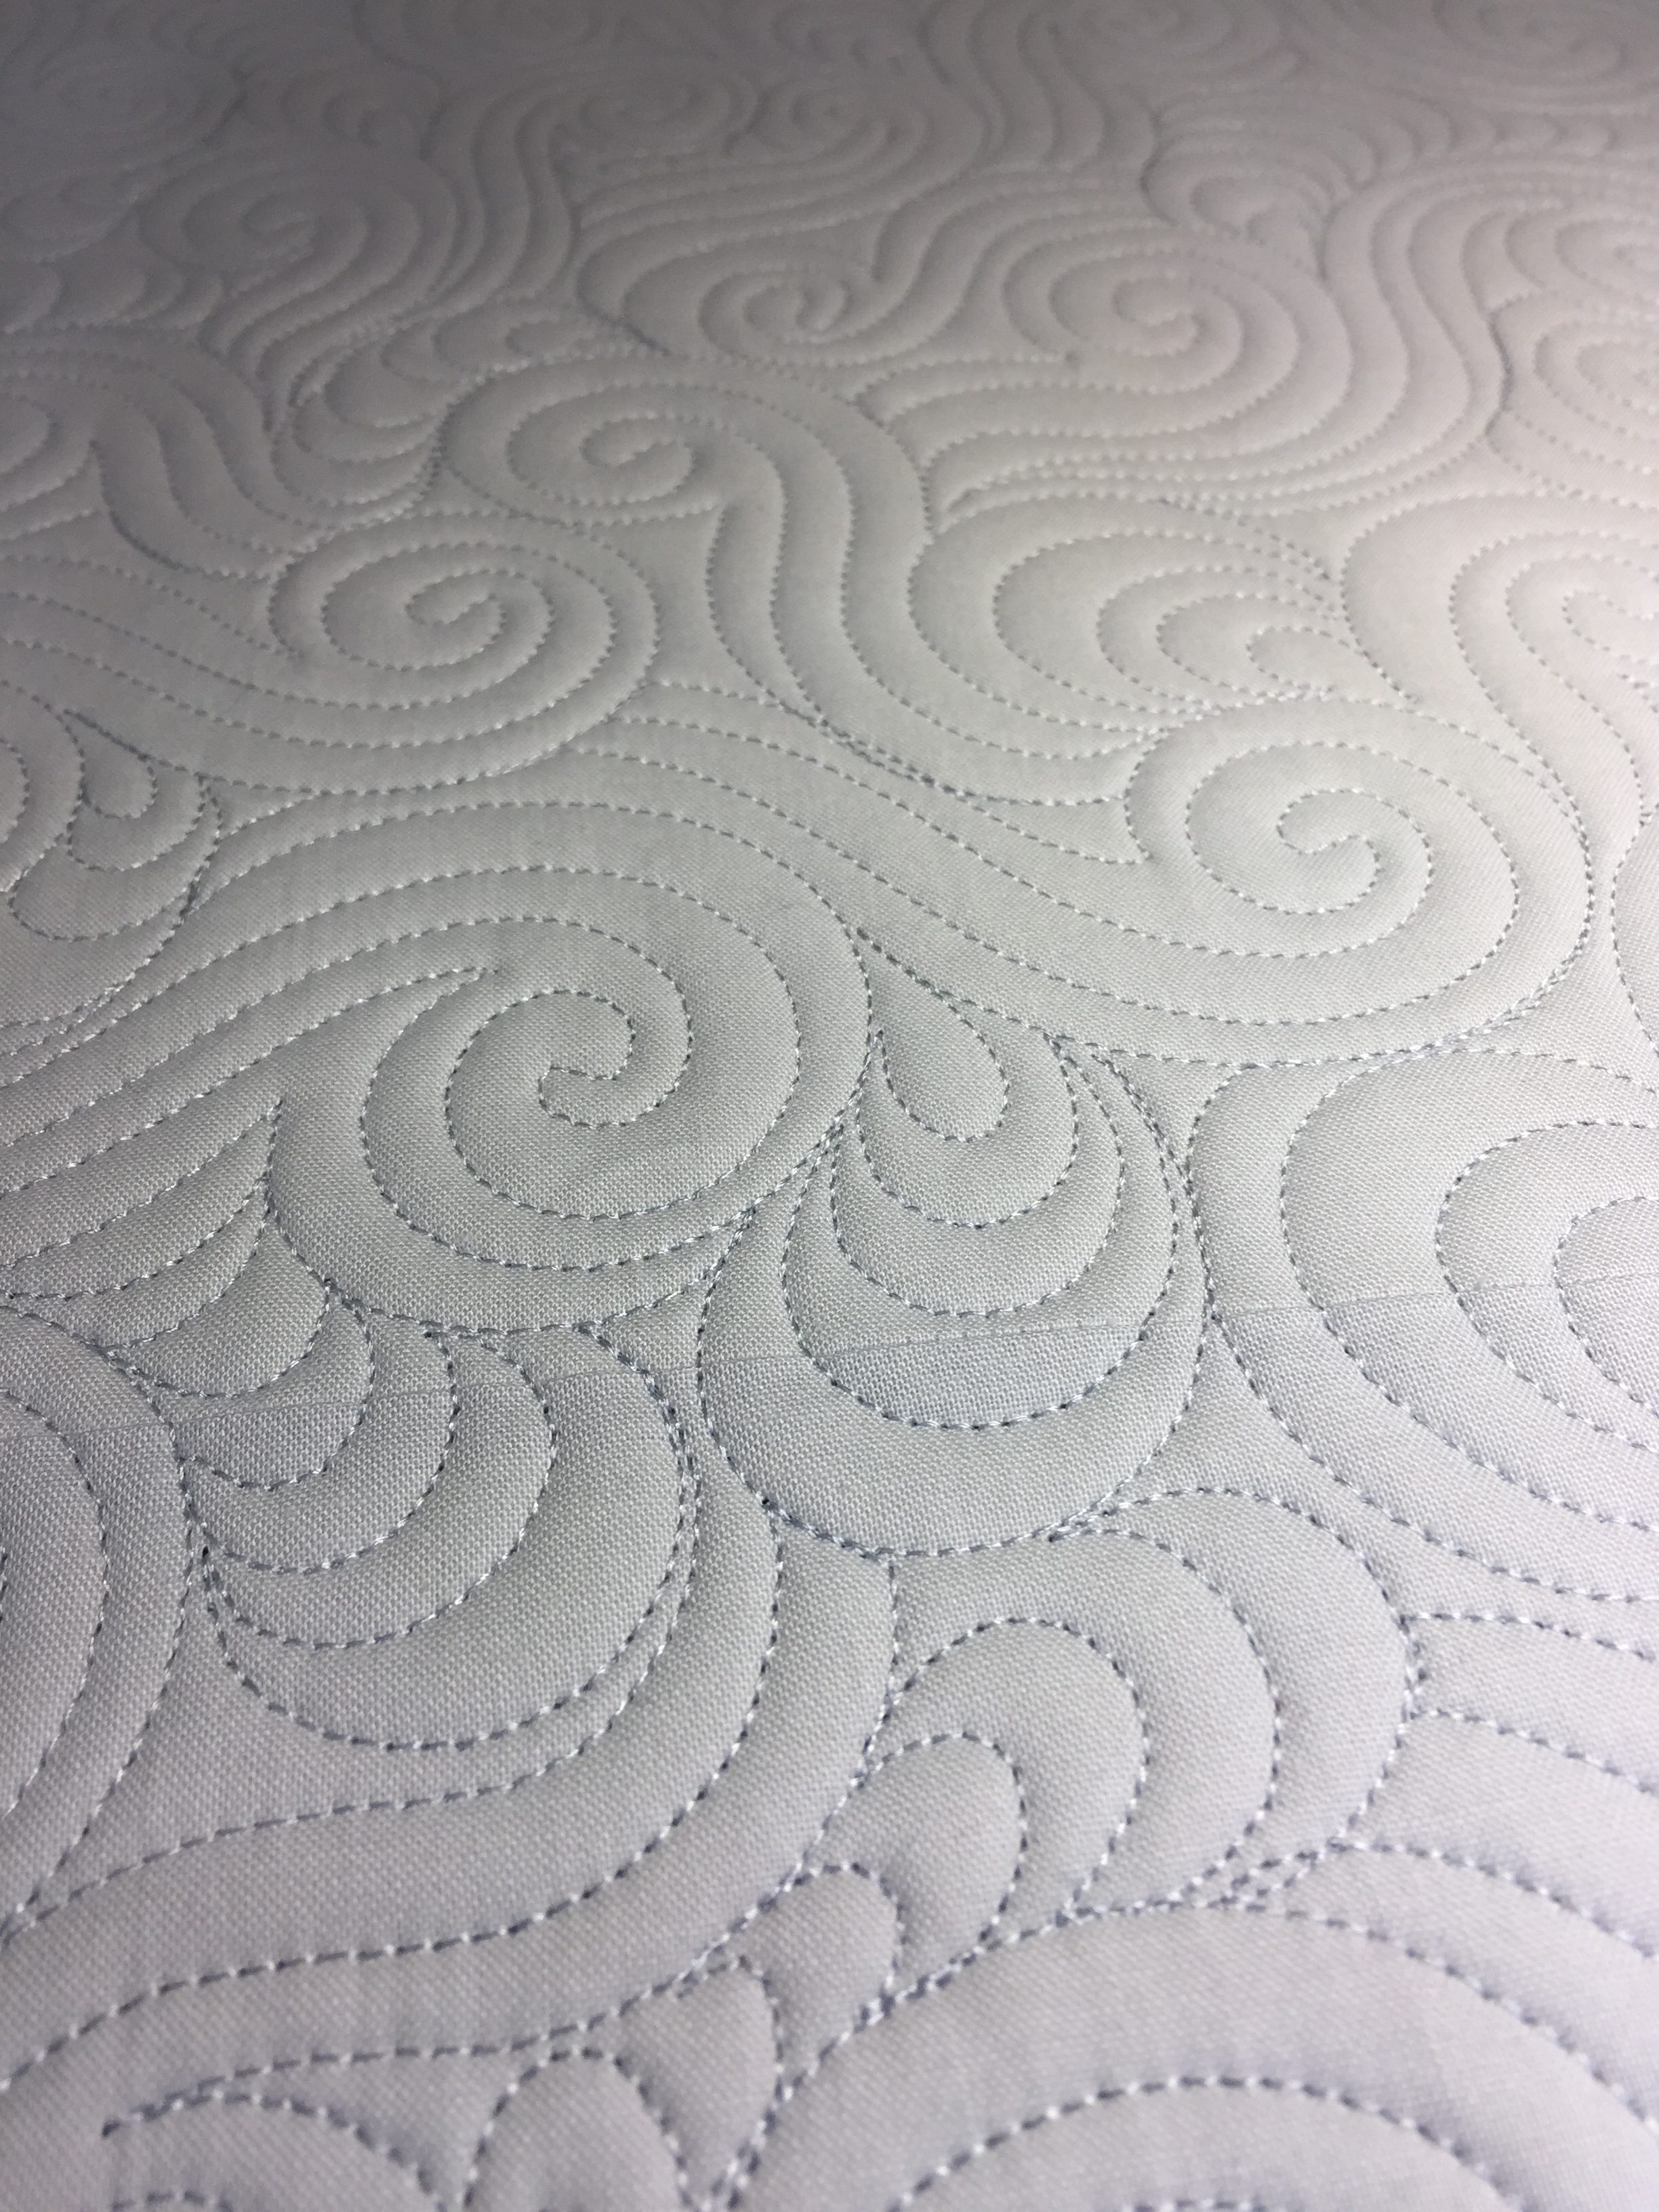
The picture above is the corner of another of my samples in the book. The designs provided in the book are so simple to use and provide a great study on symmetry in your whole cloth work. I can’t wait to get my hands on a copy so I can quilt up some more of these quilts. Don’t forget to follow the link in the second paragraph to comment for a chance to win some great prizes in this blog tour of Free-Motion Framework!
Stop by each blog this week for a possible chance to win a copy of Free-Motion Framework. (International winners, outside the USA, will receive a digital copy.)
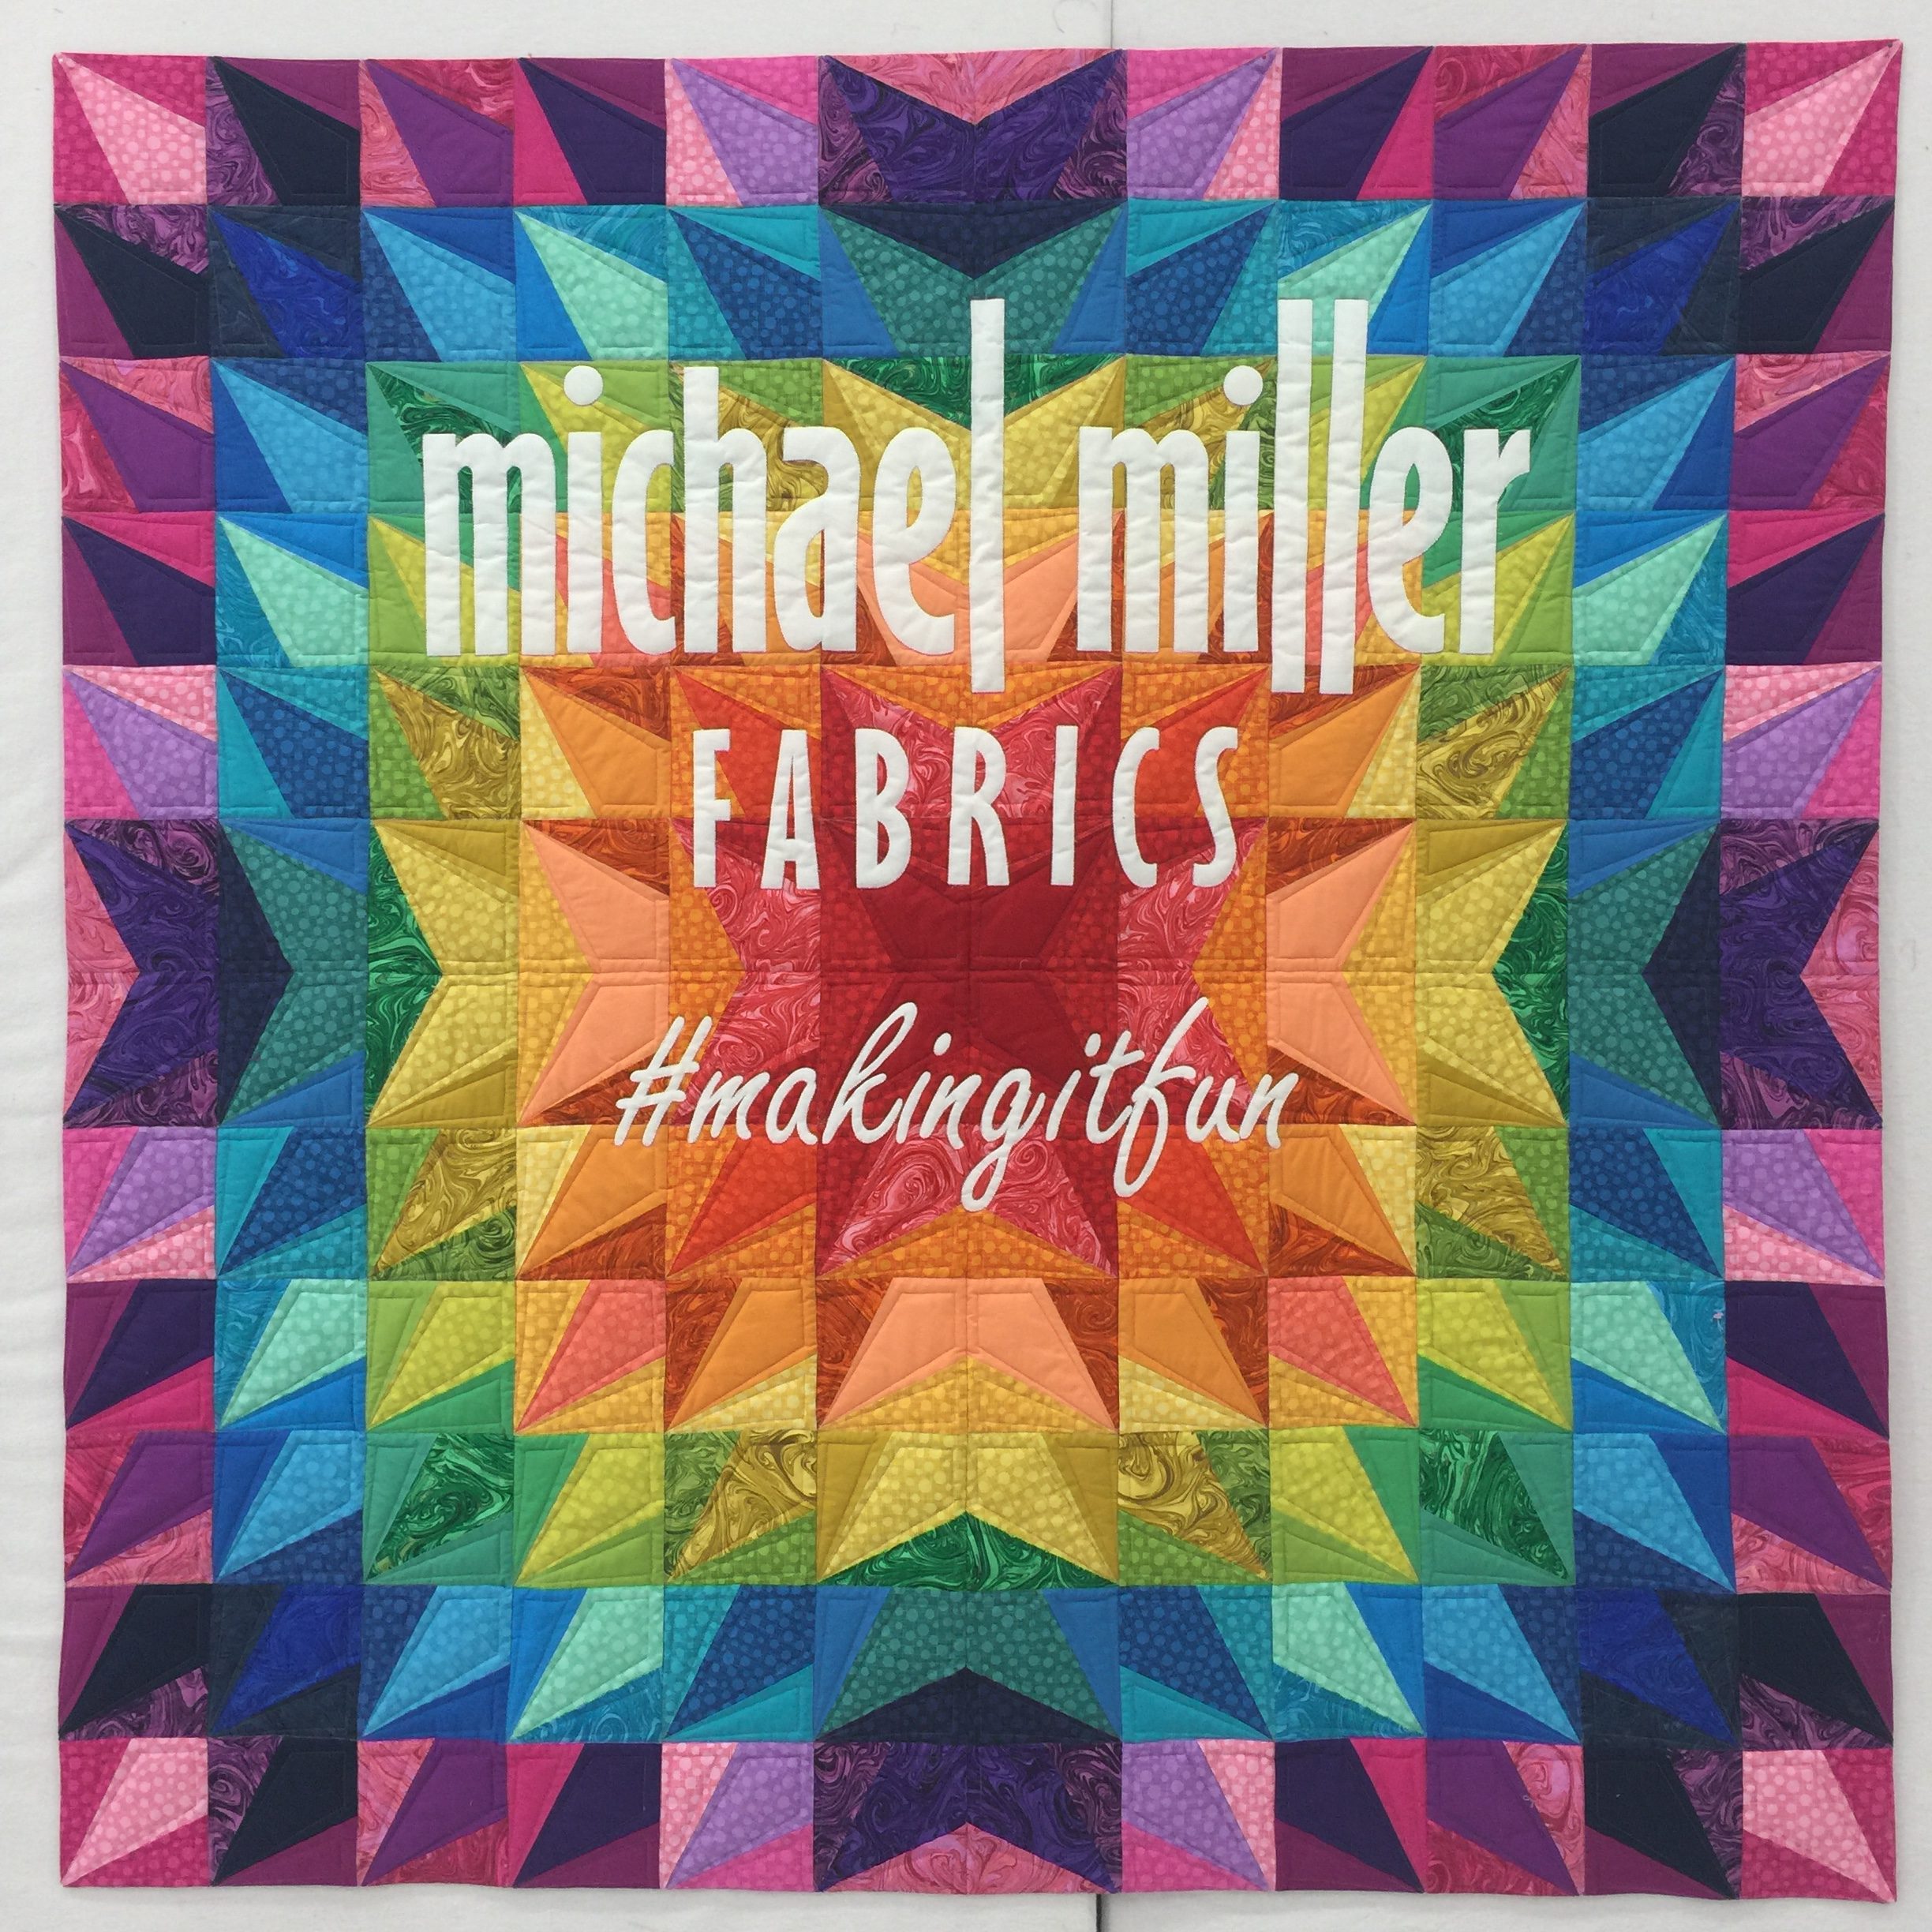
Guys!!! I’m so excited to finally be able to share my project for the Michael Miller Spring Quilt Market booth. They sent me fat quarters of their new has dot blenders and their marbled fabrics, along with some coordinating Cotton Couture solids and told me to make something fun and rainbow-y! Is that a dream assignment, or what?? I narrowed it down to 48 unique fabrics that I wanted to use in the quilt, and lined them up:
I numbered them and then numbered the design I had mocked up in EQ8, but it was starting to get a little crazy. I ended up having to make a smaller swatch card because some of the fabrics were so similar in color and shade that I was starting to go cross-eyed flipping through that stack.
I very rarely make swatch cards, but I found it to be very necessary with this quilt. I designed a foundation paper piecing block in EQ8 and then rotated it slightly to complete the design. The piecing went really quickly and I just needed to double check that I had the correct fabric for each block before I started sewing. I’ll admit, there was a good amount of seam ripping to be had with this one!
I used my new Daylight Company light box to help with the foundation paper piecing, and I really love how thin and lightweight the unit is. I had a very bulky, cumbersome light box in the past and recently upgraded to this one. It’s been such a nice treat to have one that doesn’t take up all of my cutting mat. I also used Adobe Illustrator to help design the applique text in the right size and fonts, then tiled the pages to make a huge pattern. I hand cut each letter and symbol out, then used the paper as a template to trace onto the white fabric for the applique. I used Misty Fuse on the backside of the white Cotton Couture and then cut out each letter. It was pretty time and labor intensive, but I love how it turned out.
I did come up with a slight problem in getting the applique on straight, centered, and spaced equally. Usually, I would just use a big window and tape the quilt in place or trace where the letters needed to be, but I decided to buy a cheap portable projector and project the original applique design onto the quilt while it hung, and then I positioned the letters in place with a small amount of glue from an Elmer’s glue stick. Once they were in position, I lightly fused them into place and then took the quilt top to my Janome MC9400 to complete the applique blanket stitching around each individual letter (that took about a day and a half!).
Once I finished the applique, it was time to throw it on the longarm for quilting. I chose just a single layer of Quilter’s Dream Wool to maximize the quilting texture and also keep it fairly lightweight. Then I quilted some straight diagonal lines with rulers to finish it off. I opted to not bind the quilt traditionally, but I faced it to not take away from the overall punch of the quilt, and keep the focus on the applique. I really loved making this quilt and loved the new fabrics being released by Michael Miller Fabrics for Spring Quilt Market 2018. I can’t wait to get my hands on more of that fabric!
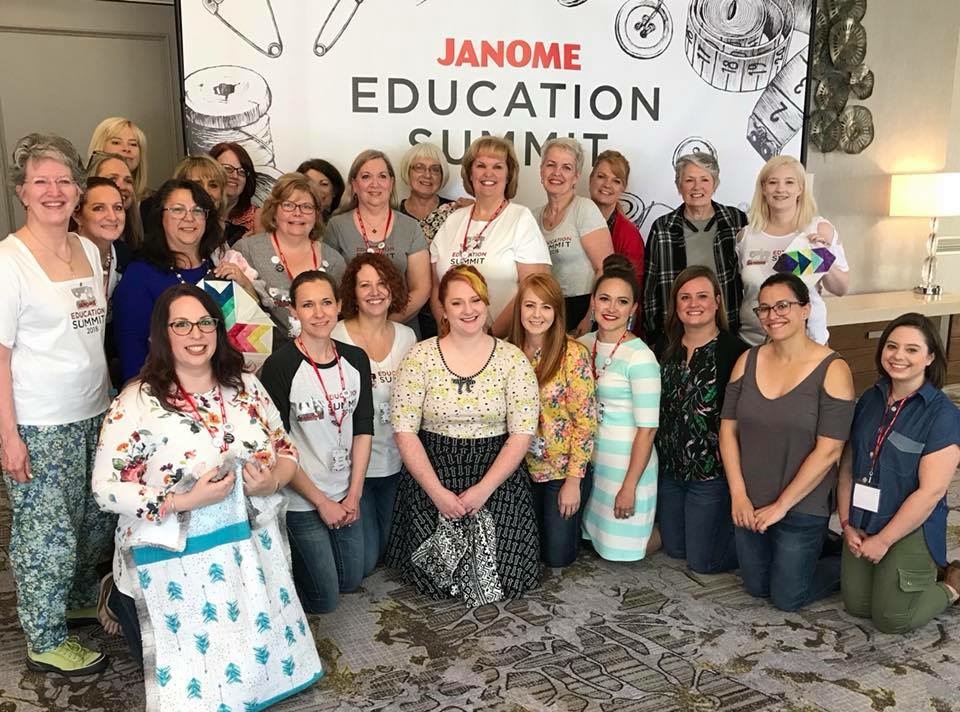
This past week was one I’ll never forget. I was invited to attend the first Janome Education Summit in Park Ridge, New Jersey to meet some amazing people and learn some awesome new things about what Janome has coming up! The Janome Education Summit consisted of Janome Educators, Artisans, and Makers–generally a group of the most amazing people, packed with three days of classes and collaboration.
It had been about 7 years since I had flown anywhere, and I was REALLY nervous about getting on a plane and leaving my 1.5 year old, but once I made it to NJ, I was SO excited to be there! I’ve been working with the amazing people at Janome America for almost three years now, and had never really gotten the chance to visit with them for longer than 5 minutes. We had a nice meet and greet to kick off the first night there, and the opening remarks were made by Janome’s new National Spokesperson-Kimberly Einmo.
Kimberly taught a great class showing us the HP foot and needle plate for the MC 9400 and we made a really cool block using her Flying Geese ruler (it virtually eliminates ALL waste) and a design roll of her new Solid-ish line of fabrics. If you’ve never taken a class with Kimberly, I highly recommend it. She is so inspiring and has such a genuinely fun personality!
I’ve been using the Quarter inch foot for precision sewing on my MC9400 and had never thought to try the HP foot and needle plate. Total game changer!!! If I thought my seams were accurate before, this foot is even more precise.
Amy Johnson of Amy’s Quilting Adventures demonstrated a set of rulers for ruler work on the domestic sewing machine. Amy provided all of the attendees with a printed piece of fabric to practice our ruler work on. I had never tried to use rulers (except maybe a straight edge) on a domestic sewing machine, but these rulers from Janome are so versatile and fun to work with. Here’s a picture I took of Amy’s sample quilt she quilted–and it’s AMAZING!!!
And this is my very first try at ruler work on the MC9400–it’s definitely one of those things you have to practice a few times. And some tools that would be good to have on hand–grab a Supreme Slider for the bed of the machine and some quilting gloves to keep your rulers from sliding.
The second night at the Janome Education Summit, we had a pajama party and worked on some of our group quilt blocks that each attendee designed and brought with them to the summit. We were also treated to Liz Thompson (Janome Canada) showing off the awesome quilt binder attachment to save time and fabric when binding quilts!
Liz has the best sense of humor and is such a fun person to chat with! I can’t wait to start using the quilt binder–you only have to sew the binding down once–no stitch and flip to do the other side!
On the second day of Janome Education Summit, Sheryl and Rachel from Shannon Fabrics brought us some delightful Shannon Cuddle and Embrace blanket kits. They shared some super soft fabrics with us and walked us through a blanket pattern that seemed like it would take all day–but we finished them in under 2 hours with the quilt as you go method!
Eileen Roche from DIME (Designs in Machine Embroidery) shared with us her amazing software to customize our own fabrics called My Fabric Designs–and it’s so much fun to play with. I already have plans to create some custom fabrics for some bag linings to include my logo and colors–and there are so many fabric substrates!
We were also treated to a lesson in the Acusketch app from Janome by Tamara Kate (a Michael Miller Fabrics Designer). Tamara is so talented and her fabrics and quilts are absolutely gorgeous! I was blown away by what the app is capable of, but you can make drawings within the app and transfer them to the MC15000 to be embroidered on your fabric. Essentially, you could have your child draw something special and have it forever preserved as an embroidery design (that’s what came to my mind when I was playing with it–but of course it could be utilized in countless other ways!)
The Janome America team surprised all of the attendees with a dinner cruise on the Hudson River, touring New York City. The weather was wonderful and the sunset was just breathtaking.
To wrap up our final day at the Janome Education Summit, our last class was led by Heather Peterson of Girl Charlee to make a quick and elegant pencil skirt with Janome sergers and coverstitch machines. Heather shared all of the knit substrates offered on the site (holy cow, there are a LOT!), and provided each attendee with a pencil skirt kit. I thought there was no way we could go from start to finish in under two hours and have a completed skirt, but we did! We also got a sneak peek and got to use the new Janome serger that will be out shortly–I was squealing with delight!
I selected a super cute blue floral knit from the kits Heather brought for us, and it turned out so cute! Trish from Trish Stitched posed for a quick picture with me with our finished skirts 🙂
Every moment of the Janome Education Summit was jam packed with great information that I can’t wait to share with you in future posts. I can’t believe I almost forgot to mention the swag bag–I literally had to fill an entire suitcase with nothing but goodies from all the sponsors and contributors (A huge thank you to all the sponsors!!!). I think the plane flying me home was struggling with that extra load! There were so many talented Educators, Artisans, and Makers in attendance, and each person has so many inspiring things to show with their Janome sewing machines! Thank you so much to Janome America for hosting such a wonderful and inspiring event.
I just love some good free motion quilting! Last month, I quilted some amazing client quilts. One quilt was a BOM from a local quilt shop – Sew Special in San Antonio, TX, and another was pieced by Kasandra Lee from the SAMQG. The first quilt I mentioned was a quilt pieced by Katelen Postert that started as a traditional BOM using Moda’s Grunge line. Katelen added her own special touch and added some amazing animal appliques to really make this quilt special. Katelen is so talented, and that mini-parade of wildlife strolling down the center of the quilt is just perfection!
When I met with Katelen for her quilting consultation, we decided on some clean straight line quilting (not too dense), and outline the appliques with some stitch in the ditch and surround them with medium-sized swirls. I used Glide thread in a 50 wt. light teal color that matched the duck (along with a lighter cream color for the swirls), and used a single layer of Quilter’s Dream Wool batting.
I was so in love with Katelen’s color choices and her addition of the applique was such an awesome touch. Here’s a portion of the finished quilt with the applique. Bravo Katelen!!!
Kasandra’s quilt was just as exciting for me to quilt. She did a great modern maple quilt with lots of negative space in a cool color palette.
I did some diagonal straight line quilting within the maple leaves to follow the lines of the piecing, and then added some free flowing swirls to the background. The batting used was Quilter’s Dream Orient for a functional, soft, and drapey quilt that will be useful in a hot climate.
And these are the free-flowing swirls I did in the negative space. This is truly one of my favorite fills to do, and so relaxing to get lost in!
I’m so happy I can share these quilts made by some very talented women. I love mixing a little free motion quilting with ruler work and I think it makes the quilt really stand out without being overly done. Hope you’re getting to do some lovely sewing this week!
Well, months have passed since QuiltCon happened in California, and I’m just now getting around to writing a blog post about it. I wasn’t able to attend, but several of the quilts I quilted did! There’s a reason I didn’t write this post in a timely manner. I have this thing where I think that quilting someone else’s quilt doesn’t necessarily give me the right to share the quilting. I guess I don’t want people to think I’m trying to take credit for someone else’s work. I also don’t really know or understand the rules about when someone’s quilt wins something that I’ve quilted…does that mean I also share that victory? I’m sharing this one because I am super excited about how the quilting turned out, and it won a Judge’s Choice Award at QuiltCon. There are so many amazing quilts and creators in the winner’s circle, so be sure you check them all out here! A huge congratulations to Leslie and all the other amazing artists who were recognized for their work.
Leslie Tucker Jenison created and constructed this quilt titled “Nests and Vessels”, and it was awarded a Judge’s Choice Award by Beverly Fine. Leslie has studied with Nancy Crow and her style is truly unique and inspiring.  L is a contemporary quilt artist and designer for RJR fabrics. Leslie’s use of color and shape never cease to amaze me, and I consider myself quite lucky that I get to quilt for her. Leslie had several quilts that were juried into the show, and they were all equally inspiring and thought provoking.
I’ll share a few progress pictures from the quilting. Leslie requested some straight line quilting on this one, and I varied the proximity of the lines to be distanced 1/16″ apart to 1/4″ apart. This picture probably demonstrates that the best:
And here are a few more:
This quilt was quilted with MicroQuilter thread by Superior Threads and the batting was Quilter’s Dream Orient and Quilter’s Dream Wool. I really love the subtle finish the Microquilter thread gives a project. You can definitely see the quilting, but it doesn’t overpower the project and leaves more of a hint of design rather than barging into a room and demanding attention.
Over the years, I’ve collected quite a bit of thread. When I first started my sewing journey, I knew nothing about thread and considered it to all be equally delightful. I was free motion quilting with embroidery thread, piecing my first quilts with really terrible quality cheap thread that was years old, and using heavy weight thread for machine embroidery. If you’re just beginning your thread journey, you might be discovering that if you don’t use the right thread for the job, your results don’t quite turn out the way you hope. (And that’s okay!) But I hope after reading this post, you’ll realize just how much your thread matters.
Sometimes, what you don’t know can be a great thing, and using threads that aren’t meant for the job you’re doing can have a great end result. Ignorance can take away fear of trying new things when you just grab what you have and go for it. I’ll share with you some of my biggest learning experiences as a self-taught beginner sewist…and how much your thread matters.
I bought a bunch of thread from an estate sale (I thought I was getting a great deal!!!). Nothing wrong with that if it’s being used decoratively, like in a shadow box display. This was all SUPER old thread–some of the price tags were still on the spools and most of them said 5/$1.00 and .29! Most thread these days ranges from $6.00-12.00 a spool! I’m going to wager that most of this thread was 20-30 years old. Here’s the problem: Most of this thread was dusty, had been stored in humid conditions, exposed to lots of daylight for long periods of time, etc. Over time, the fibers in the thread can degrade. Natural light can sun bleach the thread and weaken the fibers. Damp conditions can do the same. This thread, when run through your machine, can be extra linty, break easily, put lots of dust in your machine, and cause some really gross tension problems. Now that I know about using old thread and the problems it can cause, I’ve gone back and stretched some of the thread out and tried to snap it in my hands. Most of the thread broke very easily, without me having to exert much force at all. Using thread that breaks so easily in a quilt is problematic because that means your seams aren’t going to be as strong, and your beautiful quilt won’t have as long of a life as it could if you’d used quality thread. I still have all this old thread as a reminder to be wary of really cheap sewing supplies! A lot of times, what you pay for is what you get.
Another thing I used to do a lot was buy super shiny Sulky thread that was meant for embroidery and use it to free motion quilt. When I was just learning to sew in 2010, I was having all sorts of problems troubleshooting the thread tension on my very inexpensive Singer sewing machine. Now that I’ve spent hours (probably adding up to weeks) experimenting with different threads, fiber contents, etc, I generally know what will work well for a project and what won’t. The sewing machine I was using at the time was fickle (as was I!) and I have to say, my sewing would have been much better if I’d stuck with one brand and type and figured out my machine settings with that specific thread. Here are some tips for troubleshooting thread problems:
Use the best quality machine you can afford
Clean it regularly and have a maintenance cleaning done annually.
Use high quality needles, appropriate for the type of sewing you are doing
size of the needle should match your project type (smaller needle for finer fabrics and larger needle for heavy weight fabrics
Purchase a good quality thread
use a thread weight that works well with your project
40-50 weight is typical for most sewing
select a type of thread that compliments your project
If you’re sewing with cotton fabrics, use cotton thread
Poly or synthetic fabrics coordinate with polyester thread
Or select a decorative thread appropriate for your project
use a slightly lighter weight thread than you would for standard sewing. I recommend a 50 or 60 weight thread. If you use a slightly lighter weight thread, your seams will lay flatter and look cleaner.
Quilting
Do you want a thread with a sheen?
Polyester or mercerized cotton
Reduce your lint
I’ve found that Glide threads (Hab + Dash) produce significantly less lint that other brands
Most cotton threads will produce at least a little lint
How bold do you want the quilting to be?
For quilting that blends, try a lighter weight thread
Whew! Well, I’ve gone on for a little longer than I originally intended, but that’s because thread is SO important. I hope you find some of the things I’ve shared helpful and that you can find some peace with your piecing 🙂
Who wants a free Ice Cream, You Scream Quilt Pattern? Well today is your lucky day!!!
You have to check out this adorable fabric line Michael Miller Fabrics just released. The line is called Ice Cream, You Scream and the colors are everything! Also, there’s this border print that is just dying to be put in a quilt (or made into a little girl’s skirt!!), and nearly makes me swoon! I got a chance to get my hands on this fabric to design a quilt for the release, and I’m not gonna lie…I spent a few hours just playing with the fabric and coordinating Cotton Couture. It features sweet ice cream cones, sundaes, and the best stripes. It reminded me of the 4th of July and ice cream socials and everything pure in the world. The best part is, Michael Miller Fabrics is offering this pattern as a freebie–you can get your own PDF pattern download from their website.
The pattern is for “confident beginners”, which just means you need a general knowledge of foundation paper piecing and fussy cutting. I fussy cut the border pieces so the ice cream sundaes were centered along the center of the borders, and the cornerstones in the border were fussy cut to showcase the cute little ice cream phrases on the fabric.
I had a blast designing and piecing the quilt. I had even more fun quilting it! I used Glide thread (from Hab+Dash) and Quilter’s Dream batting in the quilt. I used a few different colors of thread and matched them to the different fabrics. Most of the quilting was handguided free motion quilting, with the assistance of straight rulers for the grids.
I’d love to see what you do with the pattern–the foundation paper piecing blocks are pretty quick to sew up. Just remember to shorten your stitch length (I like to use 1.5) so the paper is perforated enough to tear away easily and print your paper piecing templates at 100%. Then add your sashing and borders and voila! Don’t forget to grab your free copy, and check out the pattern (pictured below). Happy sewing!!!
Man, oh man! I had the honor of quilting this awesome Kaffe Fassett quilt by Leslie Tucker Jenison. Leslie pieced her quilt based on Kaffe Fassett’s quilt pattern from the book Quilts in Sweden (pictured below-photo from amazon.com), using his fabric. Leslie also pieced the backing using some awesome linen and polka dots.
Leslie had requested some straight line quilting to follow the lines of the fabric pattern–I loved that idea. Quilting a quilt like this using a concentric design can be a challenge on the longarm, and you sometimes end up advancing and rolling back the quilt on the frame back and forth, back and forth, back and forth, (did I say back and forth already?) etc. To avoid doing that ONE MILLION times, I connected some of the lines, and I really liked the outcome of the quilting look.
The lines of this fabric are so amazingly deceptive and provide the illusion that this was painstakingly pieced. I love the wonky look of the finished quilt and really found the design brilliant! I have been wanting to do a stripe study (kind of like how some people do color or quilt block studies) for so long, and this made me move that up my priority list. Someday soon I’ll start that project.
The thread used was Magnifico in black and batting was Quilter’s Dream Orient with Quilter’s Dream Wool layered beneath the quilt top. This was quilted using electric channel locks on my Innova longarm (hand guided), and those electric channel locks make all the difference. I recently upgraded and had those installed from the basic manual channel locks that come on the machine.
The difference is this:
Manual channel locks:
walk to the back of the machine and engage the channel lock
quilt a straight line
stop the machine
walk to the back of the machine and disengage the channel lock
walk to the front of the machine and move to new point
repeat 1-5 over and again
Electric channel locks:
Push remote button from front of machine to engage channel lock
Quilt a straight line
stop the machine
push remote button from front of machine to disengage channel lock
move needle to new point
repeat 1-5 as needed (and your legs are breathing a huge sigh of relief from all that walking you just saved yourself)
I digress. Here’s some more amazing eye candy from Leslie’s quilt.
If you’re interested in purchasing the book, you can check it out here on Amazon.
After a long day at work, picking the kiddo up from daycare, fixing dinner and doing the dishes…I like to relax by doing English Paper Piecing. I started my EPP journey before Gemma was born by sewing up La Passacaglia (pattern by Willyne Hammerstein). I’d pick my fabrics in the morning before I went to work (this was when I was still teaching high school), then when I got home, I’d cut the fabrics out as quickly as I could, make dinner, etc., then start glue stick basting all the papers on the couch. I’d organize all my rosettes into little zip lock baggies so I could just grab and go. I also had color coded templates I made so I wouldn’t get my little papers confused. I’d throw a prepped ziplock into my purse when I knew I’d be travelling with students and had some time alone at the hotel at night and sew when I had a chance. That project really hooked me into EPP.
Fast forward to now…I sew full time and any extra time in the morning is spent prepping for the day’s work ahead. Now I have a sweet & sour toddler who demands most of my extra time in the evenings, and I’m so wiped after she goes to bed that the last thing I want to do is think about anything. That is…until I got Blair Stocker’s Wisecraft Quilts book. It’s such an organically creative book about repurposing and it really pulls at my creative heartstrings.
There’s an EPP project in Blair’s book called “Handstitched” that made me fall in love with English Paper Piecing all over again. It’s a project I was confident I could complete, even with my never ending checklist and a needy toddler. If you’re so inclined, you can pick up a paper template kit from Blair’s website HERE. (Full disclosure-none of these are affiliate links. I don’t get anything out of you making a purchase other than the satisfaction of knowing you’ll love this project as much as I do!) Below is a picture from Blair’s book of the project and my beginning planning phase of the EPP. Anytime I do EPP, I always sketch out a “map” of the project with a key for what fabric goes where. I can’t ever remember what my original plan is without writing it down!
You can see in the finished/progress pictures that I didn’t end up using some of my fabric selections. I’m a die hard Anna Maria Horner lover, and I ended up mainly using one print of hers that I’m a sucker for fussy cutting. There’s so much going on in the pattern of that one fabric that you can basically fussy cut it all over and get dozens of different looks.
I started by assembling the center with my fussy cut pieces.
I absolutely LOVE incorporating stripes and straight lines into EPP. I’m always surprised by the outcome. See above.
There’s just something about those dull gold and maroons working with that magenta and mint that make them almost glow.
So I decided this project would be a perfect throw pillow. Once I started it, I knew I needed to see this EPP on a daily basis and not just hanging out in my sewing studio. I grabbed my favorite spray baste and cut a pillow front a little larger than it needed to be finished so I could quilt it as well. I used Chaco liner to mark the pillow front into quarters to easily find the center and centered the English Paper Piecing piece on the pillow front. After I used just a smidge of spray baste, I hand appliqued it to the fabric (also AMH fabric-loominous). All while sitting on my cozy couch with the husband 🙂
I used Wonderfil 100 wt. thread to hand stitch.  I quilted some simple straight lines on the pillow front to add a little texture. The Loominous fabric already has a grid motif on it, so I only did straight lines one way to save me some time.
I could have just stitched up the project and made a mini out of it, but we’re a pillow household. I love how you have to really look at the center to see the English Paper Piecing template shapes. The stripes really break it up and make you have to search for it. I’m really hoping to start another of these soon once I get some other projects off my plate because it is so enjoyable to sew. I put a lot of thought and even auditioned some of the fabrics before I started sewing, but you could just as easily make a scrappy version that would look outstanding as well. I believe Blair’s version in the book is all Liberty (insert all the heart-eyed emojis here!!!).
Basically, I love this project. I can sit my fanny on the couch and relax while my fingers do all the work. And it makes me still feel like I’m being productive (while not actually having to do anything strenuous). Win-win, right!?
I’m so excited you’re here!! If you’re here, that means you’ve grabbed your copy of the Retro Groove quilt and you’re ready to start cutting up that fabric.
It can be really helpful when templates are involved to have a cutting layout so the guess work is taken out of it. In the PDF files you can download, there are 4 pages of diagrams that will help you through your cutting. I’ve tried to minimize fabric waste as much as possible. Although with these shapes, sometimes it isn’t possible to eliminate it.
I hope you find these diagrams helpful and easy to read. I cannot wait to see how your Retro Groove comes out!