|
| I Spy Quilt loaded up and ready to go! |
I know we’re all super busy in the summer, and it makes finding time to sew pretty difficult. But now you have a great reason to bust out the sewing machine–you’re going to cure the kids of their road trip boredom by making them an I Spy Quilt! All you really need are some random novelty prints or scraps–even seasonal fabrics are great for this. The great thing about this quilt is that NONE of the fabrics need to be cohesive for this to work. You have a print with elephants? Elves? Pirates? Cactus? Ballerinas? They’re all perfect! The more random the assortment of your fabrics, the longer the kids will be staring at this quilt, absolutely stumped.
 |
| Your layout can be totally random, too! I tried to lay my squares out from dark to light, but you can try grouping them by color, theme, etc. |
I had the privilege of teaming up with Janome to write this tutorial for American Quilter’s Society. So follow this pretty little LINK and head over to get the skinny on how to put this awesome little lifesaver together!
 |
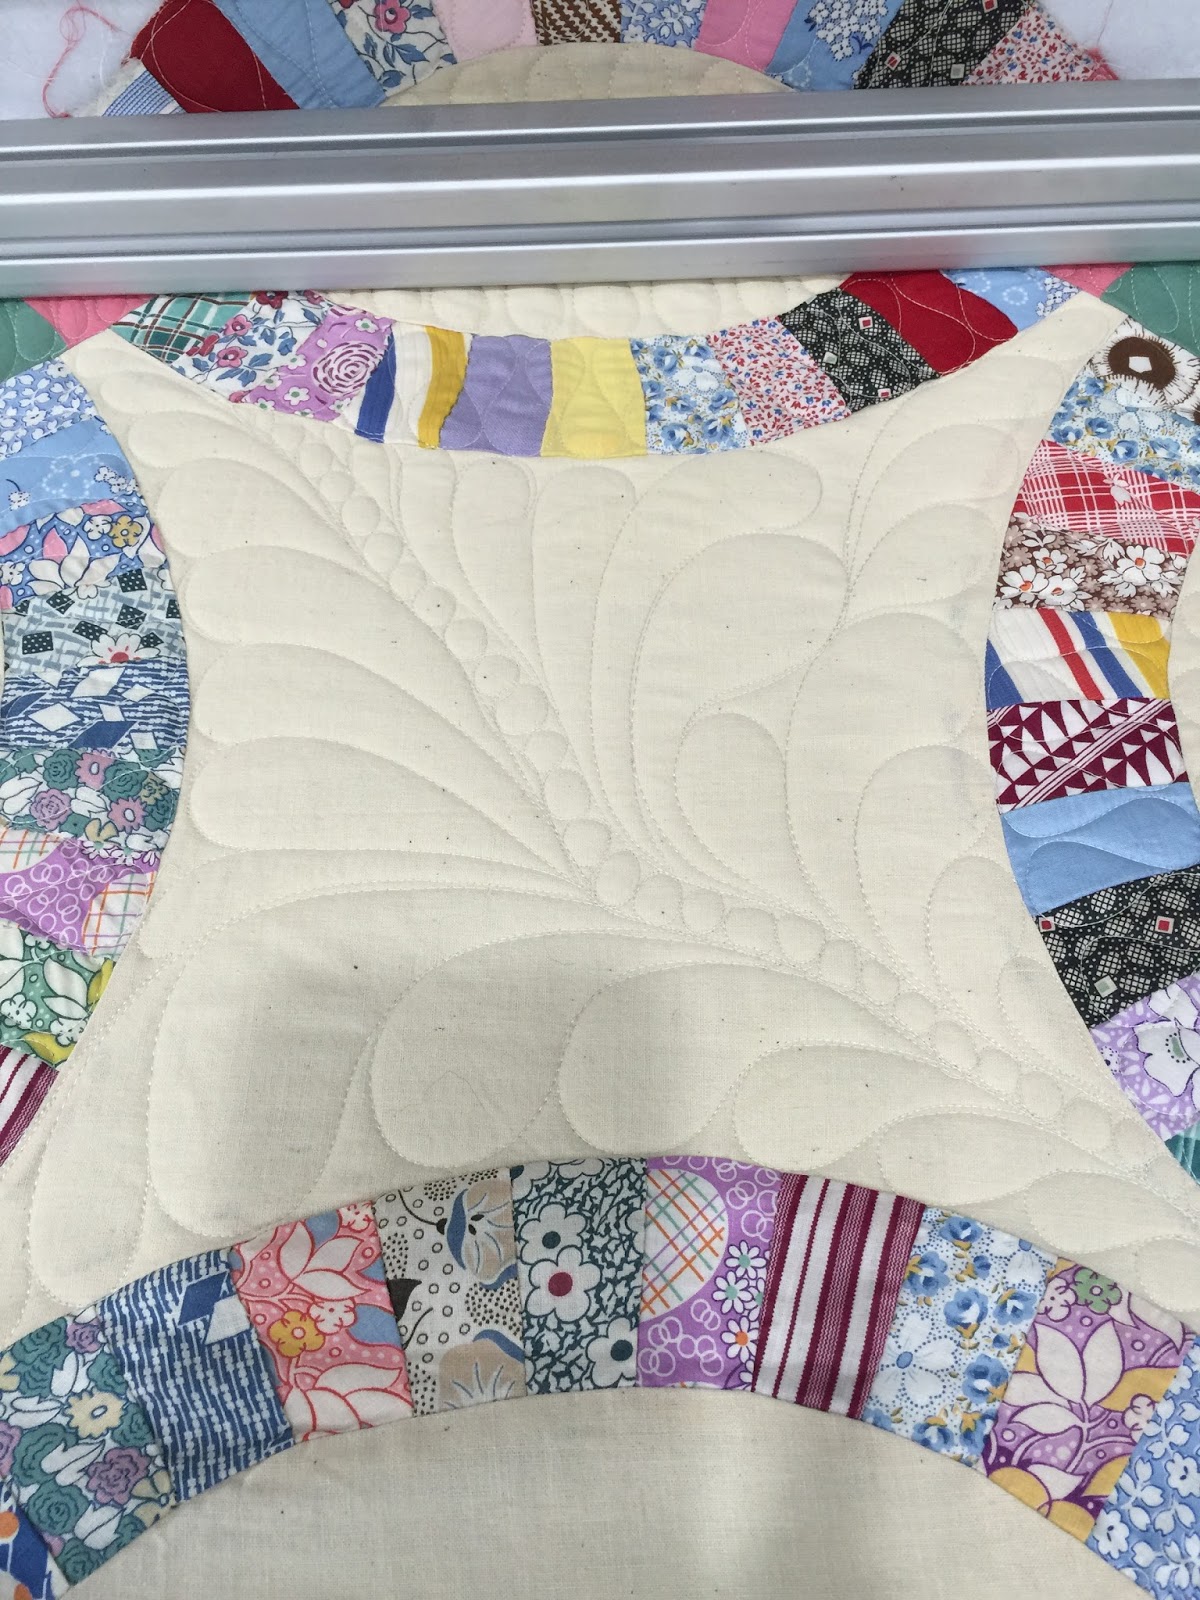
| I quilted mine with some sweet little swirls that were fast and easy! |
Okay, so in all honesty, making this quilt won’t be the end of you ever hearing those two comments from the back seat again, but what the heck! It’s worth a shot isn’t it? 😉