Posted on

Graffiti Quilting workshop with Karlee Porter

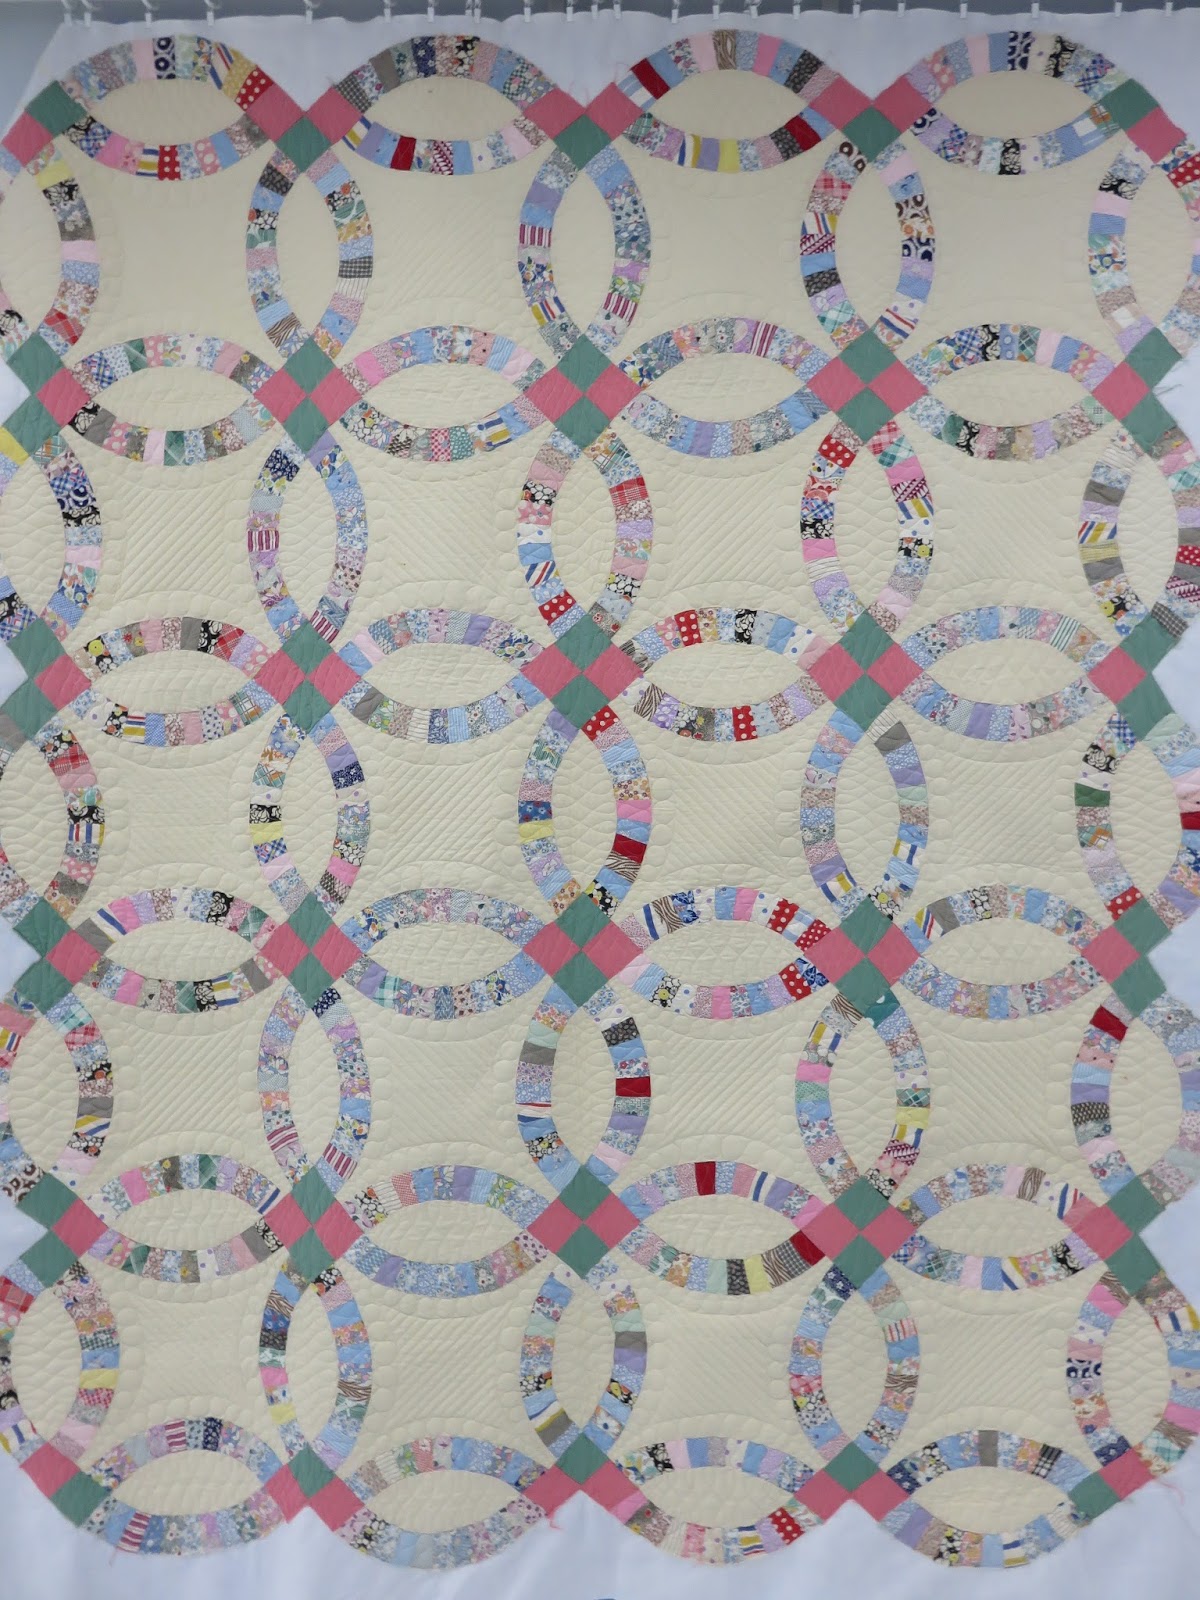
This picture!!!  I had the awesome opportunity to take a 2 day workshop from THE Karlee Porter.  The workshop was in Castroville at the Quilt Shop, and I swear, it was one of the best classes I’ve ever taken.  Most of the time, when I take a workshop and the person putting it on says there will be about half a day of lecture, then we get to play… I’m usually a little dismayed.  But Karlee had an awesome program that I left with PAGES of notes and drawings for inspiration.  And it wasn’t like I was just writing stuff down to busy my hands.  I’ve referred to those notes and drawings at least a dozen times in the short weeks since I took that class.  

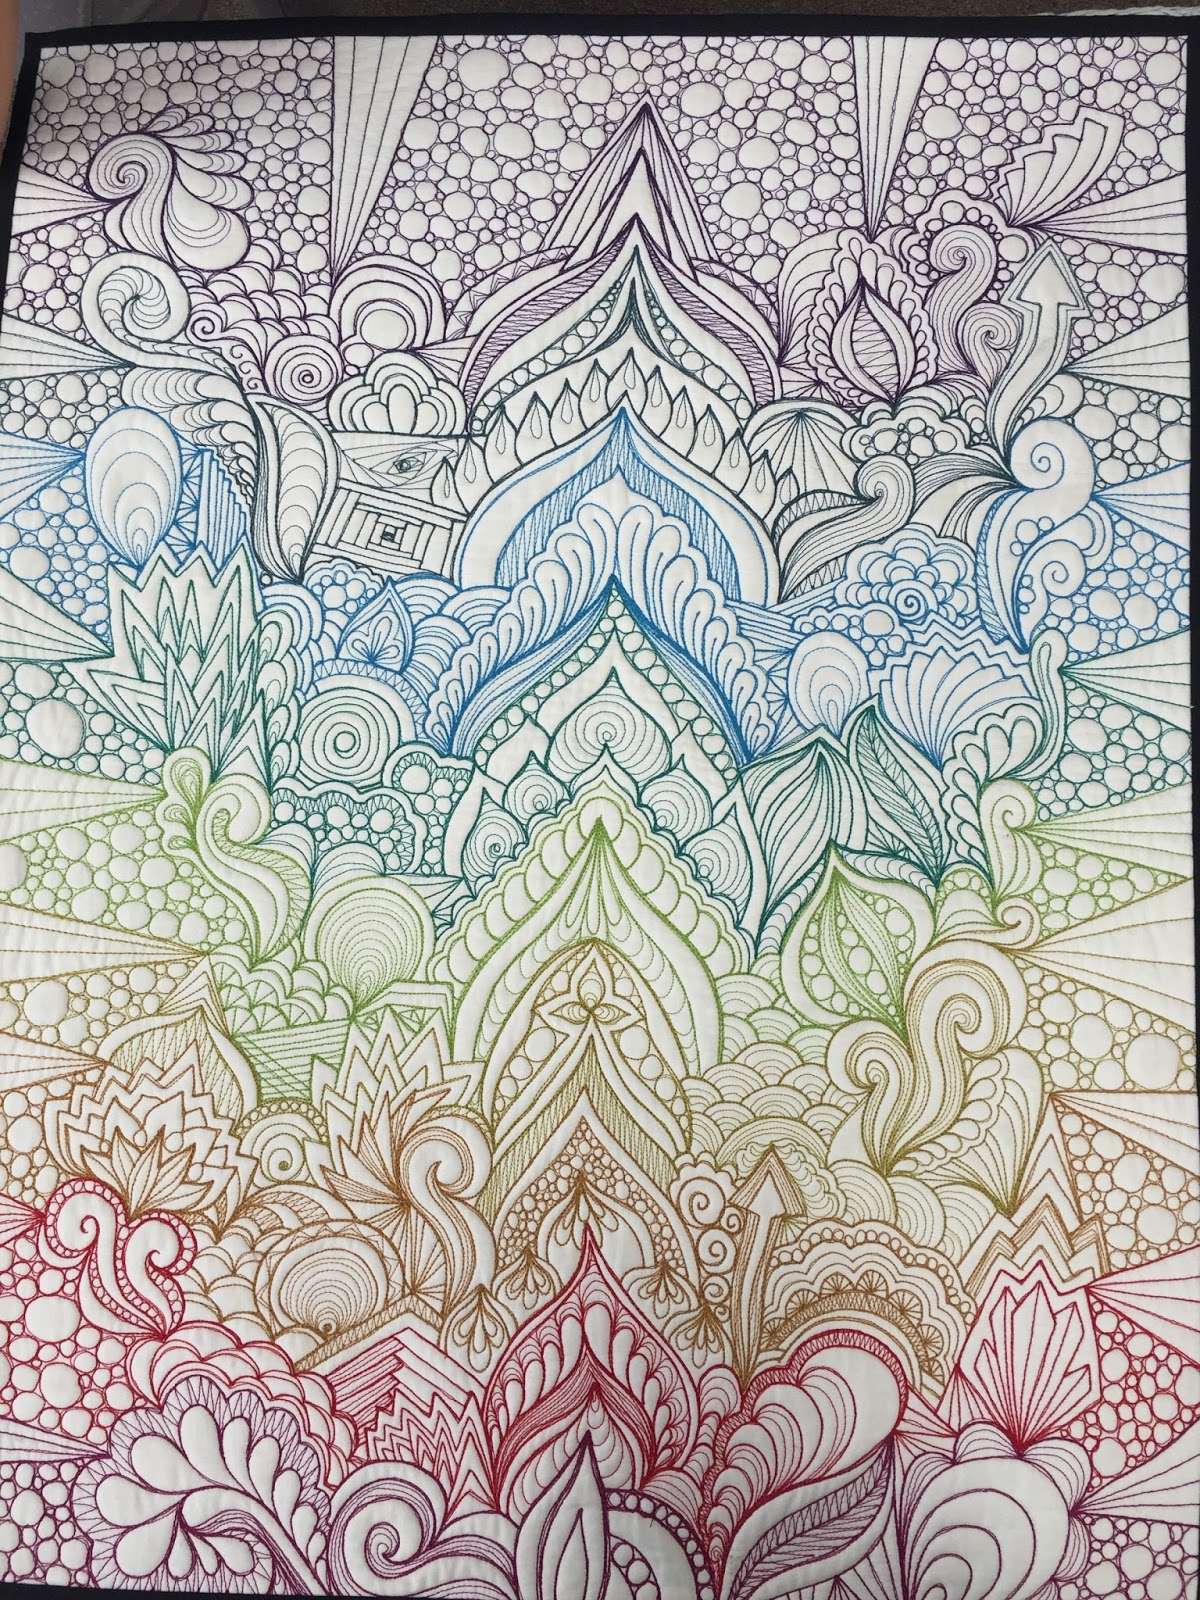
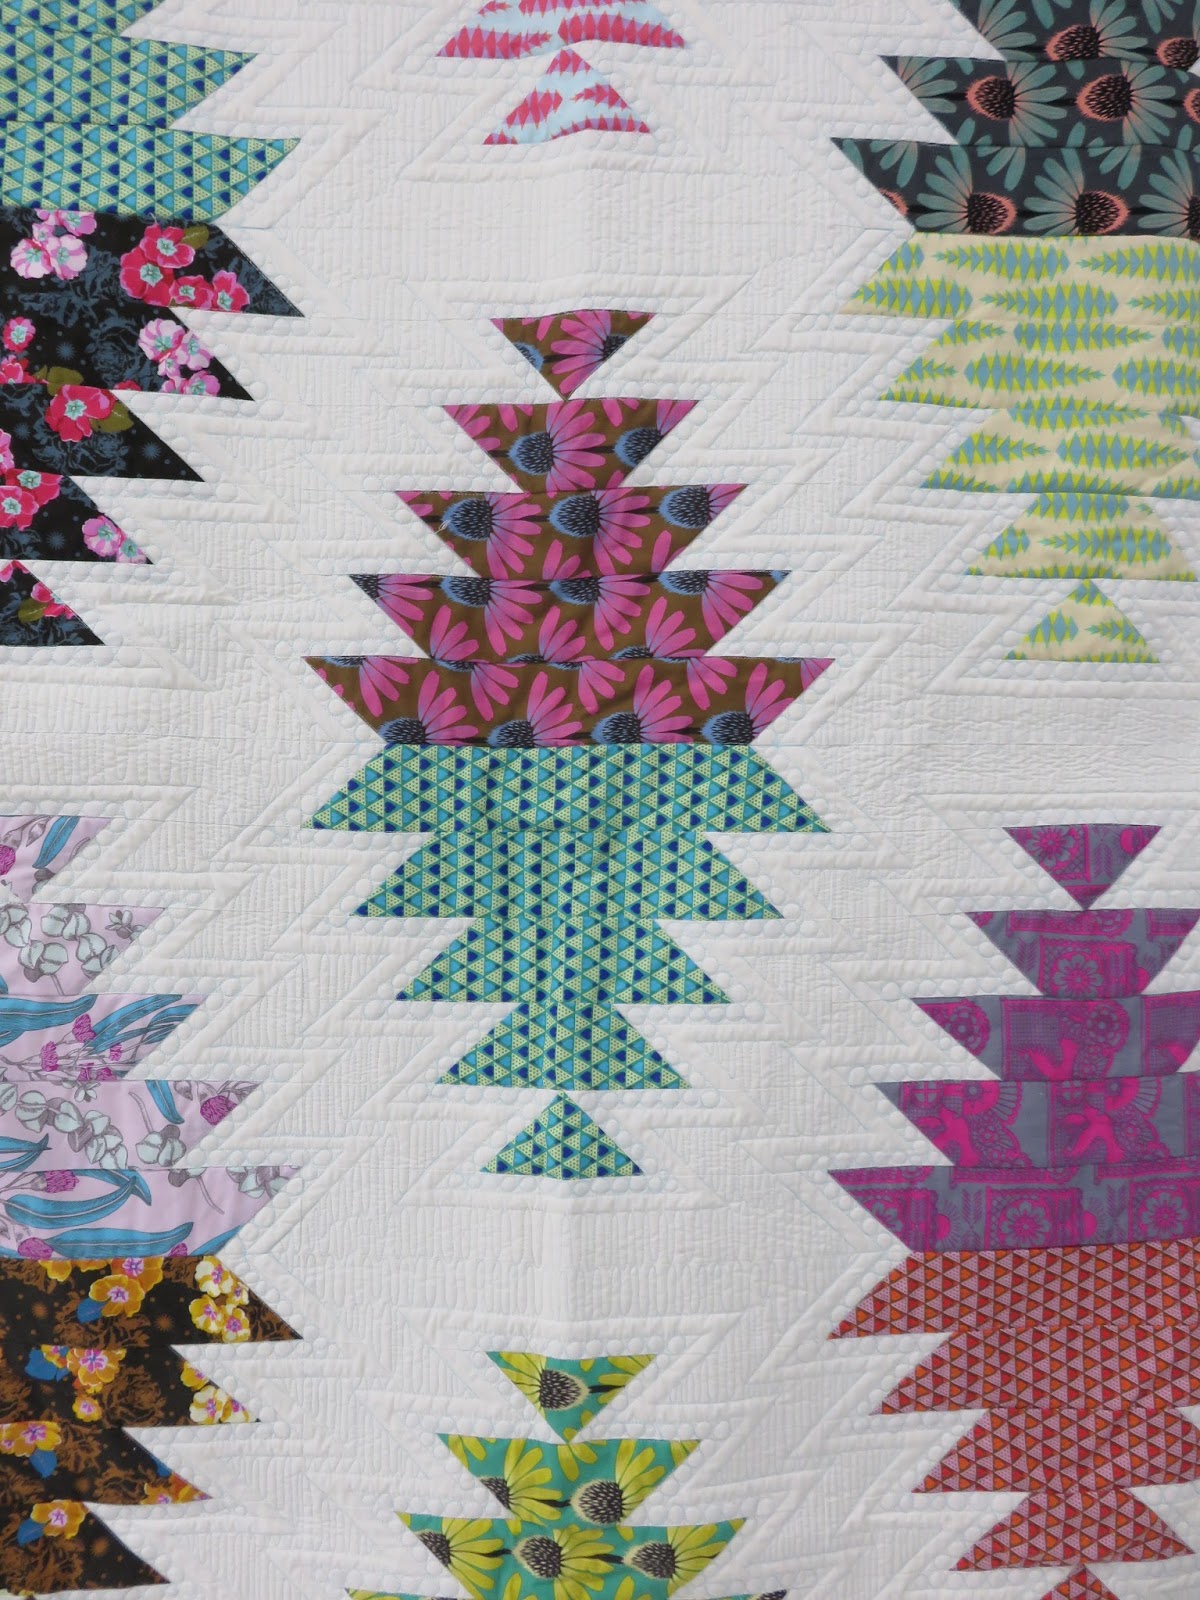
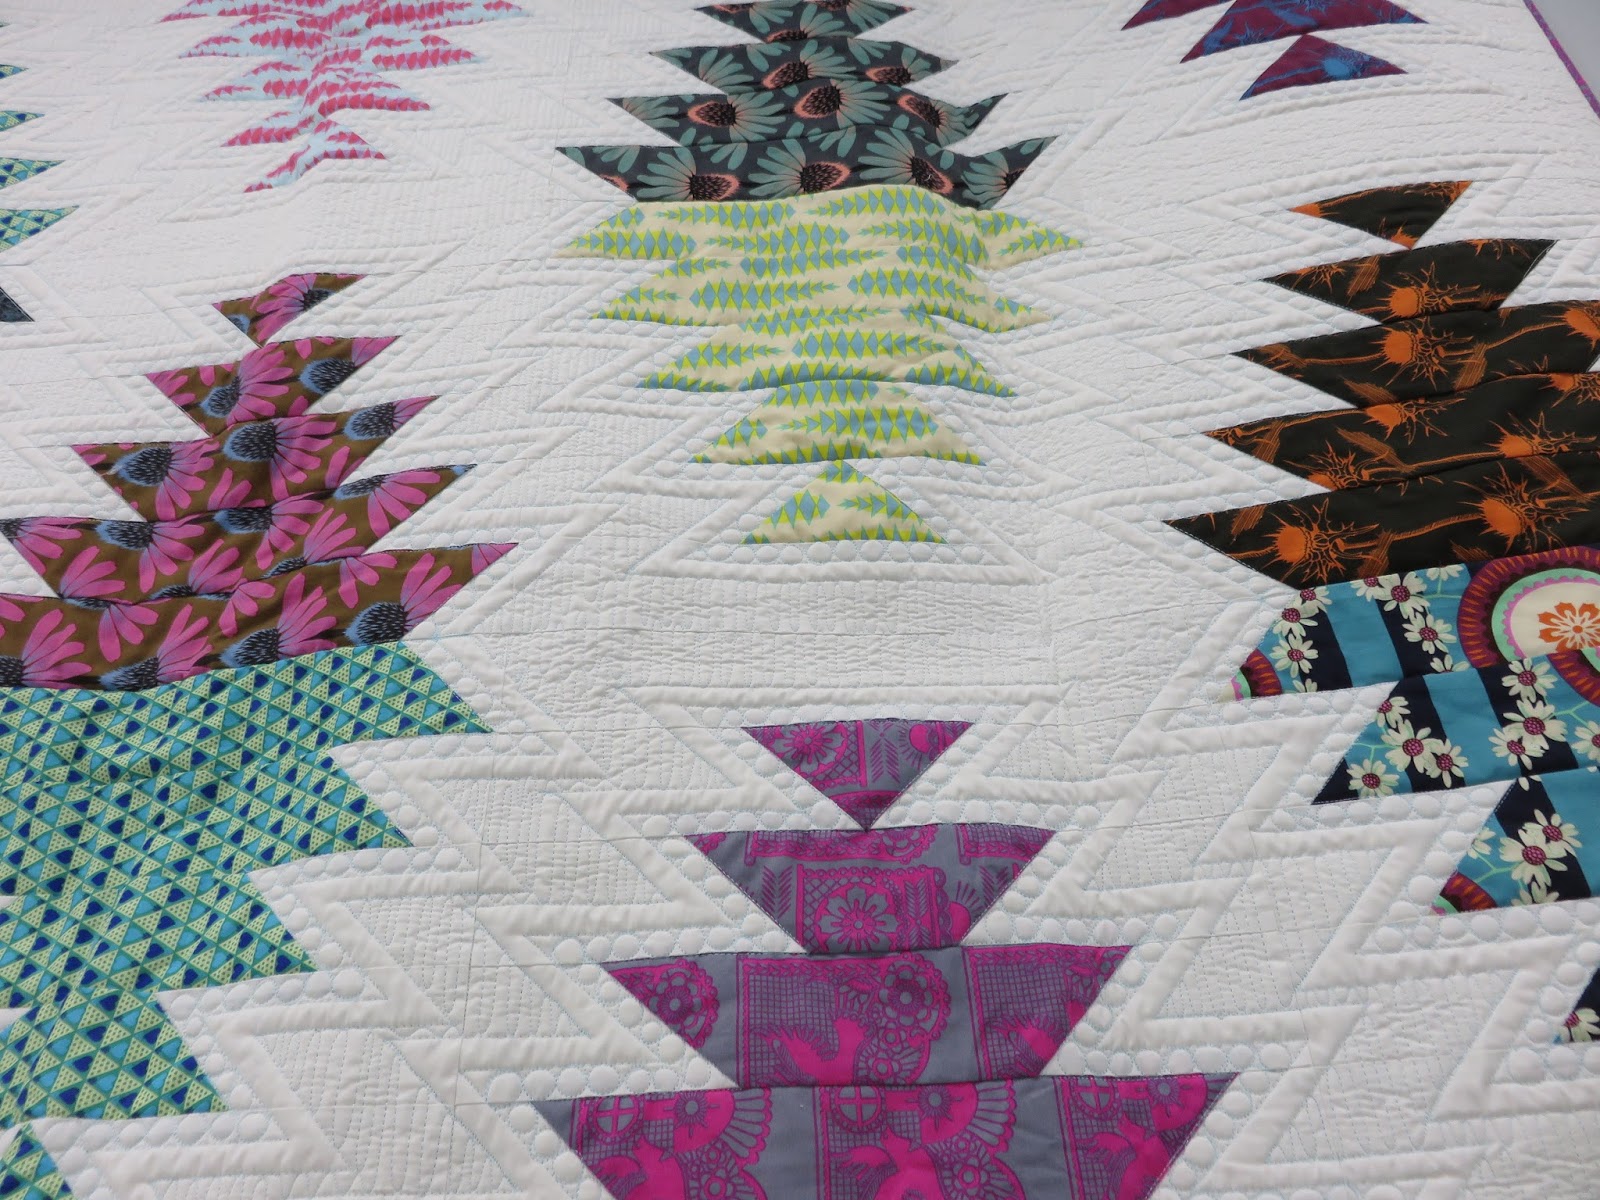
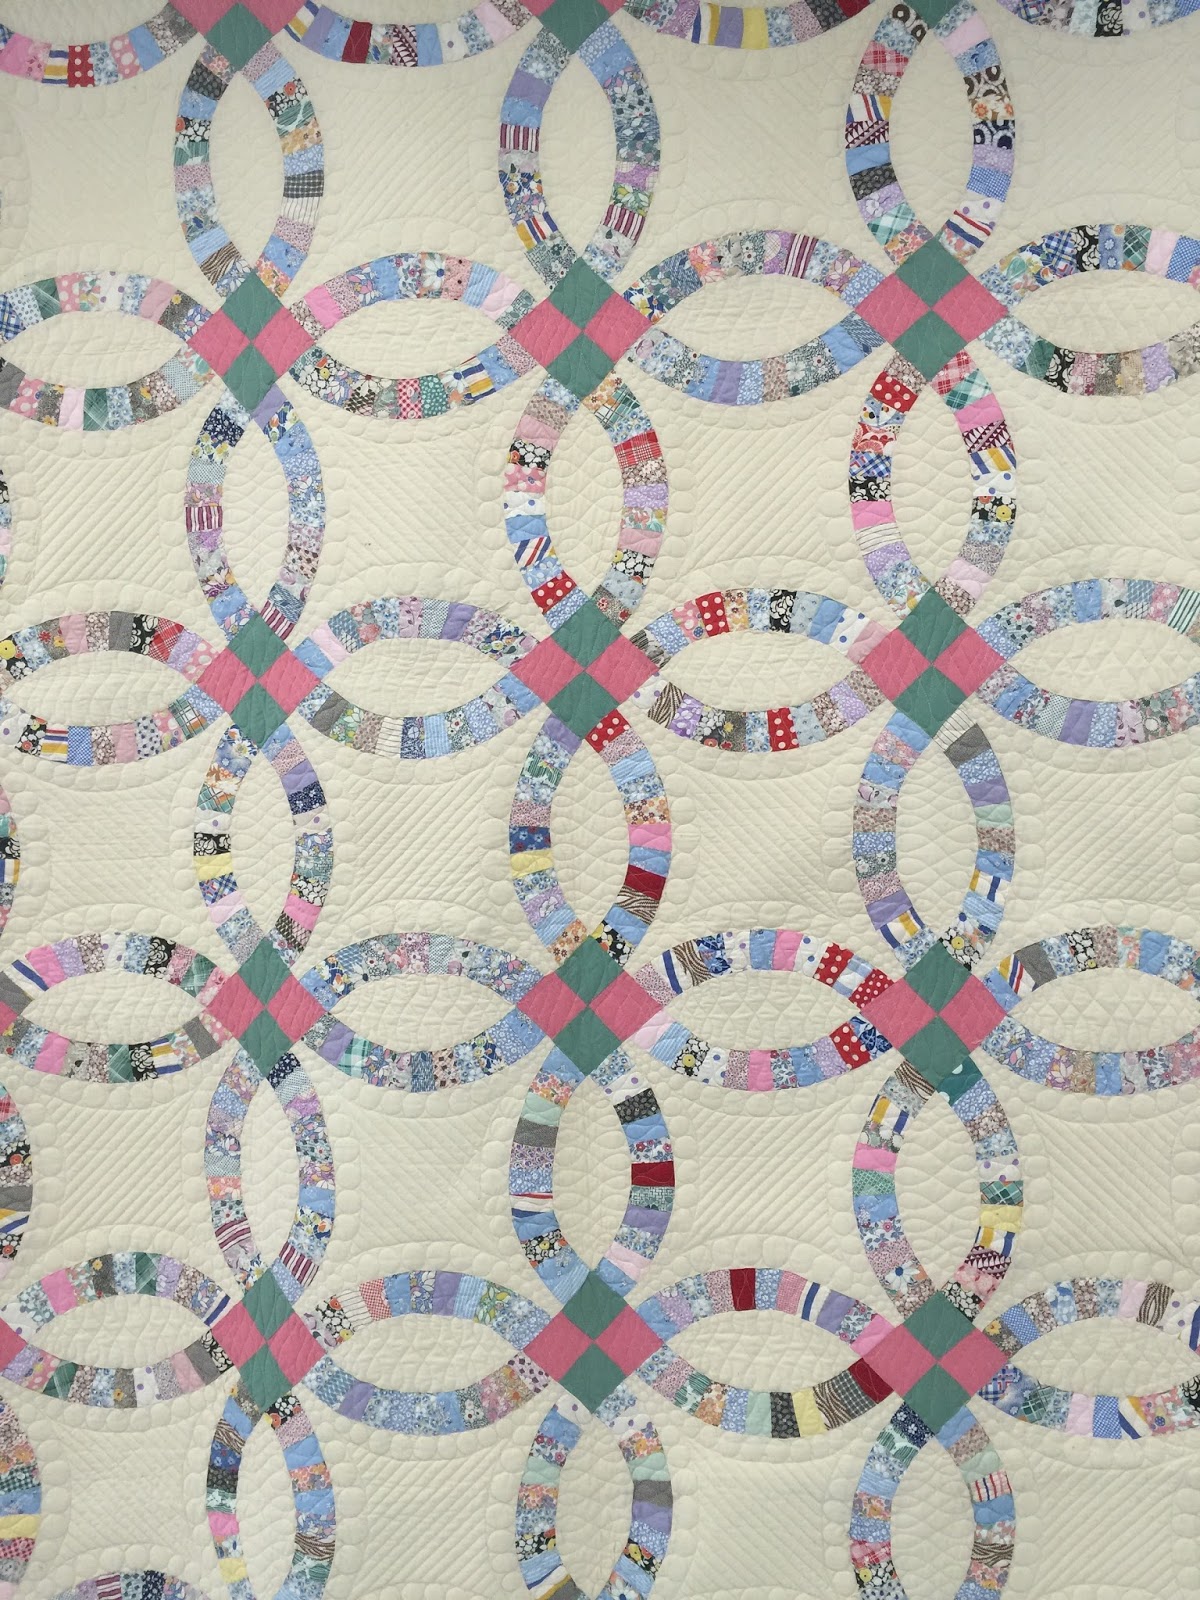
Karlee was so gracious in letting us ask unlimited questions, take pictures of all the samples she had, and she even did a trunk show at our SAMQG guild meeting.  This is one of her masterpieces–I  believe it’s called “Russian Mosque”, that literally takes your breath away.  

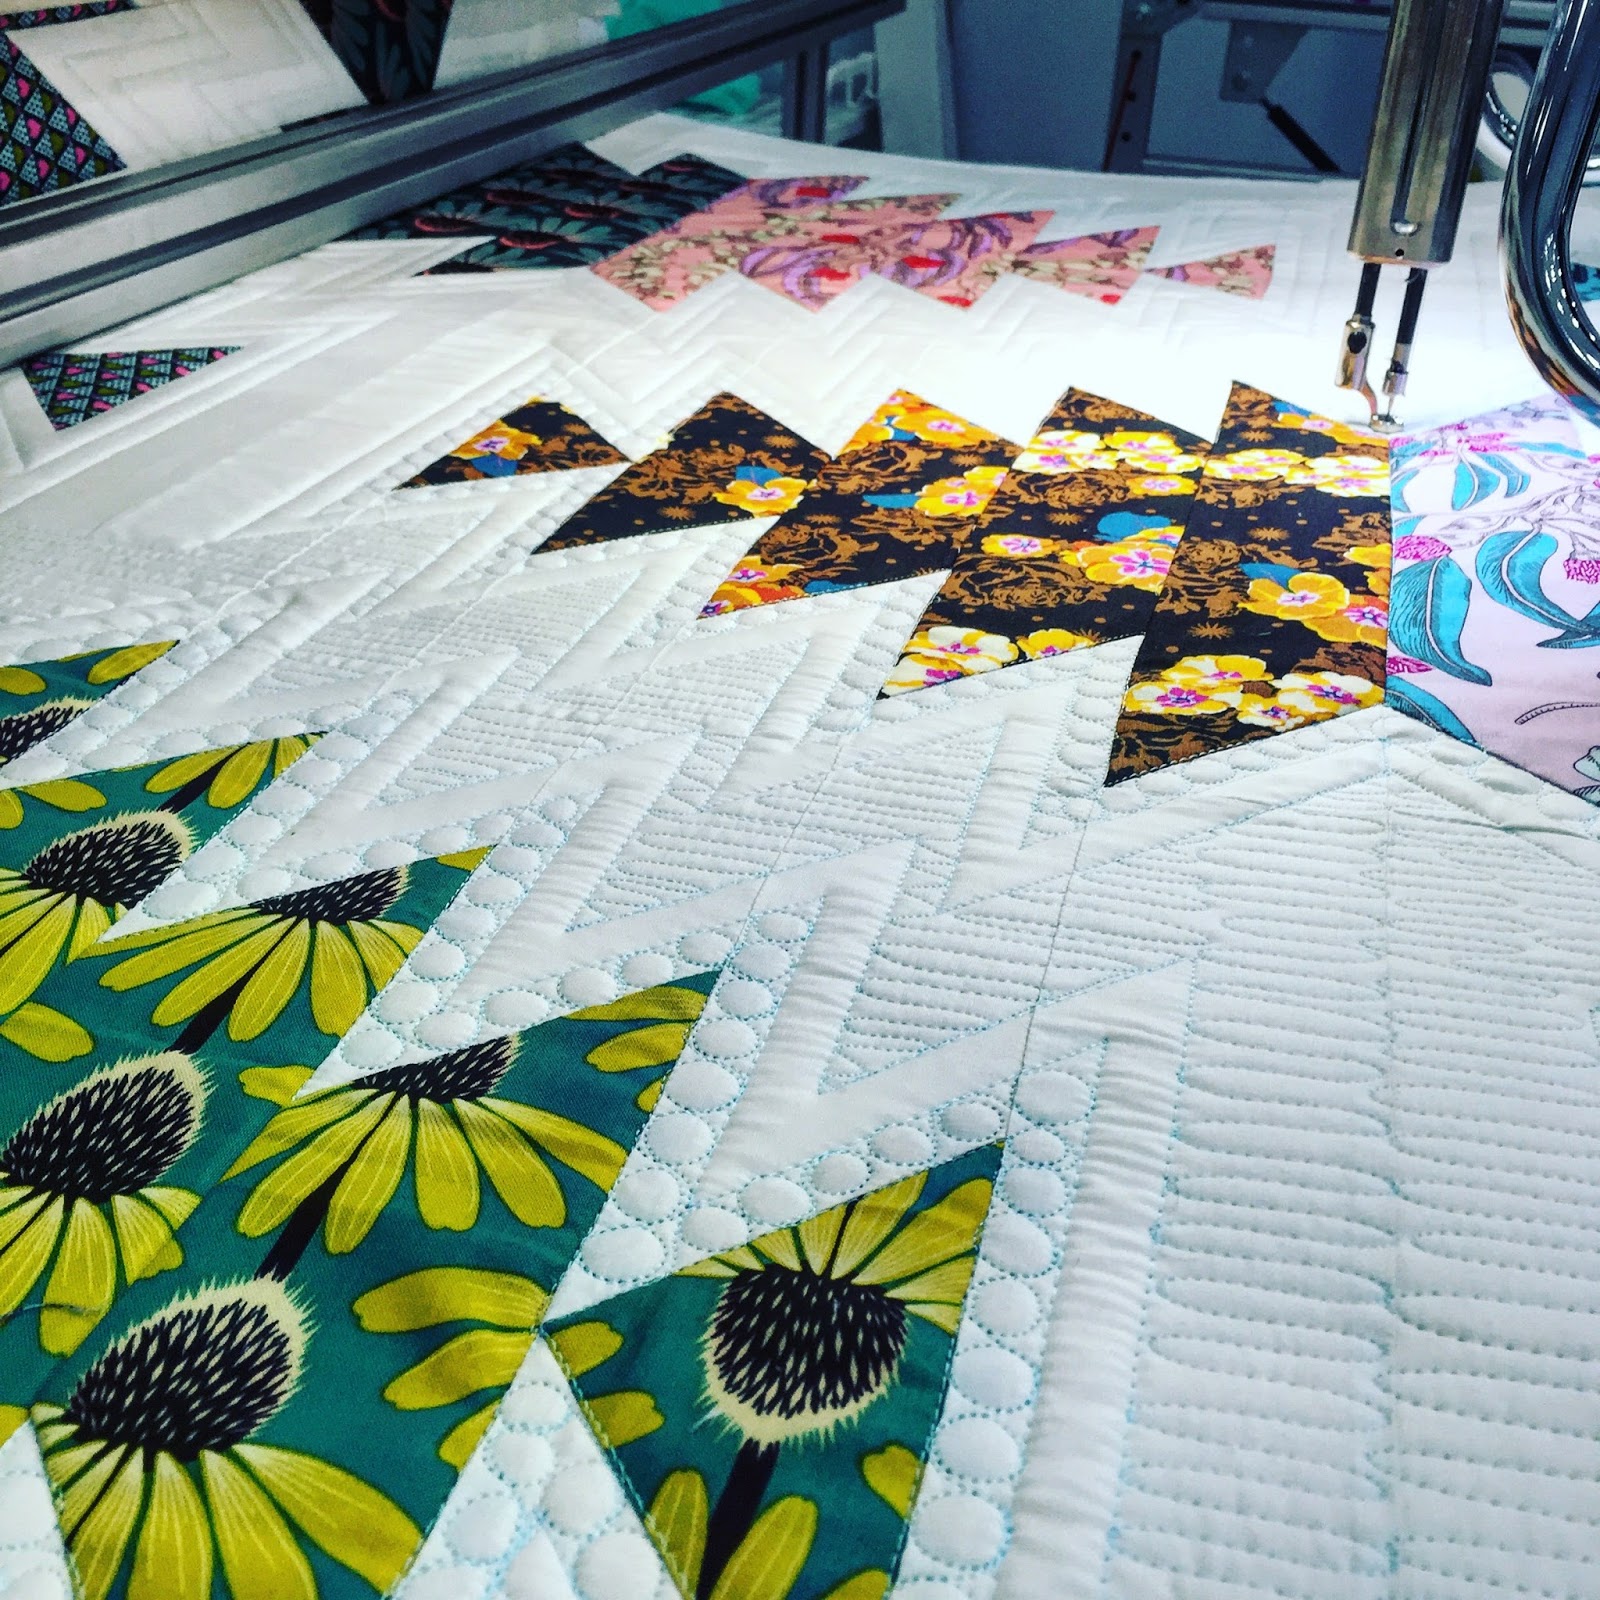
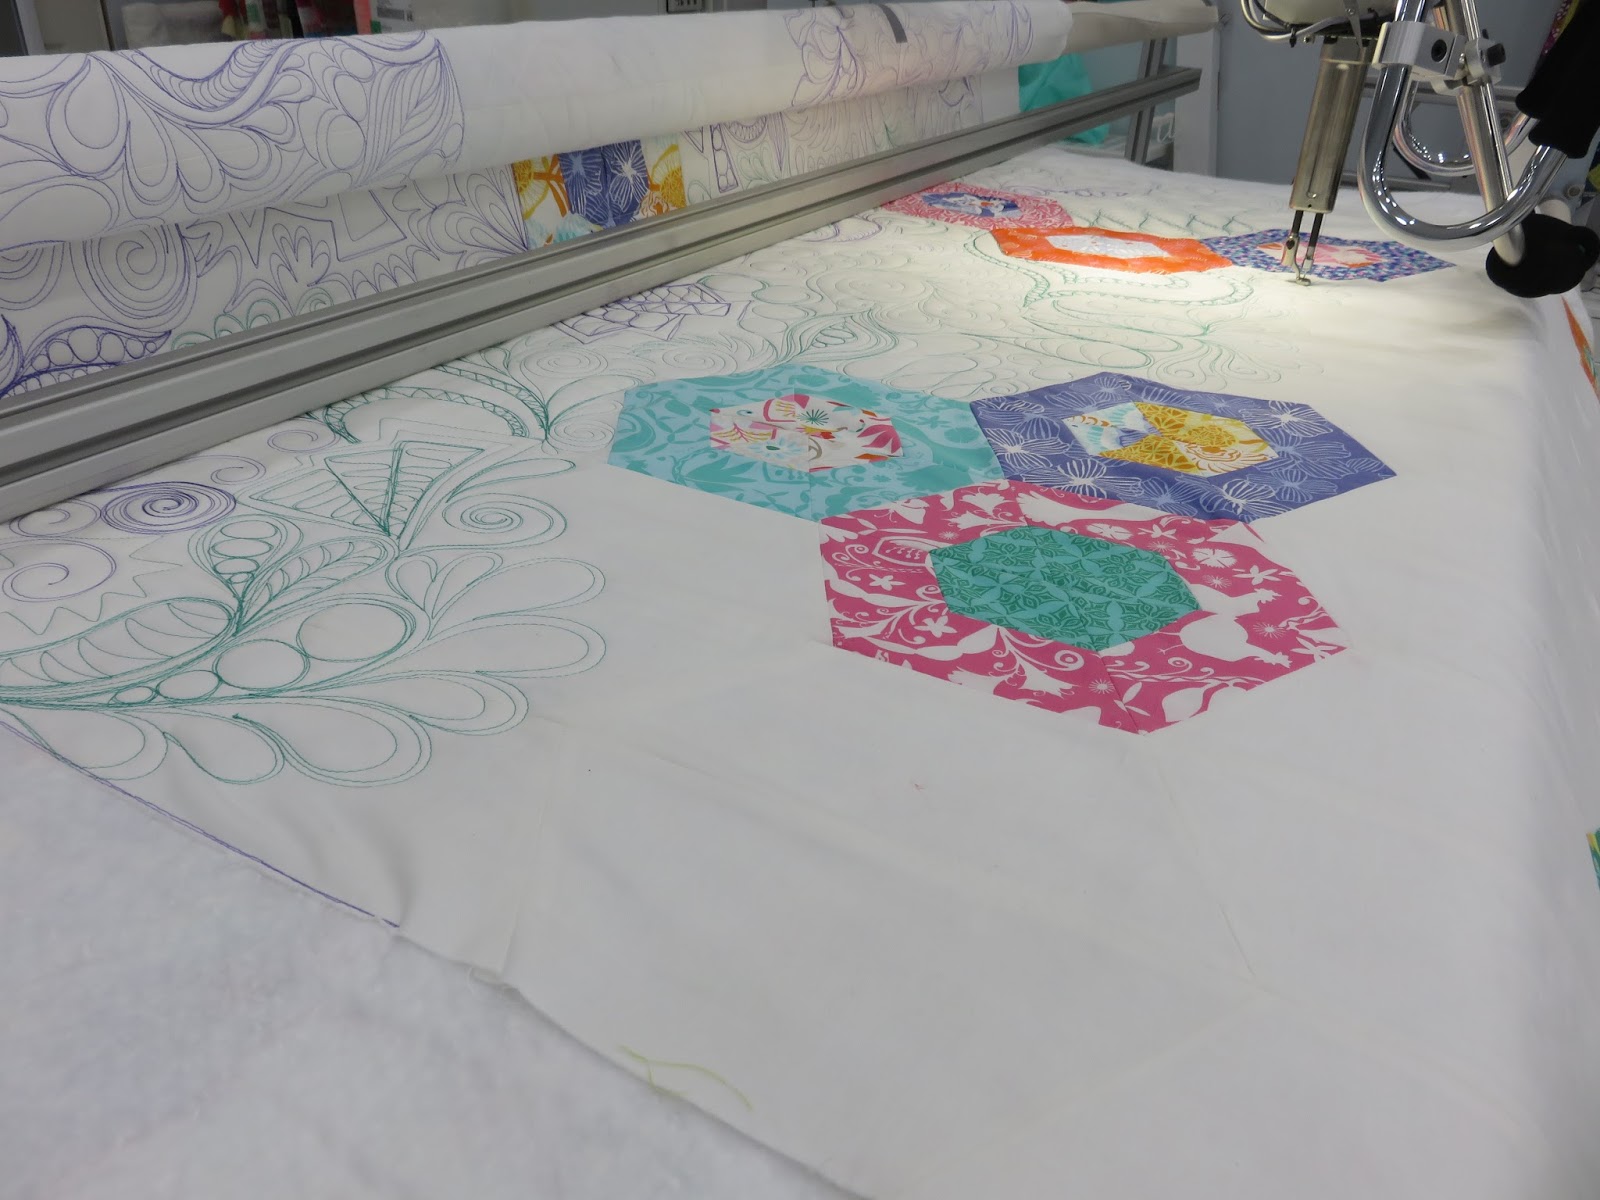
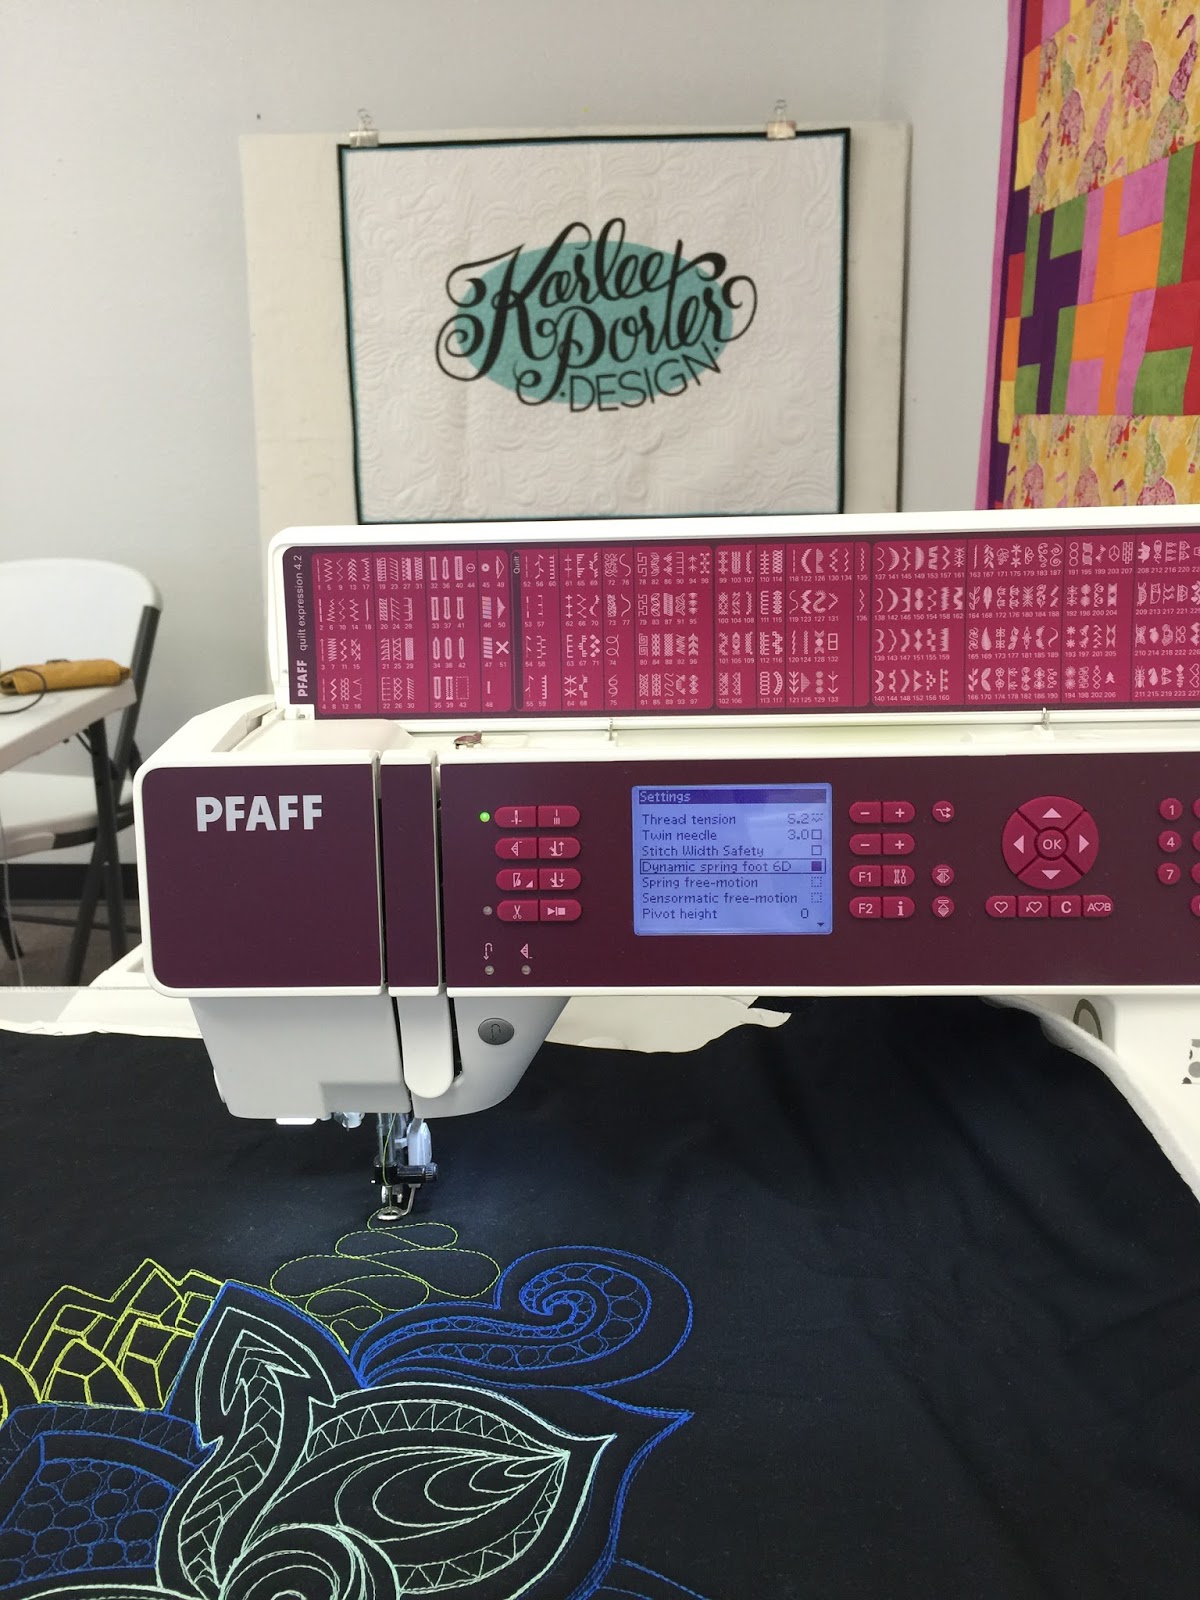
The principles Karlee taught can be applied to a domestic machine, sit down quilter, or longarm.  Since I started out quilting my quilts on a domestic, I liked that.  However, since I’ve been doing most of my quilting on a longarm in the last year, it took a minute for my brain to catch up that my hands were moving the fabric and not the machine 🙂

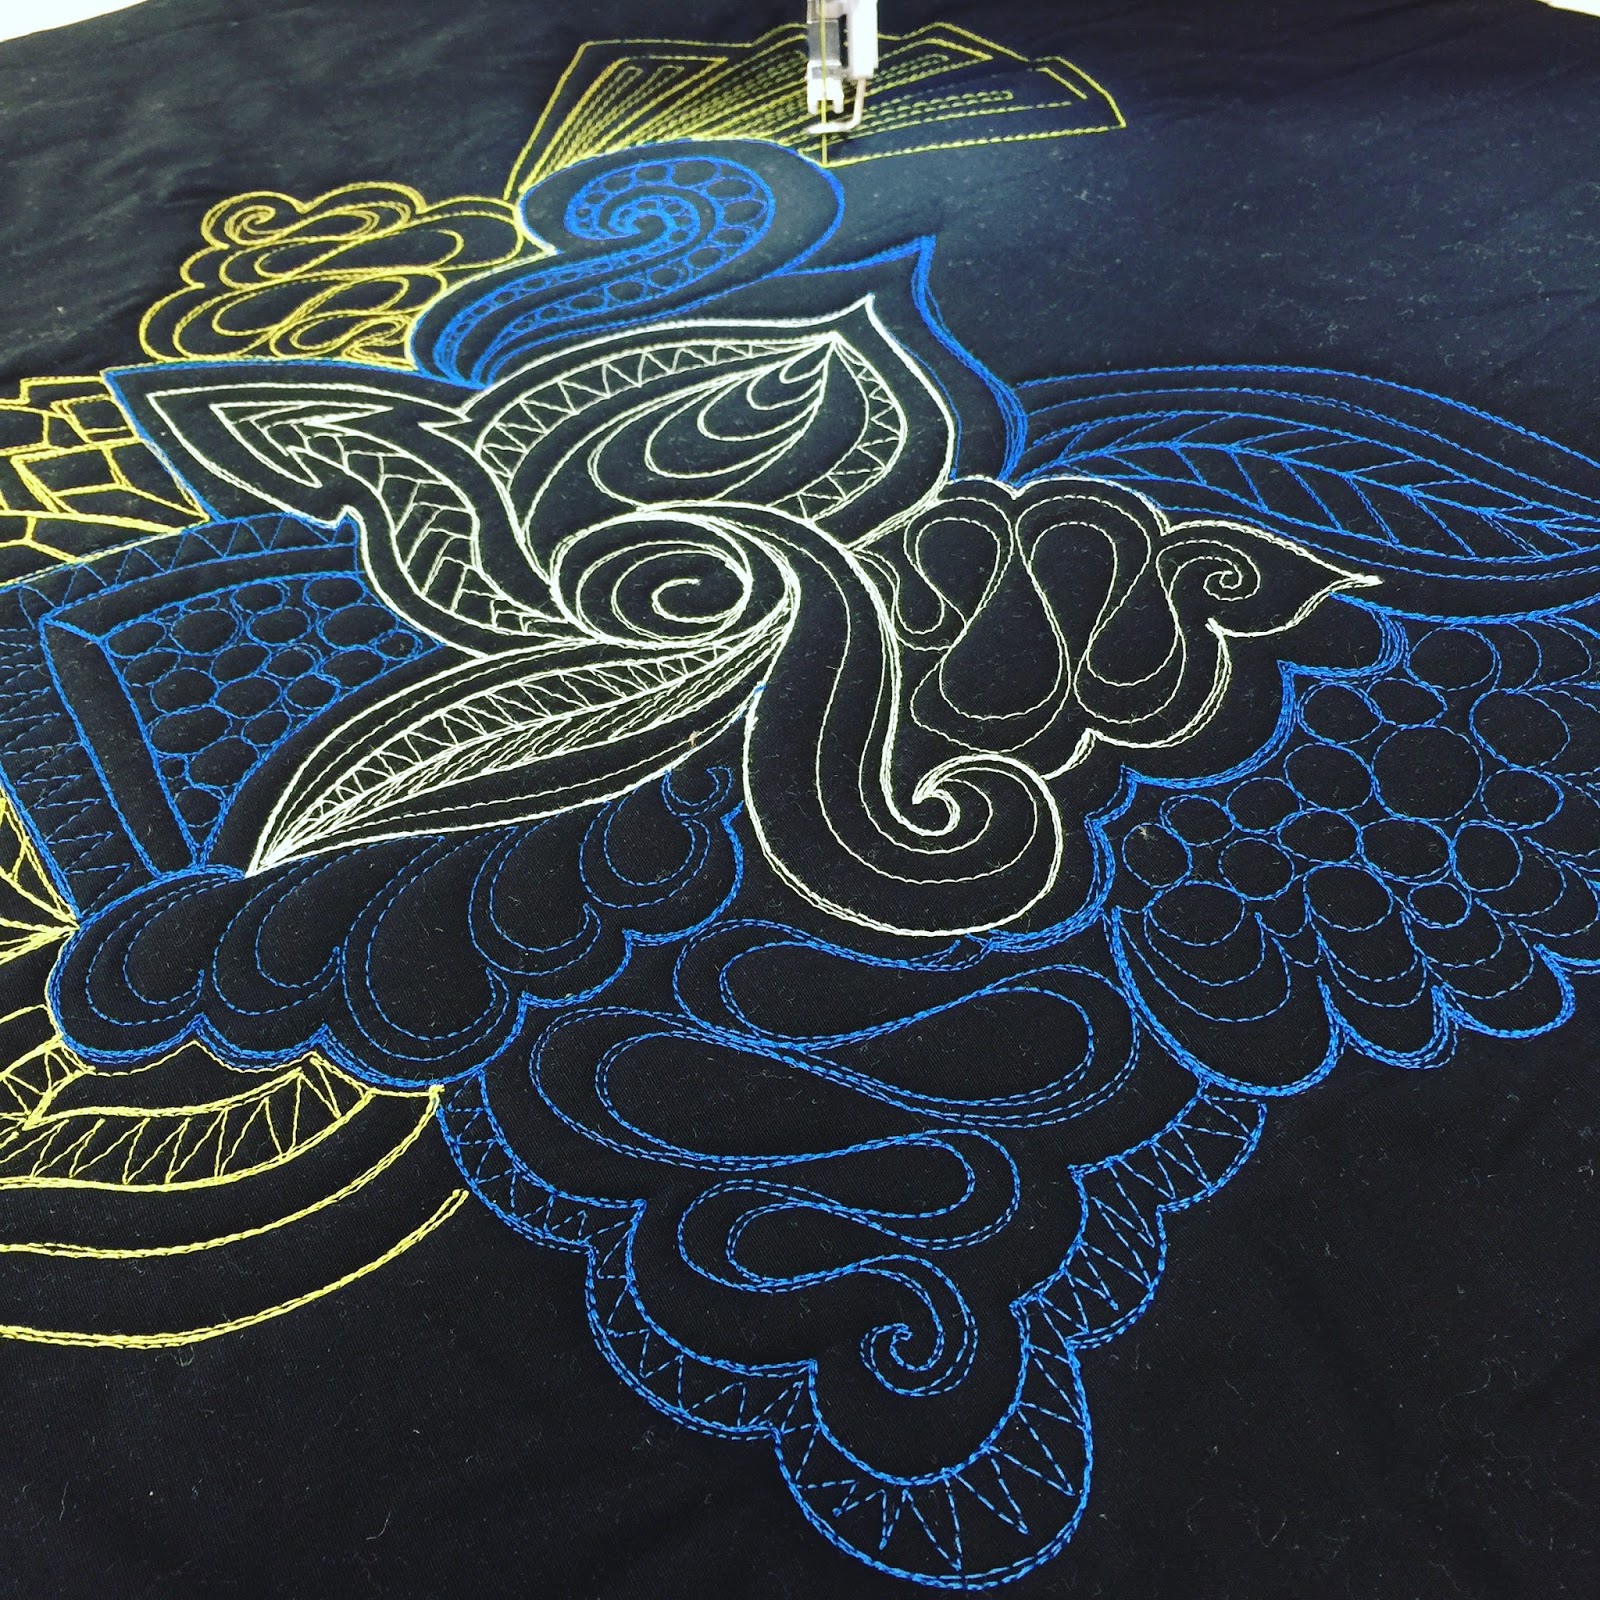
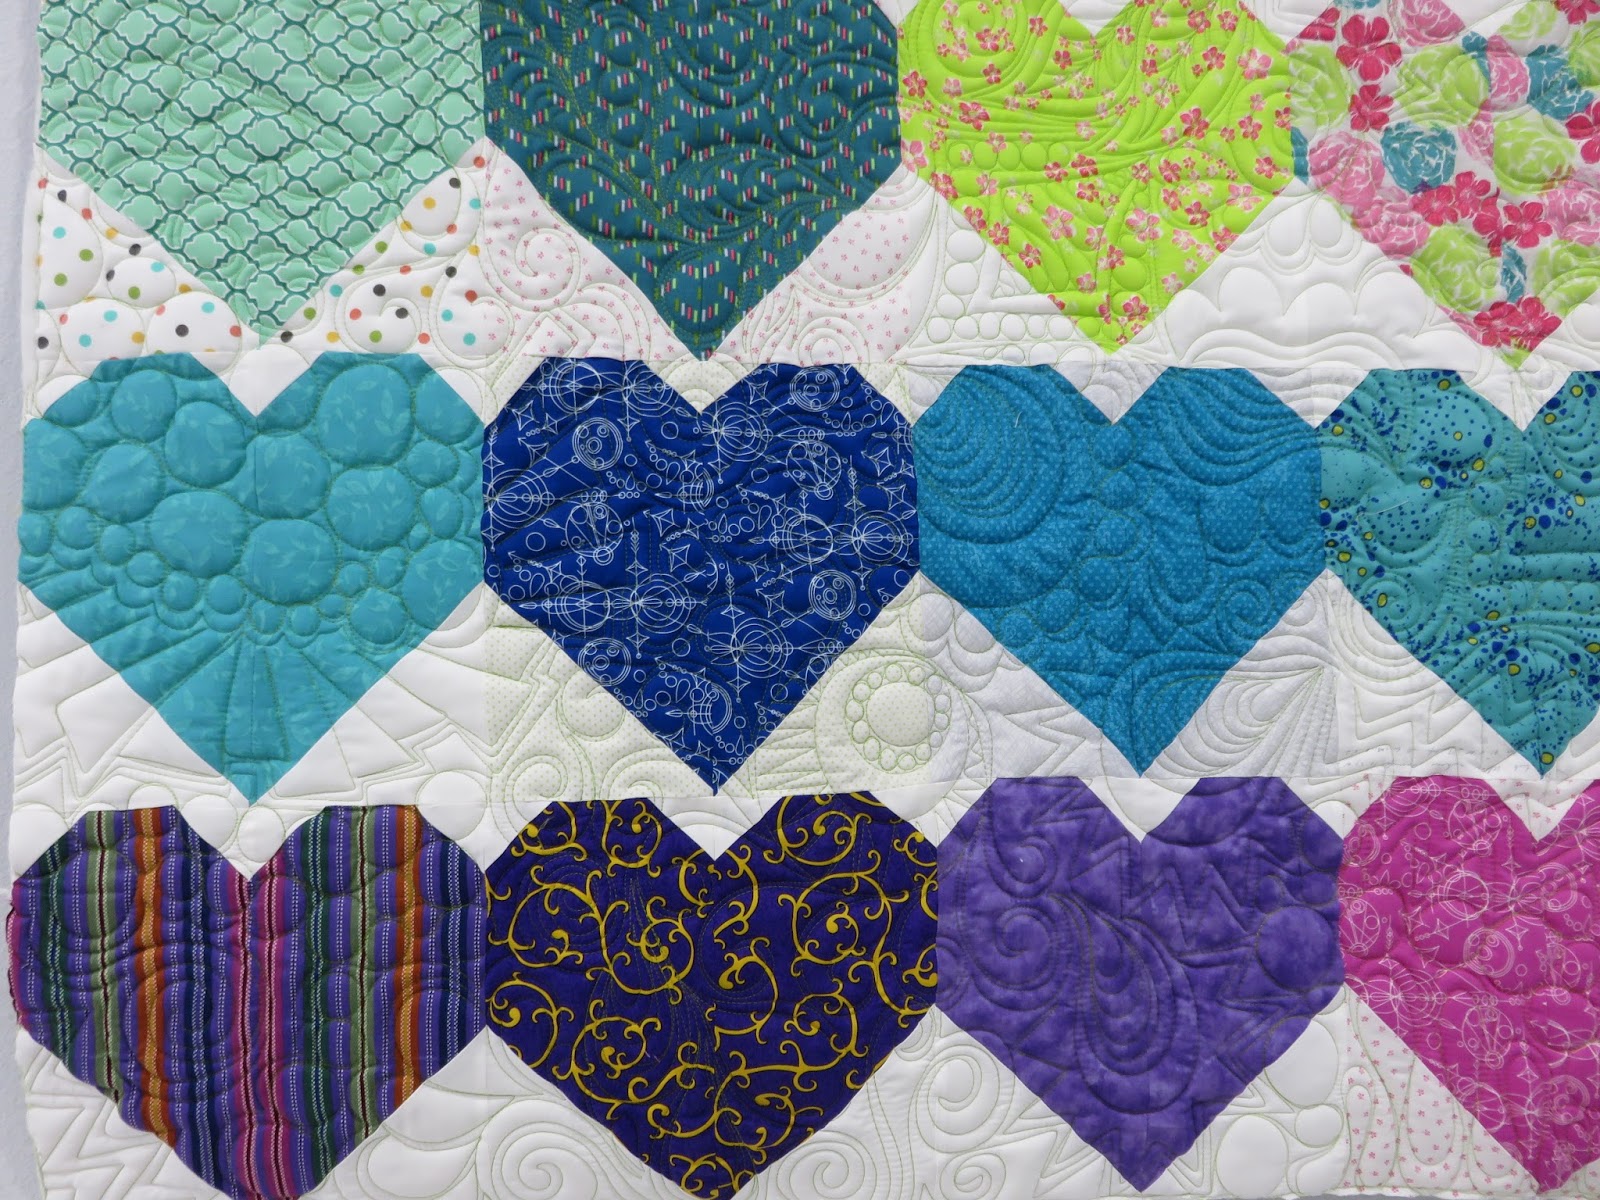
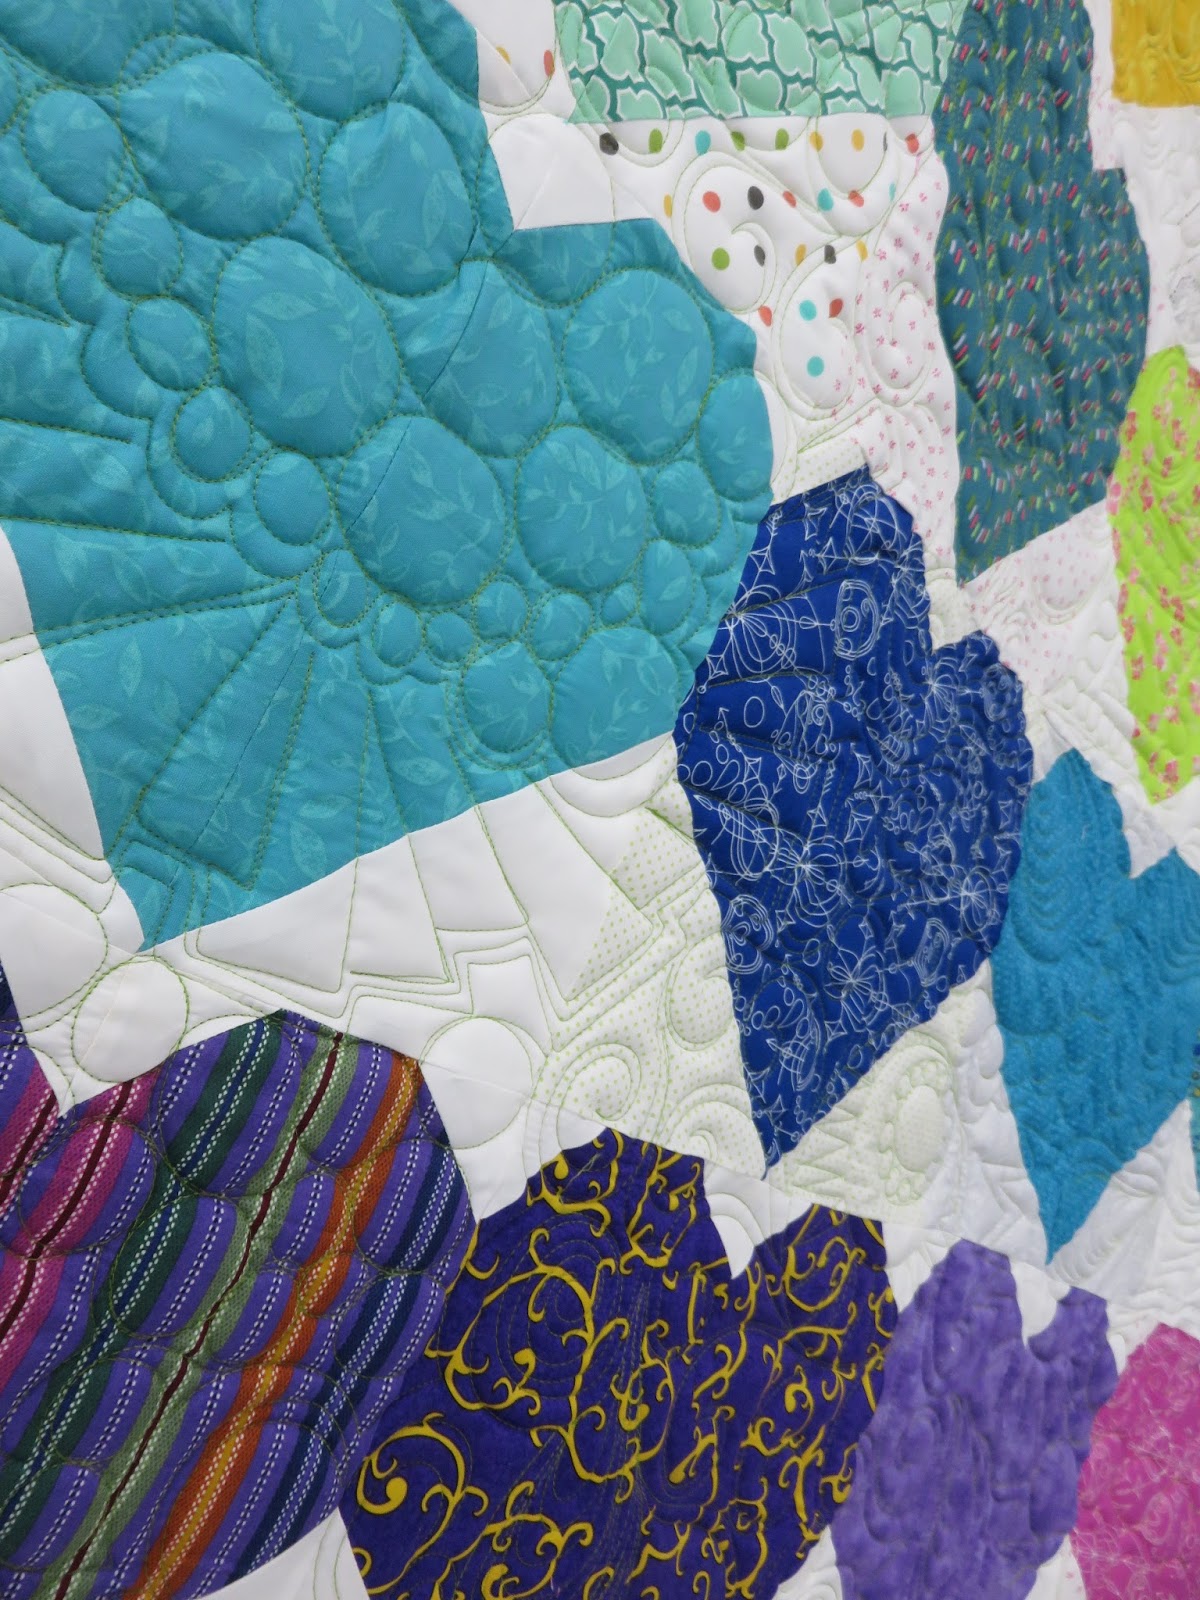
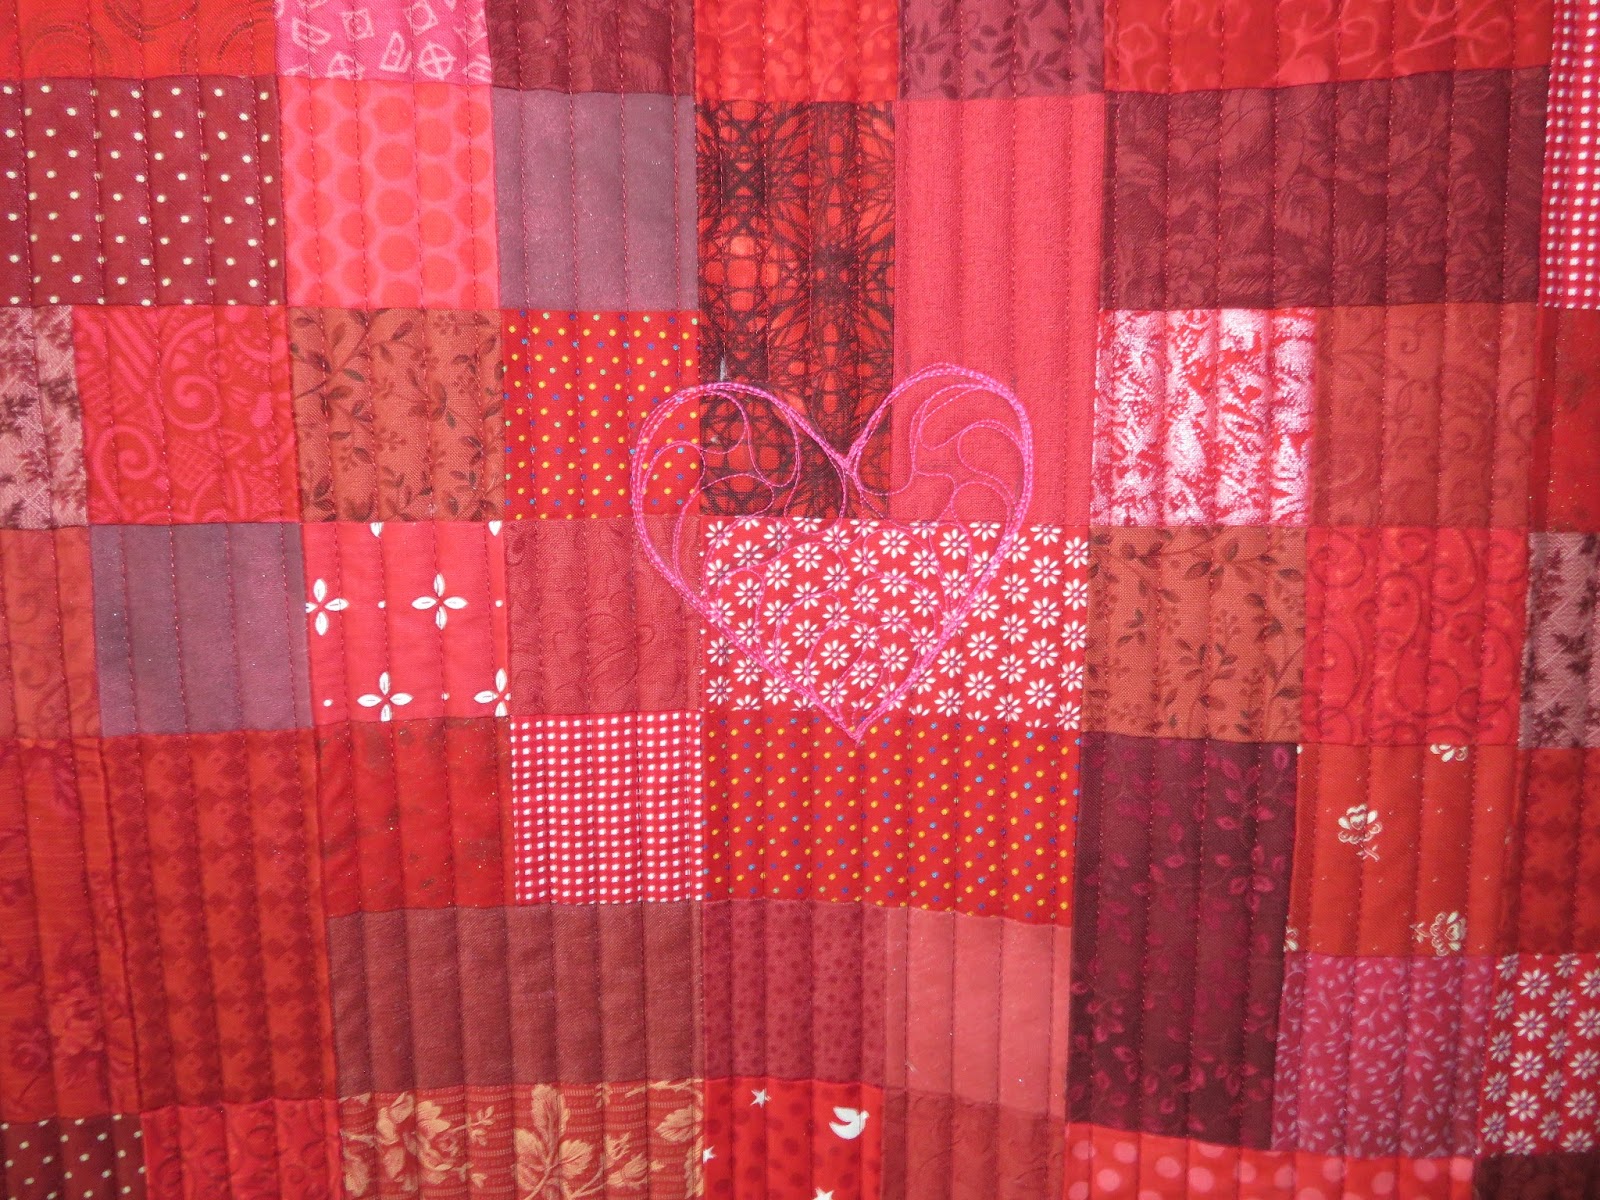
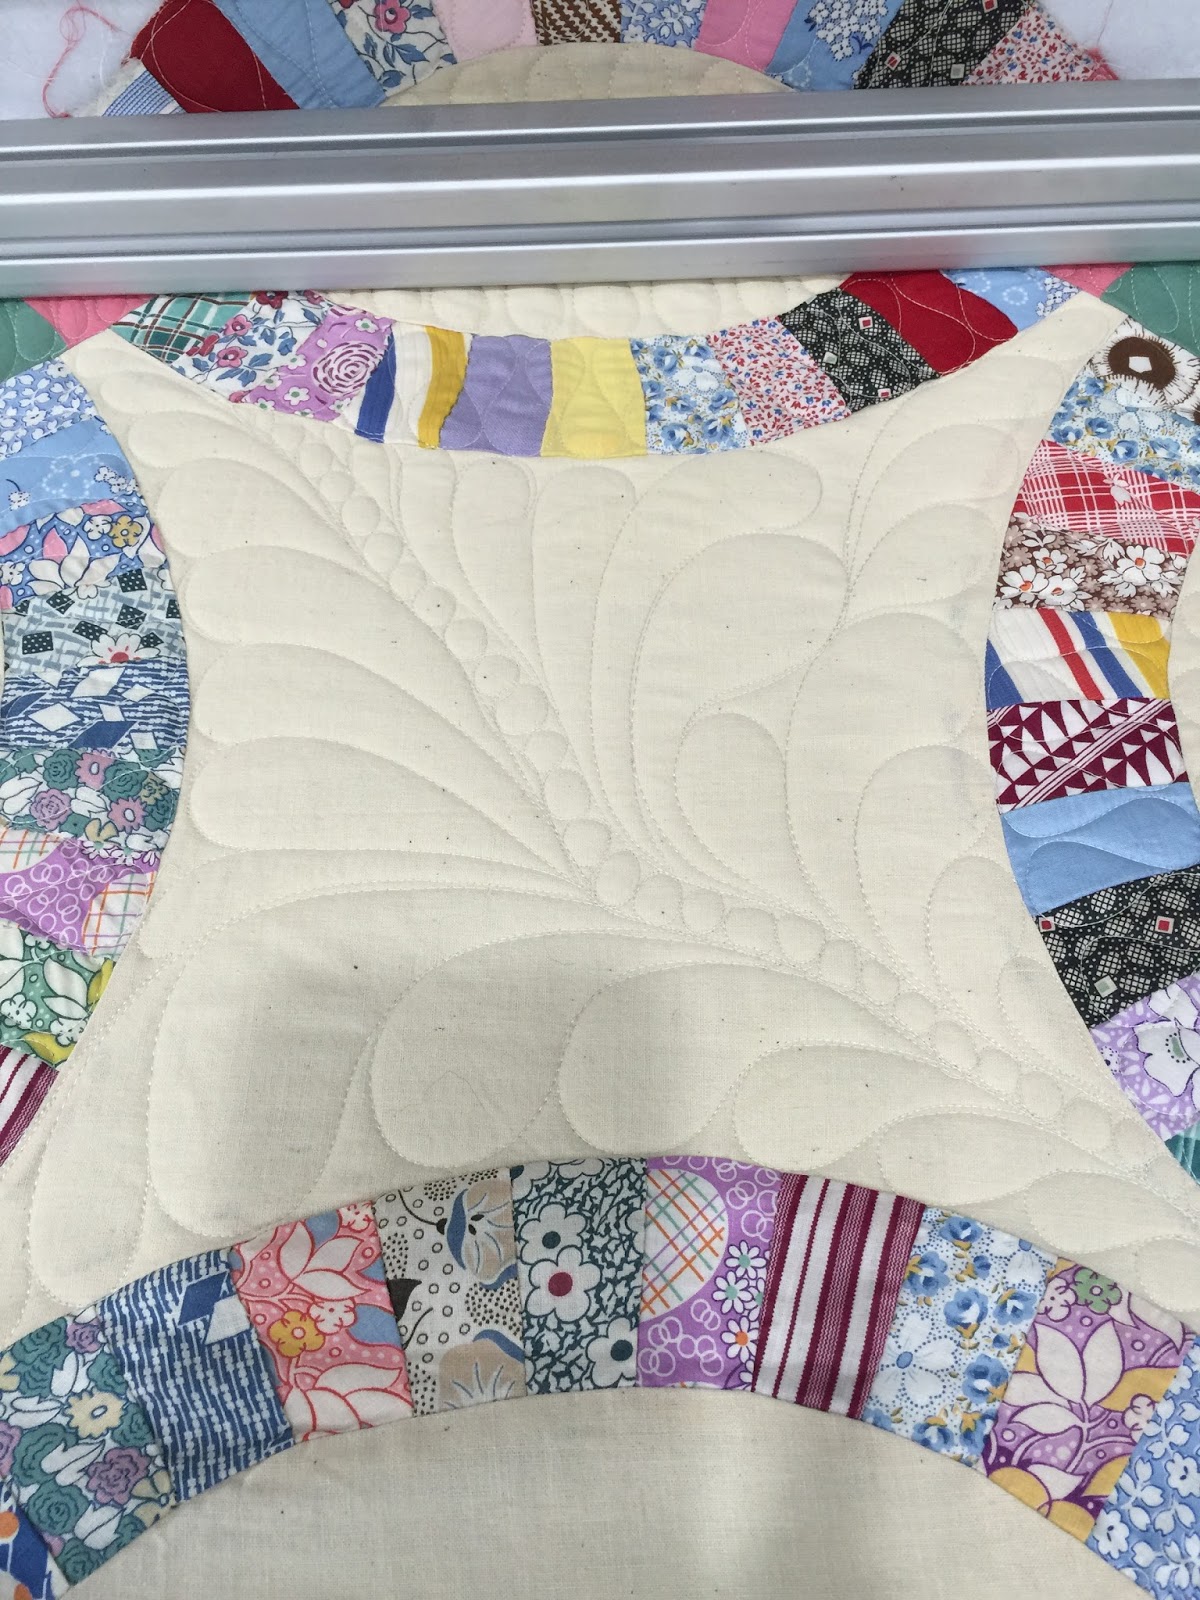
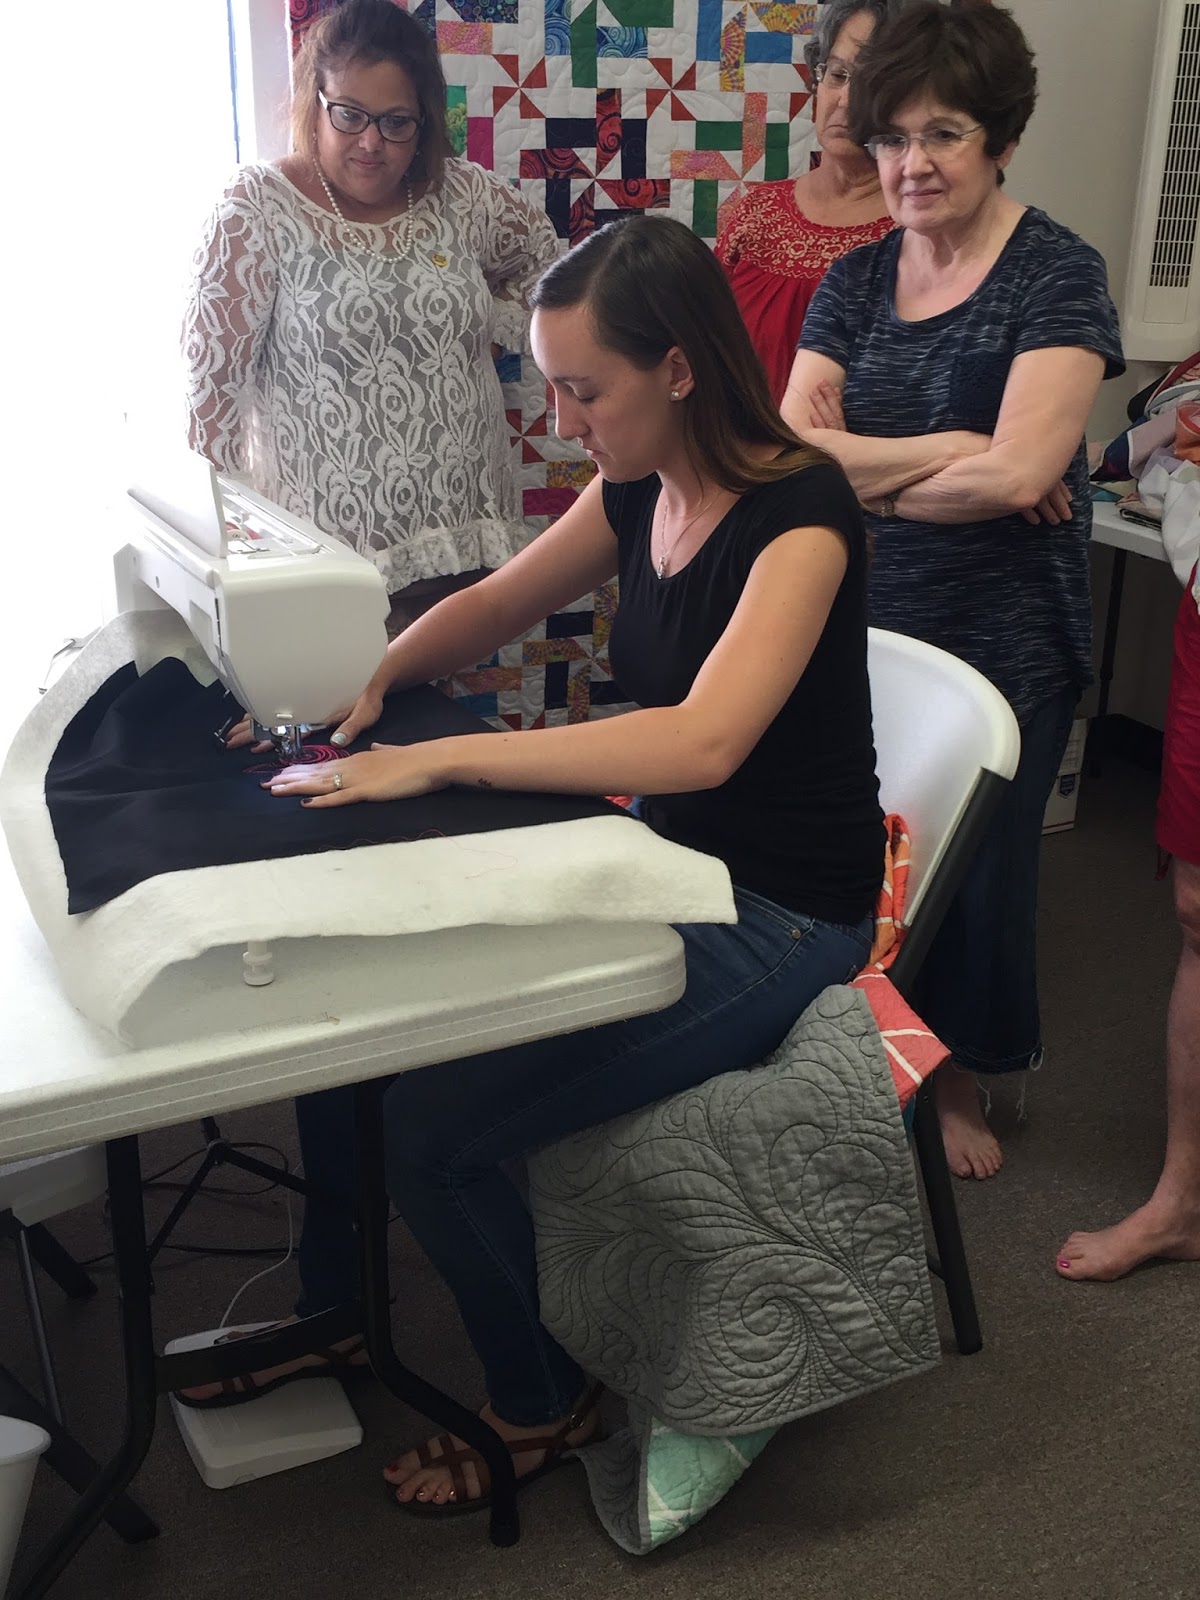
After Karlee taught us her important principles of successful graffiti quilting, she turned us loose and we were able to apply those principles to some small class samples.  This was the sample that I worked on, and although I’m not nuts about the thread colors I selected, I did like the high visibility of it.  

And of course, I had to include a picture of me and Karlee!  Not sure what I’m doing with my hand…is that a hook?  Anyway, I was seriously beyond excited that I had the opportunity to hear Karlee in Texas–and can’t wait to keep working on my graffiti quilting skills.  

Posted on

Anna Maria Horner Quilt and thinking about quilting design

Ahhhhh!  I’m dying a little bit over those Anna Maria Horner Pretty Potent prints.  This is a fabric line that I adore, but never ended up making anything myself with.  So it was a special treat to get to quilt this and ooh and ahhhh over the fabrics and quilt design.  

When I first looked at this quilt, I was literally stumped at what to quilt it with.  I knew it was going to be custom quilted, but couldn’t figure out what to do with all the negative space.  I loaded it on the frame and it sat for a week.  I sketched out ideas in my sketchbook and didn’t really have any great luck with inspiration.  Finally I decided on a simple outlined design with some ruler work, embellished with pebbles and other straight lines to fill in the gaps.  

This picture has a filter on it to try to high light the thread more.  It was quilted with Glide Cloud, so it doesn’t necessarily blend like white thread would have, but it doesn’t starkly stand out from the background, either.  If I could change anything about the quilting, I would go back and double batt the quilt or use a loftier batting.  


You can see here a little better that each print fabric was outlined twice with a small ruler.  Then pebbles were added, along with some straight lines for filler to add more texture.  

I really enjoyed the process this quilt took me through, and I hope to continue to better develop my quilting design.  Usually, I can load a quilt on the frame and I have at least 2 fairly decent ideas by the next day.  This quilt really gave me a run for my money, but all in all, I’m pretty satisfied with the results.    I really love the way a quilt looks finished when ruler work and free motion quilting are combined in the same top.  Sometimes the simplest design can work and really make the fabrics and quilt pop, and other times, it takes some work and elbow grease to figure out the best fillers and accents.  


Posted on

Finding time to give back #quiltsforpulse

 In the midst of tragedy, I am relieved that I belong to a group of people that goes out of their way to show love for others.  The group I’m talking about is the Modern Quilt Guild.  And even  more specifically, the San Antonio chapter of the Modern Quilt Guild.  The Orlando MQG organized collections to accept in progress quilts and completed quilts to show support and love for some of the people affected by the Pulse night club shooting.  I hate that I’m even writing a post about this, because it’s so disturbing the amount of violence we hear about on a daily basis on the news…but I want to focus on giving back and showing support for our fellow human beings.  


The SAMQG members are SO giving and generous with their fabric and time, that we’ve had a plethora of blocks constructed (most using the Heart pattern tutorial by Cluck Cluck Sew).  A few charity sew-ins, and we’ve finished (I think) 5 quilts!  


I had the great opportunity to quilt a few of these, and wanted to discuss charity work in this industry.  I’ve done a little bit of charity sewing in the past, but not really donated much of my time or resources prior to getting my longarm.  And once I started donating my quilting, I kind of just rushed through the process, doing a stipple or some quick meandering design to get that top off my frame as quickly as I could.  But one night, I started thinking about the recipients of these rushed through pieces I had worked on.  Was I proud of the work I was doing on them?  No.  Absolutely not.  I was just FINISHING THEM.  There was nothing special or generous about what I was doing to add to the quilt.  And maybe those recipients don’t even look at the quilting.  But it really got to me that I was doing about 2% of my best work on something that was supposed to be making someone happier.  I decided to start doing my best work on every quilt top.  Whether it was a paying customer or not.  If I’m going to commit to working on something, why would I give anything less than my best?  And besides, if you want to look at it from a really selfish angle, it’s great practice and helps develop your skills even further.  


I really love the graffiti quilting style, and chose to do that on this quilt.  These blocks were pieced together by so many different people, with such love and compassion in their hearts.  It really does give me a little bit of hope for humanity.

Anyway, my two cents for the day is to think about where your heart is when you decide to do charity work.  If it’s in your heart, put your best foot forward and really give all you have.  Otherwise, what are you wasting your time for?  

Posted on

Science Class DayDreams

I am always blown away by the awesomeness of the quilts my clients bring me.  This one was especially fun to quilt…

I have a friend that I had the honor of quilting a special quilt for.  The pattern was JayBird Quilts “Science Fair” pattern in some gorgeous Kate Spain fabrics.  I’m not sure that I’ve had more fun quilting something with such a fun concept.  My client had discussed her thoughts about having the colored/patterned hexagons be quilting with straight lines and lots of structure (kind of like science class).  And the remaining white would be quilted like a daydream, rising up from the structure of the science class.  Such an ingenious idea for a quilting layout! 


So the bottom of the quilt, close to the clustered patterned fabrics, was quilted in a lighter thread than the top, with slightly less dense quilting.  The more white fabric there was, the denser the quilting got–and thread colors changed to get gradually darker towards the top as well.  

And the back of the quilt had beakers pieced into it.  Come on.  It doesn’t get any better than that! 

Posted on

Insert Harry Potter theme song here…


So…It pretty much seems like everyone I know is either pregnant or just had a baby here lately.  I am in that season of my life where the wedding invitations have stopped and the baby shower invitations are lining my mailbox!  That being said, I get a LOT of joy making things for people’s new babes.  While I work on it, I wonder if they’ll be curled up on the couch with it, playing outside and dragging it through the mud, becoming a couch fort in the living room…I love it!

 This was the appliqued fabric before I started quilting it.  


I had a close friend from college ask me to make a Harry Potter themed baby quilt for her brother’s first child.  She pretty much gave me free reign to come up with whatever (which is AWESOME!!!), so I thought I would applique the deathly hallows symbol, followed by “lways” so that it kind of looked like “always”-just google it, I’m sure there are examples!  I made a fun template out of poster board and traced it onto the fabric I wanted, used some Wonder Under and fused that bad boy to my background fabric to get ready to applique! 
I was really excited about the quilting process and wanted my free motion quilting to LOOK like MAGIC would look.  
Just pulled from the longarm frame!

I’m not really sure what that means, but I tried my best to quilt what I thought magic looked like in thread form.  And I loved the outcome. 

I used the Harry Potter-y chevron fabric that I think was really meant to be college colors for the backing and really love how it turned out.  I’m not usually a huge applique person, but I definitely will be trying it with more projects in the future!  And I really hope and pray that this kiddo is a Harry Potter fan!

Roughly crib sized finished baby quilt!
Posted on

Texas Road Trip QAL-Customer quilt

So, today I’m going to share a customer’s quilt that I recently worked on.  It was put together beautifully and I loved that I had the chance to work on this…

I had the awesome opportunity to quilt a very talented quilter’s Texas Road Trip QAL quilt.  The design for the quilting was fairly straight forward and not that complicated, but the impact was really breath taking.  Straight lines and curved lines work separately to really make the quilt pop.  

These are some of the great swirls that this quilter chose for her design.  So gorgeous and free flowing.  I really loved quilting this because there were lots of people in our guild completing this quilt along at the same time, and I enjoyed seeing how differently they were quilted.  In the picture above, you can see a little snippet of a post it that I pinned to the next section as a reminder to stop quilting swirly loops and switch to straight lines 🙂

Another great detail that this quilter chose was to put a heart over the center of San Antonio–in hot pink thread.  It really was so much fun to quilt, and the swirly loops are really relaxing to kind of get lost in.  

And here’s a picture of the finished quilt:  
I absolutely LOVE the scrappy reds in the Texas shape and the scrappy low volume background.  Normally, I’m not a red person…but this quilt…WOW!  I just had to share one of my favorite quilts that I’ve longarmed for someone else.  I hope you get to enjoy some time sewing, or doing whatever makes you happy this week!  Until next time….
Posted on

Longarm quilting a double wedding ring quilt

How many times have you looked at a quilt top and been totally stumped on how you would quilt it?  I feel like this is a skill that really is developed over time and trial and error.  I’ll be the first to admit that my very first quilts–after quilting–didn’t really showcase the quilt pattern with the quilting as they could have.  My quilting designs made little sense and didn’t work with the existing pattern to make the quilt pop.  Basically, I was just quilting to get it done and keep all the layers together.  

It’s a little difficult to see the quilting, but it’s orange thread in squiggly lines…obviously my photography skills were lacking as well 😉  This was the first quilt I ever made, in October of 2011.  
I think that typically, for beginning quilters, the quilting is all about function.  It’s difficult enough to remember 1/4″ seam allowance, minding your bobbin so you aren’t sewing without thread, etc.  I know that I was just relieved to be finished, and I was very proud of the quilting at the time.  

Fast forward 5 years, and quilting is now my favorite part.  I’m enamored with the process of evaluating a quilt top, selecting batting, figuring out what quilting design will best display the awesomeness of the quilt pattern.  I know that I still have a long way to go, and I pour over Instagram, Pinterest, blogs, books, etc. to find every piece of information and inspiration I can get before I start planning to quilt a quilt.  

I recently had the opportunity to quilt my first Double Wedding Ring quilt.  My client’s quilt was pieced entirely by her grandmother (prior to her passing) from vintage fabrics and feed sacks.  It was the greatest honor to be trusted with a family heirloom.  I used plastic overlays to audition different quilting designs, and finally came up with a combination of a few simple designs that I felt would work well together and really make the quilt pop.  

This was actually the first row that I quilted with a feather.  I hated them and ripped them all out and started over.  

I stewed over the newly blank quilt after ripping the first row out and finally re-started.  

I was very pleased with the outcome and can’t wait until I can return it to the customer.  
Here is the full quilt:

I love the finished look of ruler work with free motion quilting.  I think the structure really works well with the free-flowing quilting and I can’t wait to play around with this some more.  I can’t wait to see where my work is in another 5 years…