Posted on

Mock Stained Glass Mini Quilt Tutorial


Happy New Year!  Well, this post is a day late and a dollar short, but it’s here 🙂
I usually post on Tuesdays, but this one got away from me!  

Sometimes winter blues can get you down (although here, in Texas, it was nearly 80 degrees yesterday and looked WAY more like spring than winter!) and it helps to have some fun and easy projects to get you through the weather.  I hope you’ll take a look at the free tutorial I teamed up with Janome to create.  It’s listed on the APQS blog and is a great free pattern for a mini quilt–or– if you prefer not to quilt it, hang it in a window that gets lots of light for a stained glass effect.  Either way, it’s a great way to add another technique to your arsenal of skills.  


Find the free tut HERE

Have a great week!

Posted on

Free Quilt Pattern Alert! Super easy I Spy Quilt pattern to ease your pain on long road trips with the kids


How many times have you been in the car, loaded up the kids to go to grandma’s house, and heard that horrible, awful question…(queue the Jaws music)…”Are we there yet?”  or better yet…”I’m Boooooooored.”  

I Spy Quilt loaded up and ready to go!

I know we’re all super busy in the summer, and it makes finding time to sew pretty difficult.  But now you have a great reason to bust out the sewing machine–you’re going to cure the kids of their road trip boredom by making them an I Spy Quilt!  All you really need are some random novelty prints or scraps–even seasonal fabrics are great for this.  The great thing about this quilt is that NONE of the fabrics need to be cohesive for this to work.  You have a print with elephants?  Elves?  Pirates?  Cactus?  Ballerinas?  They’re all perfect!  The more random the assortment of your fabrics, the longer the kids will be staring at this quilt, absolutely stumped.  

Your layout can be totally random, too!  I tried to lay my squares out from dark to light,
but you can try grouping them by color, theme, etc.  


I had the privilege of teaming up with Janome to write this tutorial for American Quilter’s Society.  So follow this pretty little LINK and head over to get the skinny on how to put this awesome little lifesaver together!  

I quilted mine with some sweet little swirls that were fast and easy!  

Okay, so in all honesty, making this quilt won’t be the end of you ever hearing those two comments from the back seat again, but what the heck!  It’s worth a shot isn’t it?  ðŸ˜‰

Posted on

Couching tutorial


Decorative stitches with a 3-way cording foot 

I had absolutely no idea what couching was when I first heard of it.  I saw a demonstration of couching on a longarm quilting machine, and then very quickly wrote it off (since I didn’t have a longarm at the time), thinking I would never have the means or opportunity to try couching.  You can use couching to emphasize a print on fabric, outline applique, doodle with it, and you can even quilt with it.  

Couching can add a little flair to regular fabric


Well, there are some ways that you can couch without buying a super expensive longarm quilting machine, and then also buying a super expensive couching attachment for said longarm.  You can actually couch by hand–but it takes a while.  And you can certainly try couching by using a domestic sewing machine.  You don’t even have to buy a special foot for it if you don’t want to.  As long as you have a free motion quilting foot that has some sort of round part that the needle goes through, you’re good!  I will say, that if the hole for the free motion foot is really big, you can easily modify it yourself by taking a small piece of scotch tape and covering a portion of the hole (not a portion the needle will travel through).  The smaller the hole on the free motion (or couching) foot, the easier it will be for the yarn to travel where you want it to go.

Make an art piece using couching techniques if that floats your boat!

I wrote a super easy to follow couching tutorial for Janome’s website that can be accessed HERE
So click it and check out how easy couching is!  There are seriously so many things you can do with couching to spice up existing projects.  

Posted on

Scrappy Trip Quilt Project with the San Antonio MQG


Have you ever felt sort of isolated in this “hobby” (or lifestyle to be more accurate) that we call quilting?  I had recently discovered modern quilting and realized there was this whole other world of people that were just like me.  I’m sure we’ve all had a point in our lives where we thought Joann’s and Hobby Lobby were the only places you could buy fabric…I went through this phase for probably the first year and a half that I was discovering sewing (disastrous, I know!).  Once my eyes were opened (along with my pocket book), I needed to connect with other people that felt there was something more than just traditional quilting and subdued fabric.  

I found the San Antonio Modern Quilt Guild really by accident when I was trying to register for QuiltCon 2015.   I immediately joined and have missed just a handful of meetings due to my “real job”, but the experience has been nothing short of life changing.  I have made friends and contacts that have enriched my life so much.

We followed the tutorial posted on Quiltville’s blog here: Quiltville’s blog 
You should check it out if you’re interested in making your own Scrappy Trip quilt–the instructions are very well written and easy to follow.

Some of the guild members have started the journey of the “scrappy trip along”.  It’s really a cool technique to learn, and since we all have a bit of a competitive nature, there are prizes involved and a schedule for block completion.   

Somewhere along the way…I got caught up and ended up with 100 completed blocks.  

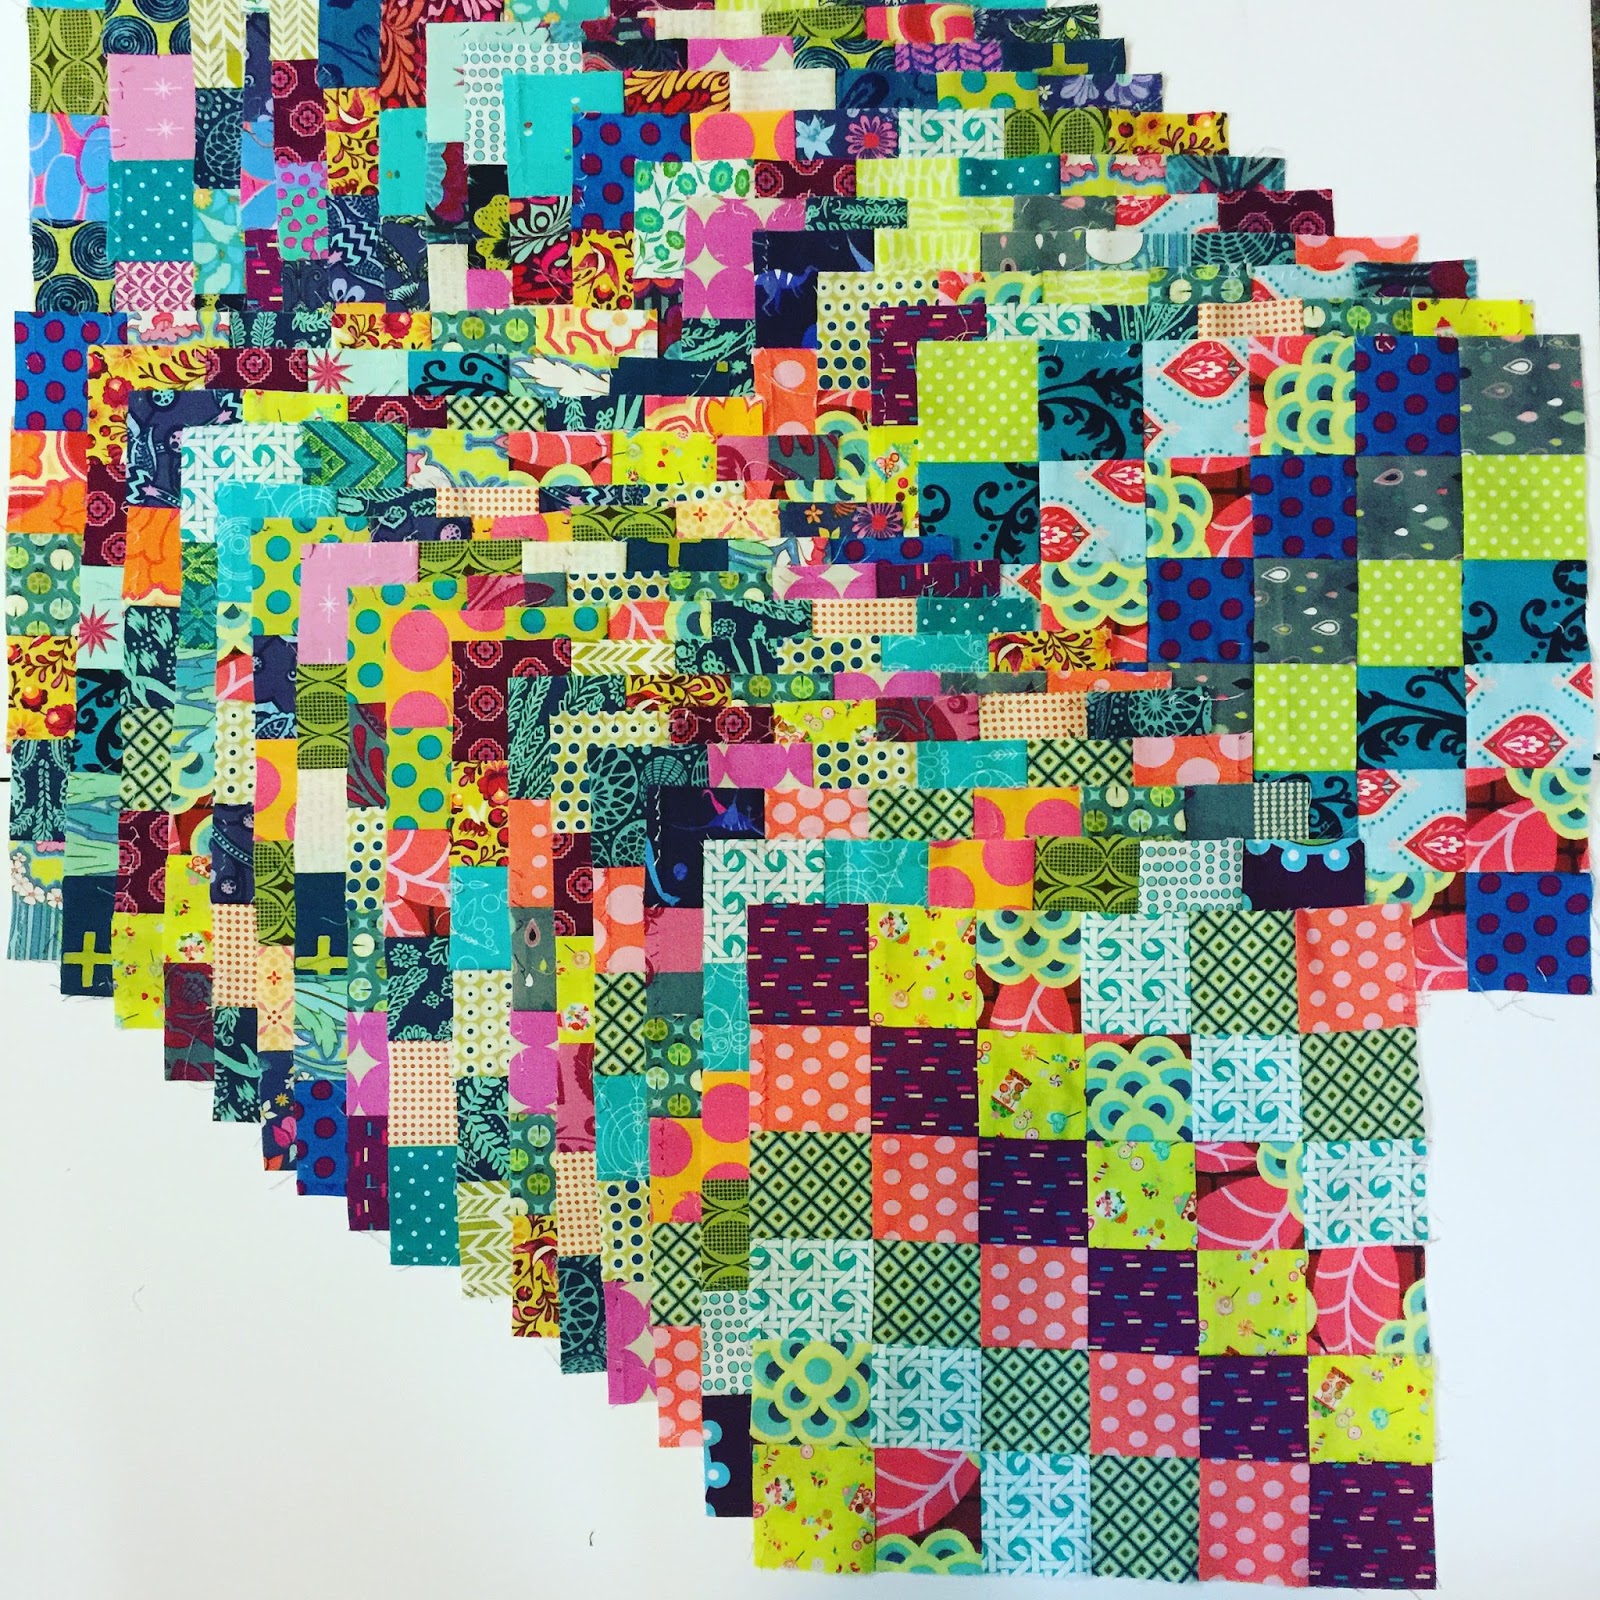
This was my starting point when I began cutting 2.5″ wide strips to arrange into blocks.  I obviously like very bright, saturated colors 🙂

My only plan for arrangement was to alternate bright, lighter colors with dark, duller colors.  I wanted a very busy, random quilt when I was done with it.

I think the scrappy trip quilt is an awesome project when you are feeling less than inspired and maybe lost your sew-jo, but need to find it.  Especially if you are doing a random arrangement, where you allow the fabrics to just do their own thing and speak for themselves.  It can be a relaxing project to just piece without thinking and enjoy the results and the process involved.  (It is kind of a lengthy process!)

These are some of my finished blocks (before sewn into the quilt, they measure 12.5″ x 12.5″), and I just love the brightness of them.  

And this is the first layout I set prior to piecing my quilt top.  So many times, we face difficult decisions with all the “favorite” fabrics we buy and not having fabrics to coordinate with them. In the scrappy trip, anything goes, and you don’t have to concern yourself with that.  

I ended up with 100 completed blocks…I kind of got wrapped up in the cutting strips, sewing together, cutting, seam ripping, sewing process and forgot that my intention was not to make a king sized quilt…My final layout was a 9 x 10 layout with the finished top measuring 120″ wide x 108″ long.  This was perfect for our bed since we have a little bit of a problem with cover thievery, and allowed for enough of a drop on both sides that neither my husband nor I end up without covers in the middle of the night.  I had 10 blocks leftover and pieced them all together in a 2 x 5 arrangement.  Then I cut them in half in the center of the middle block so they each measured 25″ x 31″.  I put batting behind each one and quilted these so we would have semi-matching pillow shams.  

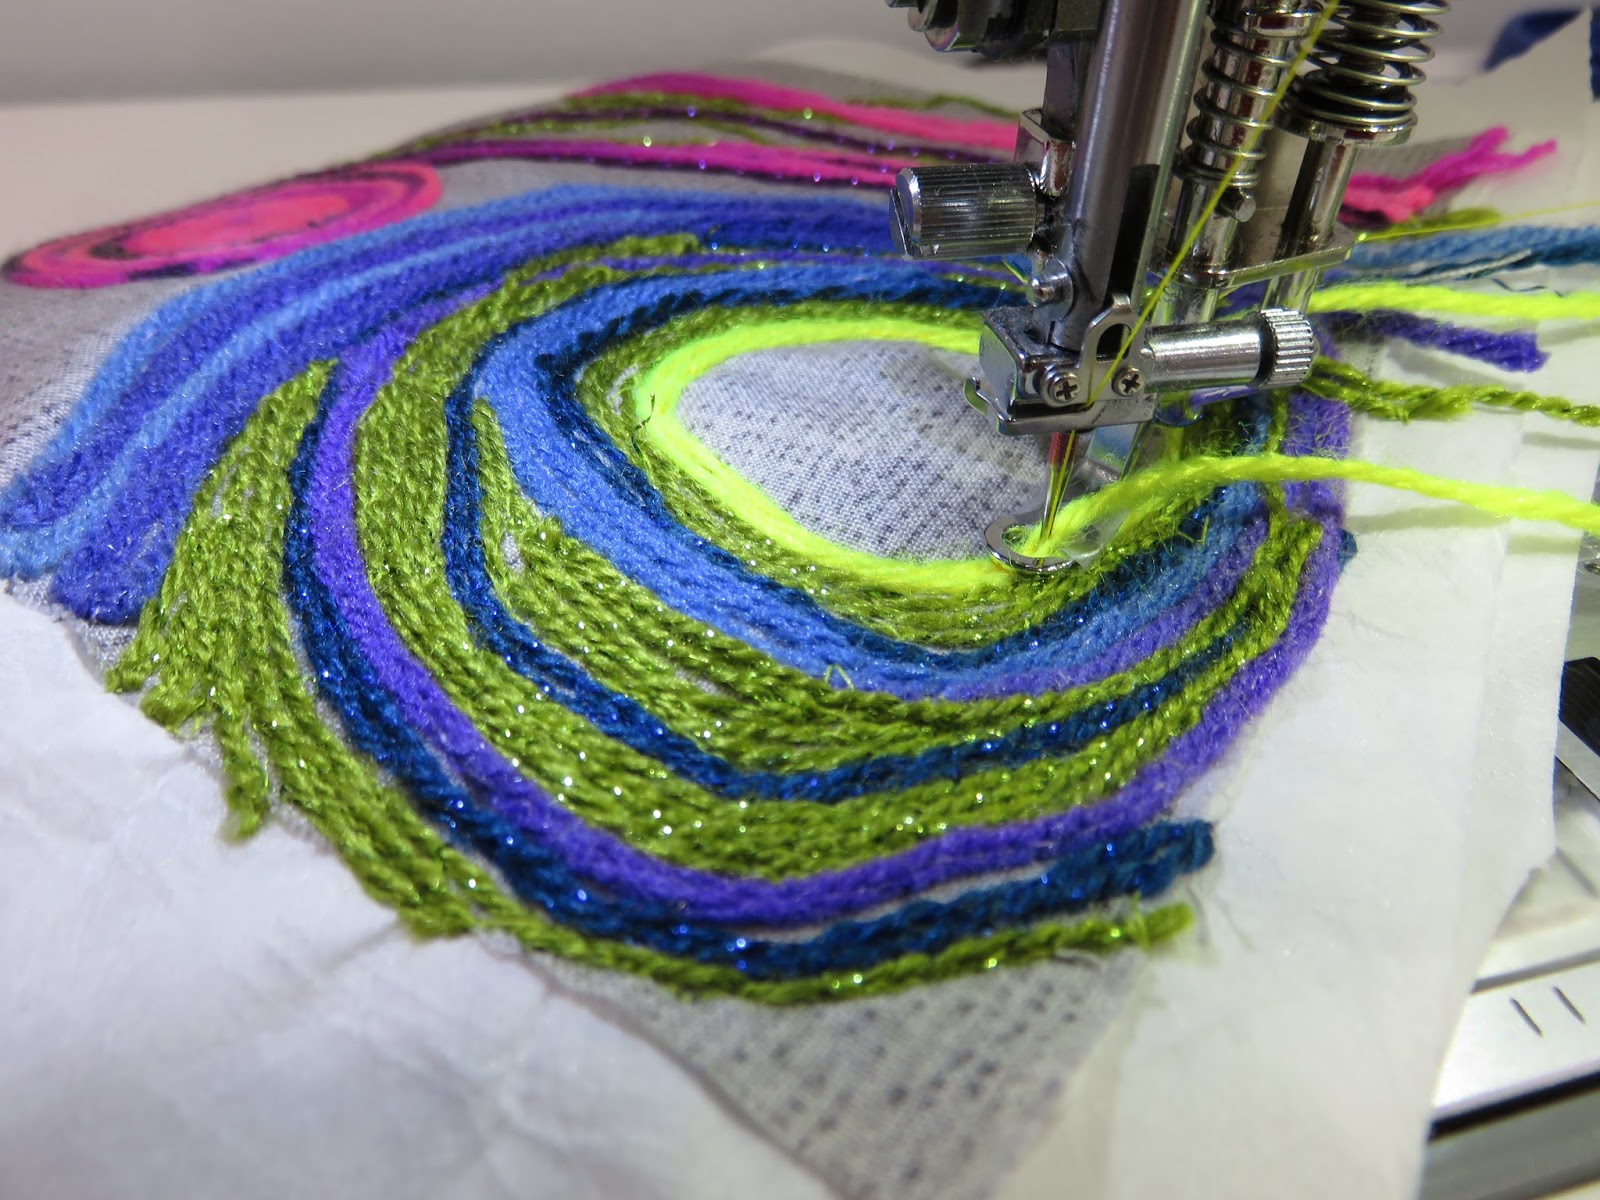
I will say that I wanted to go nuts quilting this.  But with those super busy fabrics, I knew the quilting wouldn’t really be showcased, so any intricacy would be lost on anyone but me.  I went ahead and did some cool swirls that took me much longer than I should have spent, but I really had fun with it.  If you’re a beginner quilter, this would be a great project to really push your quilting skills, because any mistakes you make won’t show like a sore thumb.  


So, if you’re in the market for a pretty low stress project that you don’t have to think about, grab some scraps and get started on your own scrappy trip!  Enjoy the process and you’ll love the end product.  

I’m excited to show this at our November guild meeting when everyone will showcase their own scrappy trips and share their results.  

Until next time!
Joanna