Posted on

Making it Fun Quilt – Spring Quilt Market 2018

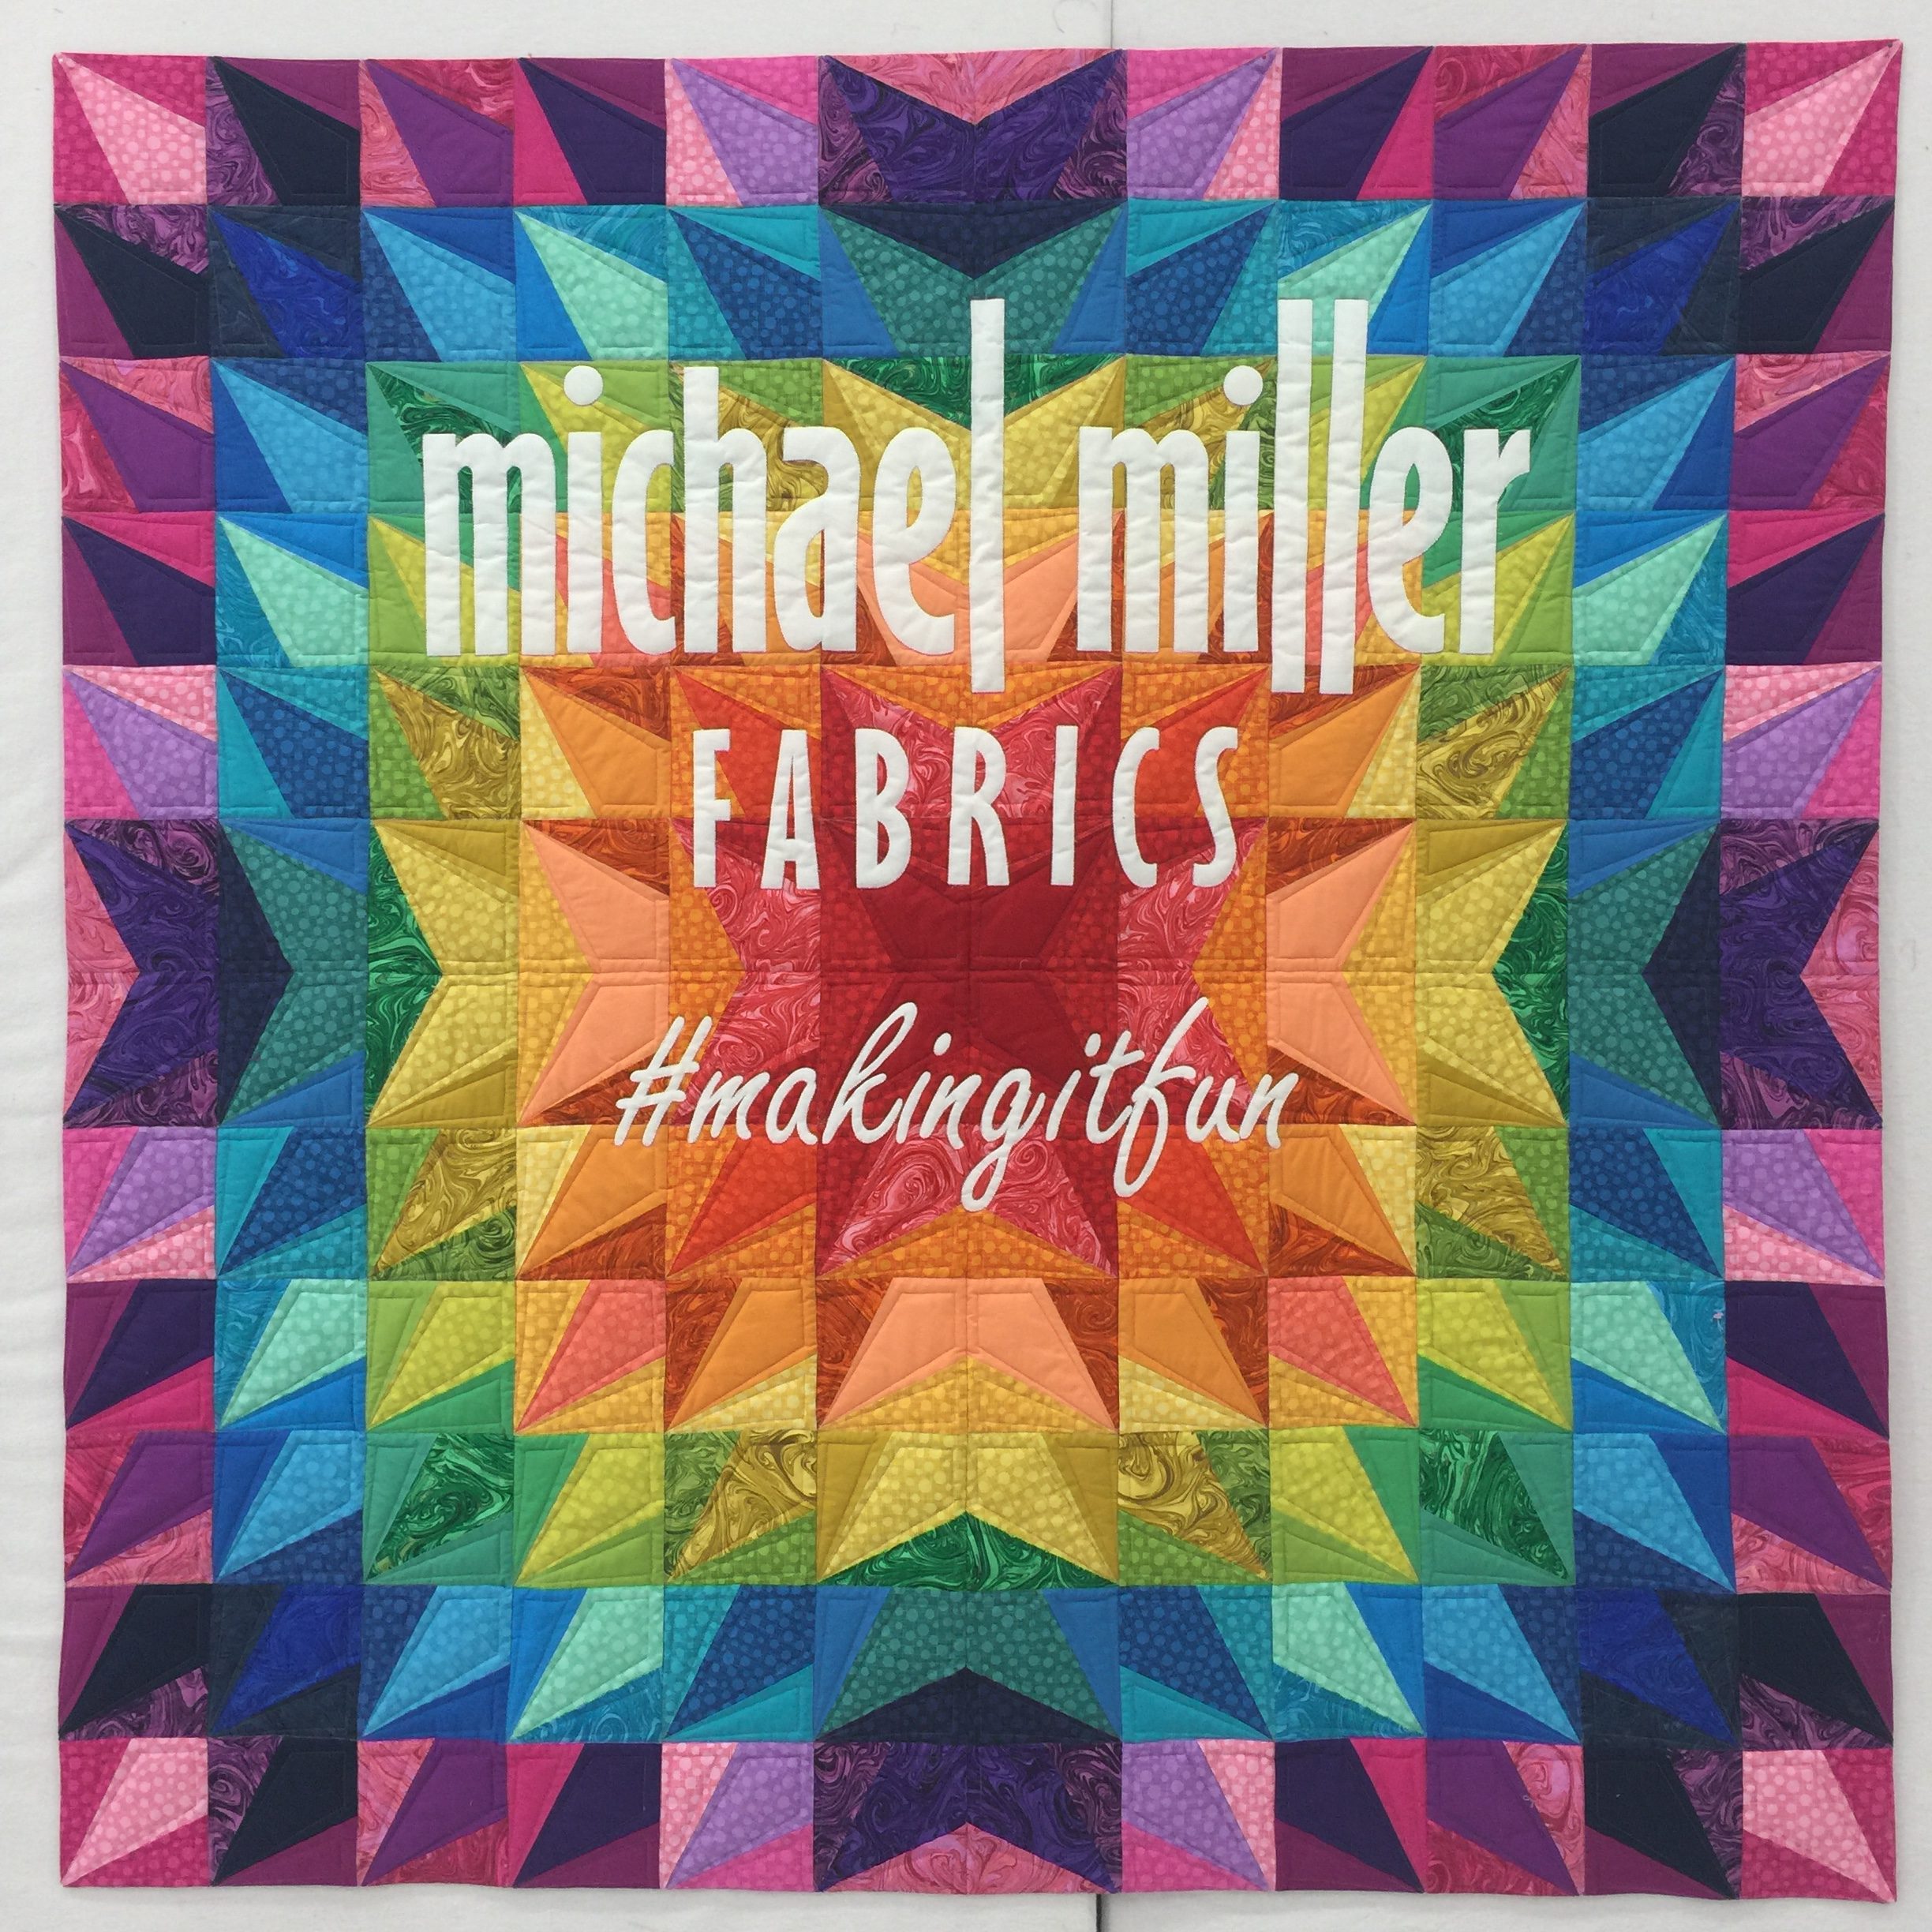
A colorful quilt with the name of michael miller fabrics.


Guys!!!  I’m so excited to finally be able to share my project for the Michael Miller Spring Quilt Market booth.  They sent me fat quarters of their new has dot blenders and their marbled fabrics, along with some coordinating Cotton Couture solids and told me to make something fun and rainbow-y!  Is that a dream assignment, or what??  I narrowed it down to 48 unique fabrics that I wanted to use in the quilt, and lined them up:
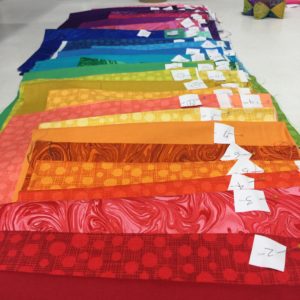
A table with many different colored fabrics on it
Holy cow!!! 48 different fabrics!

I numbered them and then numbered the design I had mocked up in EQ8, but it was starting to get a little crazy.  I ended up having to make a smaller swatch card because some of the fabrics were so similar in color and shade that I was starting to go cross-eyed flipping through that stack.
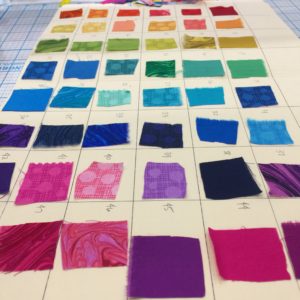
A tile floor with many different colored squares of fabric.
Swatch Card

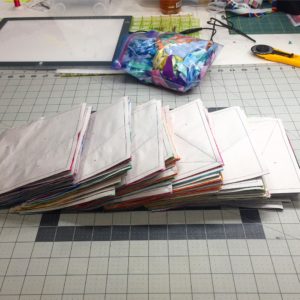
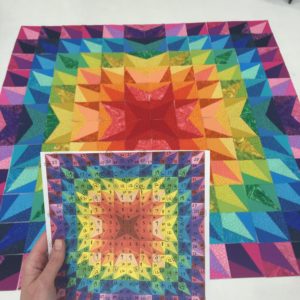
I very rarely make swatch cards, but I found it to be very necessary with this quilt.  I designed a foundation paper piecing block in EQ8 and then rotated it slightly to complete the design.  The piecing went really quickly and I just needed to double check that I had the correct fabric for each block before I started sewing.  I’ll admit, there was a good amount of seam ripping to be had with this one!
A table with many different bags of paper
Foundation Paper Pieced Blocks stacked and ready to go!

I used my new Daylight Company light box to help with the foundation paper piecing, and I really love how thin and lightweight the unit is.  I had a very bulky, cumbersome light box in the past and recently upgraded to this one.  It’s been such a nice treat to have one that doesn’t take up all of my cutting mat.  I also used Adobe Illustrator to help design the applique text in the right size and fonts, then tiled the pages to make a huge pattern.  I hand cut each letter and symbol out, then used the paper as a template to trace onto the white fabric for the applique.  I used Misty Fuse on the backside of the white Cotton Couture and then cut out each letter.  It was pretty time and labor intensive, but I love how it turned out.
A person holding up two different colored paper
My EQ layout compared to the quilt top, prior to adding applique

I did come up with a slight problem in getting the applique on straight, centered, and spaced equally.  Usually, I would just use a big window and tape the quilt in place or trace where the letters needed to be, but I decided to buy a cheap portable projector and project the original applique design onto the quilt while it hung, and then I positioned the letters in place with a small amount of glue from an Elmer’s glue stick.  Once they were in position, I lightly fused them into place and then took the quilt top to my Janome MC9400 to complete the applique blanket stitching around each individual letter (that took about a day and a half!).
A picture of the michael miller fabrics logo.
Using the portable projector to project my applique design onto the quilt

Once I finished the applique, it was time to throw it on the longarm for quilting.  I chose just a single layer of Quilter’s Dream Wool to maximize the quilting texture and also keep it fairly lightweight.  Then I quilted some straight diagonal lines with rulers to finish it off.  I opted to not bind the quilt traditionally, but I faced it to not take away from the overall punch of the quilt, and keep the focus on the applique.  I really loved making this quilt and loved the new fabrics being released by Michael Miller Fabrics for Spring Quilt Market 2018.  I can’t wait to get my hands on more of that fabric!
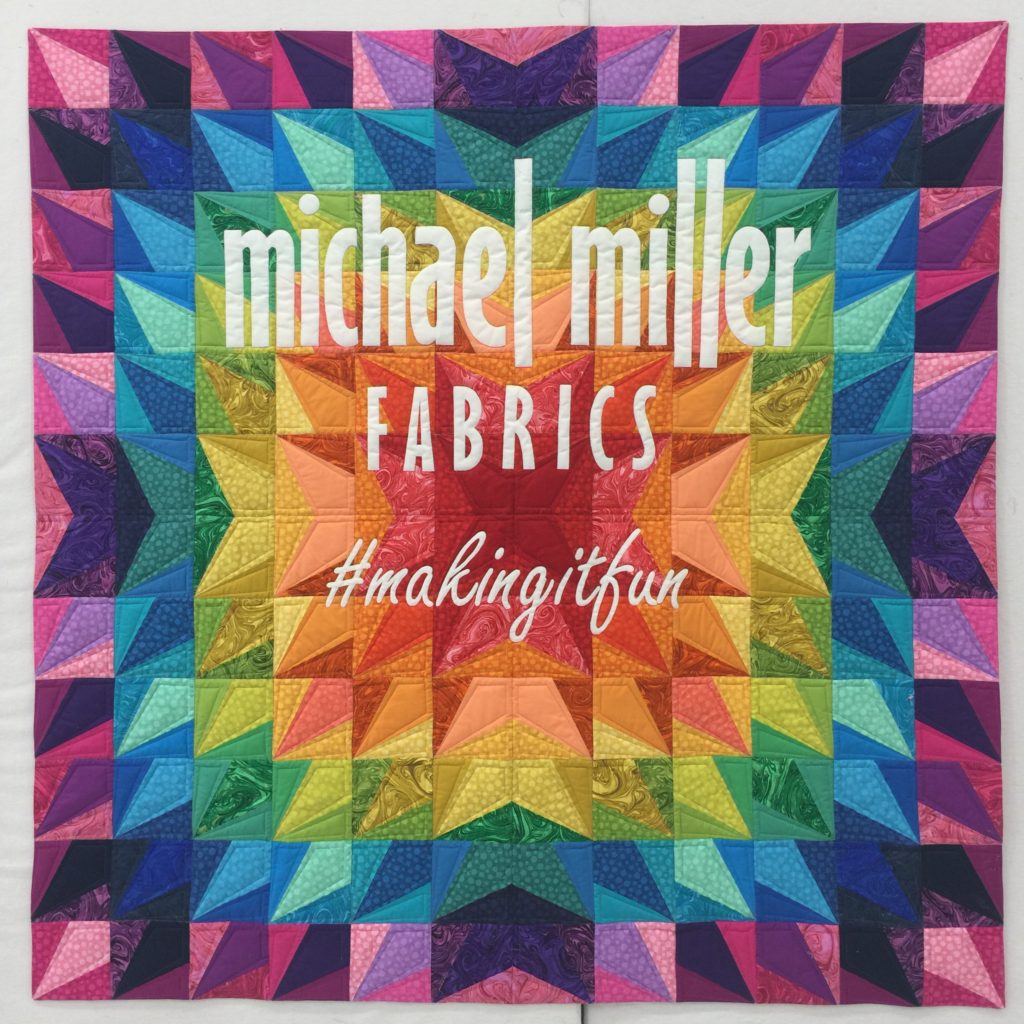
A colorful quilt with the name of michael miller fabrics.
Spring Quilt Market Quilt for Michael Miller

Posted on

Ice Cream, You Scream Quilt FREE PATTERN

A cake stand with cupcakes on it and a microphone


Who wants a free Ice Cream, You Scream Quilt Pattern?  Well today is your lucky day!!!

You have to check out this adorable fabric line Michael Miller Fabrics just released. The line is called Ice Cream, You Scream and the colors are everything!  Also, there’s this border print that is just dying to be put in a quilt (or made into a little girl’s skirt!!), and nearly makes me swoon!  I got a chance to get my hands on this fabric to design a quilt for the release, and I’m not gonna lie…I spent a few hours just playing with the fabric and coordinating Cotton Couture.  It features sweet ice cream cones, sundaes, and the best stripes.  It reminded me of the 4th of July and ice cream socials and everything pure in the world.  The best part is, Michael Miller Fabrics is offering this pattern as a freebie–you can get your own PDF pattern download from their website.

A cake stand with cupcakes on it and a microphone
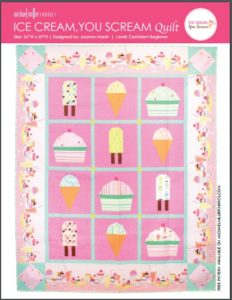
Ice Cream, You Scream Quilt – Picture from Michael Miller Fabrics website

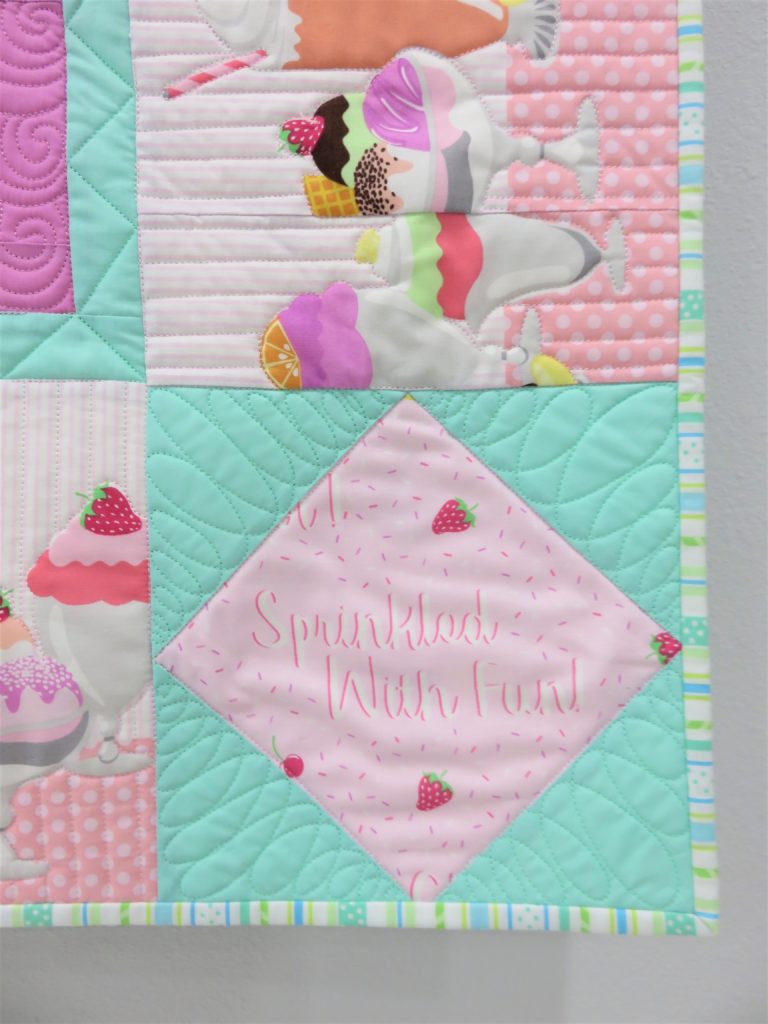
The pattern is for “confident beginners”, which just means you need a general knowledge of foundation paper piecing and fussy cutting.  I fussy cut the border pieces so the ice cream sundaes were centered along the center of the borders, and the cornerstones in the border were fussy cut to showcase the cute little ice cream phrases on the fabric.

I had a blast designing and piecing the quilt.  I had even more fun quilting it!  I used Glide thread (from Hab+Dash) and Quilter’s Dream batting in the quilt.  I used a few different colors of thread and matched them to the different fabrics.  Most of the quilting was handguided free motion quilting, with the assistance of straight rulers for the grids.

A close up of the quilting on a purple quilt
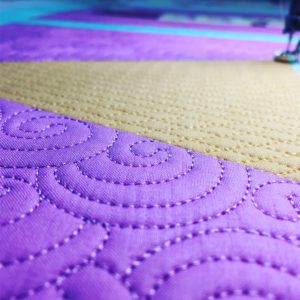
Ice Cream Cone Quilting
A close up of the quilt with cupcakes on it
Cornerstone block quilting

I’d love to see what you do with the pattern–the foundation paper piecing blocks are pretty quick to sew up.  Just remember to shorten your stitch length (I like to use 1.5) so the paper is perforated enough to tear away easily and print your paper piecing templates at 100%.  Then add your sashing and borders and voila!  Don’t forget to grab your free copy, and check out the pattern (pictured below).  Happy sewing!!!

A cake stand with cupcakes on it and a microphone
Ice Cream, You Scream Quilt

Posted on

Summer fun and a DIY first aid kit

A black bag with some bandaids on it


A black bag with some bandaids on it
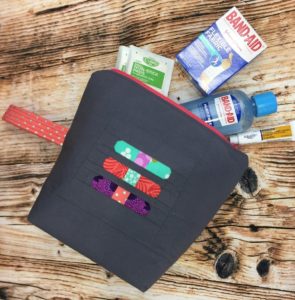
DIY first aid kit
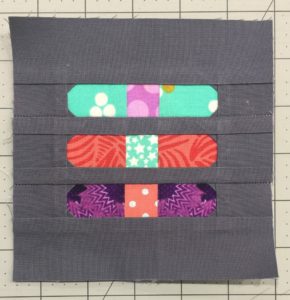
Now that summer is here, many people are planning day outings or vacations with the kiddos.  It’s a good idea to have a first aid kit with you in case something happens, and I know I haven’t even kept one in my car (I’m learning, though!).  So this pattern has a free zipper pouch tutorial and a free foundation paper piecing tutorial in it.  Two for the price of one! But not really, because they’re both free 😉  Head over to the AQS Blog and get your free tutorial HERE!

A quilt block with three different colored bandaids on it.
finished foundation block

If you don’t feel like messing around with the band aid block and the paper piecing, you can totally skip that part and just cut two slid pieces of fabric for the front and back.  But those little band aids are so cute!  

I filled my little kit up with band aids, some antiseptic spray and wipes, bandage tape, gauze, and antibiotic ointment.  You can personalize yours however you’d like and maybe sew up an extra one for a friend (or for dad’s car).  The little band aids are a great way to use up small scraps of fabric.  I know I have a hard time throwing any fabric away, so I’ll keep this block pattern close at hand for teacher gifts or whatever!  Happy sewing until next time!

Posted on

Chevron Table Runner free tutorial with foundation paper piecing

A piece of paper with some glue and a ruler


So St. Patrick’s Day is right around the corner–let’s face it–everything is right around the corner!  I feel like I blink and the week is over ;)–anyway, you probably need some greenery in the kitchen to avoid getting pinched, right?  Well, you’re in luck (like what I did there??), because I’ve teamed up with Janome to bring you a super simple tutorial for a table runner.  If St. Patty’s Day isn’t your thing, you can easily swap out the colors for something more suiting and make it your own.  

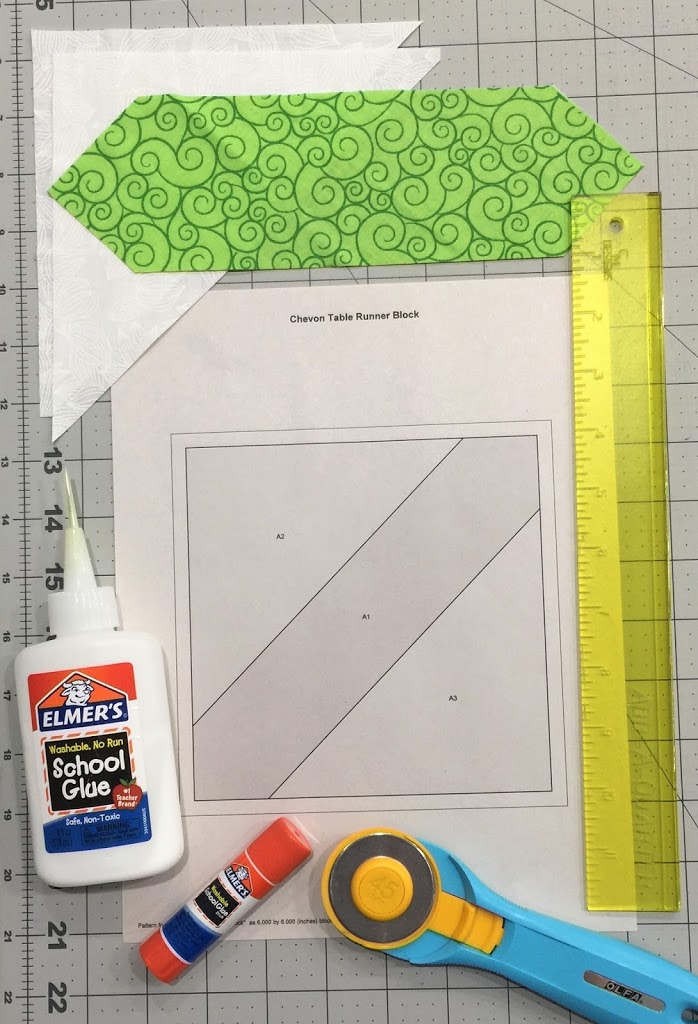
So pictured below are a few great supplies to have on hand for foundation paper piecing.  I absolutely love my add-a-quarter ruler.  It has a little lip that you butt up against the edge of your fabric for easy trimming.  I’m also a big fan of Cristy Fincher’s glue basting tips that you can get HERE.  They screw onto the top of a regular bottle of Elmer’s school glue and are fantastic for distributing just the right amount of glue to the fabric.  And some 8.5″ x 11″ newsprint paper–you can use standard printing paper if you don’t have this on hand and don’t want to make a special trip for it.  The newsprint tears away a little easier than the heavier weight printer paper, so that’s why I prefer it.  And a glue stick!  The rest of the supplies are pretty standard sewing supplies.  

A piece of paper with some glue and a ruler
Foundation Paper Piecing Supplies

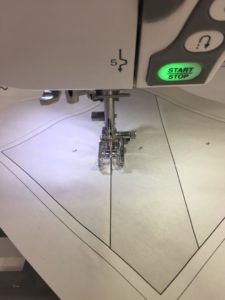
When you foundation paper piece, you sew on the printed side of the paper.  The fabric is secured by using a little glue from the glue stick to adhere it to the opposite side, and the elmer’s glue to add another piece of fabric.  Be sure you shorten your stitch length–a good rule of thumb is to shorten your stitch length to 1.5 or smaller.  This perforates the paper enough to easily tear away later.  If you don’t shorten the stitch length, you could play tug of war trying to tear the paper away once your blocks are complete!

A sewing machine is shown with the start button lit up.


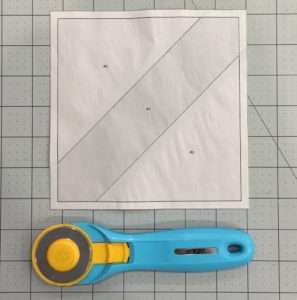
Use a ruler to trim away the excess fabric and paper (you may want to use a rotary cutter that you designate for paper use for this), making sure you leave the 1/4″ seam allowance in tact!

A blue rotary cutter next to a white paper.


Visit the Janome Website for the full instructions on how to finish this sweet project!

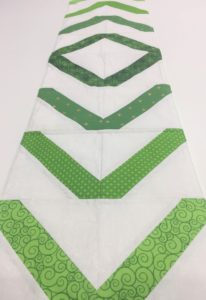
A green and white quilt with an arrow pattern.

Enjoy the rest of your week!  I know I will–as I type this, my husband has taken our 3 month old for a walk so I can have a little break 🙂  I love her to pieces, but my lanta–sometimes it’s nice to have a minute for yourself!  Happy sewing!

Posted on

Alison Glass Ventana Quilt


I usually am not such a sucker for holiday deals and sales…but when Alison Glass had her twelve days of Christmas, I couldn’t resist.  I ordered the pattern below (picture from Alison Glass’s website) in the kit format.  And I have to say…I have NEVER purchased a quilt kit before.  I take immense pleasure in selecting fabrics and design for a quilt, but it was so nice to not have to think about those things for once.  I opened the pattern, cut up all the fabric that was sent to me, and I whipped this quilt top up in about 4 days.  

I have yet to quilt the top…I’m thinking of adding some applique to the center of the white parts of the quilt to add a little more to it, but haven’t quite decided yet.  I had allowed myself a few days of selfish sewing prior to the end of 2016, and this was the project I chose to do.  It’s a great pattern–especially if you want to just follow someone else’s instructions (the blocks are foundation paper pieced), and you don’t even have to worry about being too mindful of the piecing process.  
foundation paper pieced blocks ready to be assembled
The kit I purchased came with Alison’s newest line of fabric-Seventy Six.  I added a few blocks to the standard pattern to increase the dimensions slightly.  I really didn’t think this pattern would come together as quickly as it did, and didn’t really have a backing in mind for it when I finished.  So I just wanted to share my bit of selfish sewing for 2016.  And while this isn’t really a pattern review, I have to say the pattern is extremely easy to follow (and the kit even came with enough fabric for me to make 12 extra blocks–increasing the size from a 5×6 layout to a 6×7 block layout.) and such a pleasure to make.  

My nearly finished quilt top