Posted on 1 Comment

Dresden Placemats tutorial

Do you need a little something special to liven up your table top decor?  How about whipping up some fabulous new place mats that easily reflect your awesome style?  I recently created a cute little tutorial with a free dresden template that can be downloaded HERE !  


There’s also a really cool-no bind technique that is explained in the tutorial that you’ll just have to try out!  I love this fabric by Sarah Jane Studios for Michael Miller fabrics, and think it’s perfect for spring and most of summer!  

I hope you’ll find some time to sew this week and play around with some cute dresdens!

Posted on

Applique your way to a handmade Mother’s Day!

I’m always looking for creative gifts to make for holidays, birthdays, anniversaries, and it seems like it’s always the same kind of stuff that you could really do without…like, how many cosmetic bags do you really need?  

So I was trying to think about what kinds of gifts would be meaningful to me if I were a mother.  What kind of gift would I cherish and appreciate forever?  

Well, right off the bat, I think about things that represent my “imaginary kids”.  Handwriting samples, drawings, things that could be made more permanent.  But then, I thought not all kids are old enough to draw or write…so how could that stage be permanently captured in a cute way?  My answer was hand prints!  But the painted hand prints are kind of cheesy, and lots of those probably come home from school in the form of turkeys,  reindeer antlers, spiders, butterflies, etc.  

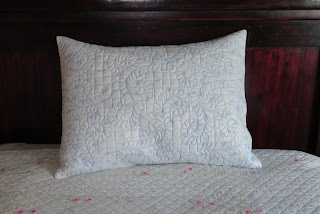
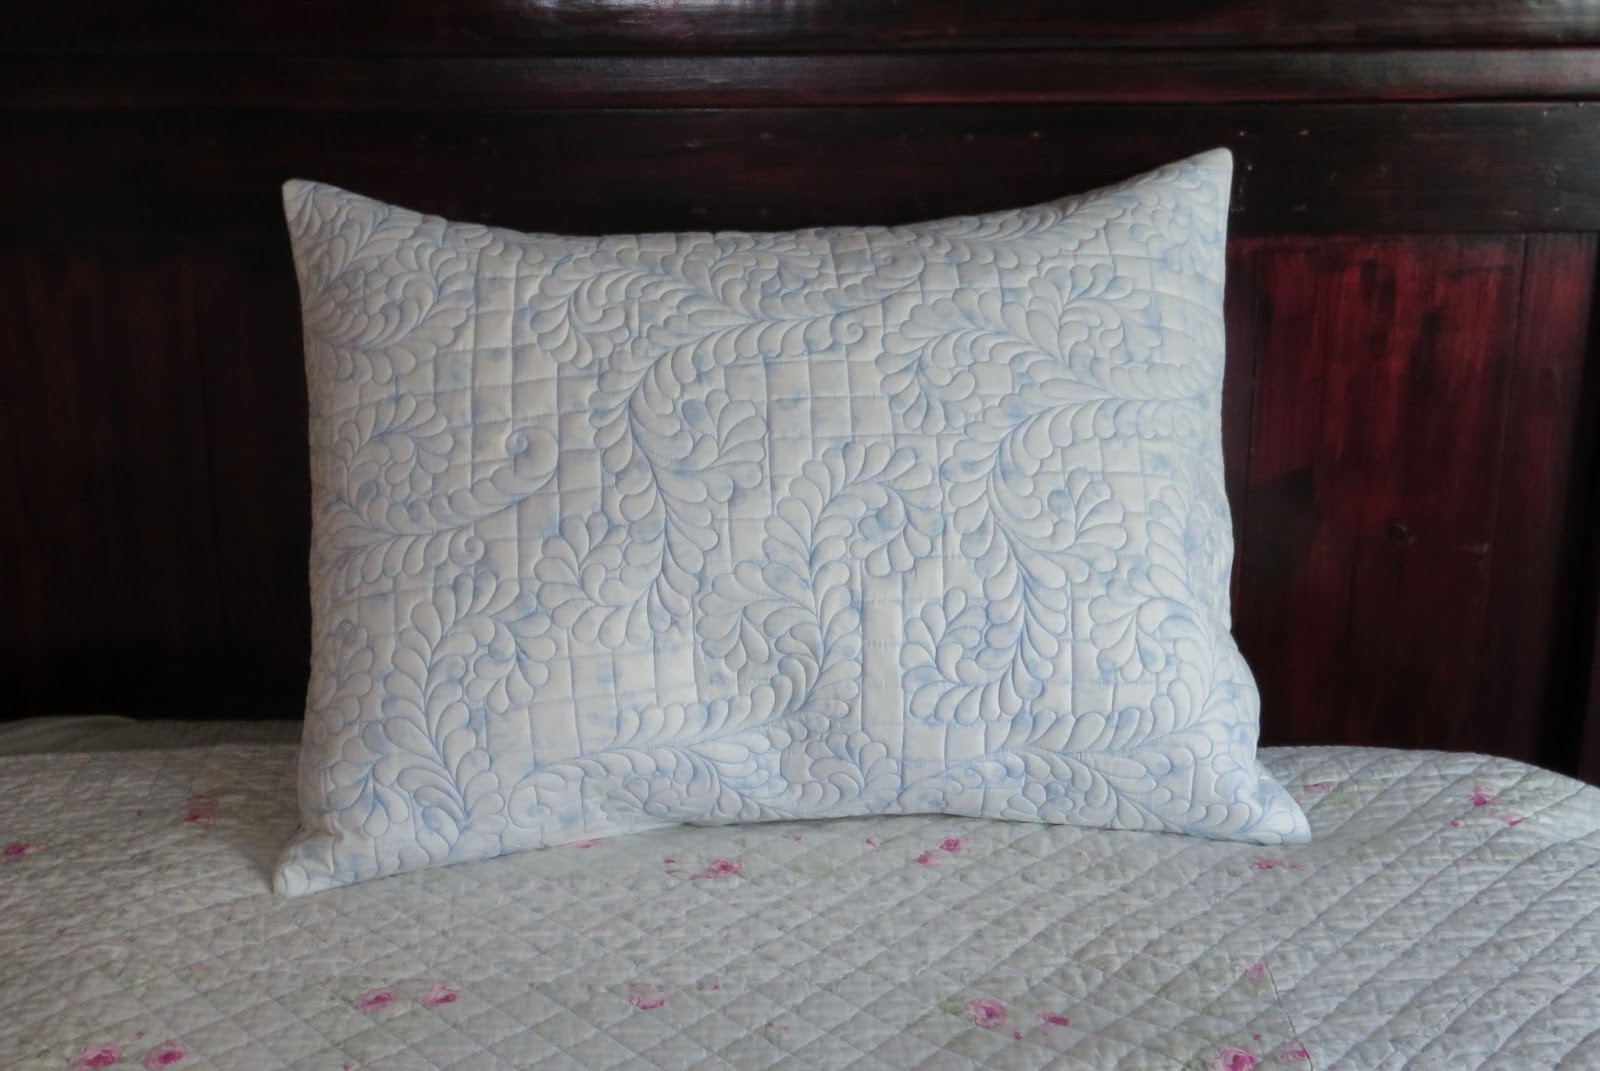
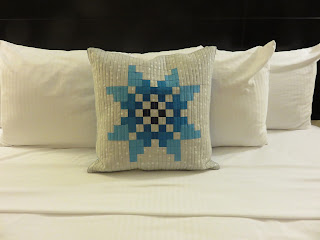
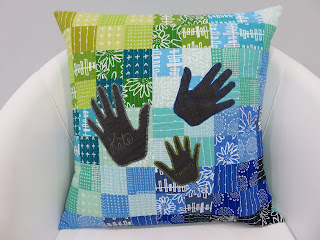
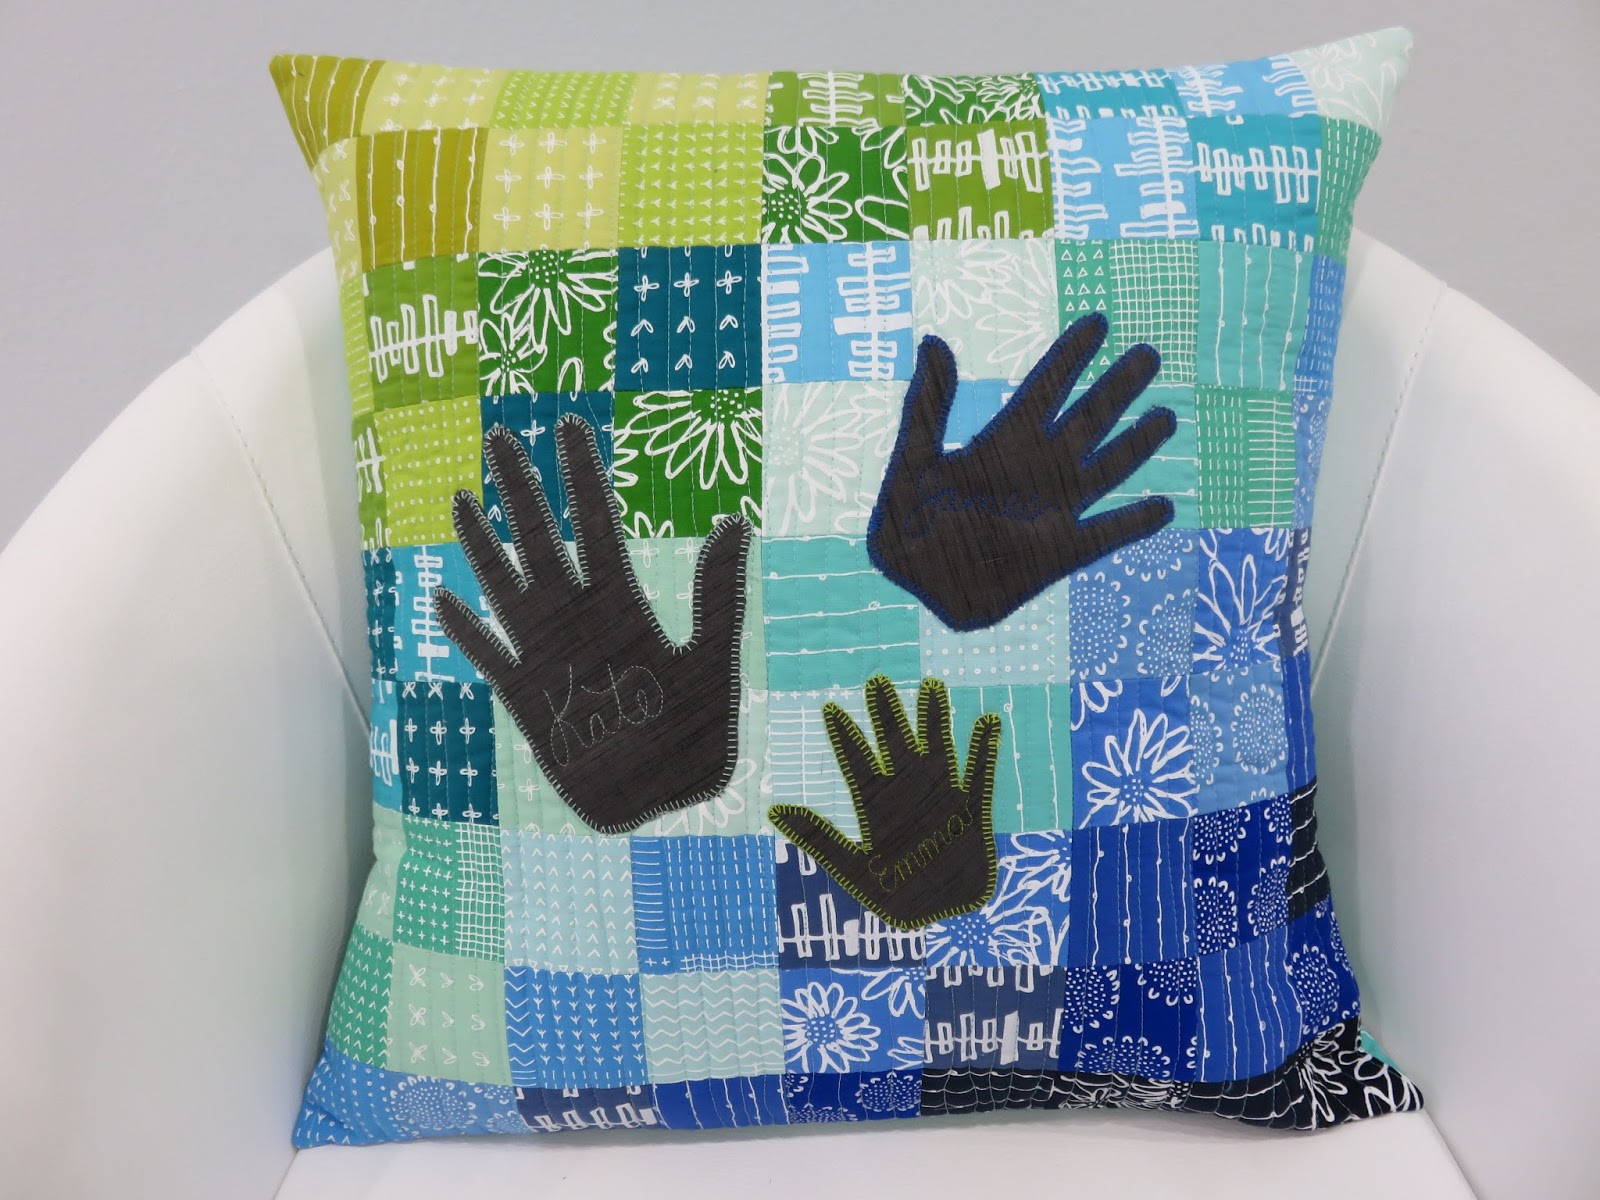
So how about making a functional patchwork pillow with traced hands of the kiddos appliqued on top of the patchwork?  

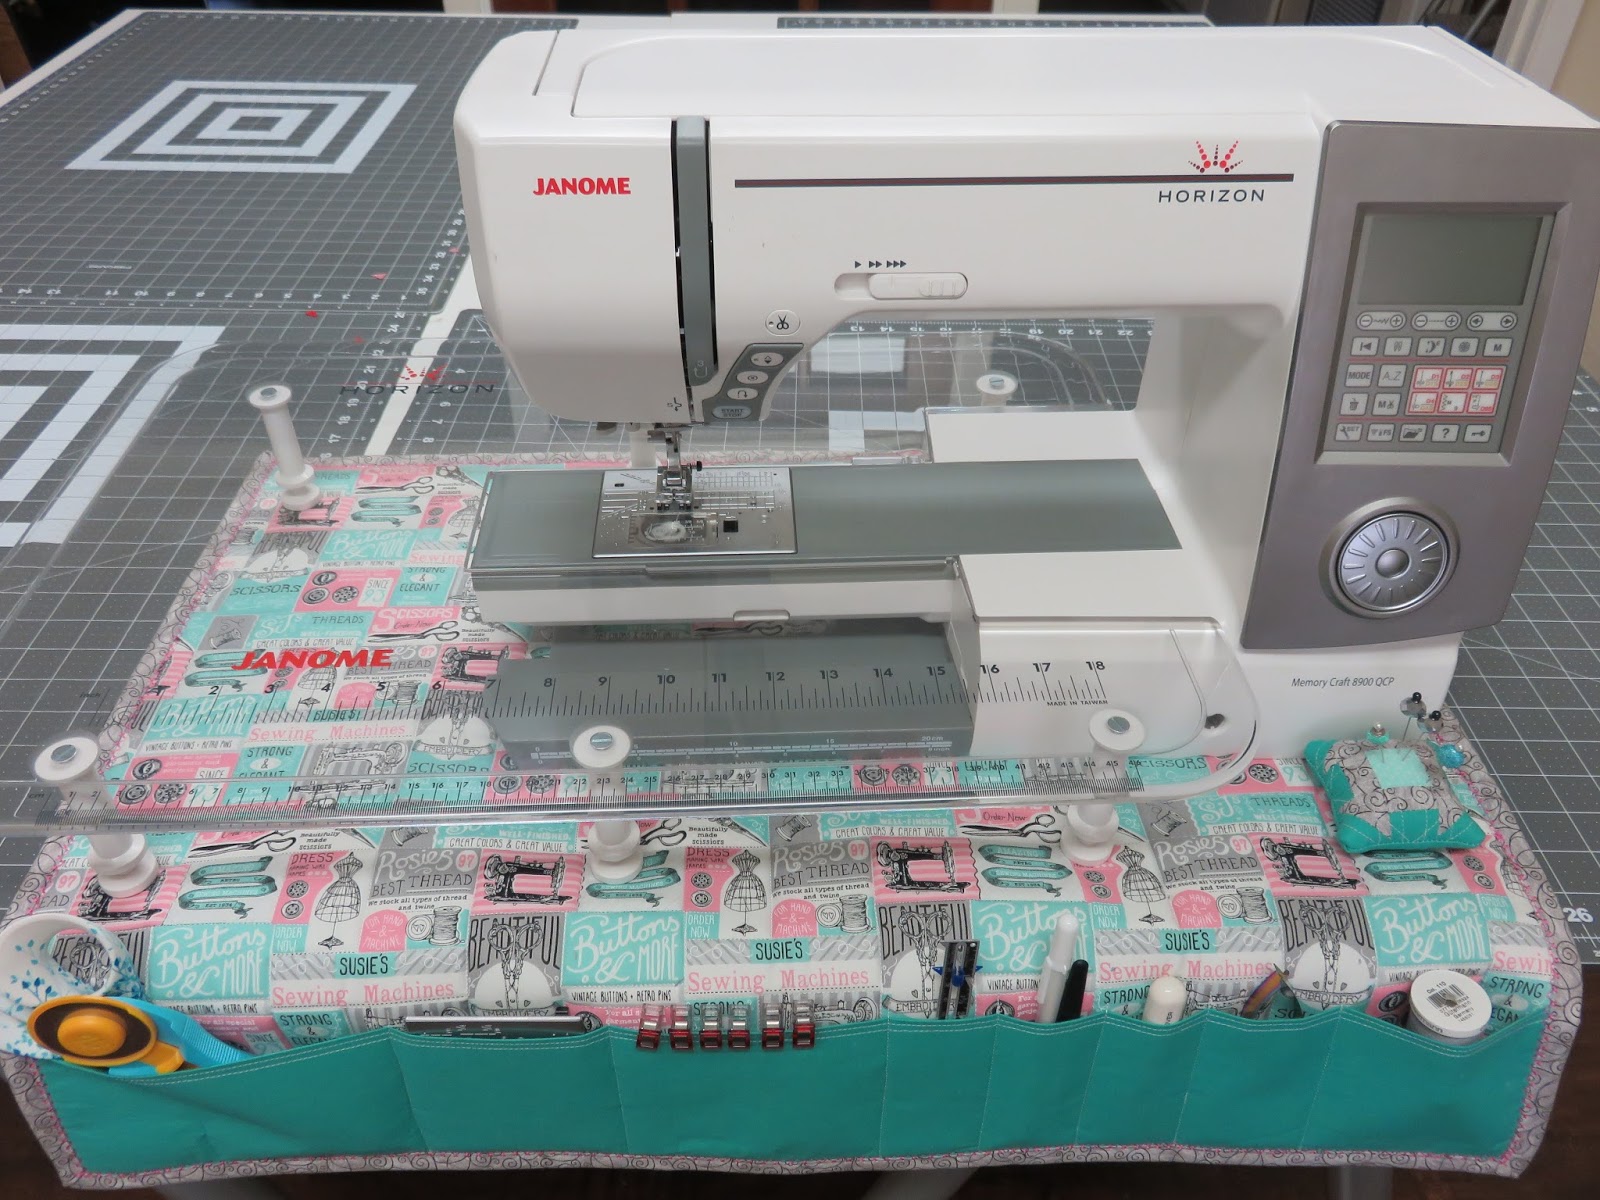
I got to team up with Janome for this super easy tutorial, and really loved the experience.  If you’re in the need for a super cute, but still functional Mother’s Day gift (or grandmother’s gift!), this is the project for you!  Follow this Link to access the full tutorial and supply list.  

The pillow features Karen Lewis’ awesome fabric range, Blueberry Park.  The back of the pillow is an easy envelope closure that takes minutes to make.

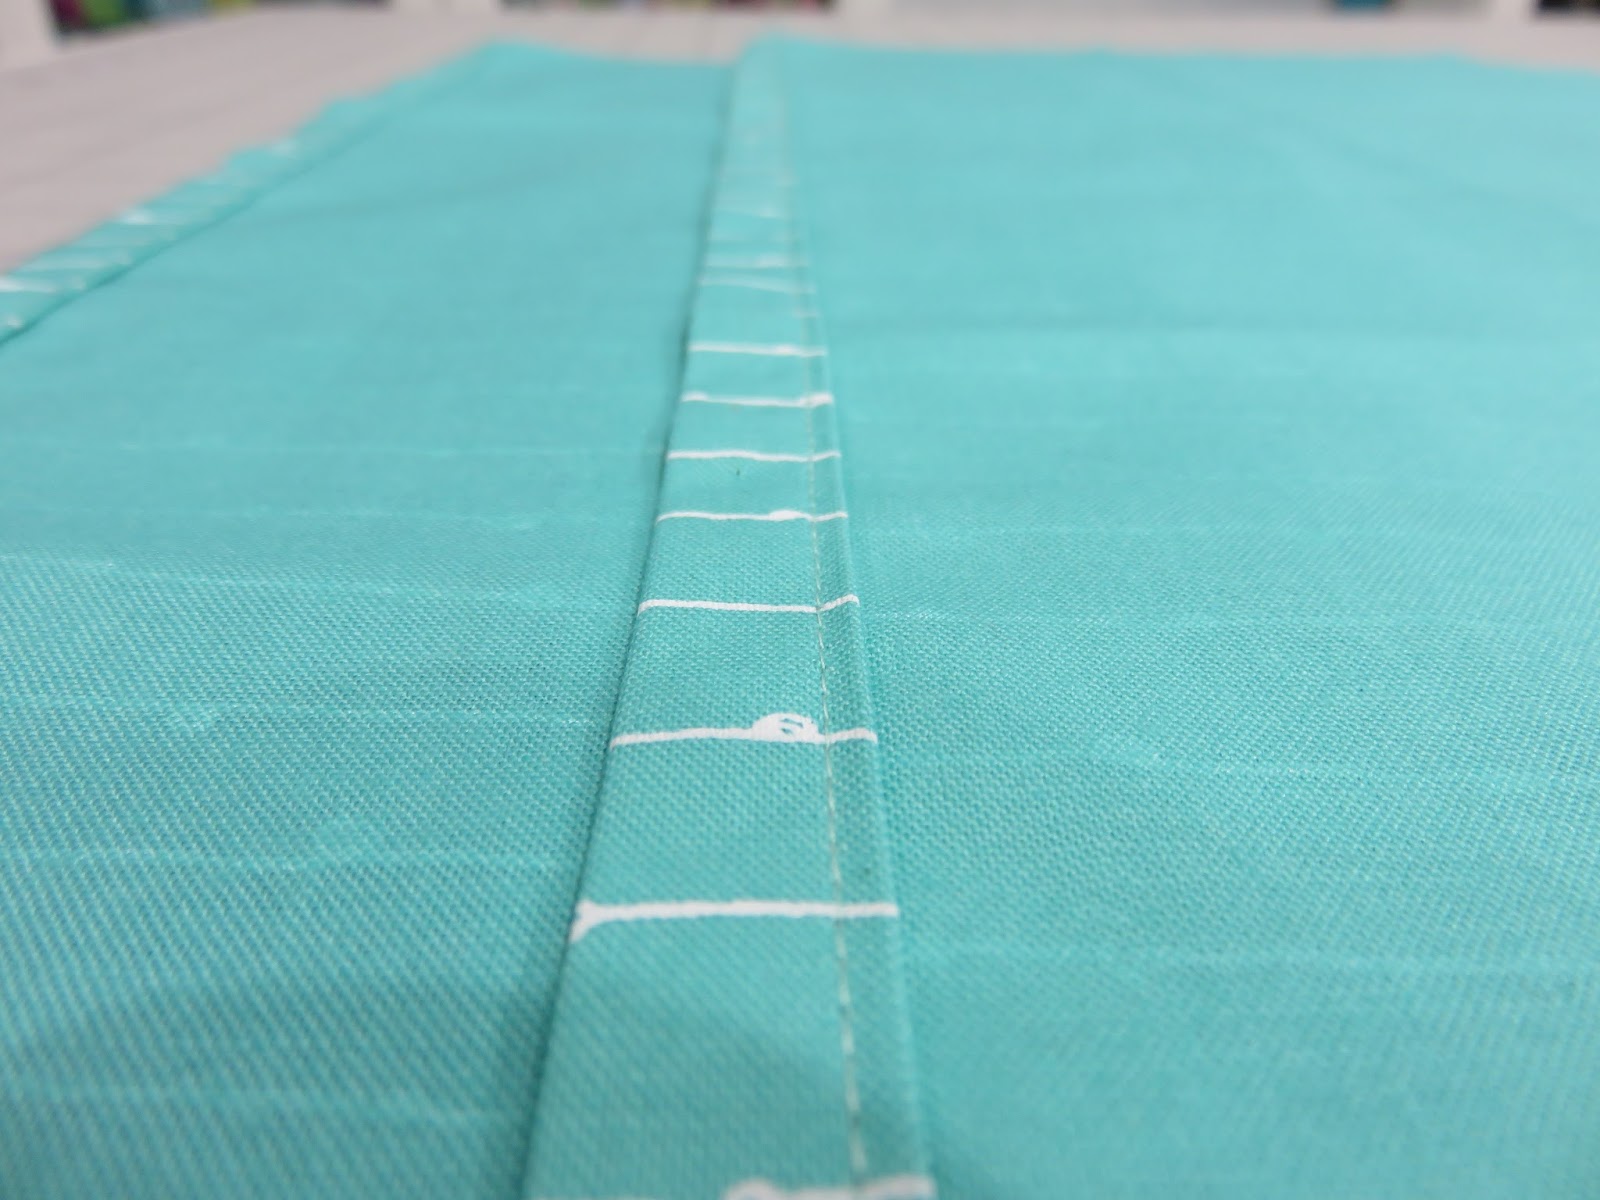
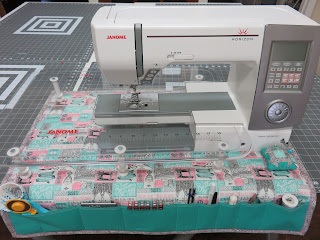
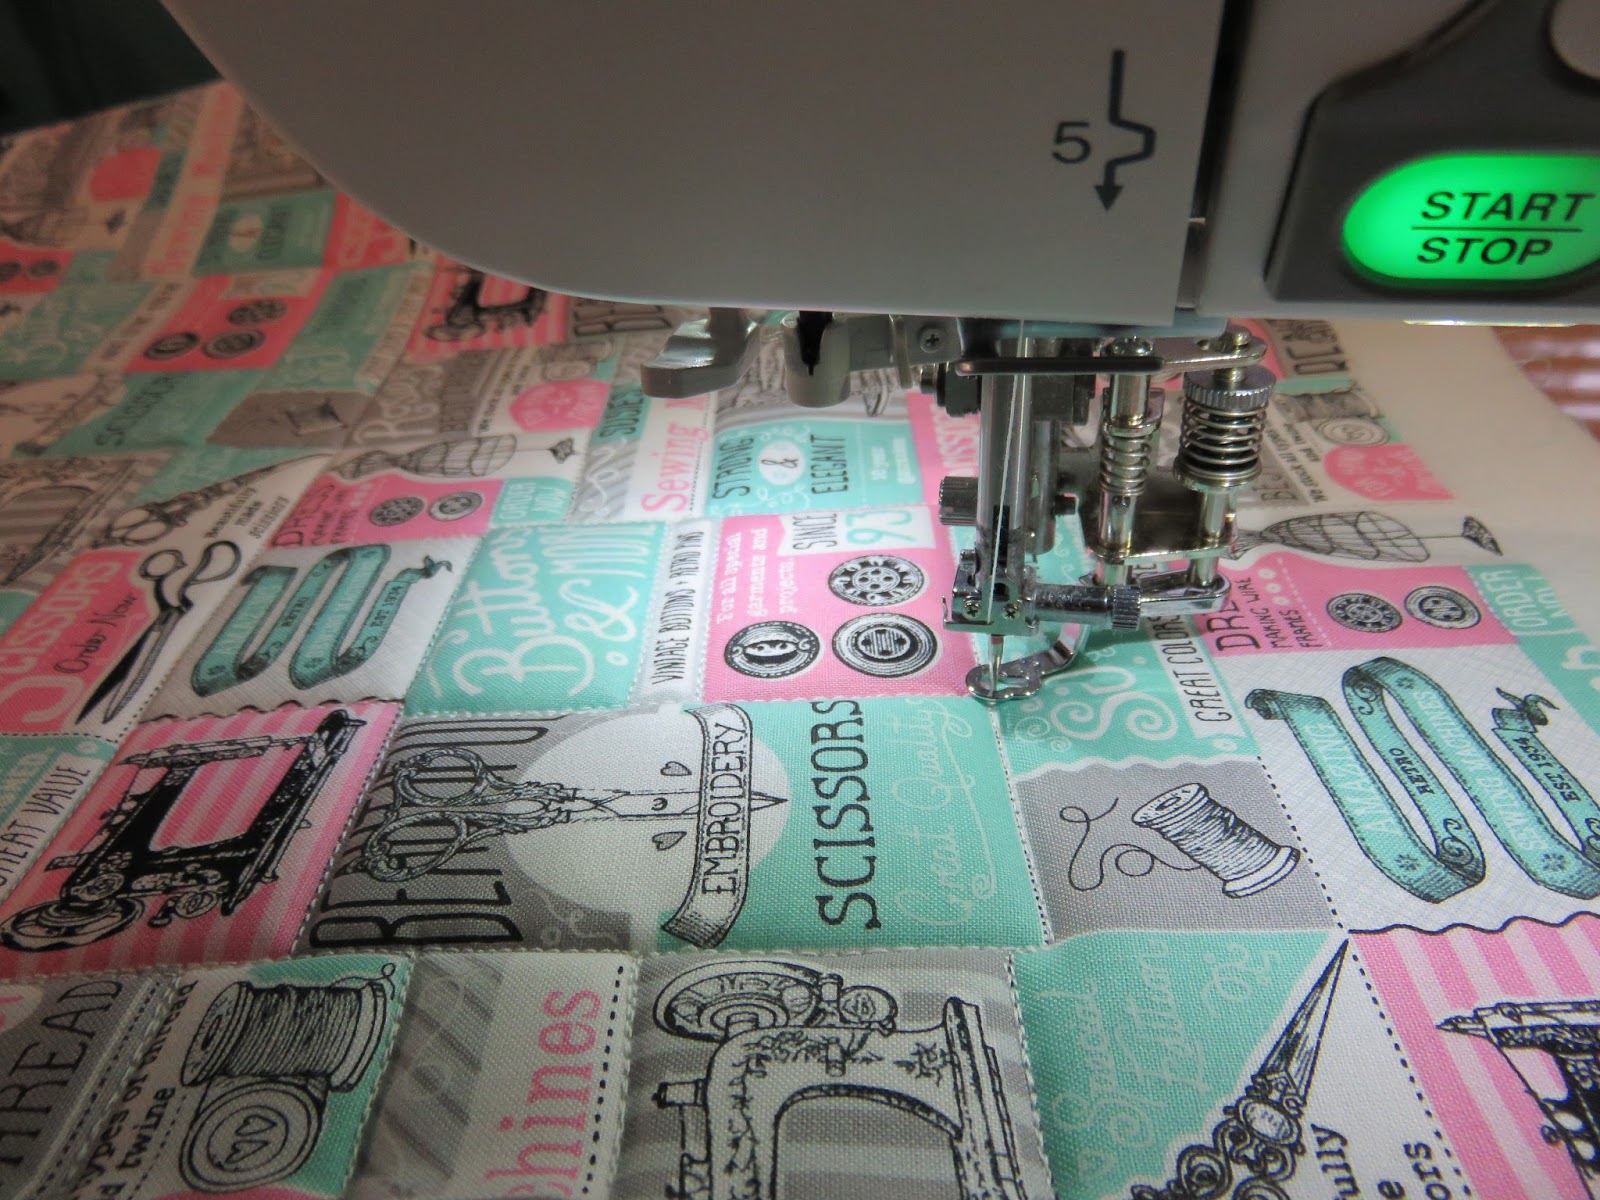
Hemming the envelope closures of the pillow


Sweet little blanket stitch on one of the hands prior to quilting

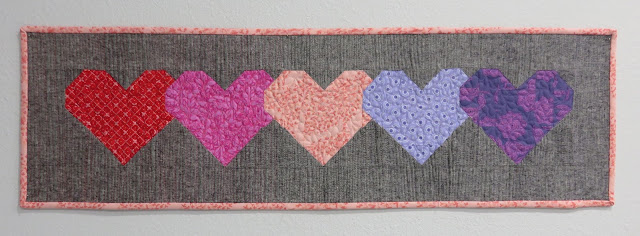
Selecting thread to go with each hand
For more details, check out Janome’s project page and access the complete, free tutorial!
Until next time, I hope you are able to get some good sewing in!


Posted on

Free tutorial: Using chalk pounce and stencils to make gorgeous quilted pillow shams

Check out my newest tutorial for Janome on the AQS blog this week!  The tutoiral is for Quilted pillow shams that will really step up your bedroom decor and give an extra special touch.


Follow this LINK to see the full tutorial and add some new tools to your quilting toolbox!

I’ve always loved quilting, and was a little skeptical at the stencils.  Especially before I knew about the chalk pads.  I tried them when I first tried my hand at quilting, and used a water soluble pen to trace each stencil line.  And let me tell you…that will be a wonderful deterrent for anyone to never try stencils again.  Time consuming, inefficient, etc.  Then one of my friends had some of the chalk pounce and pads and so I thought I might just go ahead and try it again.  WAY better than tracing each line by hand.  What originally to hours literally changed to minutes.  So if you haven’t loved stencils, maybe try this and you’ll change your mind!

Posted on

Sew organized! Free sewing machine mat and mini pin cushion tutorial

The month of January brings tons of resolutions to improve, organize, etc.  Along with a new year!  I like to stay organized (or at least try to!), and so I teamed up with the awesome people at Janome to bring you a free tutorial for a sewing machine mat/organizer and a mini pin cushion that velcros to the top of it for easy removal.  It’s a fun way to try out some new products that you may not have used and keep your tools handy.  You can find the tutorial at Janome’s project page HERE

Sewing machine mat/organizer with mini pin cushion

There are some really fun features with this tutorial!  If you’ve never used Soft and Stable ByAnnie before, this project gives you the opportunity to try it out.  You can easily substitute regular batting, if you choose to do so.  


Cheater panel for easy quilting
Another fun tip is using a cheater print fabric to guide your quilting!  I picked up this Timeless Treasures fabric at my LQS and quilted around each little square/rectangle to make it look like fun patchwork.  

Mini Churn Dash Pin Cushion

And if you’re not in the market for a sewing machine mat, you’re sure to love this tiny churn dash pin cushion!  It would make such a sweet “extra” for any sewing swap.  And, Lord knows, I can never have enough pin cushions 😉


Decorative stitch binding finish
I also discuss trying out different binding techniques.  So instead of hand stitching your binding down, try a fun decorative stitch to add a little pizzazz!  

I hope you enjoy this fun project and take some time for a little selfish sewing this week 🙂


Posted on

Love is in the Air! Free Heart wall hanging tutorial

Don’t you love seeing all the cutesy Valentine’s Day sewing projects?  I love the typical heart patterns, but wanted to see a different spin on it, so I teamed up with Janome and created this free pattern & tutorial for you–available at the American Quilter’s Society Bog HERE

Love is in the air!  Wall Hanging

This is an intermediate tutorial with a few half-square triangles and some fun quilting techniques.  

Some tips: 
-Pair your bright colors of the hearts with a mellow, low-volume background fabric for more POP!
-Matchstick quilting around the hearts can really set it off, but feel free to try some swirls or crazy feathers for a different effect.
-Try a scrappy binding using all the colors of the hearts.

I hope you enjoy some quilting time today!


Posted on

Blue December Pillow tutorial

I had the awesome opportunity to team up with Janome and AQS to offer a free pillow tutorial!  You can find the complete instructions and supply list here: Blue December Quilted Pillow Tutorial


This is such a fun and easy project to do to add to the ambiance of the season, and I love the blue and white colors, as opposed to the more traditional red and green.  So if you have some spare time, get sewing and whip up this sweet pillow!

Posted on

Make your own Home Decor for cheap, with DIY tutorial included

Finally, I did a shortened version of my original tutorial  (since Blogspot doesn’t support PDF uploading–or I couldn’t figure it out!).

Above is the wall art that I made when I re-did our guest bathroom.  This is a very inexpensive way to make something to suit your taste and easily coordinate with your home decorations.  Just a heads up-this does take a good amount of time, and requires a little concentration-depending on how detailed your silhouette is.

First, you need to find a shape or silhouette that you like.  Keep in mind that you will be cutting this out AND sewing around the perimeter.  I suggest doing a practice one first with a circle or square–something simple and straightforward.  You might get really put out if you start with the deer!  

Print them out to the size you want them to be in your decor.


Now for your supply list-
Some kind of fusible stabilizer or interfacing that is thin to put behind your background fabric
Background Fabric (pictured in the next photo)
Fabric for your silhouette
Rotary ruler
Iron
Precise scissors
Sewing machine/needle and thred
HeatnBond Lite
Sewing pins or scotch tape
Photo frame with enough spaces to put what you want in it

So this photo shows the thin interfacing that you will be fusing to your background fabric.  If you don’t have any handy, this step is not mandatory, so don’t fret!  

You’re going to cut your background fabric to the size the picture frame you bought is.  Make sure you cut the pieces a little larger than the viewing window so you can easily secure them.

Cut your pieces of stabilizer to the same size as your background fabric pieces.  I have three in this picture because I had a 3-photo frame.  

Follow the manufacturer’s instructions for fusing the stabilizer to the fabric.  Now you can set these beauties aside, because you won’t need them for a while!

Now cut your silhouette down to the smallest you can get it without cutting on the lines.  You’re going to prep your silhouette fabric now…

Before you cut your fabric, lay your shape on top of it and make sure you have a good inch extra on all 4 sides.  It’s better to have a little extra to play with if you need it than having to go back and cut more if you make a mistake.  Once you measure, go ahead and cut the fabric to size.


Cut a piece of HeatnBond to just a LITTLE larger than your silhouette.  Place it shiny side down on the wrong side of your silhouette fabric.  Follow the manufacturer’s instructions for bonding.  Mine said not to use steam, so make sure you don’t!  


Once you’ve got your HeatnBond on the back of your silhouette fabric, flip your fabric over so it is right-side up.  You may want to choose a fabric that isn’t solid colored-sometimes it’s hard to determine which is the front or back.  I use scotch tape and pins to secure my silhouette shape to the fabric–make sure your shape is directly over the HeatNBond.  If you can’t tell, hold your fabric with the silhouette up to a light source and you should be able to see the HeatnBond with no problems.

Now you’re ready to get stitching!  You’re going to sew ON THE LINES of your silhouette.  
You don’t need a machine to do this, but it sure goes a Heck of a lot faster if you do.


After you have your outline sewn, you’re going to cut through all layers around the silhouette.  It’s a good idea to leave a 1/8″ space between the stitching line and your cuts.  If you cut too close, you risk cutting the thread, or having the fabric fray–which you definitely do not want!

Now you’re going to peel off the printer paper from the front of you shape, and the paper backing from the HeatNBond from the back of the shape.  You even have to peel off the measly little paper between the cuts you just made and your line of stitching.  Be careful to not fray the fabric.  This is why I told you to leave a 1/8″ space.  You can see that I did not.  I’ve done this a few times before and so I knew I could get away with that.  You might find that too.  But for now, leave 1/8″. 


After you remove the paper backing, you can go grab your background fabric and center your silhouette on it.  I think the easiest way to do this is with a rotary ruler or some kind of clear acrylic ruler.  Makes things move a little faster–but you can also use just a regular ruler.


Now, look at the manufacturer’s instructions on how to apply the HeatNBond, and follow the directions.  You will now fuse the silhouette to the background fabric.


Once you’ve done that, you’re ready to frame it!  Just remember to minimize the handling of the silhouette so the edges don’t fray.  If you have more than one, you’ll just repeat these steps with each other piece you have.

Please let me know if you have any questions, and good luck on your new wall decor!

Joanna

Posted on

My first Quilting class to TEACH!

Many of us sewing enthusiasts dream of one day being able to actually do this for a living…am I right?  I didn’t realize that sewing and creating brought me so much joy until a few years ago.  Now I wonder how I ever did without it.  I wonder what I did with my free time with no project waiting for me in the other room.  

This past week, I visited with a local store owner in the San Antonio area.  It’s a new quilt shop in Boerne, TX, called Sew It Fabulous.  The owner is ridiculously awesome!  She is allowing me the opportunity to teach a beginning quilting class on August 2.  

And this is a portion of her shop’s newsletter.  I’m so excited to do this, even if it turns out to be a one time thing.  I hope that I can help other people to become excited about sewing–because I know how frustrated those first stitches can make a person.  I remember when I first started using my little rinky dink Singer and how all of my seams would be off and unfinished, and I was still so proud of myself for what I had made.  

Last week, I also prepared a step-by-step tutorial of how to do the wall-hanging applique project that I had posted about (spent hours on it!), only to find that when I went to upload it that this host does not allow you to upload PDF.  GRRRRR.  I will find another way to post the tutorial, because it really is a great project-even for beginners.  So I guess this post is mostly just an update that I WILL post the tut…eventually!  More to come soon!

Joanna


Posted on

Redecorating your bathroom on a budget

Bathroom Re-Do for $212.00 

How many times have you gone in your bathroom and hated it?  I could not stand how our guest bathroom looked.  The wall paper was from the ’60s, everything is trimmed in bright gold finish, the mirror on the medicine cabinet is cracked, and I had a huge picture of a monkey chugging a bottle of liquor on the wall in bright yellow.  The cabinets had water stains on them.  The wall paper had designs of ugly flowers and vines, that if you looked really closely, you could make out the outline of a woman and her breast.  None of the towels matched.  The decor really worked well together!

You are going to love the bathroom as much as I did!


My husband and I live in a 1970’s model double wide that I have been taking strides to update and make into a home.  We got it for free.  F-R-E-E.  Now I know not everyone is blessed with a free house, and there were some definite drawbacks to it.  It’s gotten new shingles, new siding (it had been through a hailstorm and tornado), new electrical wiring, basically lots of new just to make it livable.  

So now that it is comfortably livable…I’ve been “decorating”.  I’m making air quotes with my fingers, because I’m a firm believer that I have an absolute lack of style when it comes to picking curtains, decor, etc.  This year, I’ve learned about myself that I really just don’t like what there is to purchase for decor.  I want to make it myself.  Partly because I didn’t even know how to use a sewing machine 5 years ago, and I am so excited that I can actually do something useful.  And when you make it yourself, you can save a ridiculous amount of money by making your house look AWESOME.  

Working on a budget!

The first thing I did was move all of the mis-matched towels out of the bathroom.  I made a trip to TJ Maxx and purchased some really nice dark gray DKNY bath, hand, and face towels, then I purchased two coordinating rugs.  This was the biggest purchase I made for the bathroom.  I spent about $40.00 on the 2 rugs and $50.00 on the towels.  I could have gone to Wal-Mart for the towels, but the ones TJ Maxx has are really, really nice.  They are soft and plush and not thin and flimsy like the cheapies at Wally World, and I was okay with spending a little extra on those.  

When I got the towels home, I cut pieces of fabric and hemmed the sides.  Then I just trimmed all of the towels in a variety of different fabrics that coordinated with the color scheme I was planning on using–gray and teal/turquoise.  

This was the end result:

I have a hard time deciding on just one fabric, so I used all of the ones I liked.  I’m not a matchy-matchy personality, so that worked for me.  

Step 2 was getting rid of that awful wall paper.  I actually grew up in this house, and I have loathed that wall paper for as long as I can remember.  It gave me great satisfaction to paint over it.   


I purchased one gallon (I probably only needed a quart) of gray paint in the shade that I wanted at Home Depot for about $25.00.  I always buy the kind that has the primer mixed in with it so I don’t have to do double the work.  I probably should have used Kilz, but my husband insists we are building a house, so I didn’t want to spend the extra money if it was temporary.  I already had the bright teal paint that I had used to repaint our kitchen, but if I had purchased it, I would have needed a quart–so let’s add about $10.00 to that.  I already had the paint brushes and painter’s tape, but let’s say I didn’t and I spent another $30.00 on brushes and tape.  

The key to working on a budget is to work with things you have already purchased!  I really liked the paint I already had, so I just bought a neutral to coordinate with it.  And I am really careful about cleaning paintbrushes after they’re used so they don’t get stiff and ruin.  

I taped off the bathroom and painted the walls and cabinets.  Painting the cabinets was much cheaper than replacing them.  And if you use a really fine brush, it can make the room really pop.  (if you had a larger budget, you could actually fill up the cabinet with towels 🙂


Step 3 was wall decor.  I’m pretty picky about what I like and what I don’t like.  So I made my own.  Before I painted I took down the hideous monkey picture, and there was no way it was going back up.  I bought that myself, by the way.  I told you I had good taste.

After I painted, the walls looked pretty bare.  Don’t get me wrong, they looked GREAT without that dated wall paper, but something was missing to tie the room together.  

I made another trip down to the Wal-Mart and purchased some pretty decent frames.  I spent $12.00 on the smaller one, and $30.00 on the large one.  I could have gone way cheaper, but I wasn’t replacing the bathroom counter or the linoleum, so I figured I had a few extra bucks.

Mind you, I had no plan for what I was going to put in these frames.  I’m shocked that I came up with something.  For the 4-picture frame, I decided to put our last name in applique on some Tula Pink fabric that I had.  It was pretty time consuming, but worth the effort.  That was one picture.  The other three, I went with a nature-y theme and just did some free-motion quilting samples on solid colored fabrics that coordinated with the colors of paint I used.  I did pebbles, all over leaves, and wood grain.  Each one took me about 45 minutes.  


Helpful hint:  The glass in the frames I picked up was FILTHY.  Be careful when you take the glass out to clean it prior to mounting your decor.  I sliced the crud out of my finger and nearly bled all over the things I had spent so much time on, but luckily I noticed in time to get a band-aid.  

The second frame I picked up had three places for pictures, so I decided against quilting again and did something a little more “manly”.  I used google images for outlines of the state of Texas and a buck.  Then I appliqued them onto another Tula Pink fabric that I had.  Are you seeing a theme here?  (I love Tula Pink!)  If I have time, I’ll post a tutorial on how to do this–it’s really easy!


To sum it up, I spent $212.00 total to make this bathroom look a little updated.  I added in $15.00 for fabric-you don’t need much…that’s probably over estimating the cost.  

I could spend a little more and replace the sink and counter top, and I do plan on replacing the mirror (which I am getting for free).  

You save a ton of money by doing everything yourself, and you get the satisfaction of seeing your work put to good use.  

And the best part is I don’t have to look at an abstract picture of a woman’s breast every time I’m in there.  

-Joanna