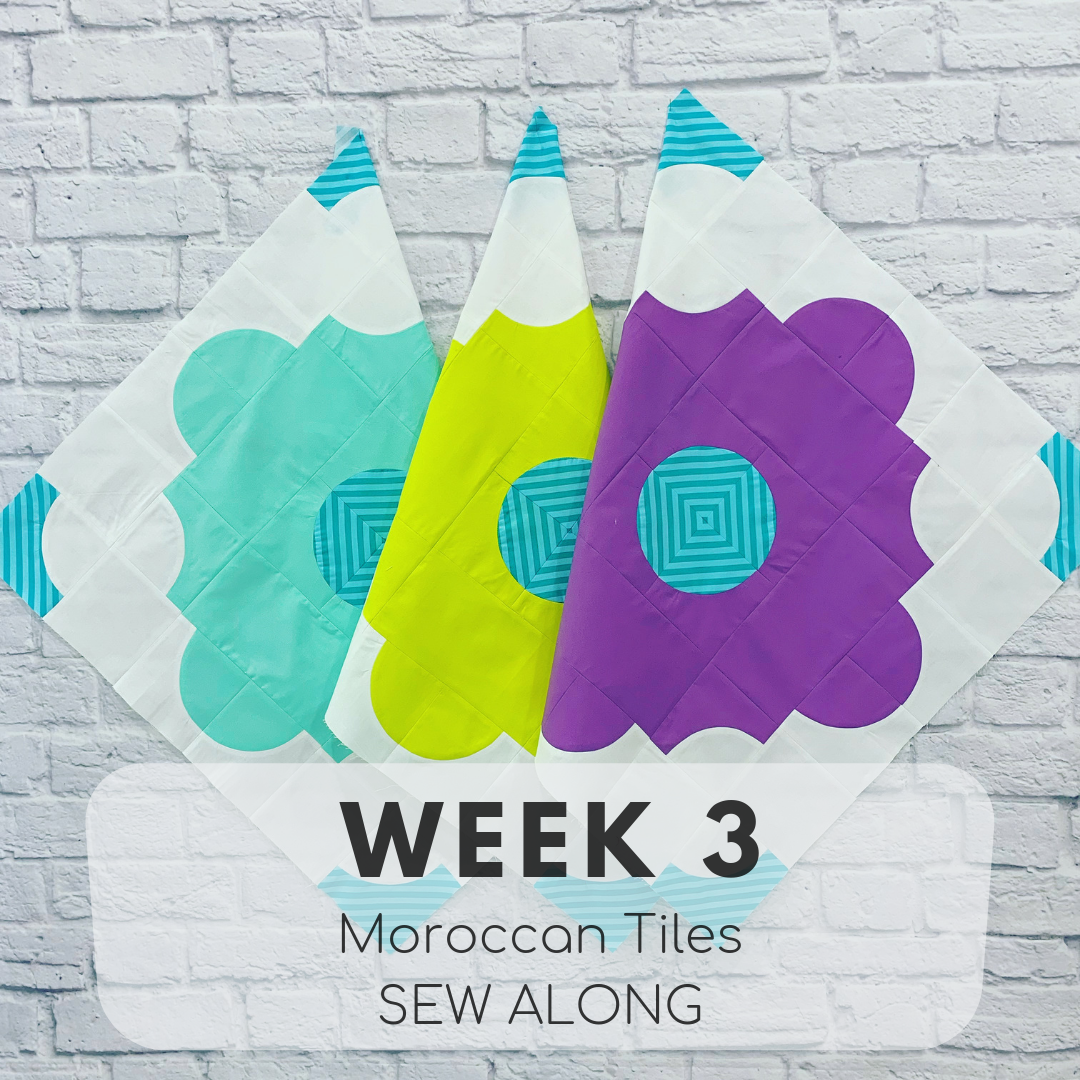
This week, we’ll be focusing on sewing together blocks 1, 2, and 3. If you’re brand new to sewing curves, I’ve got some great tips for you and some video tutorials to help you out. I made quite a few videos in case you’re a newbie, and it may seem like overkill, but I wanted there to be plenty of help available if you needed it. If you’re a seasoned curves-sewist, feel free to skip them!
The first time I sewed curved pieces, I was really intimidated by it all. Honestly, the first few blocks I made looked awful, I had puckers in my fabric, and it obviously wasn’t clicking with me. If this is you too, please hang in there! Practice makes it so much easier. There are several ways to sew curves together, and two of my favorites are pinning the fabric, and not pinning the fabric. I’ve made some videos to help, and you can see them here.
Alright, so here’s the breakdown for Week Two:
- Sew together 3 complete Moroccan Tiles blocks
- the SAL is paced for the throw size (9 blocks), but you can easily make more blocks per week to accommodate the larger sizes, or make less per week to make the baby size.
- Follow steps #6-15 on pages 8-11 of your Moroccan Tiles pattern to assemble each block.
- Don’t forget to match those stripes or fussy cuts if you went that route. I like to pin to match the patterns, or you can try glue basting for a great no-shift match!
- This week, post a picture of your 3 blocks on Instagram using the #moroccantilessewalong hashtag.
I’ll be randomly picking one winner from week three (you have to post the week 3 prompt on Instagram with the hashtag by 6/21/2019 at 11:59 CST) to win an awesome prize! This week’s prize is a SunPrint 2019 FQ bundle from Sew Modern Chicky (the SAL shop sponsor). Check out theOriginal Sew Along postfor more details & the rules.

Top tips for piecing the curves
- Take your time!
- Mark all your reference points/points to match before you pin
- Match each mark to it’s corresponding partner and slide the pin through the marks
- Sew with the Template 1 piece of fabric on top.
- Ease the fabrics together without over stretching them
- Sew slowly and lift your presser foot often to adjust, if needed.
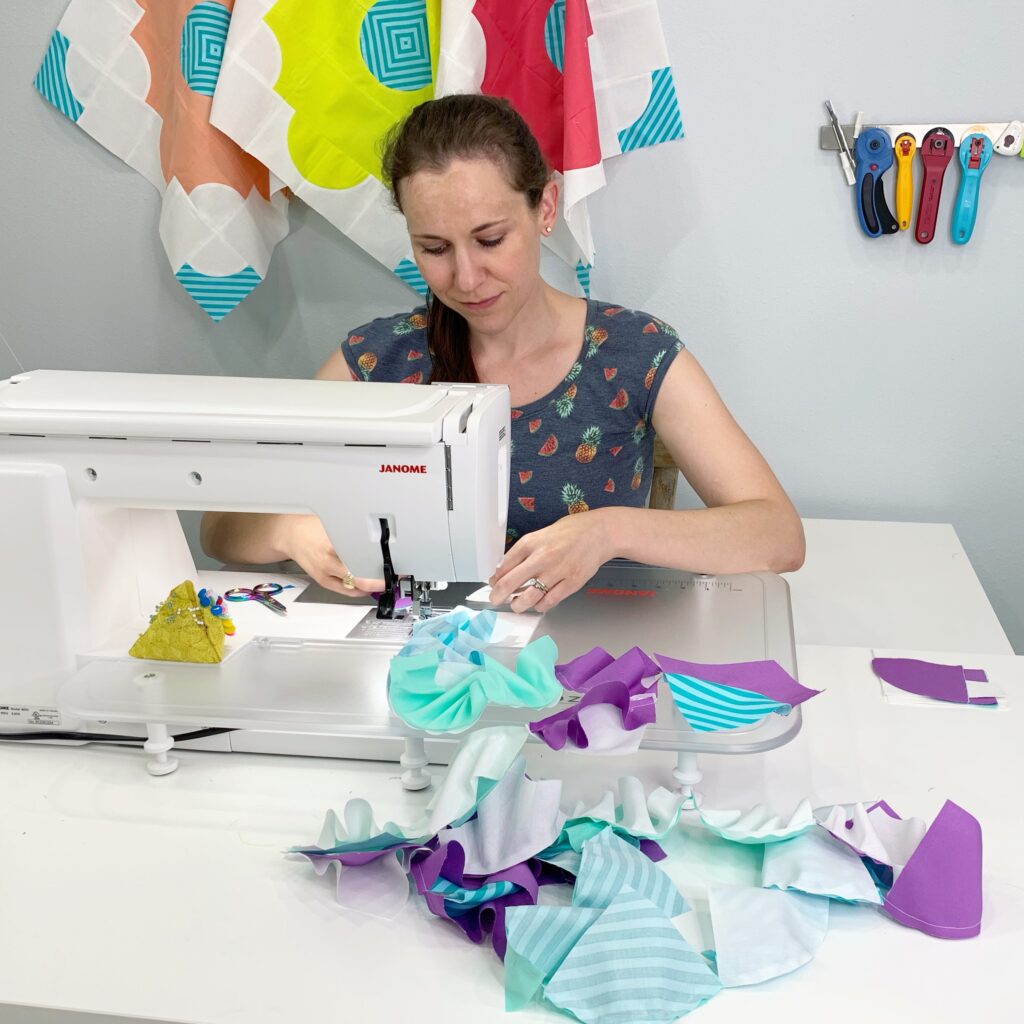
- Chain piecing is my FAVORITE! See picture above 🙂
- Press your seams towards the template 1 piece, or press them open. I’ve done both with great results.
Sewing your block pieces together
Use the diagram on page 4 of your pattern as a guide for the placement of the cut pieces. I like to lay all my pieces out on a piece of foam board prior to pinning and sewing. If you’re using stripes or you’ve fussy cut some pieces, be sure to pin well to match the stripes or other. You could also glue baste to secure the matches perfectly.
Sewing curves WITH pins
If you’re just starting out, I’d recommend you start with pins. And the more, the merrier. If you’ve got the Moroccan Tiles acrylic templates, there are pre-marked holes on the etched seam allowance of the templates that match the other template. All you need to do is mark a little dot of ink and then line those points up to pin them together. You can watch the video below to hear all about it!
I would recommend pinning in 5 places to start out (or more). Just know that if your first one doesn’t look great, it will get better with practice! It took me quite a few tries to get it right. And when you press the sewn curves, I recommend either pressing the seams towards the larger piece (the one cut from Template 1), or pressing the seams open.
If you’re going with the templates provided with the pattern that you’ve printed off, don’t sweat it. You can fold your paper templates in half, then in half again to make your own reference marks for pinning. You can watch the video below (at 8 minutes in, I’ll show you how to make the reference marks for your fabric pieces).
Now to sew the curves with your pinned fabric, you can take a look at this video.
Sewing curves WITHOUT pinning
This method is my favorite! It took me awhile to come to terms with this one, and it usually takes a little practice sewing those curves with pins to get up the confidence to try not pinning. The main thing to remember when sewing the curves without pinning is that it’s helpful to still mark the reference points to make sure you’re on track, AND don’t stretch the fabric. That might sound a little weird, but you are only adjusting the curves to fit into each other. The curves will naturally go together without stretching, and if you over stretch the fabric, you’ll end up with the ends not matching and one being longer than the other. This video is up pretty close and personal, but I couldn’t think of another way to do it and still have the details be seen well.
Putting all the pieces together
I really like sitting down and sewing the curves all at once. I would sew a few of the curved pieces together each day to break the task down a little, and then piece the blocks together. There’s something about sitting down and getting the curves knocked out that makes the rest of the quilt go so much quicker. Have fun and relax while you’re sewing–this is such a fun quilt to make! Week 3 is going to be so much fun!!!
Pattern Correction
There is a minor pattern correction you’ll need to take note of. You can find the details here.
Next week, we’ll be assembling blocks 4-6!
Moroccan Tiles Sew Along Posts:
Week One– Fabric Pull
Week Two – Cutting the fabric

I’m going to try the no pinning method today! Wish I had a knee lift on my machine ?
You’ll do great Lucy! No pinning is my favorite. Goes so much faster 🙂