I’m so thrilled to share my OLFA Creator project with you today! The Sunshine Tote PDF Pattern is here! I’m a sucker for oversized tote bags and I love creating details that will really make a tote POP. So I’ve gathered together some of my favorite OLFA tools to put together the Sunshine Tote. I used the OLFA Circle Rotary Cutter to cut out the circles on by tote. It makes for some really cool reverse applique. This was such a great project that lifted my spirits during sewcial distancing.
Continue reading Sunshine Tote PDF Pattern – download now!Tag: reverse applique

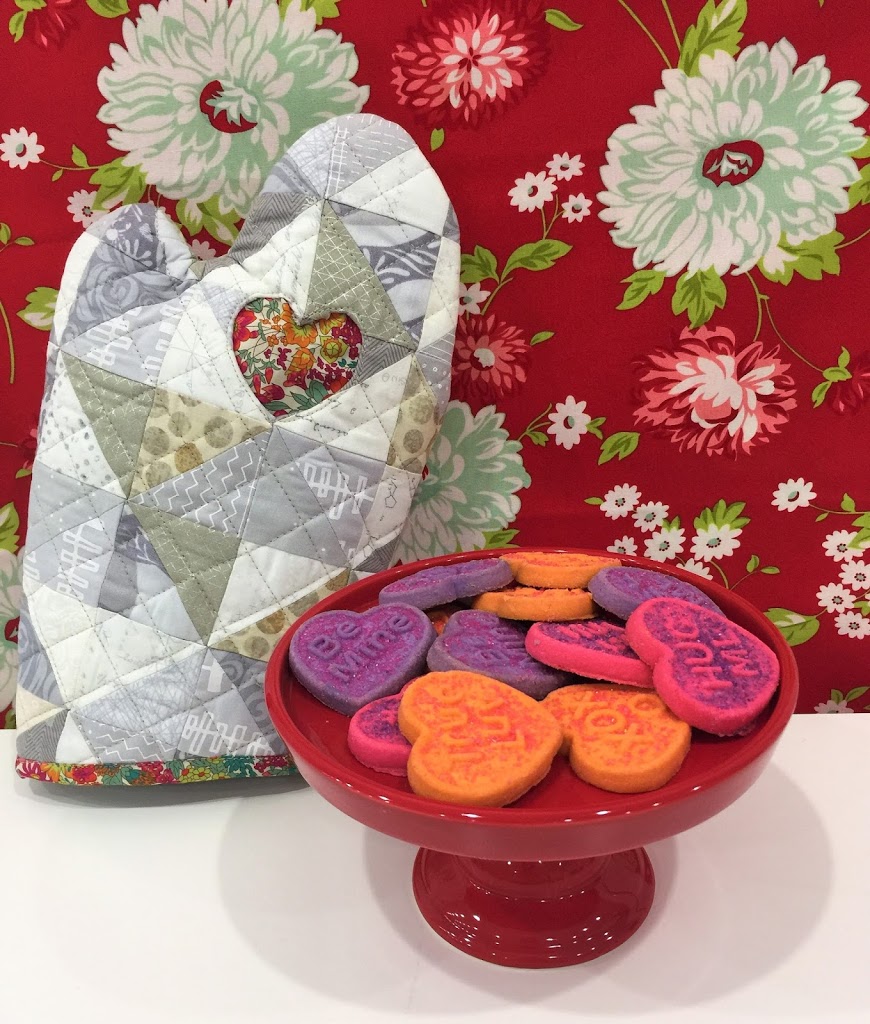
Quilted Oven Mitt Tutorial (Free project)
Do you love a fun (and quick) project for Valentine’s sewing? Check out this sweet tutorial I teamed up with Janome to create HERE .
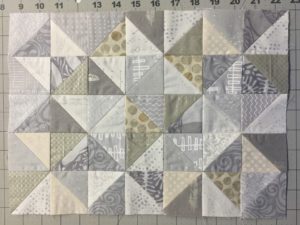
This is a great project to incorporate some low volumes with a great print that you’ve been saving (I used Liberty of London), but you might now have a lot of!
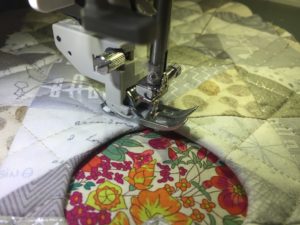
The oven mitt tutorial can also be customized–you can leave out the reverse applique option for a simpler finish and enjoy your new oven mitt quicker.
A new-ish reverse applique
One of my guilty pleasures is Instagram. One of the people I follow on Instagram, @orchidowlquilts, posted a photo of some awesome quilting and an astounding mini quilt. It inspired me to try the technique as well. If you’d like to give it a try, here are the steps you need to follow:
Supplies you’ll need:
Small (super sharp) embroidery scissors
seam ripper
pins
mini quilt (backing, batting, 2-3 layers of top fabric)
Quilting thread
Fray check
1. Choose two or three fabrics (solids work well for this).
2. Make a quilt sandwich. For my first time, I made a mini as well. I think it’s good to try this out on a small quilt so you don’t get discouraged by the time involved…
3. You will lay your backing fabric wrong side up, batting on top of that, then one of your solid fabrics on top of the batting (right side facing up). Smooth to get all the wrinkles out.
4. Now you’re going to layer another solid fabric on top of the one you just smoothed. This could be your final piece of fabric, or you could choose to layer one more on top of this. I would keep it to three fabrics for the top for your first attempt.
5. Smooth all the top fabric layers to remove wrinkles and baste in place.
6. Mark the top fabric for quilting if you need to mark, or if you like to wing it like me, get ready to quilt!
7. Quilt your mini quilt. I would recommend not quilting too heavily or small for this. It will make cutting the fabric much easier if the space between your quilting lines is at least an inch.