After a long day at work, picking the kiddo up from daycare, fixing dinner and doing the dishes…I like to relax by doing English Paper Piecing. I started my EPP journey before Gemma was born by sewing up La Passacaglia (pattern by Willyne Hammerstein). I’d pick my fabrics in the morning before I went to work (this was when I was still teaching high school), then when I got home, I’d cut the fabrics out as quickly as I could, make dinner, etc., then start glue stick basting all the papers on the couch. I’d organize all my rosettes into little zip lock baggies so I could just grab and go. I also had color coded templates I made so I wouldn’t get my little papers confused. I’d throw a prepped ziplock into my purse when I knew I’d be travelling with students and had some time alone at the hotel at night and sew when I had a chance. That project really hooked me into EPP.
Fast forward to now…I sew full time and any extra time in the morning is spent prepping for the day’s work ahead. Now I have a sweet & sour toddler who demands most of my extra time in the evenings, and I’m so wiped after she goes to bed that the last thing I want to do is think about anything. That is…until I got Blair Stocker’s Wisecraft Quilts book. It’s such an organically creative book about repurposing and it really pulls at my creative heartstrings.

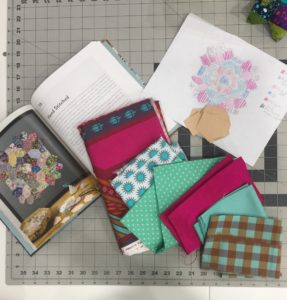
There’s an EPP project in Blair’s book called “Handstitched” that made me fall in love with English Paper Piecing all over again. It’s a project I was confident I could complete, even with my never ending checklist and a needy toddler. If you’re so inclined, you can pick up a paper template kit from Blair’s website HERE. (Full disclosure-none of these are affiliate links. I don’t get anything out of you making a purchase other than the satisfaction of knowing you’ll love this project as much as I do!) Below is a picture from Blair’s book of the project and my beginning planning phase of the EPP. Anytime I do EPP, I always sketch out a “map” of the project with a key for what fabric goes where. I can’t ever remember what my original plan is without writing it down!
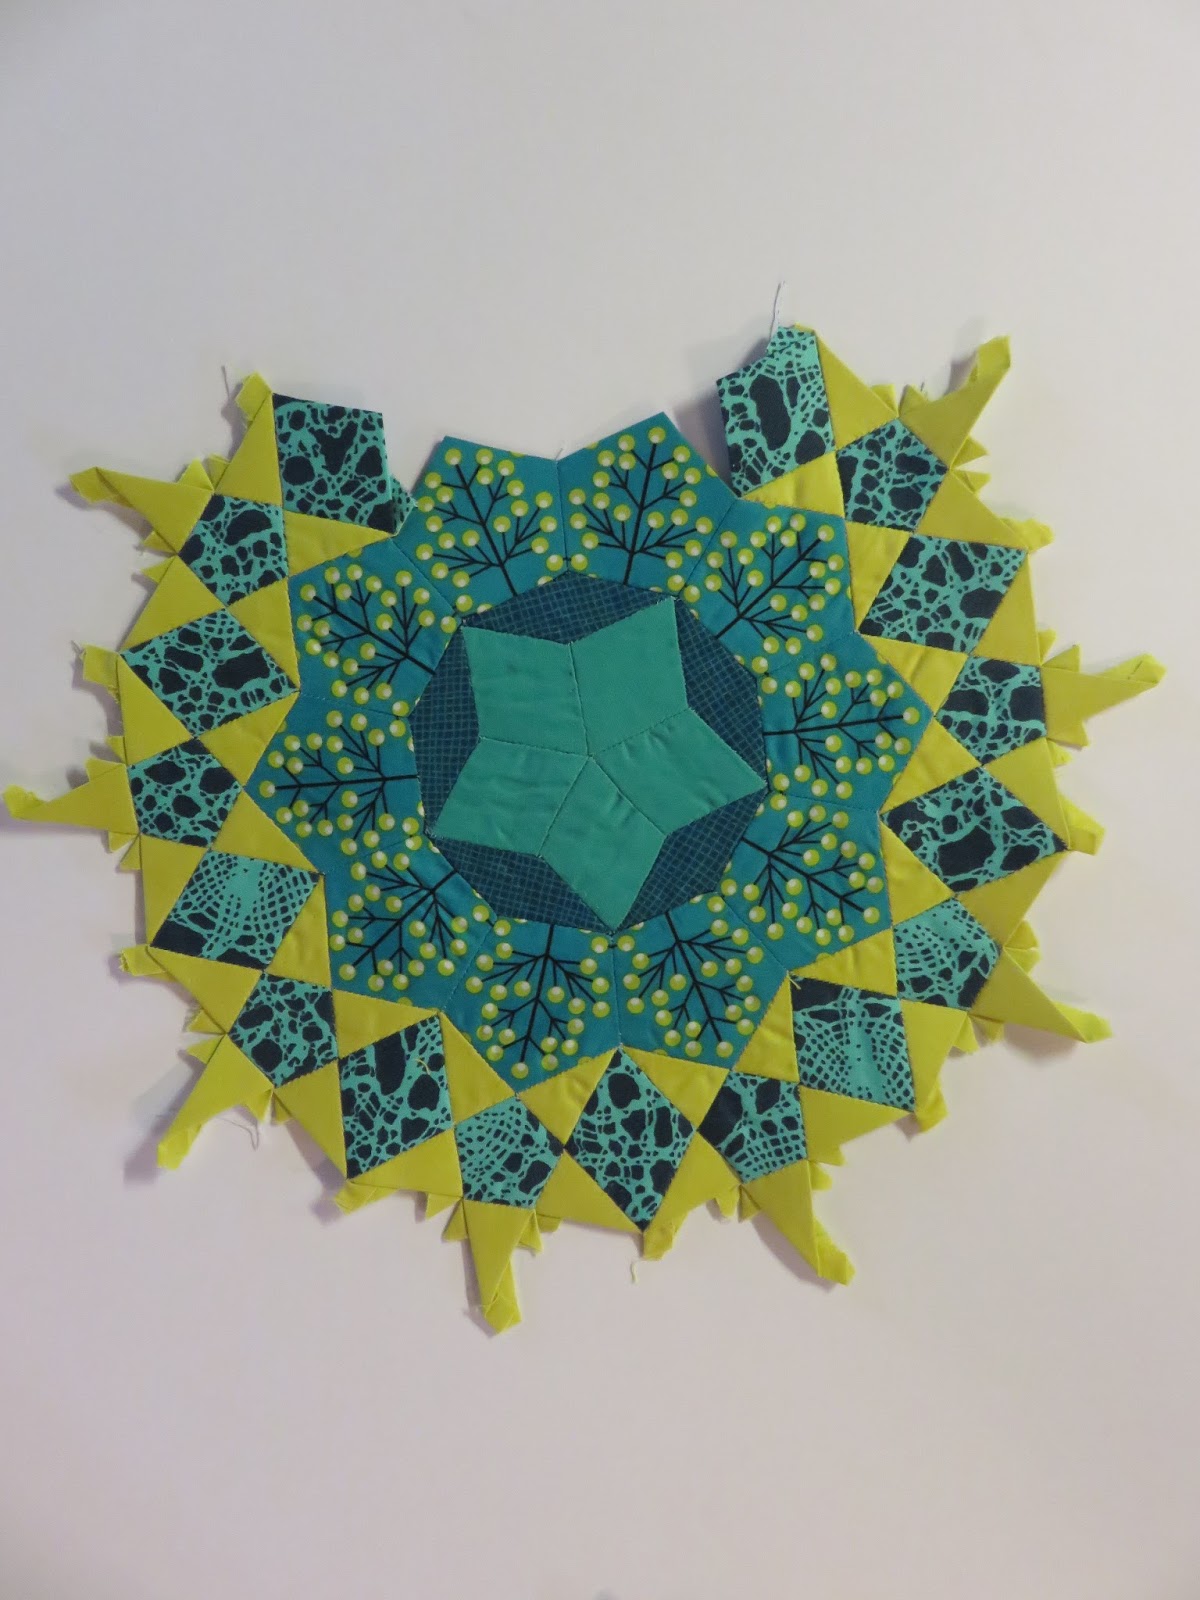
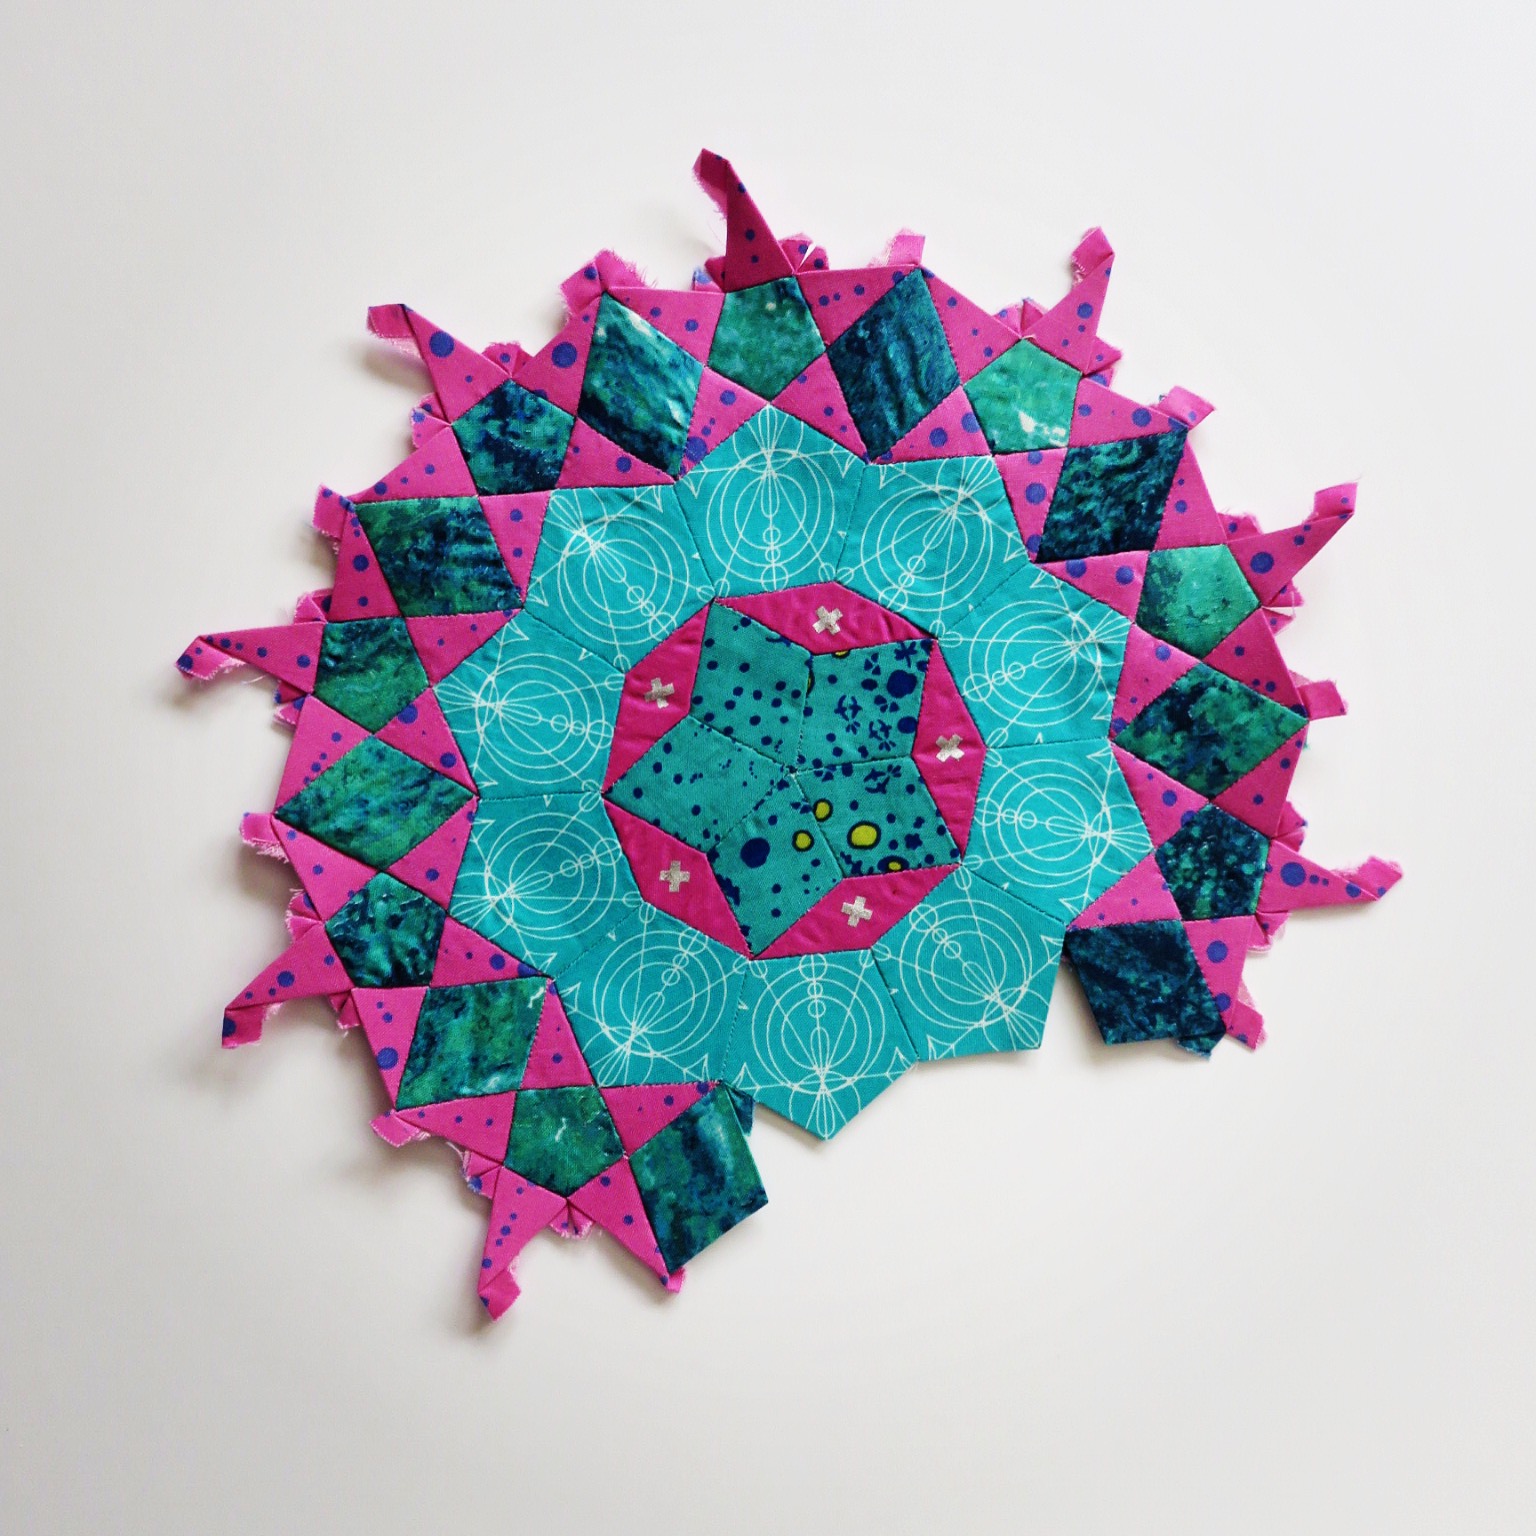
You can see in the finished/progress pictures that I didn’t end up using some of my fabric selections. I’m a die hard Anna Maria Horner lover, and I ended up mainly using one print of hers that I’m a sucker for fussy cutting. There’s so much going on in the pattern of that one fabric that you can basically fussy cut it all over and get dozens of different looks.
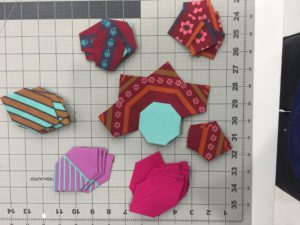
I started by assembling the center with my fussy cut pieces.
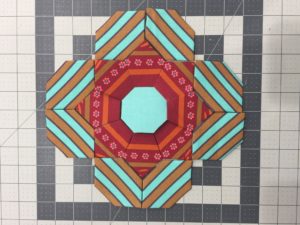
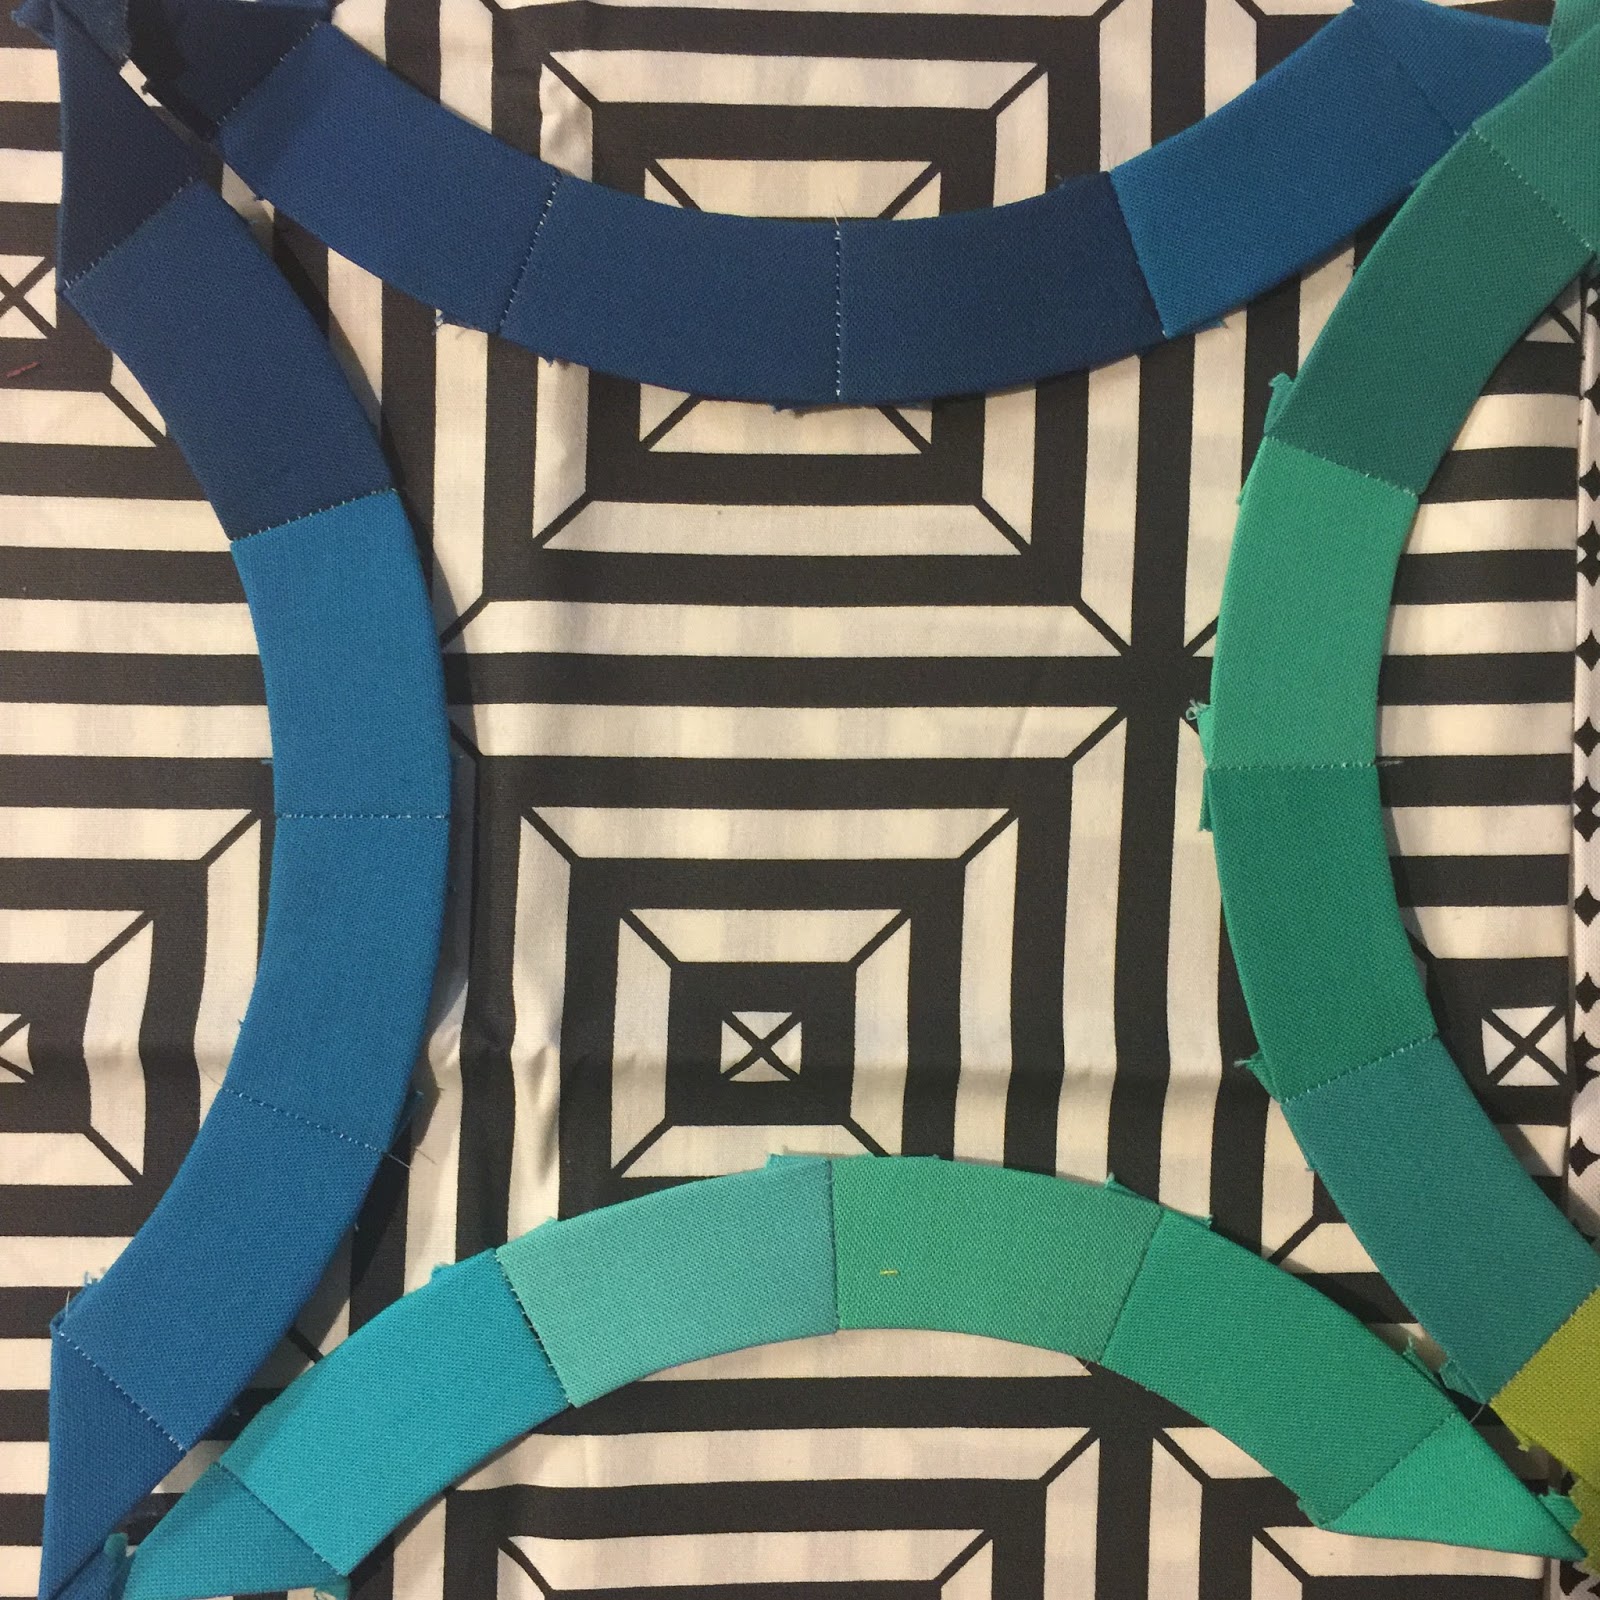
I absolutely LOVE incorporating stripes and straight lines into EPP. I’m always surprised by the outcome. See above.

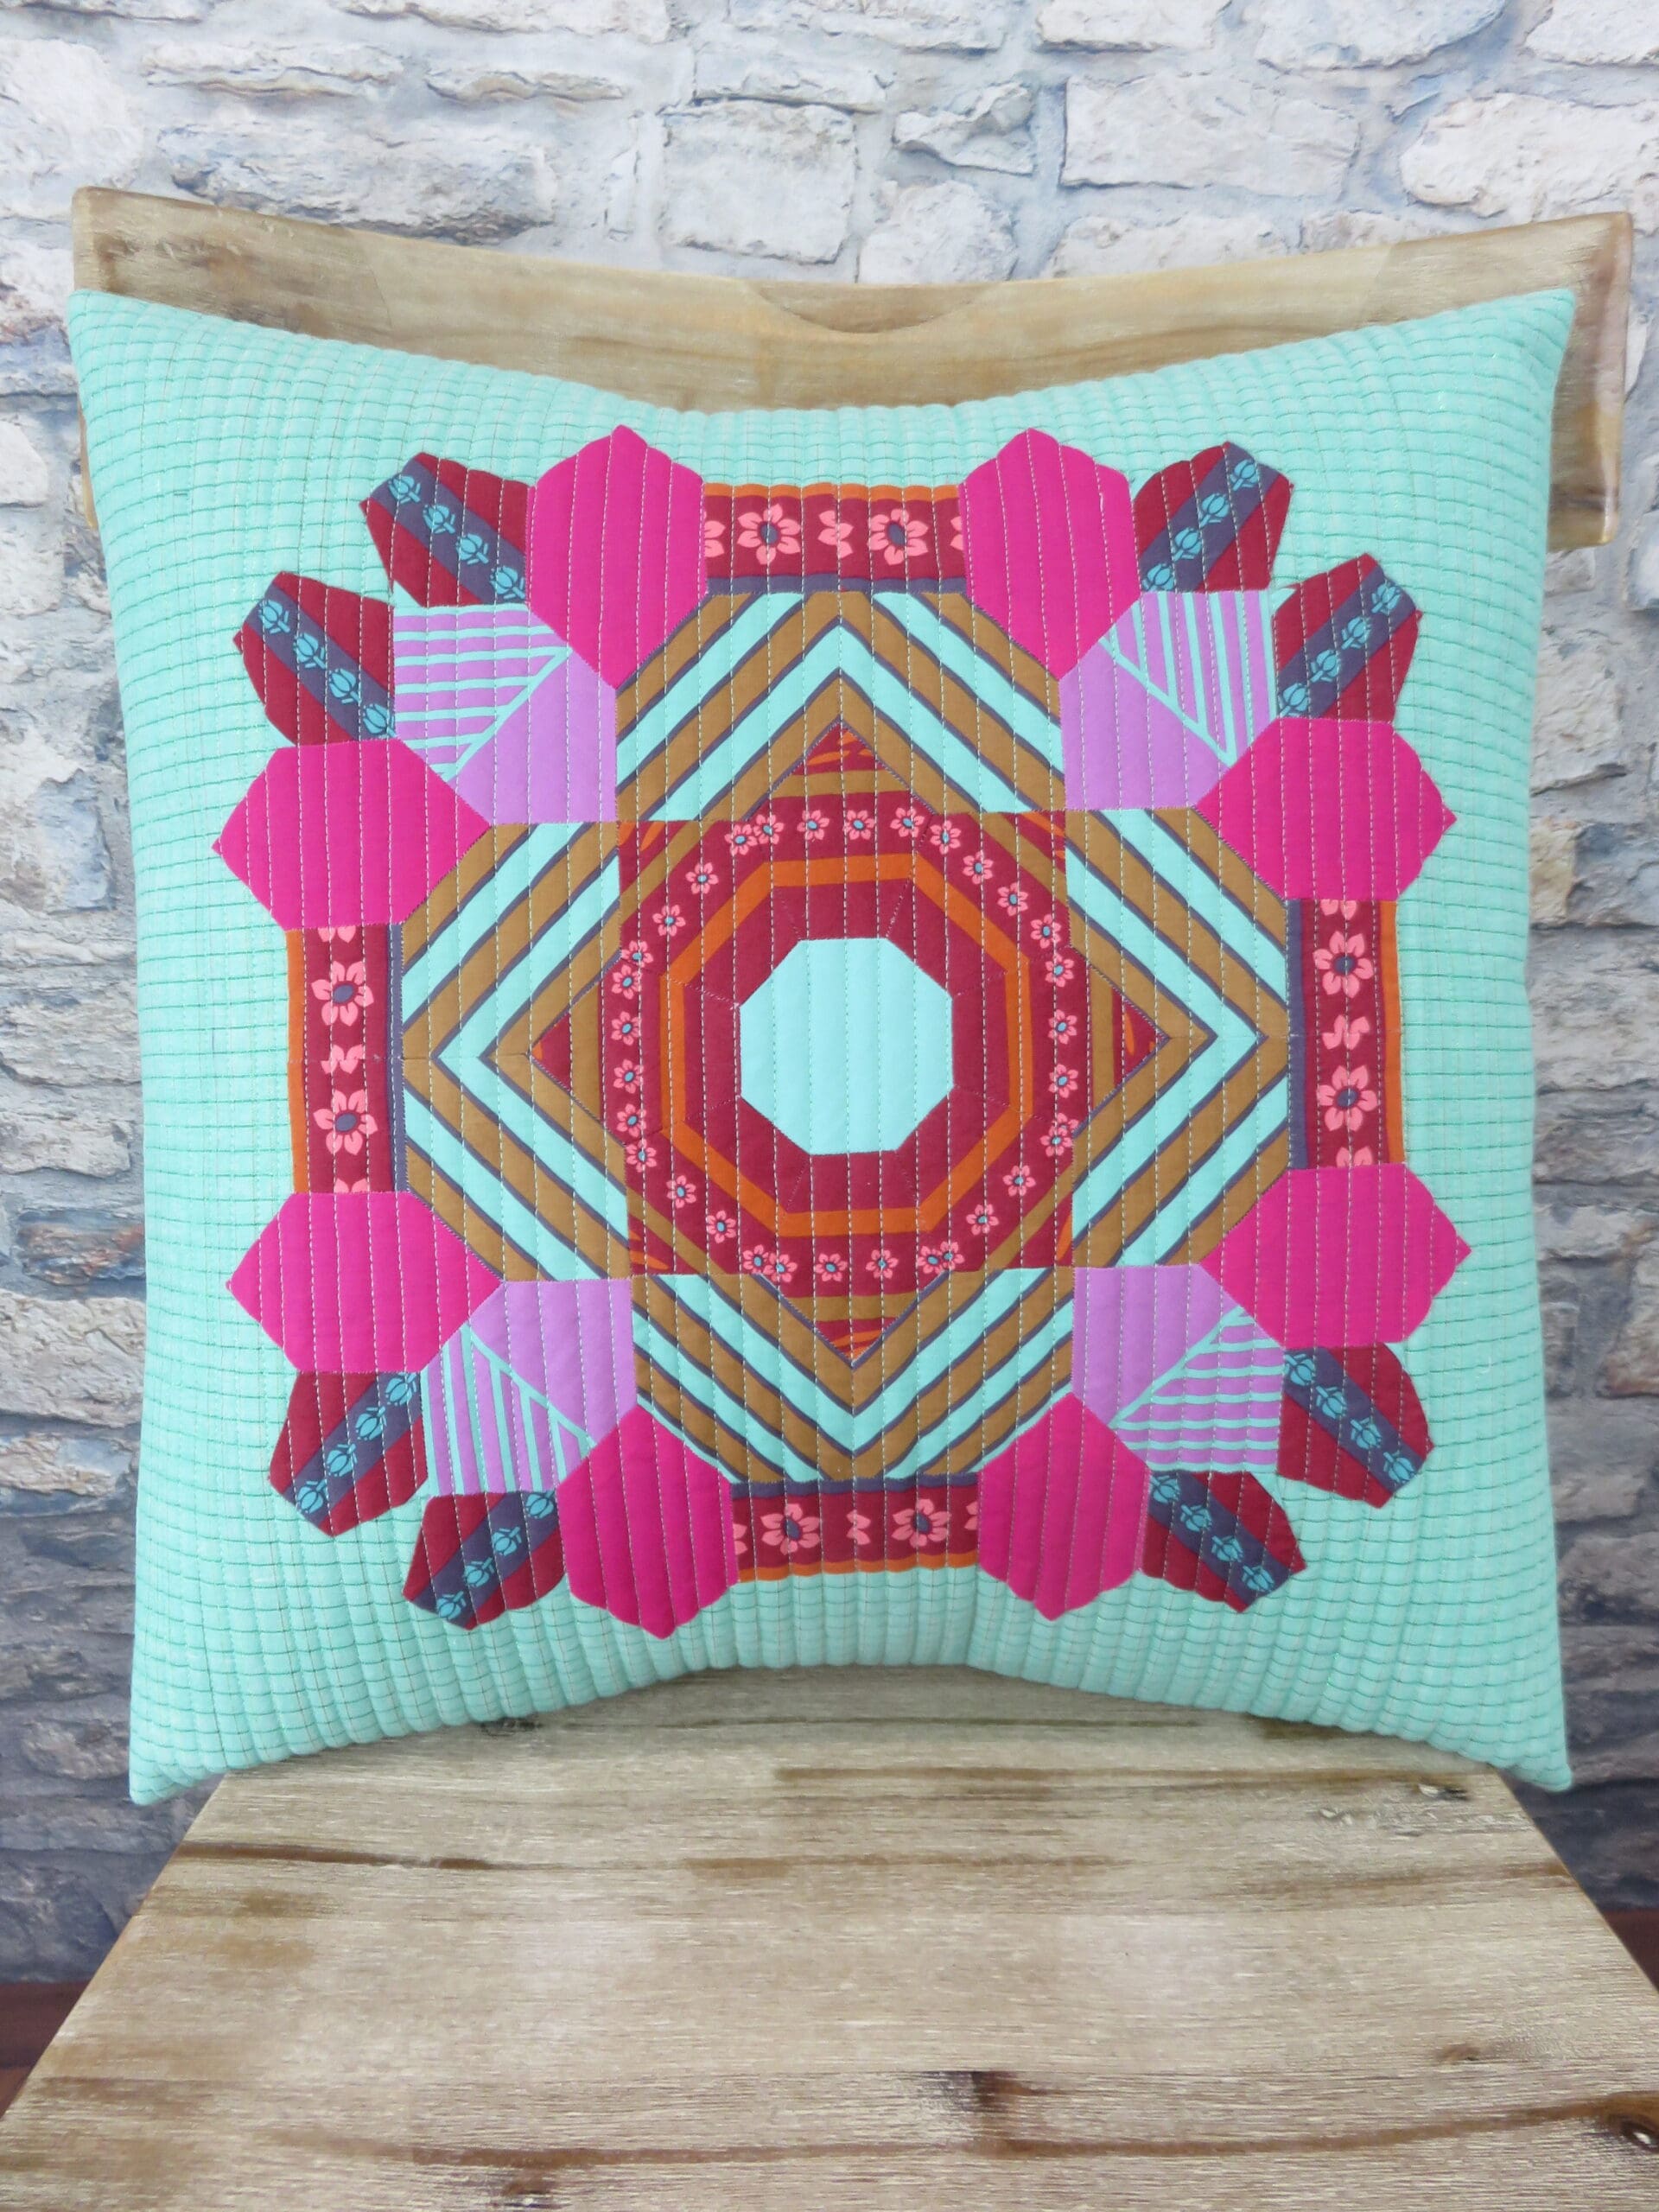
There’s just something about those dull gold and maroons working with that magenta and mint that make them almost glow.
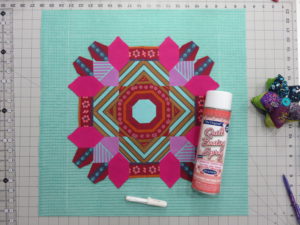
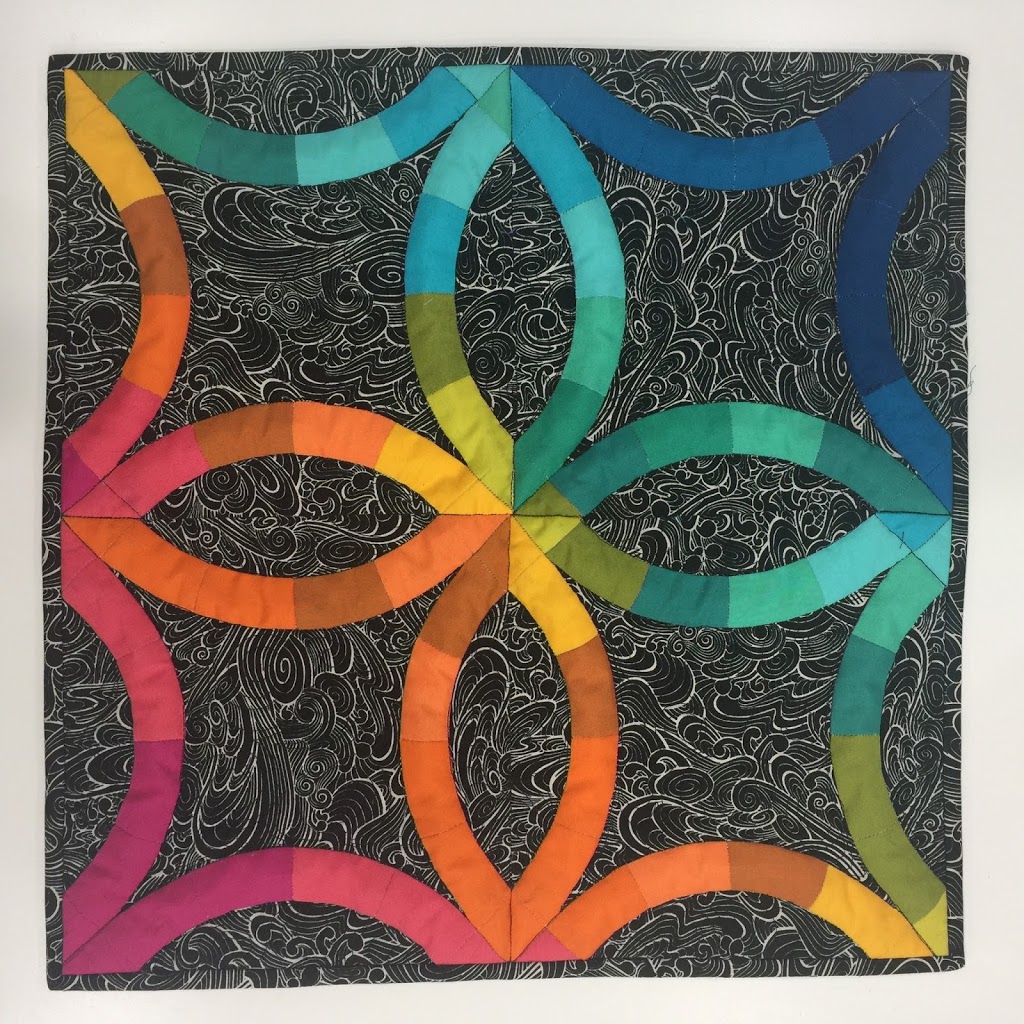
So I decided this project would be a perfect throw pillow. Once I started it, I knew I needed to see this EPP on a daily basis and not just hanging out in my sewing studio. I grabbed my favorite spray baste and cut a pillow front a little larger than it needed to be finished so I could quilt it as well. I used Chaco liner to mark the pillow front into quarters to easily find the center and centered the English Paper Piecing piece on the pillow front. After I used just a smidge of spray baste, I hand appliqued it to the fabric (also AMH fabric-loominous). All while sitting on my cozy couch with the husband 🙂
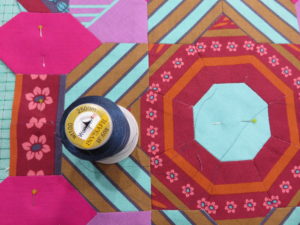
I used Wonderfil 100 wt. thread to hand stitch.I quilted some simple straight lines on the pillow front to add a little texture. The Loominous fabric already has a grid motif on it, so I only did straight lines one way to save me some time.
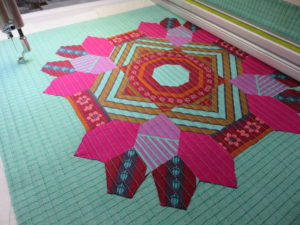
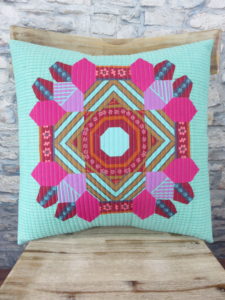
I could have just stitched up the project and made a mini out of it, but we’re a pillow household. I love how you have to really look at the center to see the English Paper Piecing template shapes. The stripes really break it up and make you have to search for it. I’m really hoping to start another of these soon once I get some other projects off my plate because it is so enjoyable to sew. I put a lot of thought and even auditioned some of the fabrics before I started sewing, but you could just as easily make a scrappy version that would look outstanding as well. I believe Blair’s version in the book is all Liberty (insert all the heart-eyed emojis here!!!).
Basically, I love this project. I can sit my fanny on the couch and relax while my fingers do all the work. And it makes me still feel like I’m being productive (while not actually having to do anything strenuous). Win-win, right!?