It’s the MOST wonderful time of the year! (Sorry you’ve now got that stuck in your head all day 🙂 Tis the season for gift giving and making, and one of my favorite things to do is make stocking stuffers. It’s easy to drop a ton of money of useless little items that might never get used, so I try to make utilitarian stocking stuffers that will see the light of day over and over again. One of my go-to gifts is a reversible lanyard that can be used as a quick release keychain or an ID badge holder. It’s a quick gift that I know will get lots of love throughout the year. The Reversible Lanyard Tutorial goes by even quicker with the helpful Oliso Mini Project Iron. It doesn’t take up as much work space as the standard sized iron, and it’s really convenient for smaller sized projects like this.

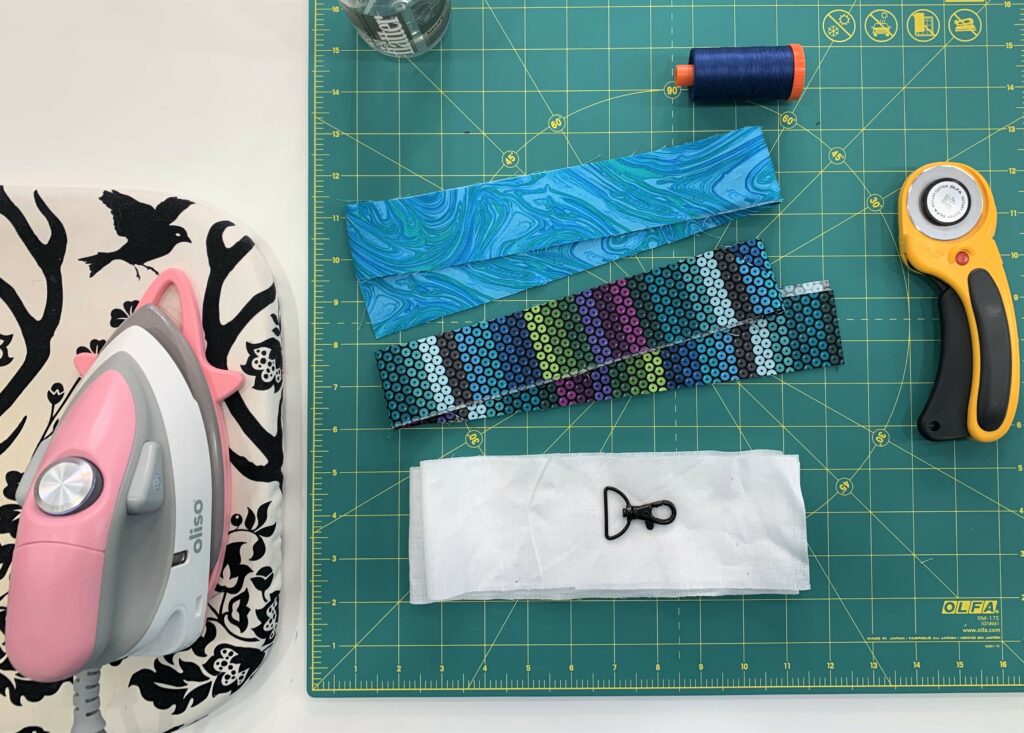
Here’s what you need:
- Oliso Mini Project Iron
- 1/8 yd. of Fabric A sub cut into (1) 1.75″ x 39″
- 1/8 yd. of Fabric B sub cut into (1) 1.75″ x 39″
- 1/4 yd. Pellon SF101 woven interfacing sub cut into (2) 3″ x 20″ strips
- Lobster clasp hardware with 5/8″ to 1″ opening
- Spray starch/pressing spray
- Thread for piecing and topstitching
- Binding clips
Lanyard Tutorial: (about 45 minutes)
First place the two pieces of fabric right sides together and sew down the 39″ length with a 1/4″ seam allowance.
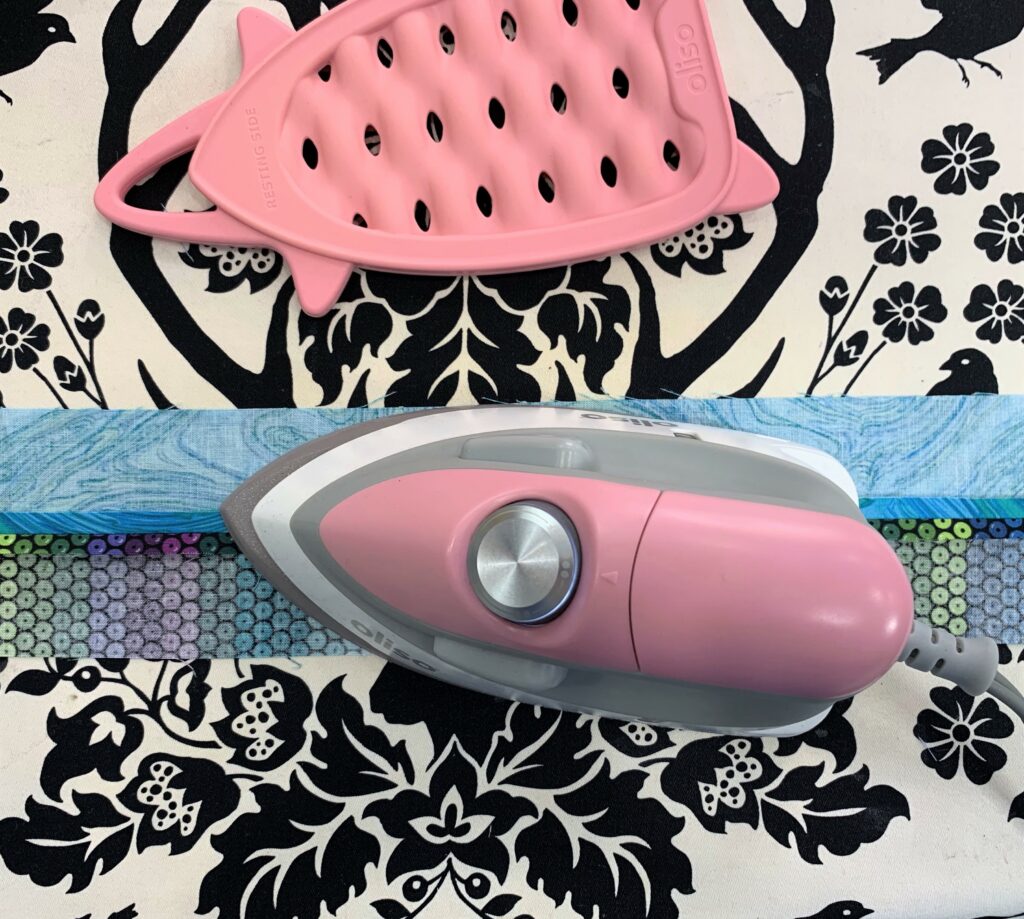
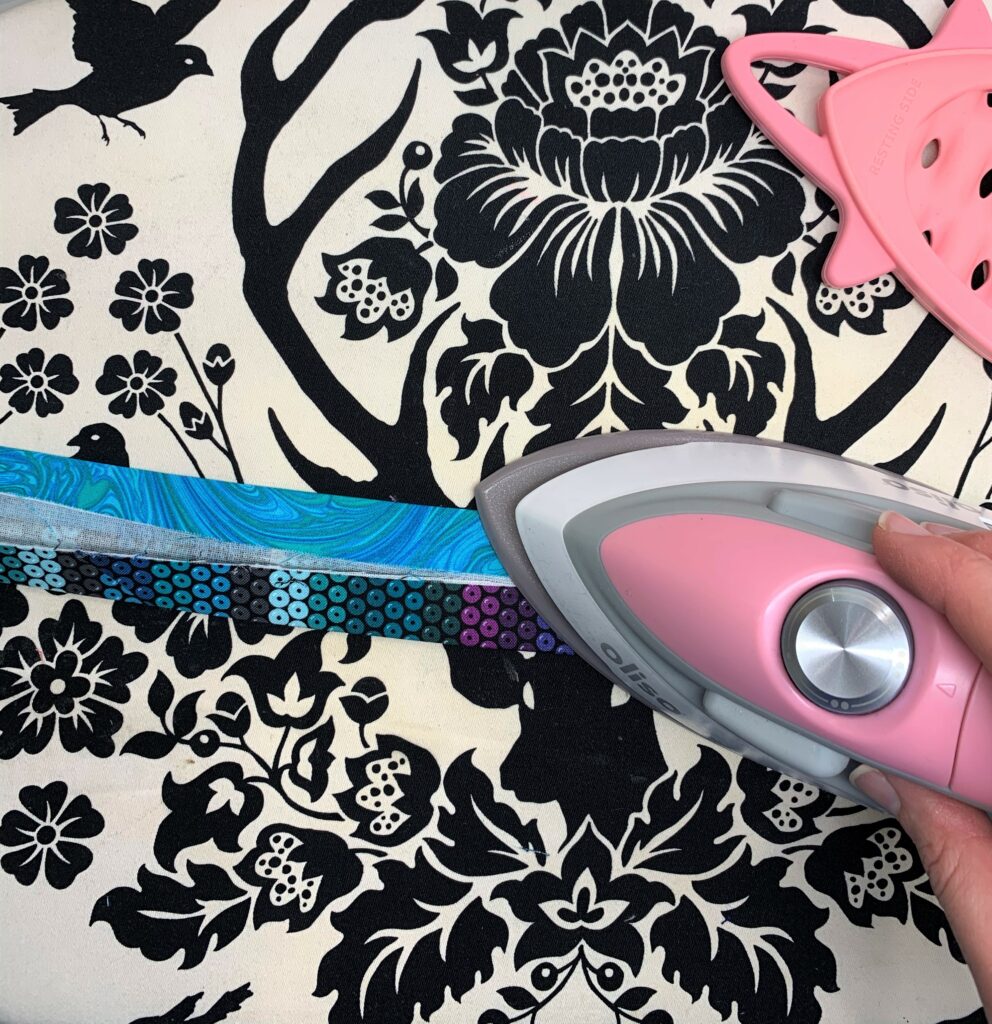
Then plug in the Oliso Mini Project Iron and turn heat dial to high. Allow it to warm up sufficiently before pressing. Press the sewn seam open with the OLISO mini project iron. Be sure to flip the solemate to the “resting side” while in use, and when the iron is off and cool, store the iron so it’s resting on the “storage side”.
Next, follow the manufacturer’s instructions to fuse the SF101 to the wrong side of the pieced fabric with the OLISO mini iron. This will give the lanyard a little more stability.
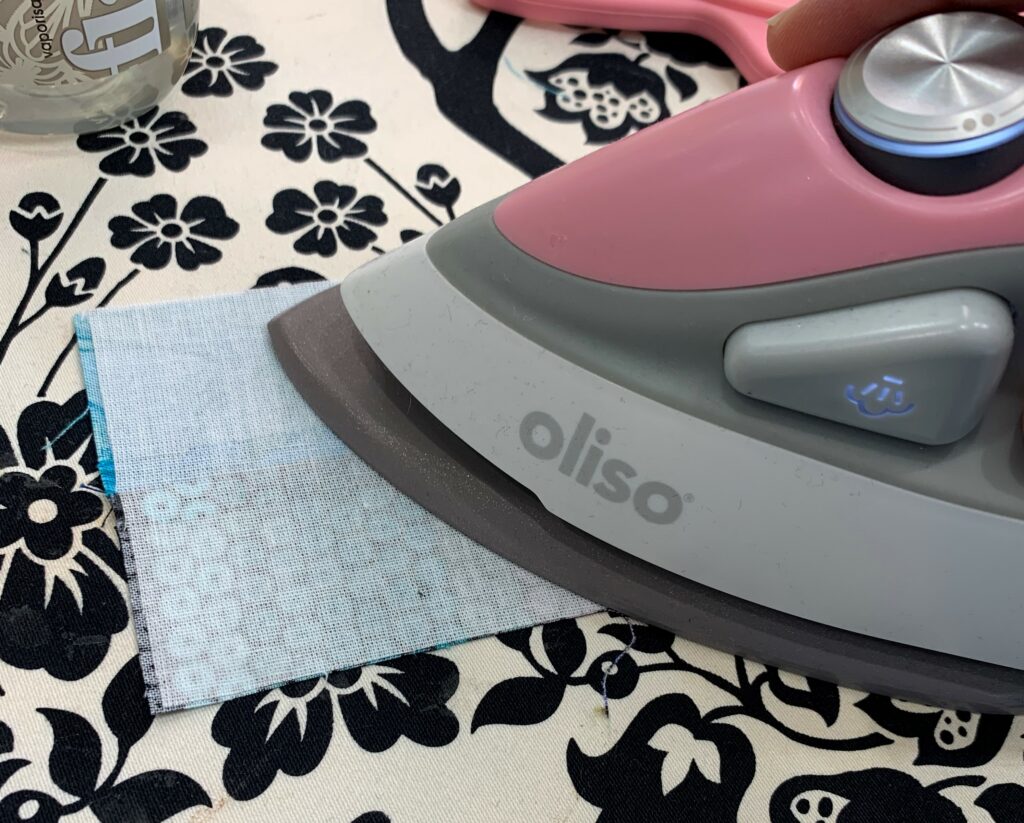
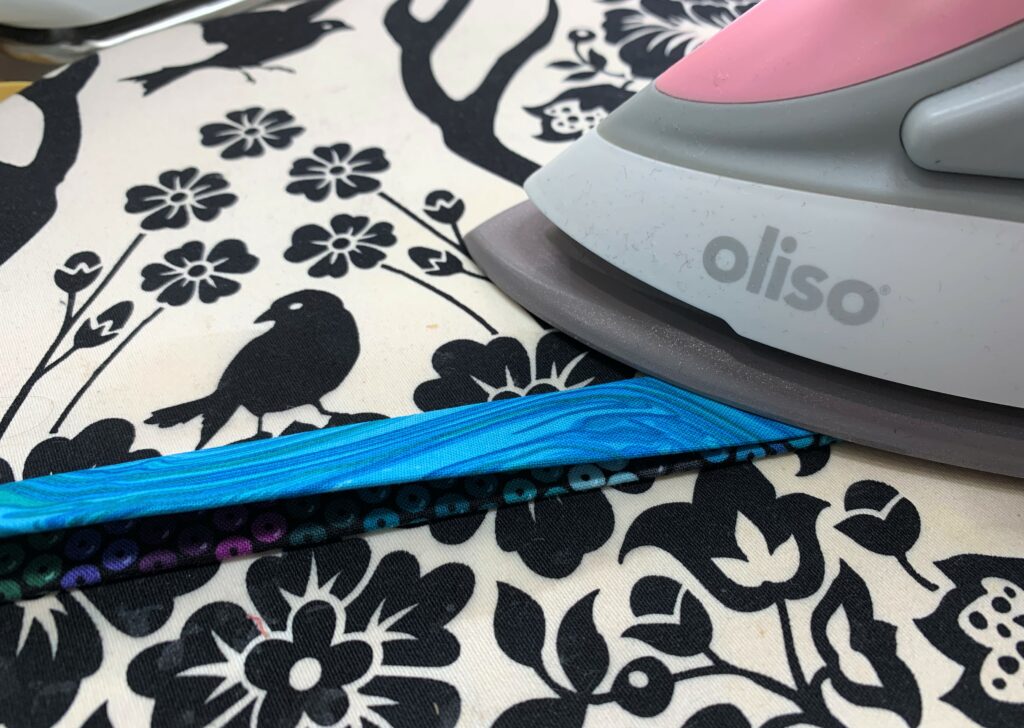
Fold the outer long edges inward WST so they meet at the center and press with the OLISO mini iron.

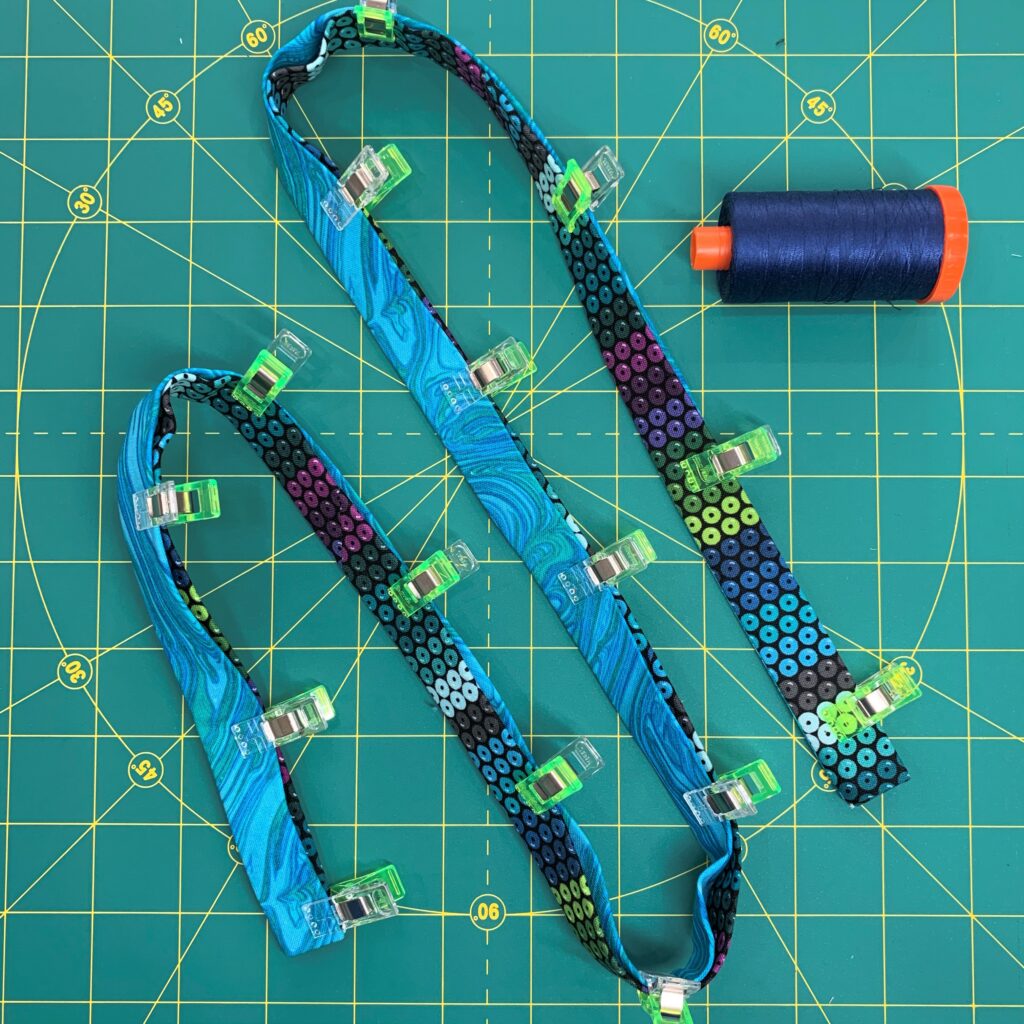
Now fold this in half and press with the OLISO mini iron. The total width of the lanyard should be approx. 3/4″. Secure the folded edges with binding clips.
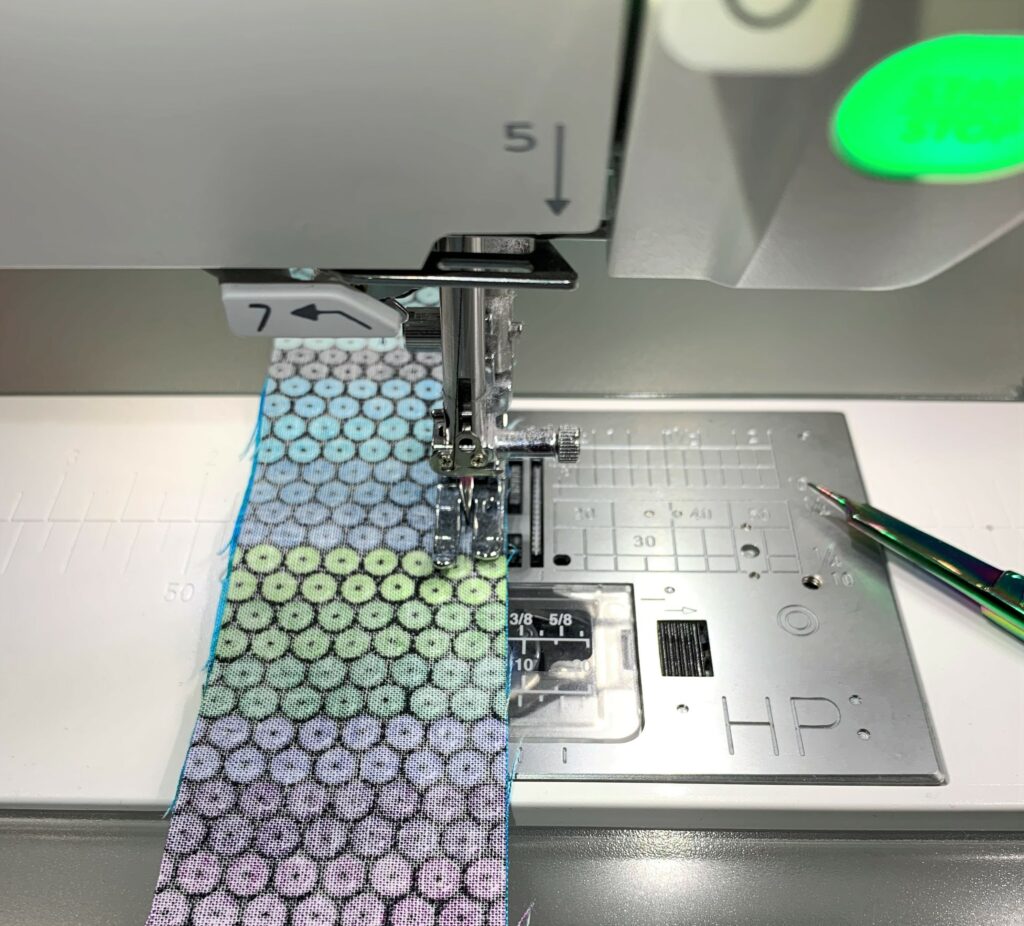
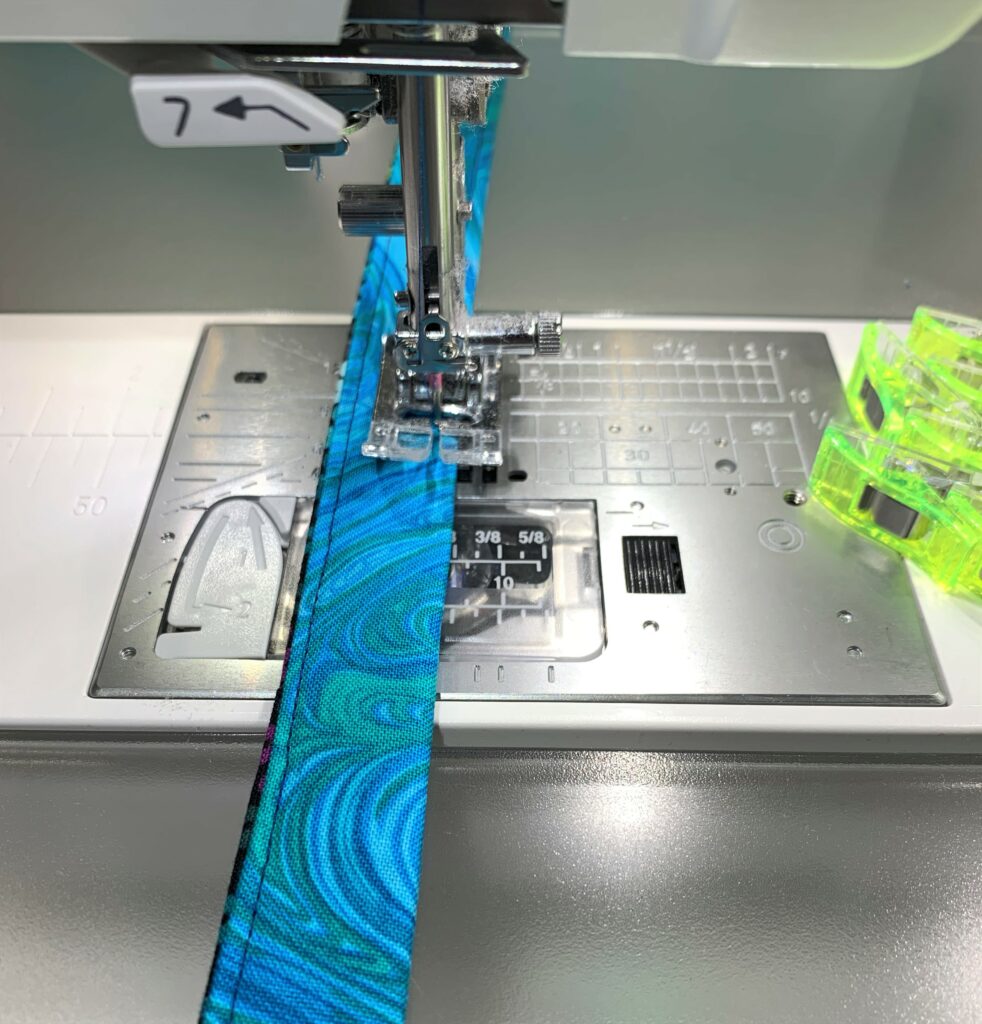
Next, take the long piece to the sewing machine and topstitch all the way around the perimeter, 1/8″ from each outer edge.
Feed the lanyard ends through the D ring/bottom of the lobster clasp and fold the lanyard short ends up about 1″, checking to make sure the lanyard pieces aren’t twisted. Stitch through all four layers of fabric to secure the lobster clasp in place.
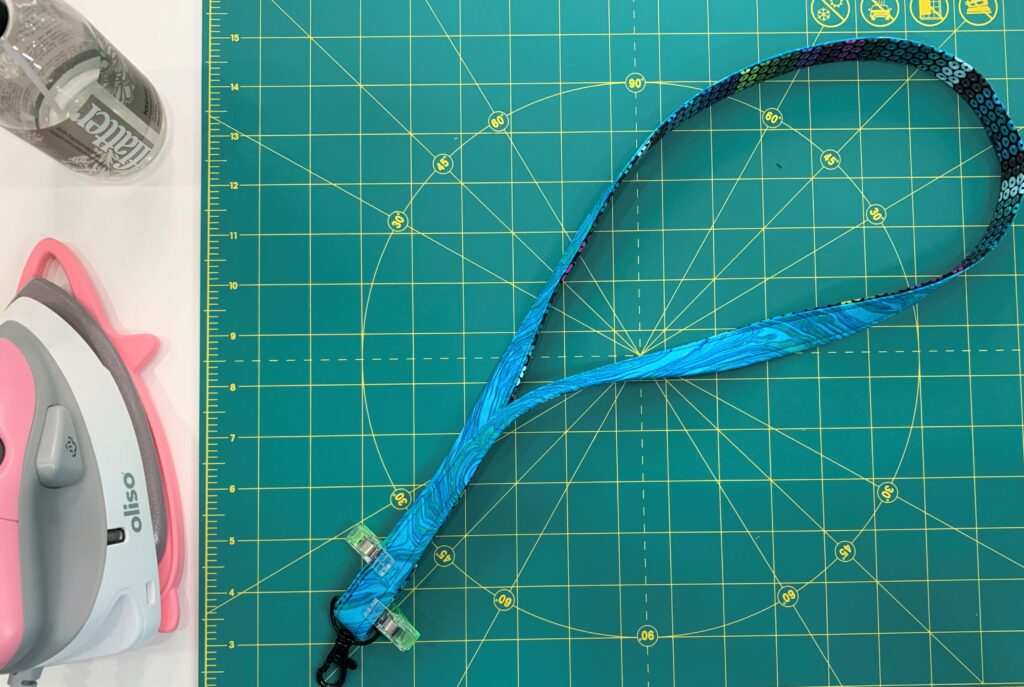
And Voila! You’ve completed your first reversible lanyard tutorial stocking stuffer! Another fun idea is to clip a gift card holder to the lobster clasp if you’ve got one handy 🙂 I really loved using the new Oliso Mini Project Iron for this–it’s small enough to fit right next to my sewing machine so I’m not wasting a lot of time walking back and forth to my ironing board, and that little pop of pink brightens up my studio in the best way. Happy sewing, and happy holidays! XO Joanna