Posted on

A new-ish reverse applique


One of my guilty pleasures is Instagram.  One of the people I follow on Instagram, @orchidowlquilts, posted a photo of some awesome quilting and an astounding mini quilt.  It inspired me to try the technique as well.  If you’d like to give it a try, here are the steps you need to follow:

Supplies you’ll need:
Small (super sharp) embroidery scissors
seam ripper
pins
mini quilt (backing, batting, 2-3 layers of top fabric)
Quilting thread
Fray check

Tips and tricks:
-If you cut too closely to the quilting thread, your top fabric may come loose from the quilting.  Try to stay about 1/16″ away from the quilting thread.  You may need to go back and quilt again if you clip too closely.  
-Be careful not to slice the final layer of top fabric!!!  If you do, the batting will be exposed (sad panda).  
-I wouldn’t recommend this technique if you plan to wash the finished quilt, but it’s perfect for a mini quilt that will be a wall hanging or a display piece that won’t be handled much.
-There were a couple times that I sliced through the wrong fabric, but fray check is your friend, and you’ll be amazed at how well you can hide your mistakes with it!


1.  Choose two or three fabrics (solids work well for this).
2.  Make a quilt sandwich.  For my first time, I made a mini as well.  I think it’s good to try this out on a small quilt so you don’t get discouraged by the time involved…
3.  You will lay your backing fabric wrong side up, batting on top of that, then one of your solid fabrics on top of the batting (right side facing up).  Smooth to get all the wrinkles out.  
4.  Now you’re going to layer another solid fabric on top of the one you just smoothed.  This could be your final piece of fabric, or you could choose to layer one more on top of this.  I would keep it to three fabrics for the top for your first attempt.
5.  Smooth all the top fabric layers to remove wrinkles and baste in place.
6.  Mark the top fabric for quilting if you need to mark, or if you like to wing it like me, get ready to quilt!
7.  Quilt your mini quilt.  I would recommend not quilting too heavily or small for this.  It will make cutting the fabric much easier if the space between your quilting lines is at least an inch.

8.  You can do smaller quilting (like in the picture above), but plan on not cutting those teeny tiny pieces–to keep your sanity.
9.  Once you finish quilting, you should decide which areas you want to cut.  I marked the areas to be cut with a small marking pen that irons away so I wouldn’t get confused after the fact.  
10.  You’ll need a small pair of embroidery scissors and a seam ripper before you get down and dirty with this!
11.  In the photos, the gray is my top fabric, the green is the middle top fabric, and the blue is the last top fabric.  When you see the green, I am only cutting through the gray fabric.  When you see the blue, I am cutting away both the gray and the green fabric.  
12.  Use a pin or a seam ripper to pull the top layer of fabric away from the next layer of fabric (without grabbing the layer of fabric you want to leave alone.  I use a seam ripper to pull it away and make a small slice so I can get my embroidery scissors in to do the cutting.  You can see in the picture below that some of the gray fabric has been sliced with a seam ripper already.  
13.  Once you have a large enough space to get your embroidery scissors, start clipping the top fabric away.  
14.  Put on your favorite Netflix shows and clip, clip, clip.  Then clip some more!  


15.  When you finish clipping fabric away, go back with fray check and outline all the cuts you made with it to keep the fraying in check!  Allow to dry completely, then you’re ready to put your binding on and call it a day (or week)!

I really love how mine turned out, but I would definitely make the quilting spaces a little larger and less dense on the next go-round.  This is not your typical reverse applique, but it is a fun spin on an oldie.  Give it a try and see what you can do!

Posted on

Longarming Apron-Tools of the trade


If you use a long arm quilting machine, you probably have noticed that it isn’t always easy to keep your most valued tools at hand while working.  I know this was an issue I had, as I currently rent time on a community machine and couldn’t just keep my items laying around wherever I pleased.  

I used to be big into making aprons, but since I took up sewing…my cooking time has long diminished.  The need for aprons in my household had kind of gone away, until I realized a sewing apron would really solve a lot of my problems.  

I had written a pattern for a simple pocketed apron a few years ago and tweaked a few things to make sure it would accommodate my needs.  Plus…Alison Glass’s Ex Libris fabric had just come out and I had to have something showing off that wonderful panel print.  I really wish that I had bought an entire bolt of that color way of the corsage print, because I can’t seem to find more of it anywhere.  When I adjusted my pattern, the bottom patchwork section of the apron had been a complementary strip of fabric–so I just added in the extra 1/4″ seam allowances for the little squares and pieced them to go with the center.  The pocket on the front of the apron is actually 3 pockets, which easily contain my seam ripper, scissors, and a water soluble marking pin.  The top flap that folds down on the body of the apron is where I slip my needle for burying threads so I always have it handy.  

If you have a spare apron laying around, you wouldn’t even need to make a special one for quilting.  I really love mine, and it has seriously uncomplicated my life in the quilting room.  Instead of wasting time searching for my scissors or seam ripper, I know where everything is and they’re always within reach.  

I know I’m surely not the first person to do this, but I hadn’t seen other quilters suggest this, so I thought I would put it out there.  If you can’t tell, I’ve got a serious Alison Glass fabric love going on.


Posted on

Something in the water…


There must be something in the water…or maybe I’m just at that season in my life where the wedding showers have ended and baby showers are now the reigning social event!  That being said, there’s nothing I love more than designing and putting together cute baby quilts.  Let’s face it…quilts are very time consuming.  BUT if you do small ones, they take significantly less time, and are loved the same!  It’s really fun to play around with layout and quilt design when you know the process will be quick and fun and you’ll learn something from the quilt you create.  I recently did a quilt for a baby boy with all gray fabric, and really loved the mother-to-be’s registry choices.  I could tell that she had very modern taste and would probably be okay with me throwing something together that was a little Libs Elliott inspired.


This was such a fun quilt to put together, and even more fun to quilt a little ruler work into the design.

And a quilt for a baby girl (with more more color), that I designed by changing up the typical chevron design slightly.  

Challenge yourself to play with color and design and sew up a quick baby quilt for a friend or family member.  It is a gift that they’ll love, and probably cherish for many years to come. It’s also a great gift if you use two layers of dense batting and the quilt can also be used as a playmat. 

Posted on

Longarming…my Love!


Since the last time I posted (I know…it’s been a while!), I have taken up long arm quilting.  Somewhere along the line, I had this idea in my head that long arm quilting was “cheating”, and if a quilt was quilted on a long arm, then it wasn’t really “your” work.  I could not have been MORE wrong.  

The time and skill that go into this type of quilting is ridiculous!  I also had no idea that there were multiple types of long arm quilting.  I just assumed that all “long arm” quilting was a computer program that you just pressed play, and BOOM! it’s done.  Once I realized there was a niche of long arm quilting that I would absolutely adore, I’ve been hooked ever since.  (And plus…there’s no more basting with safety pins on your living room floor!  You can’t beat that!!!)  

The category of quilting that I specialize in is free motion quilting.  That means no pantographs, no computer programs…just you and the machine.  Your hands and brain putting the thread and needle to work to create something magical that can’t be duplicated. 

Ruler work can also be seriously fulfilling, and there’s no limit to the  
amount of different designs you can create with straight lines. (collaboration quilt
for Janome)
Free motion quilting on a customer’s quilt (Valerie M.)

Free motion quilting on a customer’s quilt (Sarah J.) 
that was donated to a local charity fundraiser.

If you have any preconceived notions about long arm quilting, I would really encourage you to re-think them.  All it took was one time for me to know it was something that I would want to do for the rest of my life, and it’s really nice to have a break from piecing your own quilts to see the awesome talents your long arm clients have and the diversity of their work.  I never cease to be amazed by the quilts my customers bring me, and dreaming up designs to put into their quilts really challenges you to think outside the box.  I’m so glad I’ve started my FMQ long arm journey, and I really relish every moment I spend doing what I love.  


Posted on

Make your own Home Decor for cheap, with DIY tutorial included


Finally, I did a shortened version of my original tutorial  (since Blogspot doesn’t support PDF uploading–or I couldn’t figure it out!).

Above is the wall art that I made when I re-did our guest bathroom.  This is a very inexpensive way to make something to suit your taste and easily coordinate with your home decorations.  Just a heads up-this does take a good amount of time, and requires a little concentration-depending on how detailed your silhouette is.

First, you need to find a shape or silhouette that you like.  Keep in mind that you will be cutting this out AND sewing around the perimeter.  I suggest doing a practice one first with a circle or square–something simple and straightforward.  You might get really put out if you start with the deer!  

Print them out to the size you want them to be in your decor.


Now for your supply list-
Some kind of fusible stabilizer or interfacing that is thin to put behind your background fabric
Background Fabric (pictured in the next photo)
Fabric for your silhouette
Rotary ruler
Iron
Precise scissors
Sewing machine/needle and thred
HeatnBond Lite
Sewing pins or scotch tape
Photo frame with enough spaces to put what you want in it

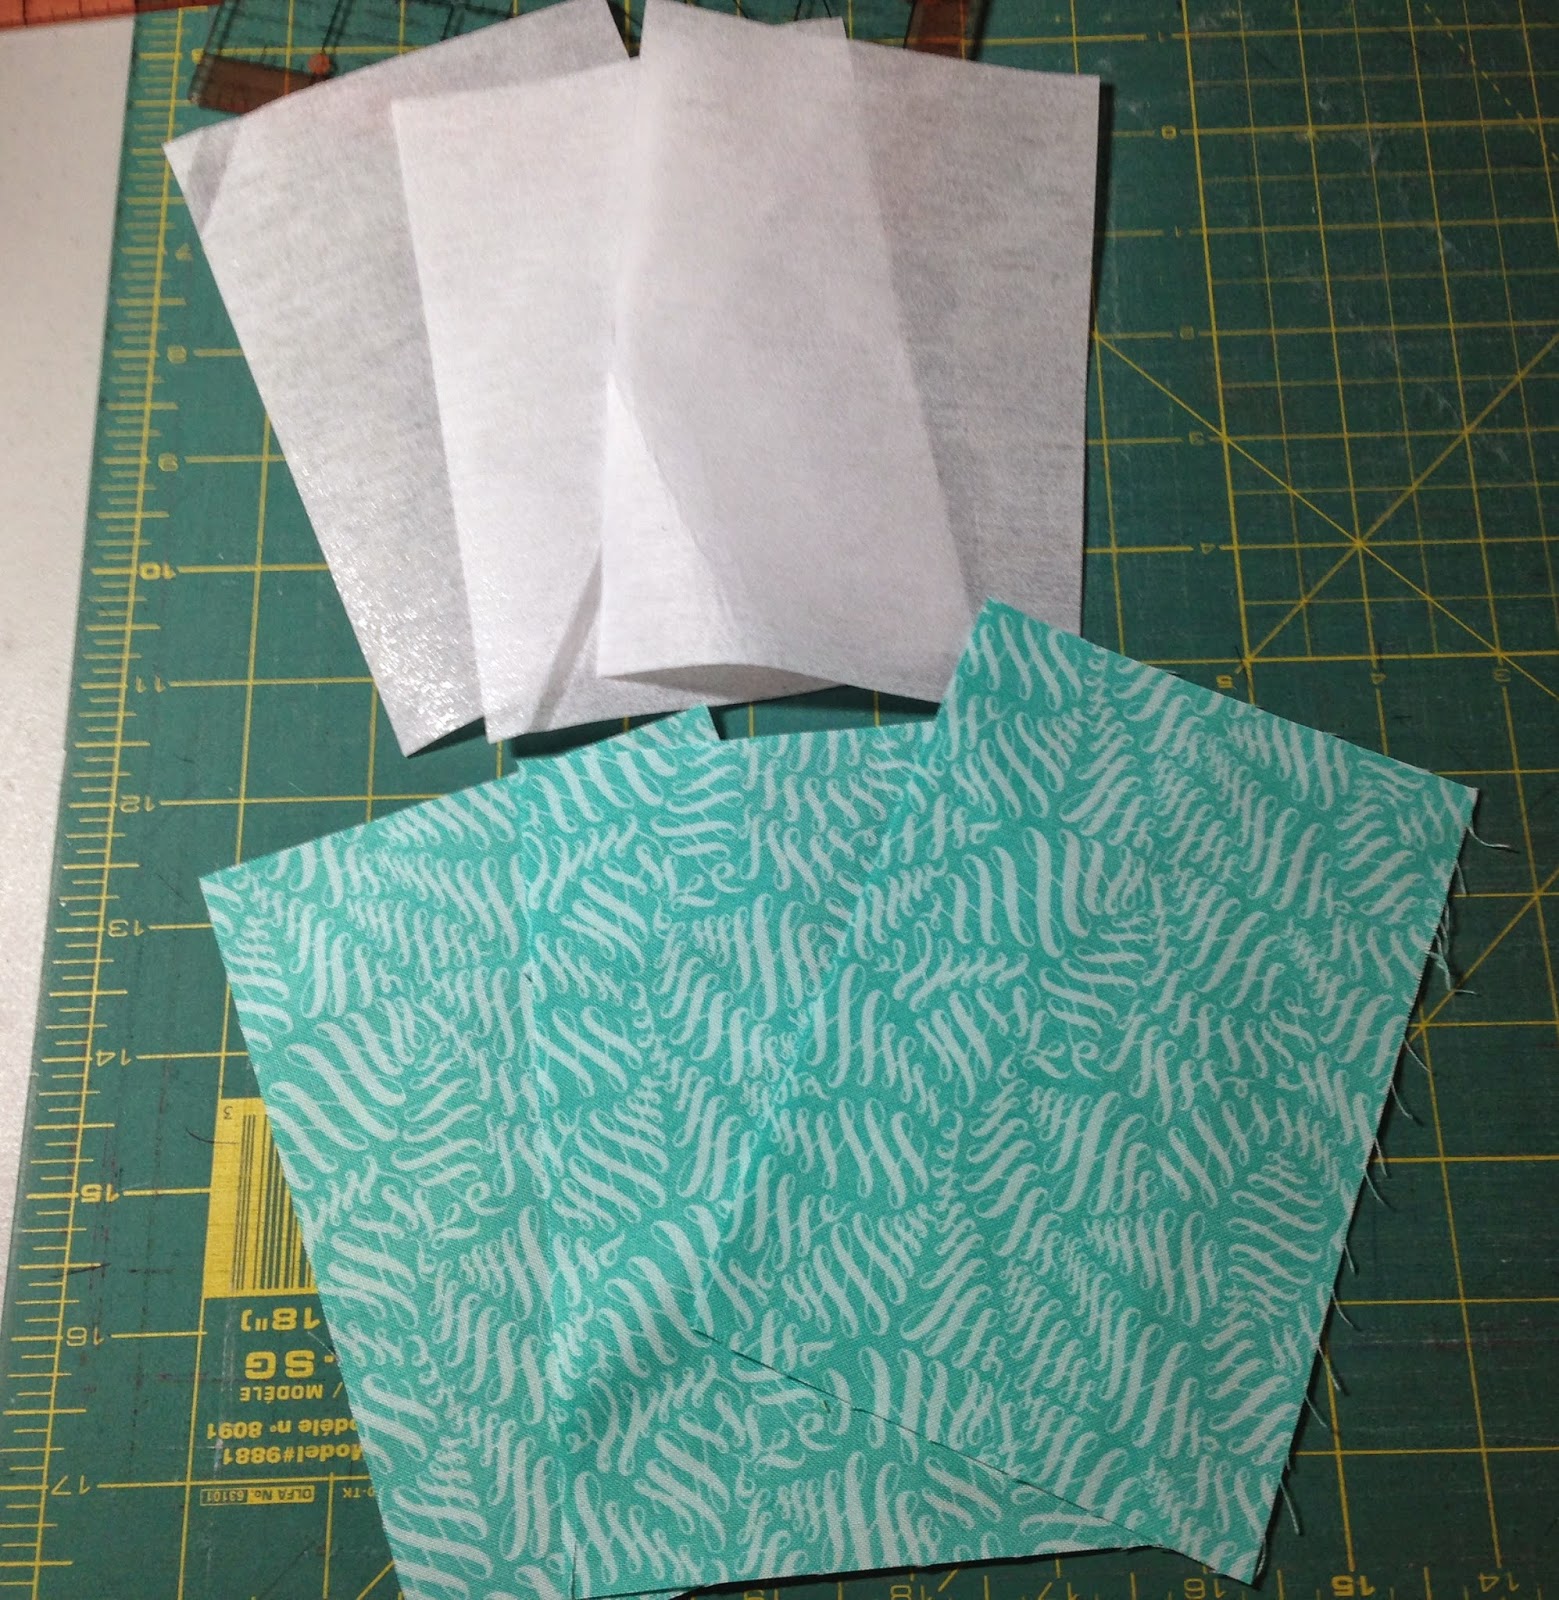
So this photo shows the thin interfacing that you will be fusing to your background fabric.  If you don’t have any handy, this step is not mandatory, so don’t fret!  

You’re going to cut your background fabric to the size the picture frame you bought is.  Make sure you cut the pieces a little larger than the viewing window so you can easily secure them.

Cut your pieces of stabilizer to the same size as your background fabric pieces.  I have three in this picture because I had a 3-photo frame.  

Follow the manufacturer’s instructions for fusing the stabilizer to the fabric.  Now you can set these beauties aside, because you won’t need them for a while!

Now cut your silhouette down to the smallest you can get it without cutting on the lines.  You’re going to prep your silhouette fabric now…

Before you cut your fabric, lay your shape on top of it and make sure you have a good inch extra on all 4 sides.  It’s better to have a little extra to play with if you need it than having to go back and cut more if you make a mistake.  Once you measure, go ahead and cut the fabric to size.


Cut a piece of HeatnBond to just a LITTLE larger than your silhouette.  Place it shiny side down on the wrong side of your silhouette fabric.  Follow the manufacturer’s instructions for bonding.  Mine said not to use steam, so make sure you don’t!  


Once you’ve got your HeatnBond on the back of your silhouette fabric, flip your fabric over so it is right-side up.  You may want to choose a fabric that isn’t solid colored-sometimes it’s hard to determine which is the front or back.  I use scotch tape and pins to secure my silhouette shape to the fabric–make sure your shape is directly over the HeatNBond.  If you can’t tell, hold your fabric with the silhouette up to a light source and you should be able to see the HeatnBond with no problems.

Now you’re ready to get stitching!  You’re going to sew ON THE LINES of your silhouette.  
You don’t need a machine to do this, but it sure goes a Heck of a lot faster if you do.


After you have your outline sewn, you’re going to cut through all layers around the silhouette.  It’s a good idea to leave a 1/8″ space between the stitching line and your cuts.  If you cut too close, you risk cutting the thread, or having the fabric fray–which you definitely do not want!

Now you’re going to peel off the printer paper from the front of you shape, and the paper backing from the HeatNBond from the back of the shape.  You even have to peel off the measly little paper between the cuts you just made and your line of stitching.  Be careful to not fray the fabric.  This is why I told you to leave a 1/8″ space.  You can see that I did not.  I’ve done this a few times before and so I knew I could get away with that.  You might find that too.  But for now, leave 1/8″. 


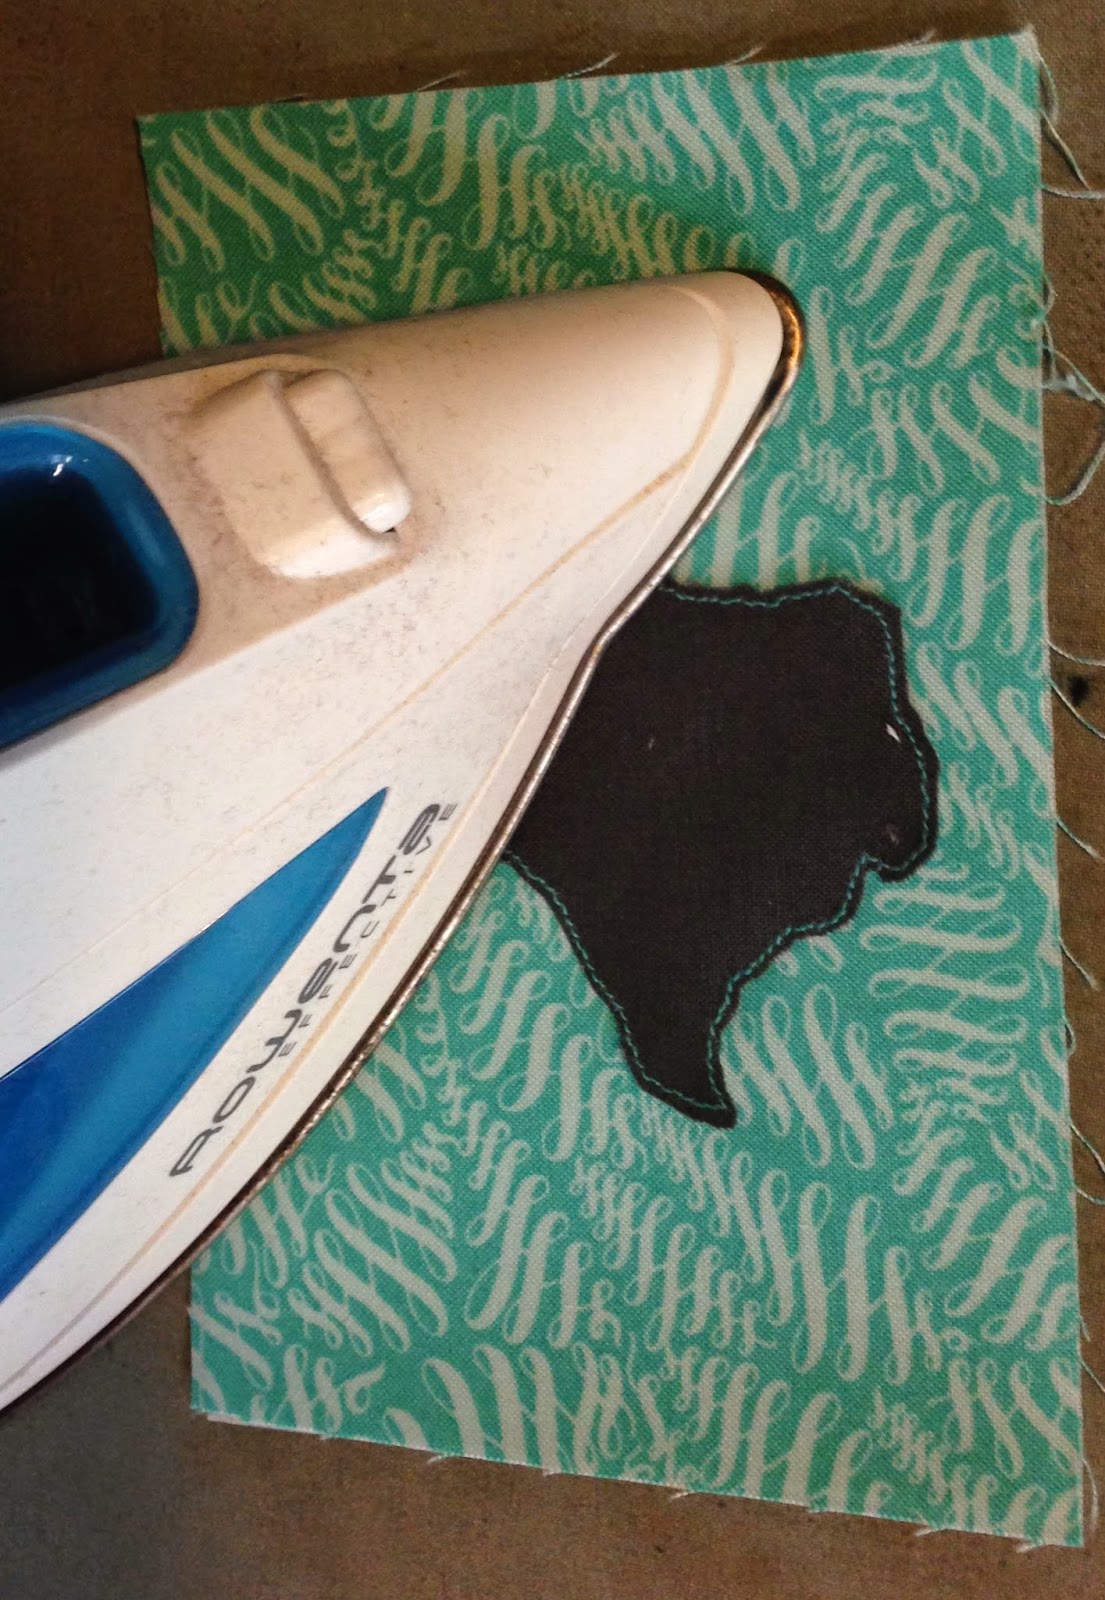
After you remove the paper backing, you can go grab your background fabric and center your silhouette on it.  I think the easiest way to do this is with a rotary ruler or some kind of clear acrylic ruler.  Makes things move a little faster–but you can also use just a regular ruler.


Now, look at the manufacturer’s instructions on how to apply the HeatNBond, and follow the directions.  You will now fuse the silhouette to the background fabric.


Once you’ve done that, you’re ready to frame it!  Just remember to minimize the handling of the silhouette so the edges don’t fray.  If you have more than one, you’ll just repeat these steps with each other piece you have.

Please let me know if you have any questions, and good luck on your new wall decor!

Joanna