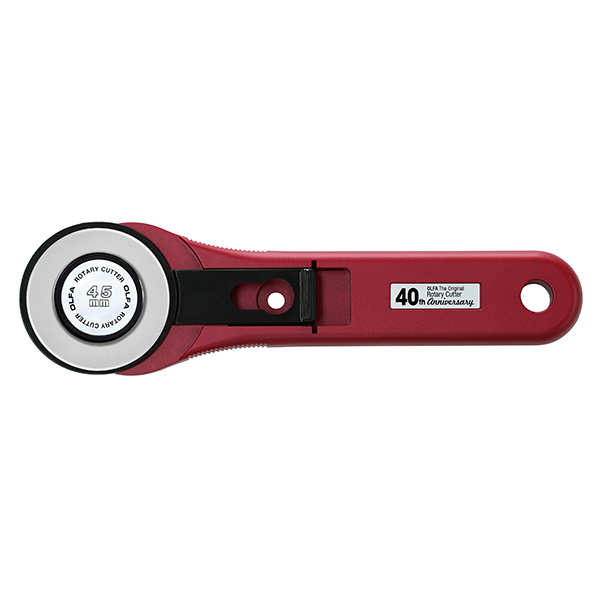
OLFA is celebrating their 40th Anniversary this year and has teamed up with Aurifil to create the Slice and Stitch Challenge! I was asked to be part of the challenge, and I’m so excited to included in this talented group of makers, showing you how to use handy tools to create things you’ll love :). I don’t know about you, but if you sneak into my sewing room, you’re sure to find several OLFA tools (and cutting mats) and LOTS of yummy Aurifil thread. Some of my favorite (and quite possibly underappreciated) tools are specialty rotary cutter blades. You can (carefully) pop one of these blades into your regular rotary cutter and quickly achieve a decorative finish that will look like it took you forever to cut…but that can be our little secret! I also just LOVE the new OLFA RUBY rotary cutter…I use it daily (photos below are from OLFA’s website). For the Slice and Stitch challenge, I saw those decorative blades paired with Aurifloss and knew immediately I just had to make a zip pouch!

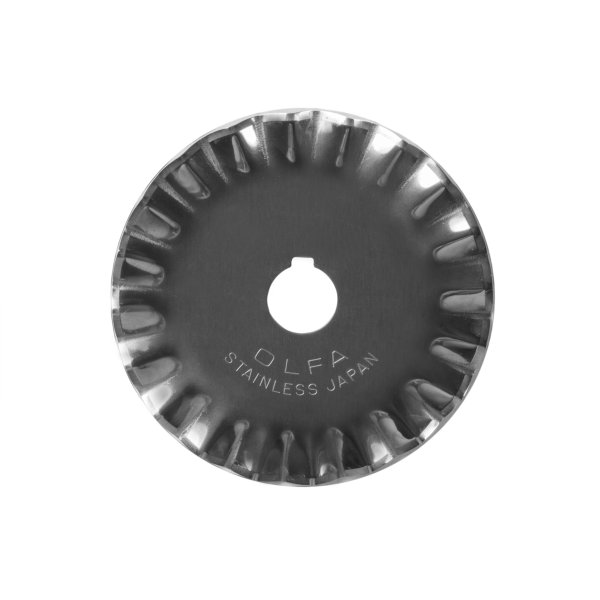
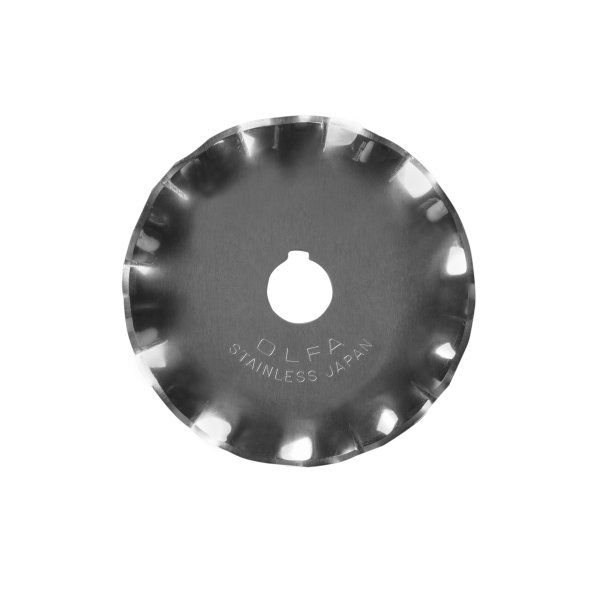
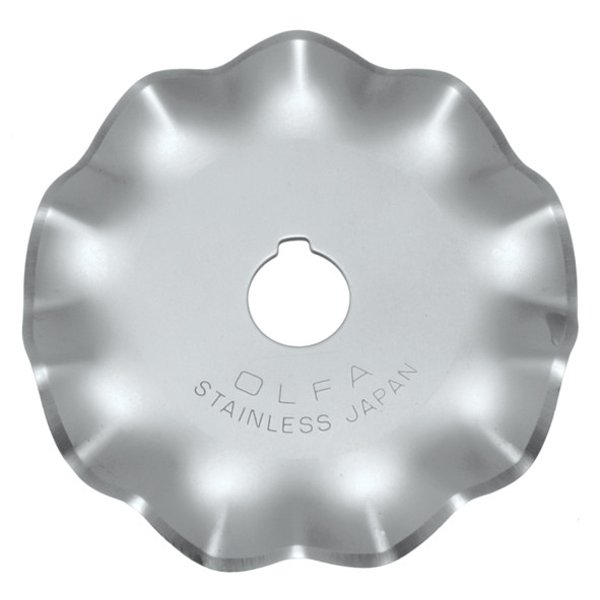
Pinking blade Scallop blade Wave blade Ruby Rotary Cutter
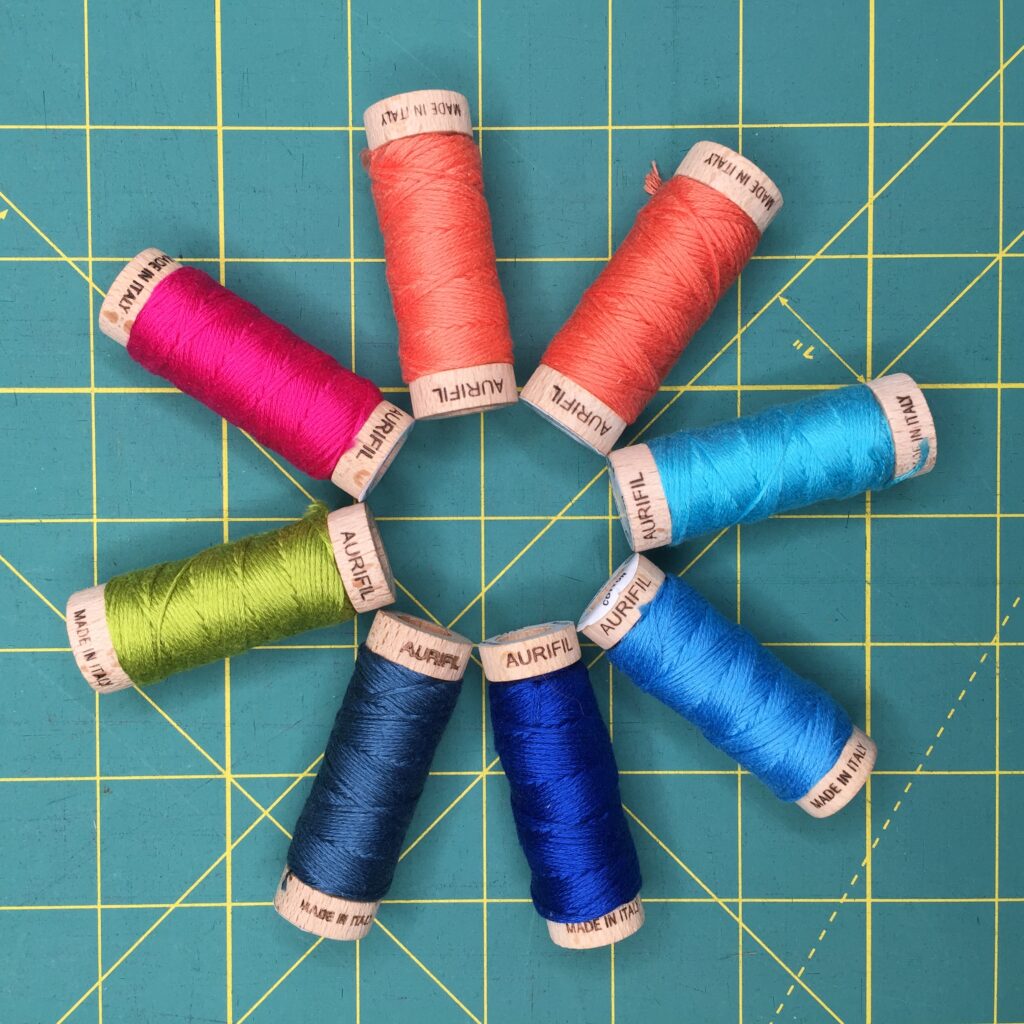
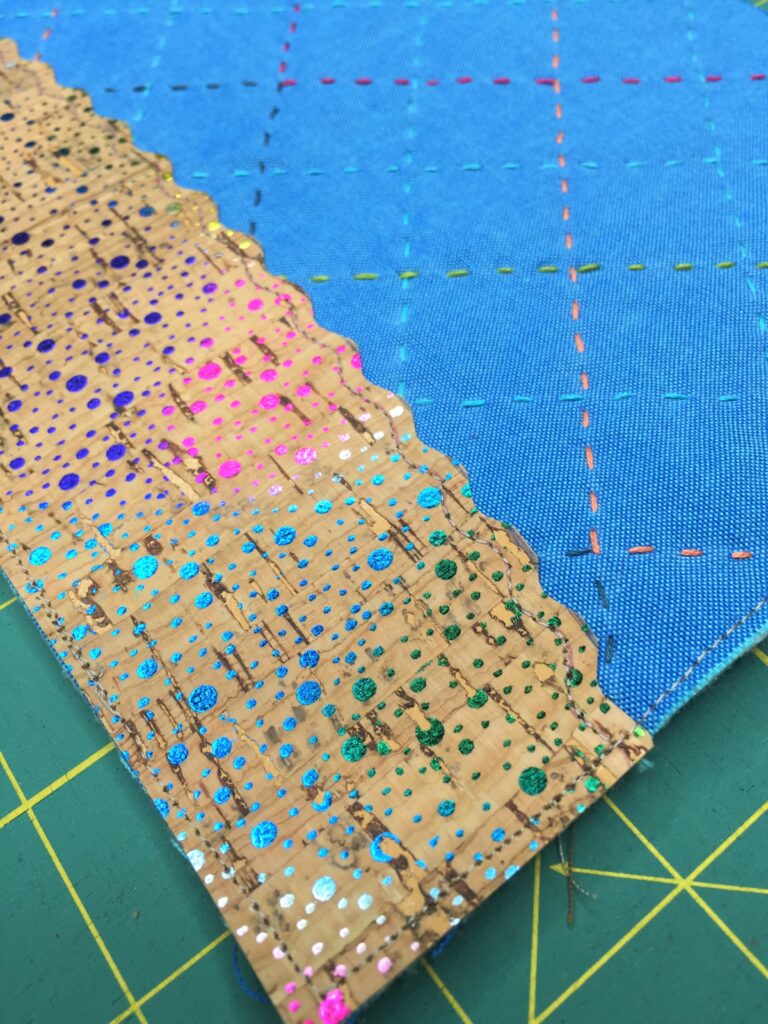
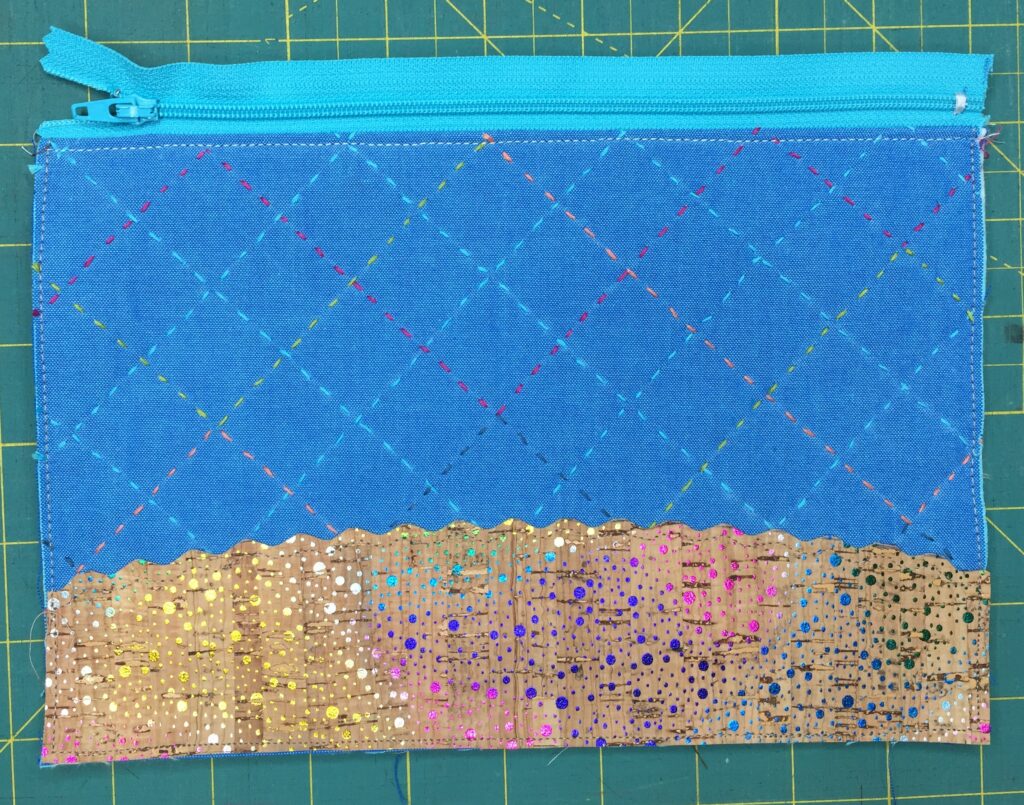
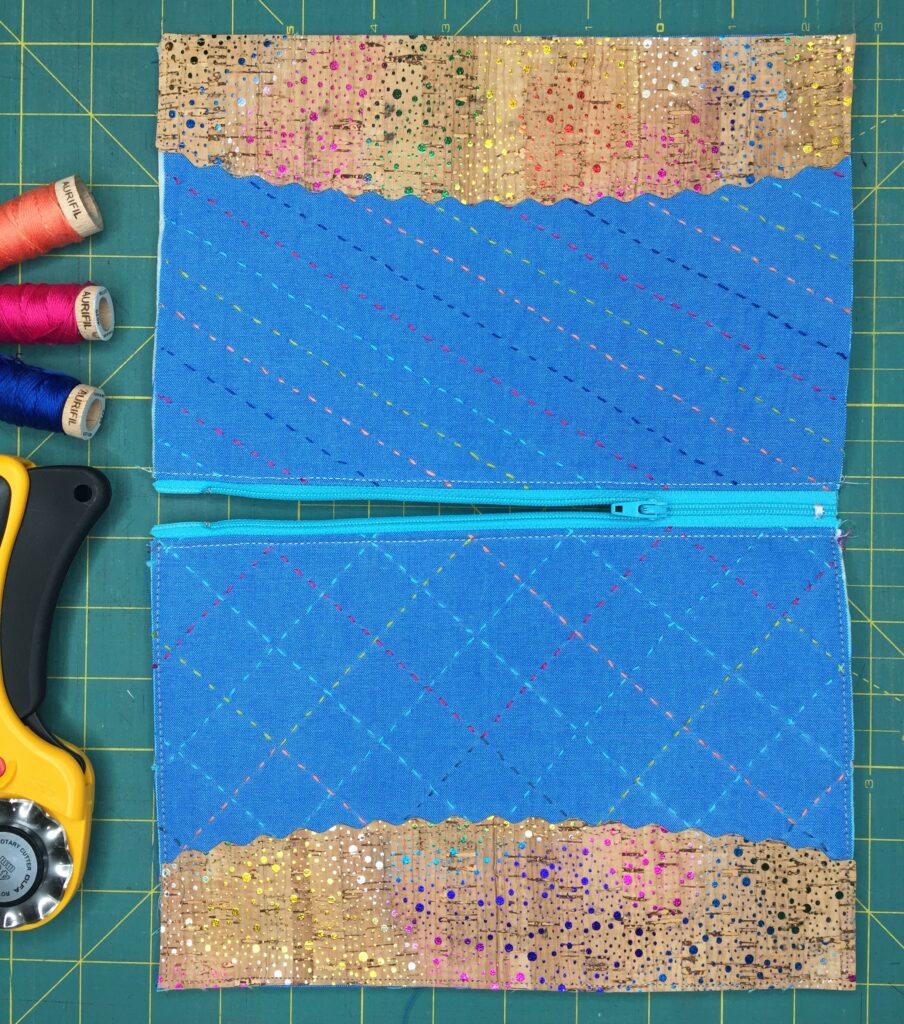
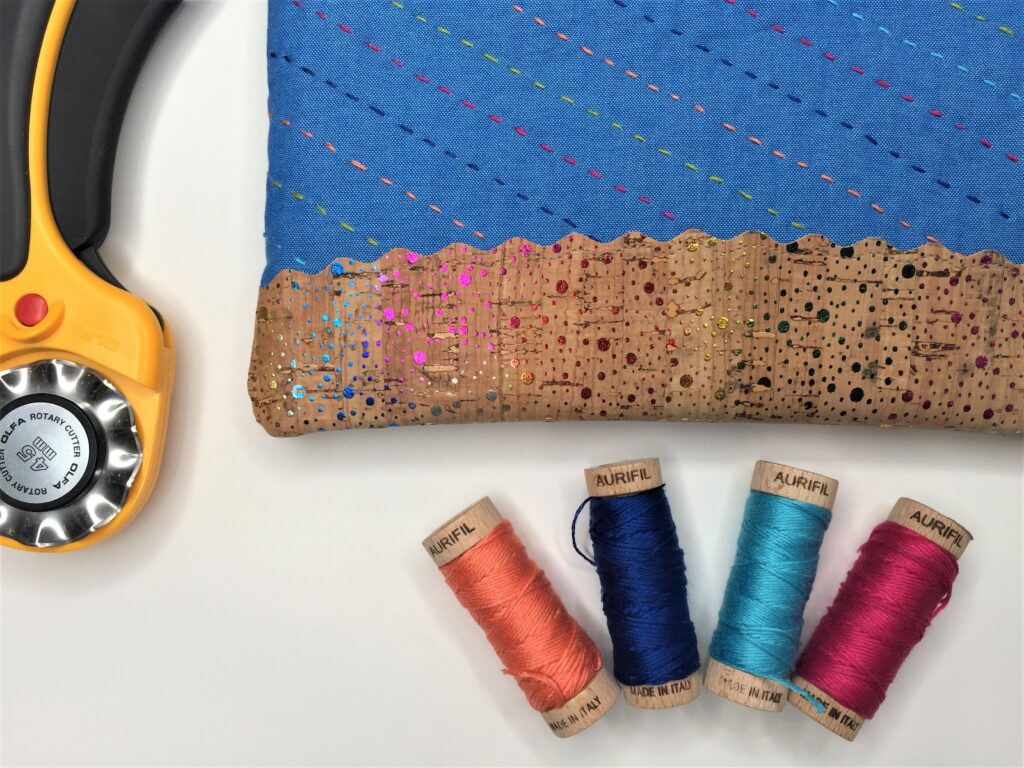
You can see the dreamy Aurifloss colors I chose for the hand quilting on my zip pouch. Love those blues with a punch of bright colors! Let’s get moving and start sewing up your own zip pouch!
Supplies needed:
- Zip pouch template, printed at 100%
- 10″ zipper
- Aurifloss in your favorite colors (I used #1320 Bright teal, 2225 Salmon, 2220 Light salmon, 4020 Fucshia, 5005 Bright turquoise, 2735 Medium blue, 1147 Leaf green, and 4644 Smoke blue)
- OLFA 45 mm Wave rotary blade and OLFA 45 mm Deluxe Handle Rotary Cutter
- (2) 2.5″ x 9.5″ pieces of cork leather
- Hand quilting needle
- 1 FQ lining fabric, sub cut into
- (2) 6.5″ x 9.5″
- 1 FQ Solid fabric for the exterior, sub cut into
- (2) 6.5″ x 9.5″
- (2) 8″ x 11″ pieces of batting
- Binding Clips
- Turning tool (optional)
- Basting spray/safety pins
- Chalk marker or Hera marker
- Zipper foot, sewing machine
- Thread for piecing and basic sewing supplies
- Iron and pressing mat
Hand Quilt it!
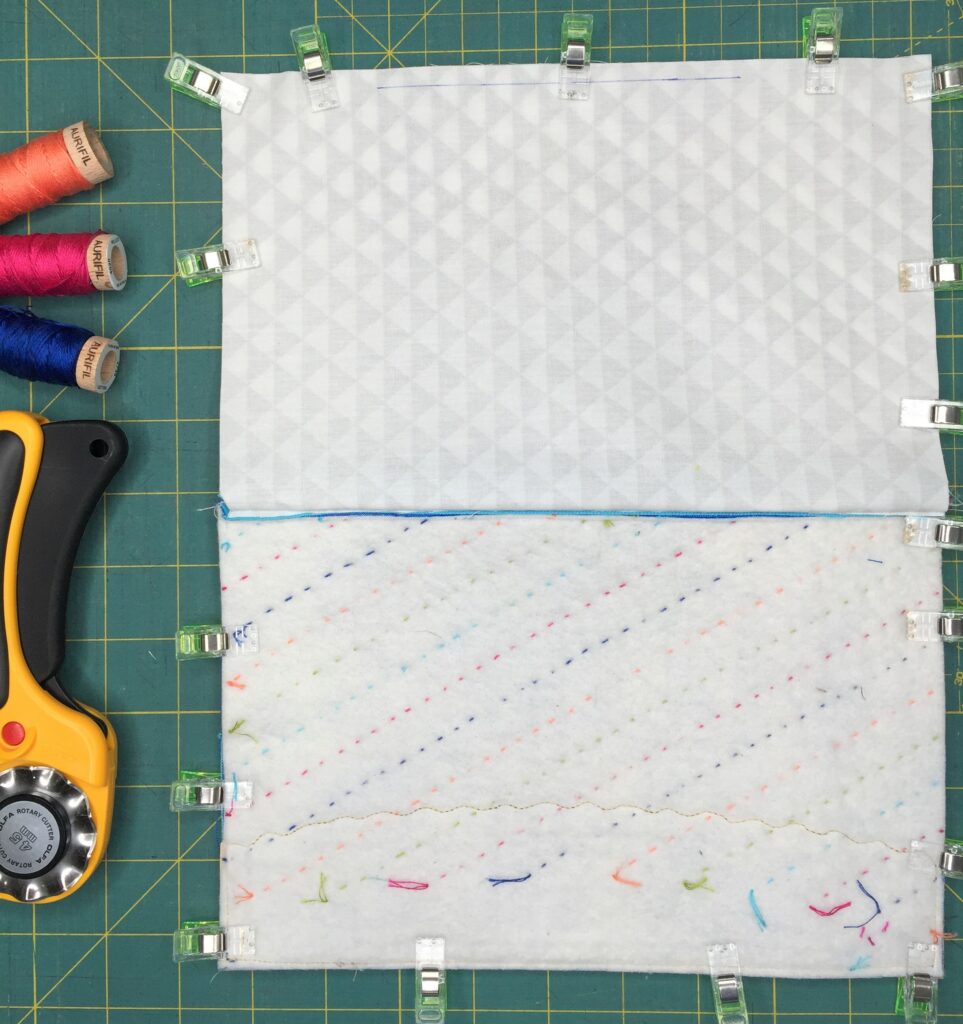
To begin, you’ll need to take the two exterior pieces of fabric cut at 6.5″ x 9.5″ and center each one on top of a piece of batting. Use a Hera marker or chalk pencil to mark your hand quilting lines, then hand quilt a pattern or random stitches onto each exterior piece. I like to make my stitches about 1/4″ in length, and spaced the same distance apart.

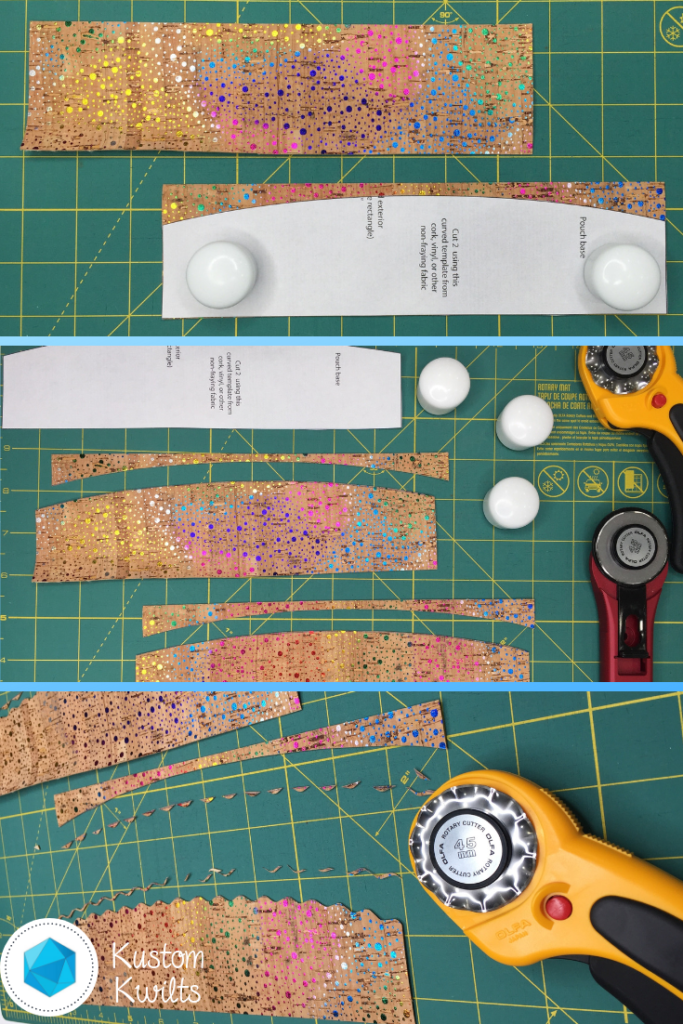
Grab your template:
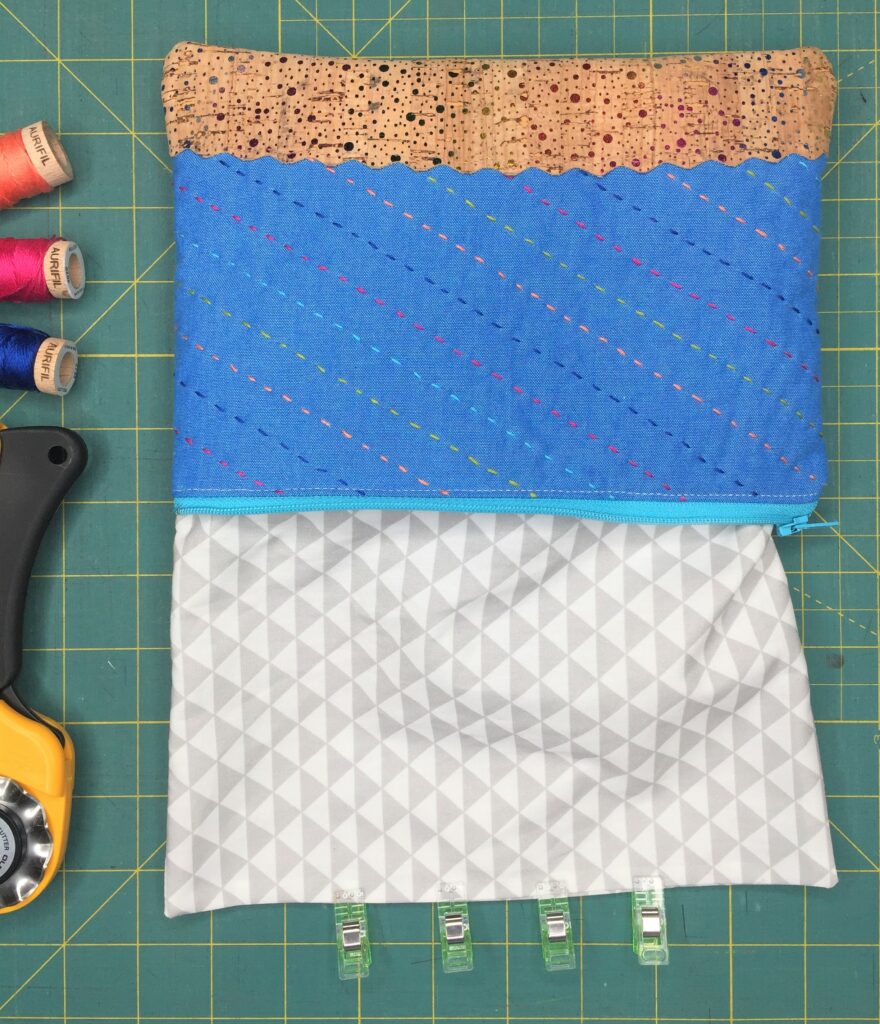
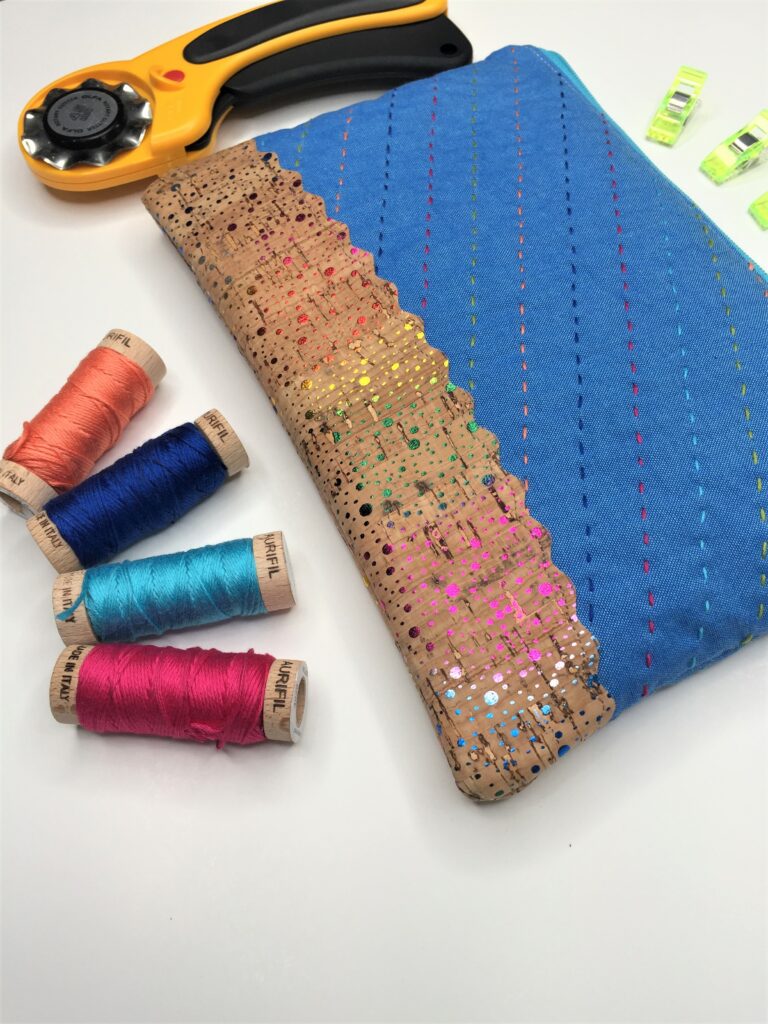
Now you’ll take the cork pieces, and the bottom portion of the template printed from your supply list and line the template up along the bottom 9.5″ of the cork. Use a standard OLFA 45 mm Rotary blade to trim along the curved edge. I used my OLFA Ruby Rotary Cutter for this part. Once you’ve trimmed the curved portion, take the Wave Rotary blade and trim just along the curved edge to leave a cute wavy edge.
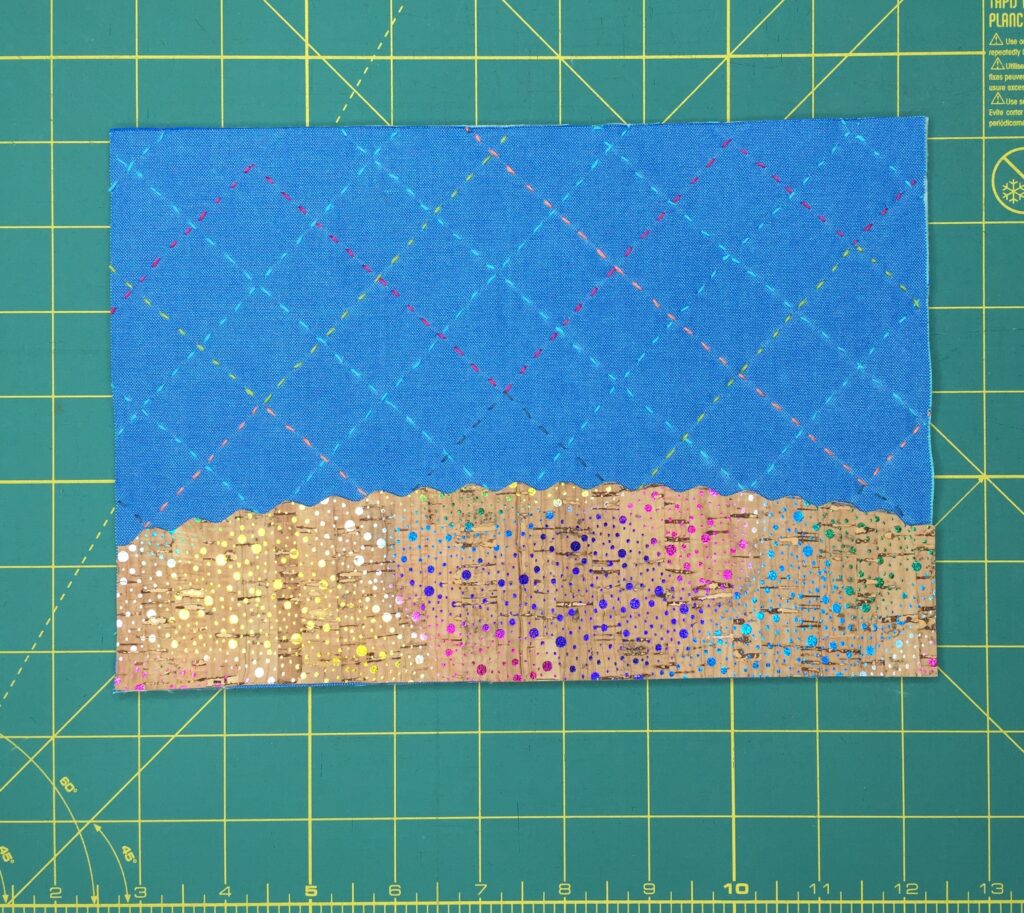
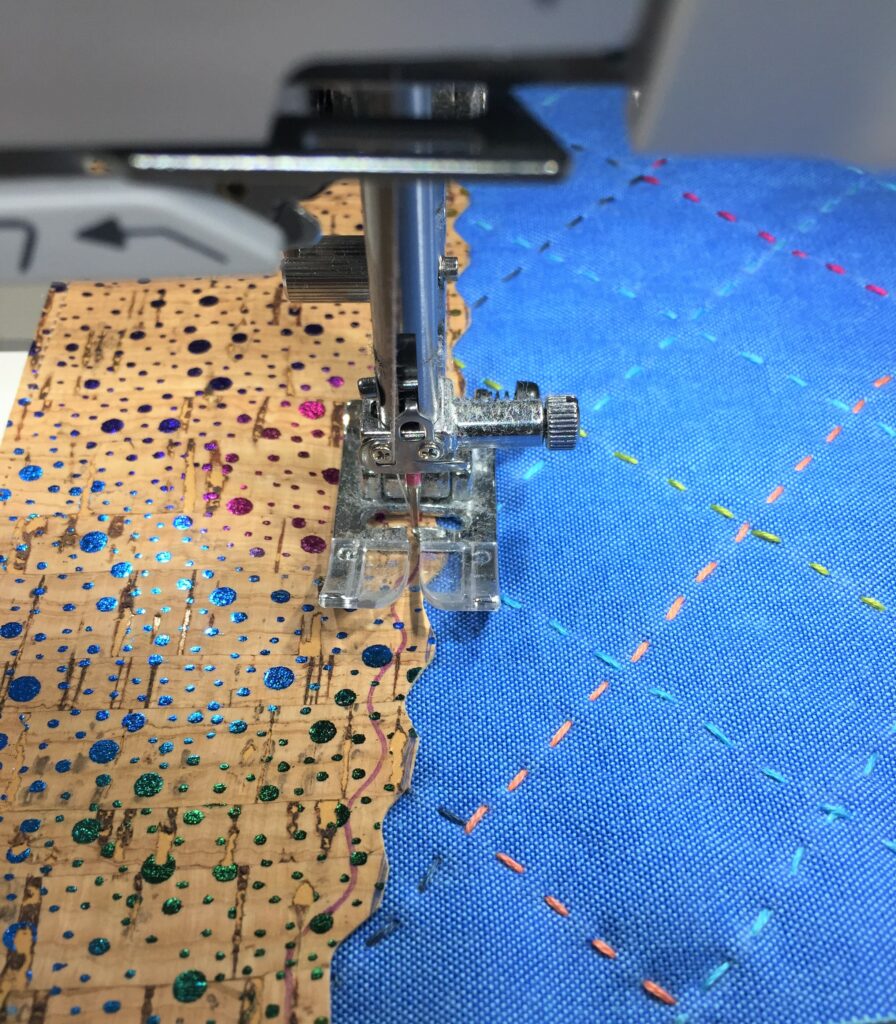
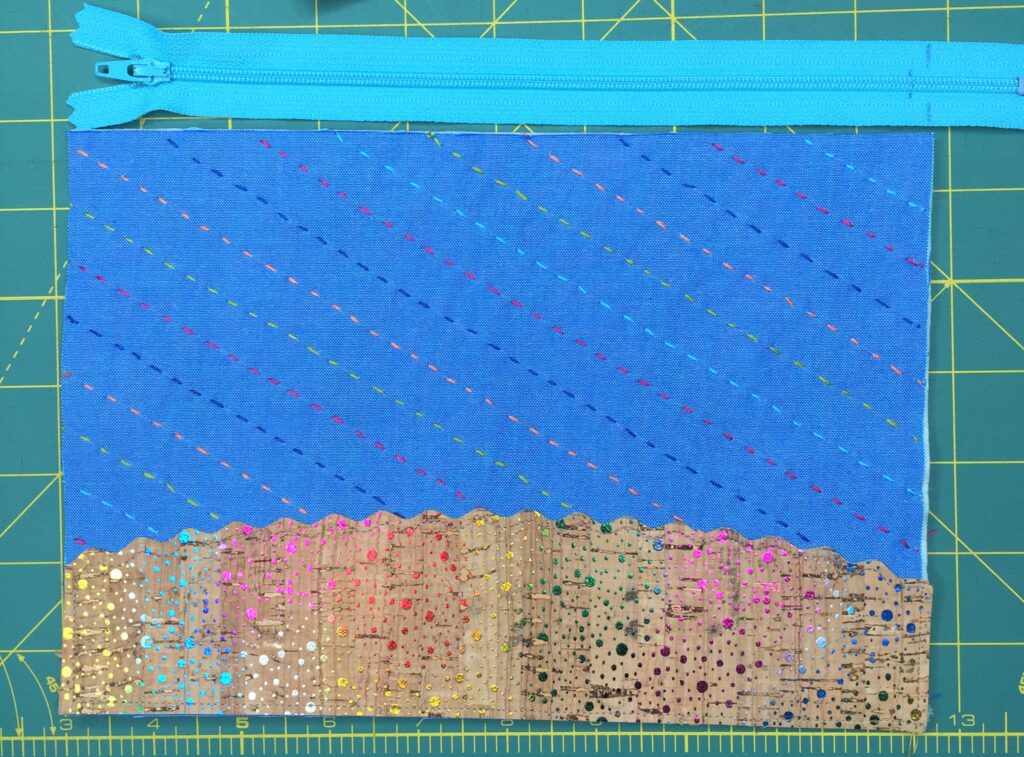
Take one of the quilted exterior pieces and place the decorative cork on the bottom 9.5″ edge. Use clips to hold in place, or use some wash away hem tape to secure. At this point, I like to take an air erasable marker and echo the line of the wave just below the wavy edge of the cork – about 1/8″ from the curvy edge – as a stitching guide. Take this piece to the sewing machine and topstitch along the guideline you drew with a coordinating thread. Then stitch around the remaining edges of the cork, about 1/8″ away from the raw edge to secure it in place. Don’t worry — the cork won’t fray, so it’s great for special decorative finishes with the OLFA rotary cutter!
Take your zipper and place it lined up with the top edge of one exterior, as shown in the picture below. Mark the end of the zipper (the end with the metal stopper) where it meets the end of the right side of the fabric, then mark about 1/4″ in from that mark as well. Take the zipper to the sewing machine and use a zig zag stitch to sew a new zipper stop on the mark furthest in. Trim away the rest of the zipper on the outermost mark.
Install the zipper
I opted to quilt each exterior a little differently 🙂

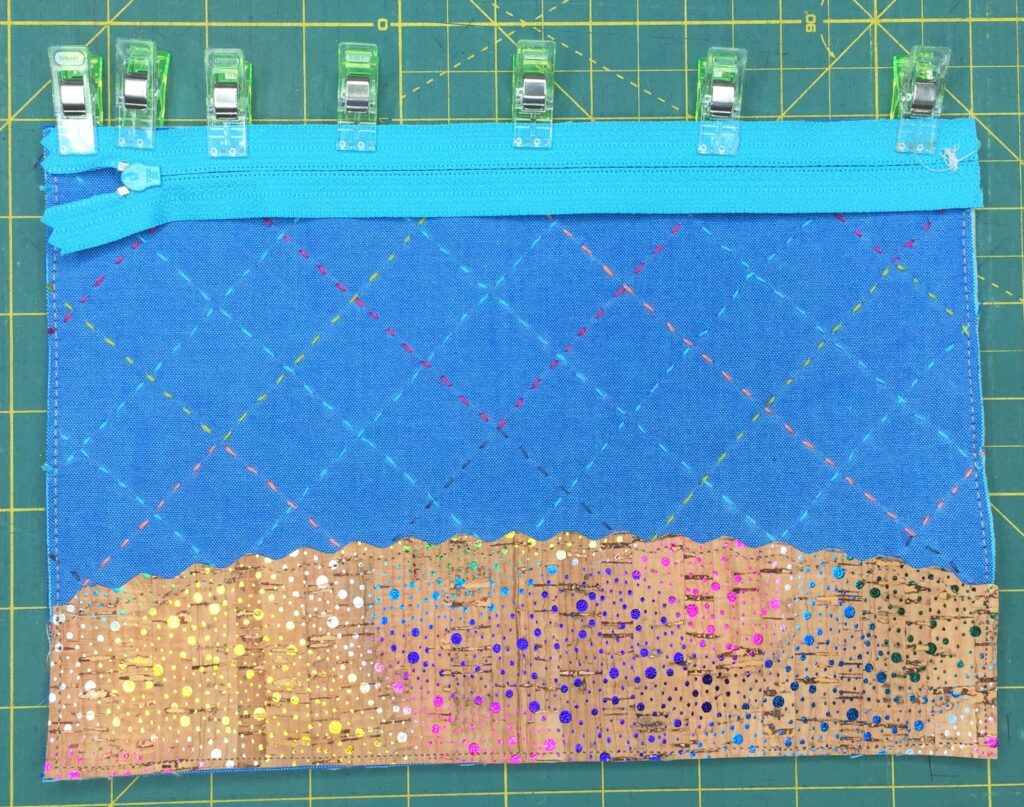
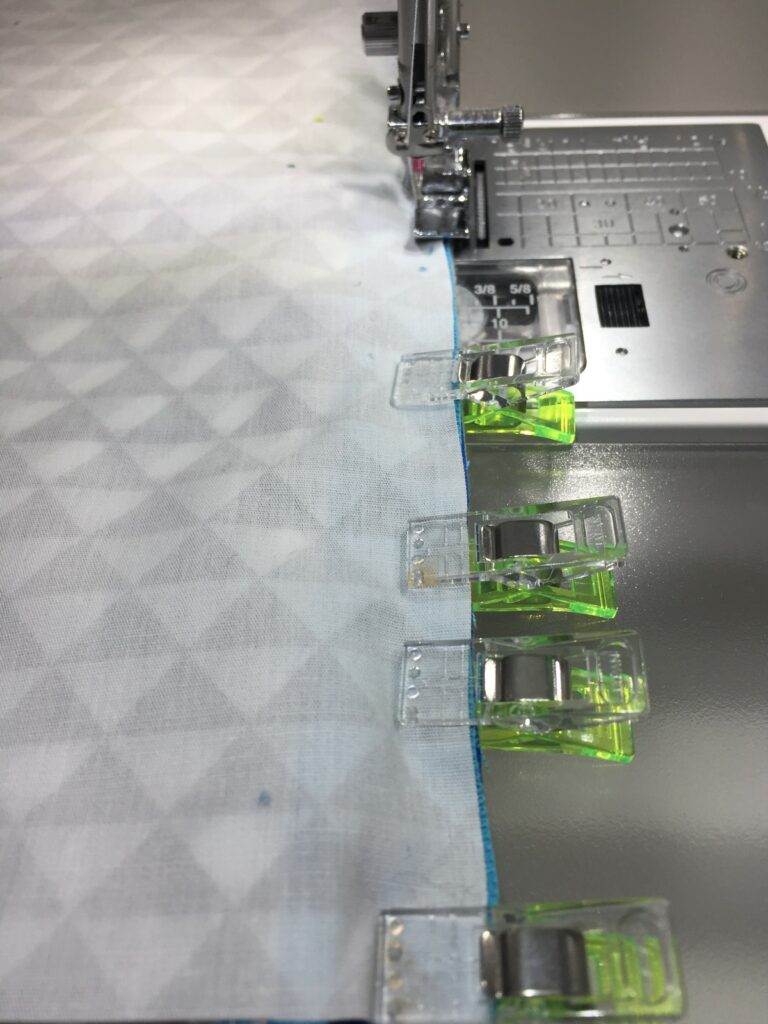
Take the newly trimmed down zipper and place it RSD on top of one side of the hand quilted exterior. Use binding clips to clip the zipper in place. Take one of the lining pieces and place it RSD on top of the zipper, the replace the clips to include all three layers. Use a zipper foot to sew through the three layers with a 1/4″ seam allowance, beginning at one end of the fabric and sewing to the opposite end, all the way to the edge of the fabric.
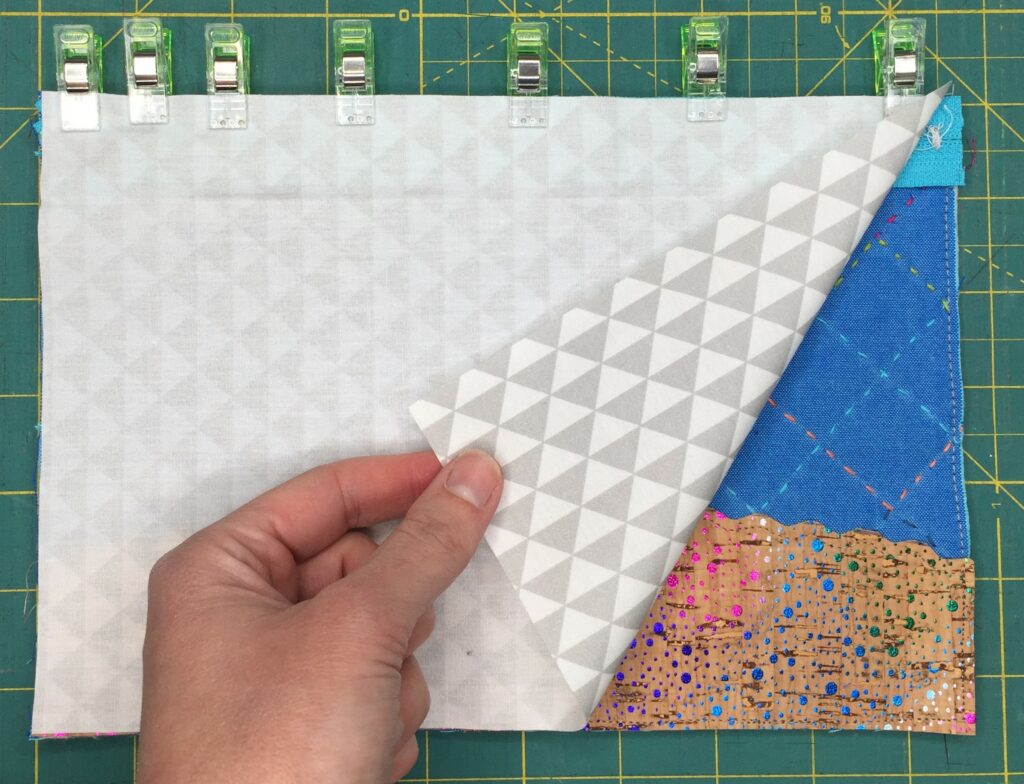
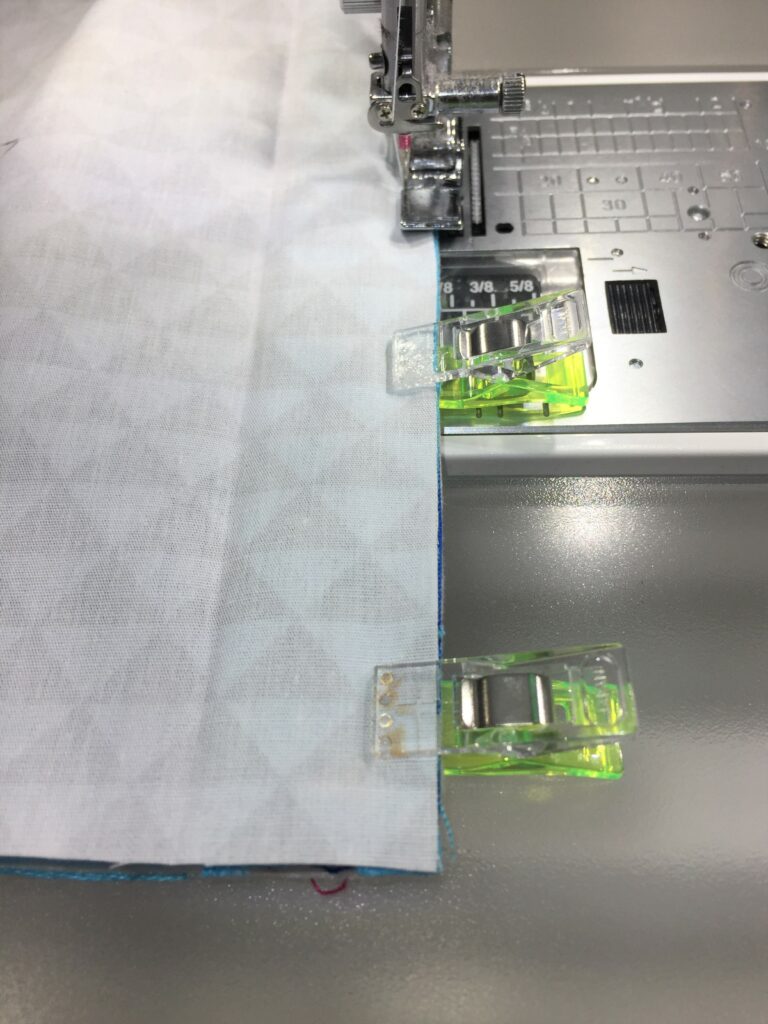
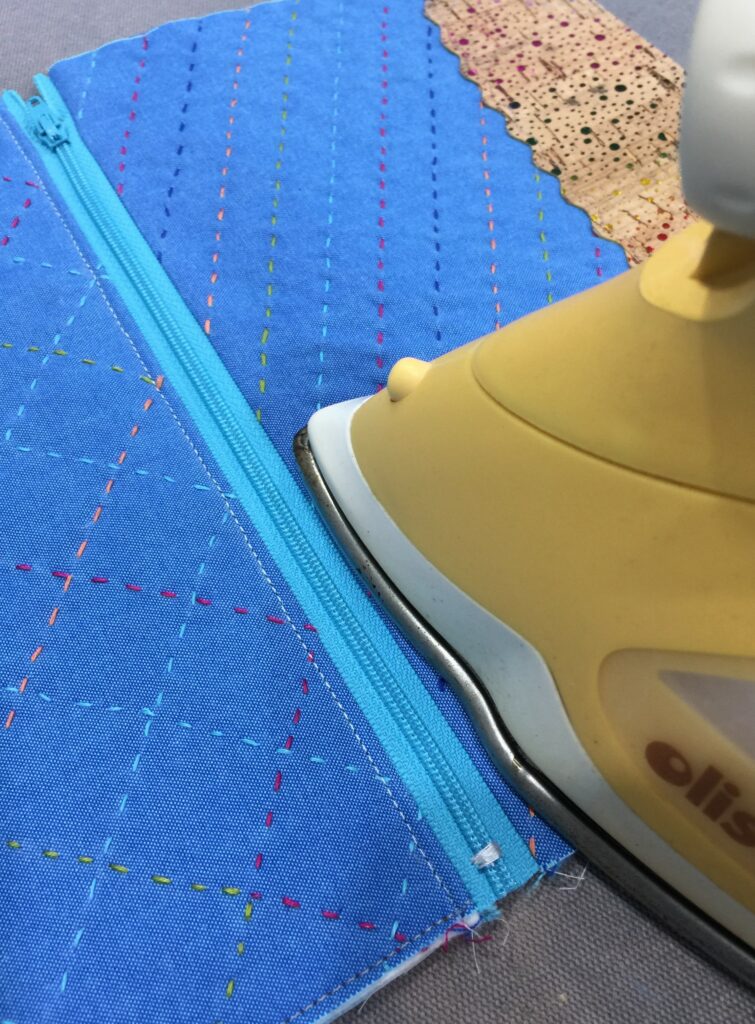
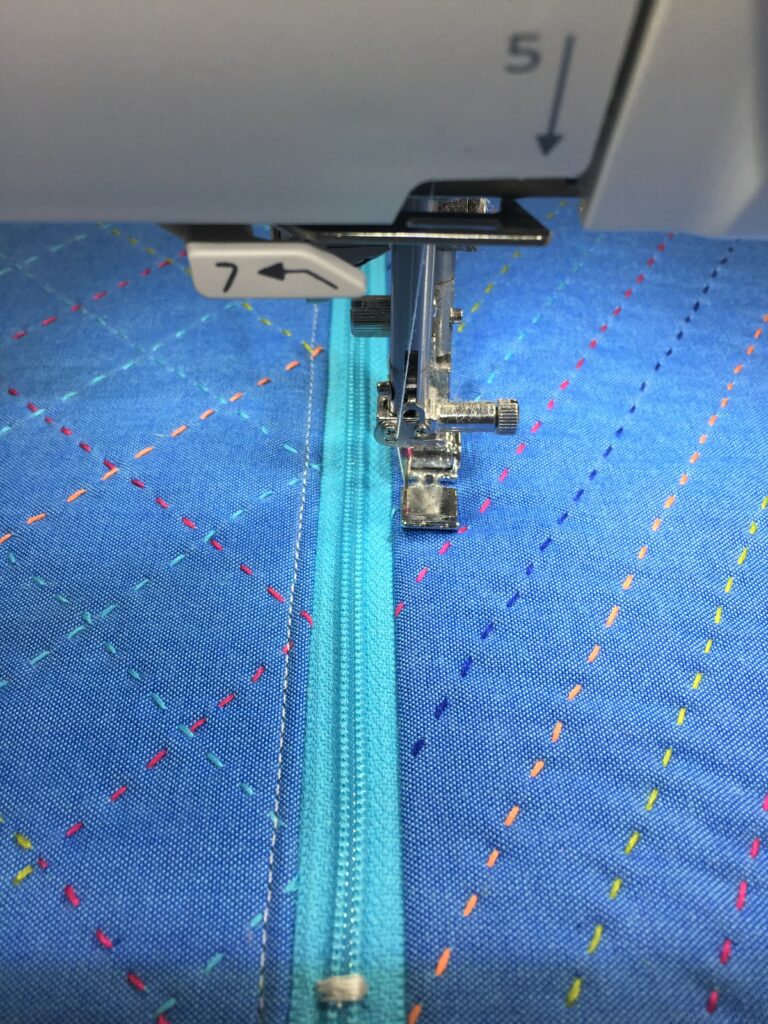
Press the lining and exterior away from the zipper with your iron, and topstitch 1/8″ away from the folded edge of the fabric.
Repeat the steps above with the remaining exterior and lining pieces.
Assembling the zip pouch
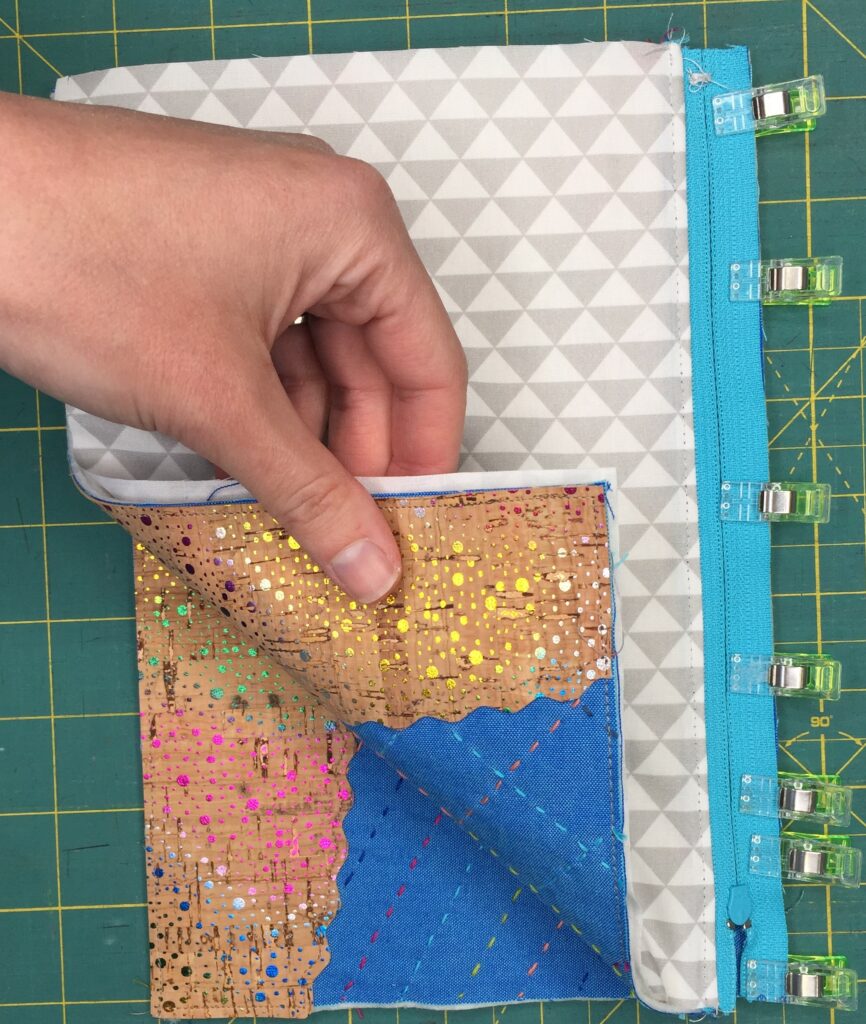
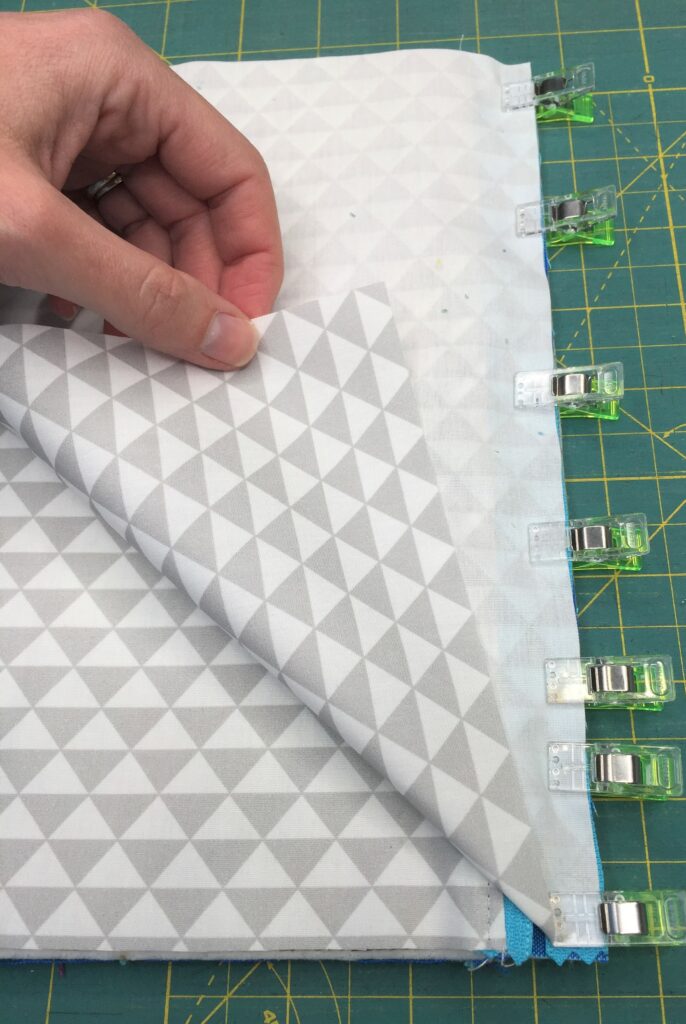
Open the zipper part way, then match the exteriors, placing them right sides together. Pull the linings together and match them, right sides together. Pin or clip in place, and mark about a 5″ opening along the bottom center of the lining to leave open in the next step. Pull the zipper pieces towards the lining, as shown below.
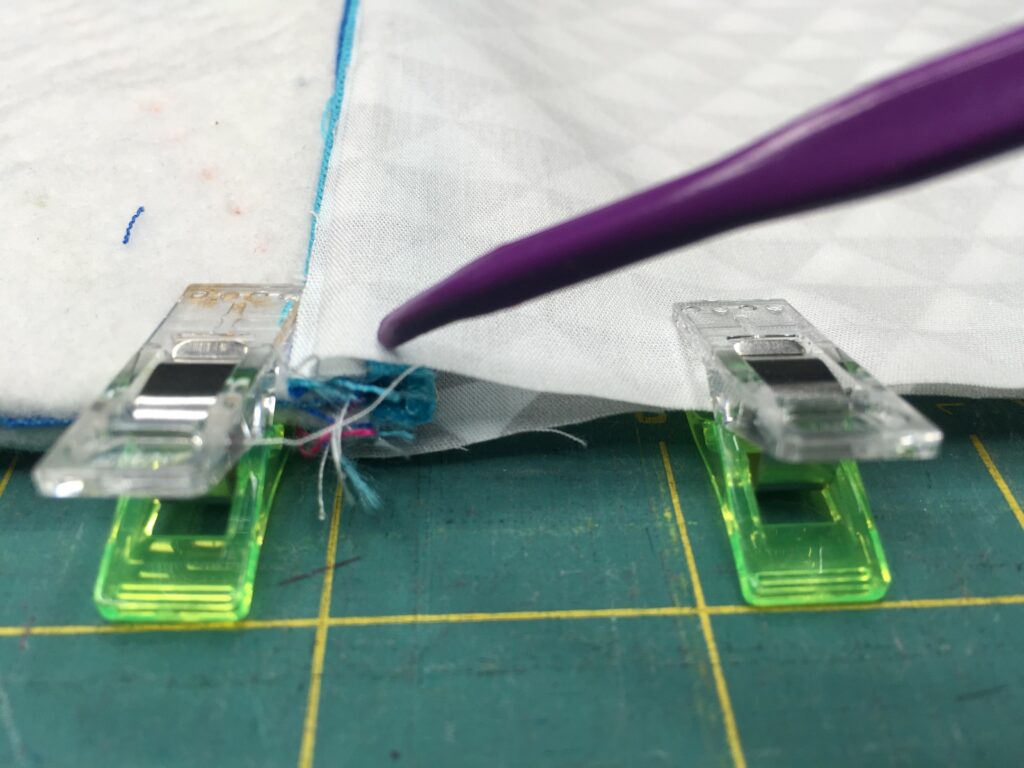
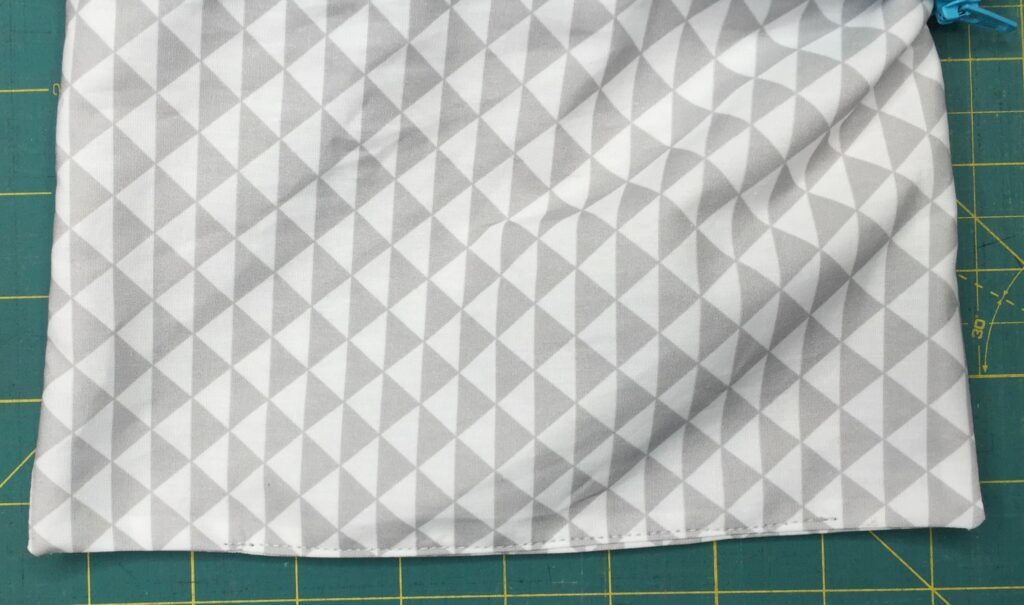
Sew all the way around the perimeter of the zipper pouch, leaving the 5″ opening unsewn. Clip the corners for crisp turning. Turn the zipper pouch right side out through the opening in the lining. You can use a turning tool for crisper turning, if needed. Fold the opening of the lining in 1/4″ and press. Clip in place. Topstitch the opening closed, then push the lining down inside the pouch.
And you’re done! Fill this pretty pouch up with all the sewing things you need on the go 🙂
I love this zip bag and your instructions are awesome! I’ve just recently started using cork and I love it! It’s so fun! Did you know it’s not only water proof but it’s also antimicrobial which is awesome. No germs will get on the cork. So if your traveling or in a public restroom and need something, You can set it down without concern!
I also love my rotary cutters and cutting mats by Olfa. I’ve tried other cutters but I always go back to my Olaf rotary cutters. The cutting boards seem to last forever. I’m defiantly an Olfa fan!
Thanks so much Robin! I’m obsessed with cork too! It’s such an amazing fabric to use in projects. I have to agree with you on the Olfa products as well–they are just amazing! Happy sewing 🙂
My lightbulb went on when I read your tutorial. I thought oh yeah I have some of that cork laying in my shelf ha ha. Yes I bought it for another project but I really think yours is cute. My other spin on it is I am going to use my cutting machine to put a phrase on the bag.
Penny! That’s an awesome idea!! I have so much cork that I’ve bought and decided it’s just too precious to use…I love your spin on it 🙂