Everyone’s favorite thing to do is spend an entire day cutting out all the pieces of a quilt, right? UGGGGHHHH. I just cringed thinking about it. I want to sew, sew, sew–can’t someone else just do the cutting for me and lay everything out all nice and neat? Is that what heaven is going to be like? If this all sounds good to you, you’re going to LOVE the stack and cut method.
We all just want to spend our free time sewing and not doing the gross part that takes forever. When I’m cutting out the same shapes from different fabrics, I like to save a little time and stack and cut the fabrics together. It’s super easy and a HUGE time saver. Here’s what you need to do:
- Give all the fabrics a good press. I like to use Flatter spray starch (not an ad, I’m not an ambassador, no kick backs. I just LOVE the way the stuff smells.), but you don’t have to starch at all if you don’t want to.
- It works best if your fabrics are mostly the same size, or at least similar sized cuts.
- Line up the selvages of the fabrics.
- 4-6 layers of fabric is ideal. I’ve cut up to 8, but sometimes I find I’m going over cuts again because the blade didn’t penetrate all the way through.
- Trim away the selvages with a ruler and rotary cutter, then square up the edge perpendicular to the selvage edge, making sure all fabrics are trimmed together.
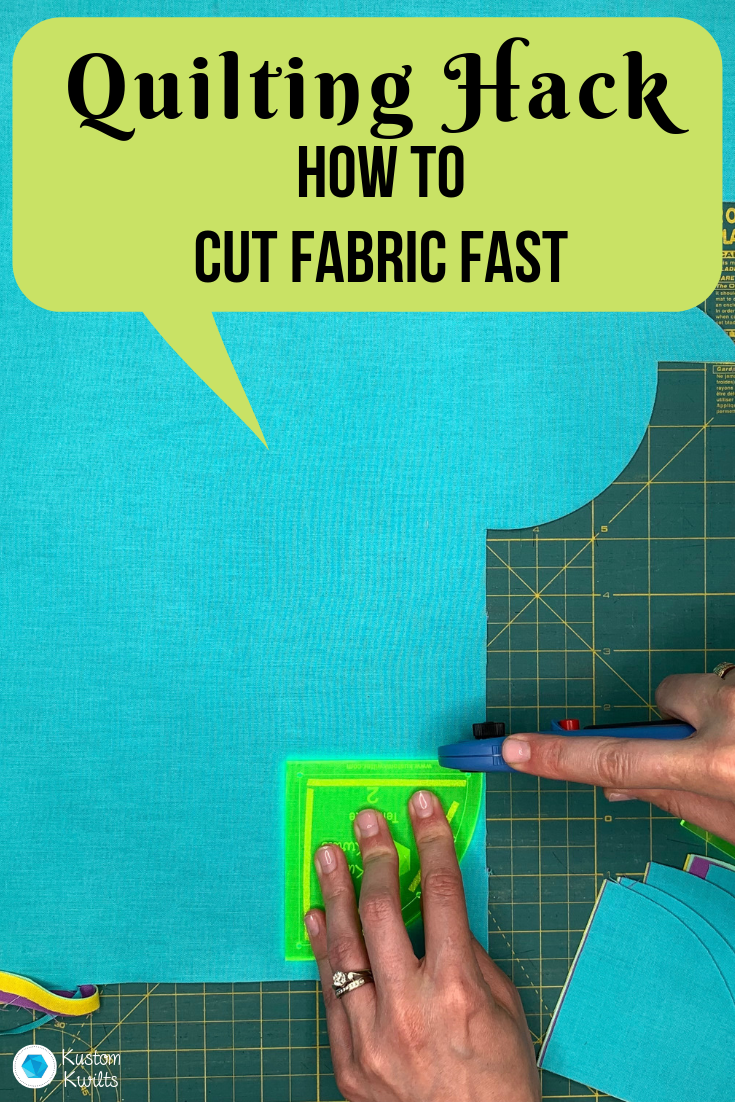
- Now that your fabrics are all lined up and square, start cutting! You can watch this video tutorial for clarification if you’re more visual like me:
Give stack and cut a shot!
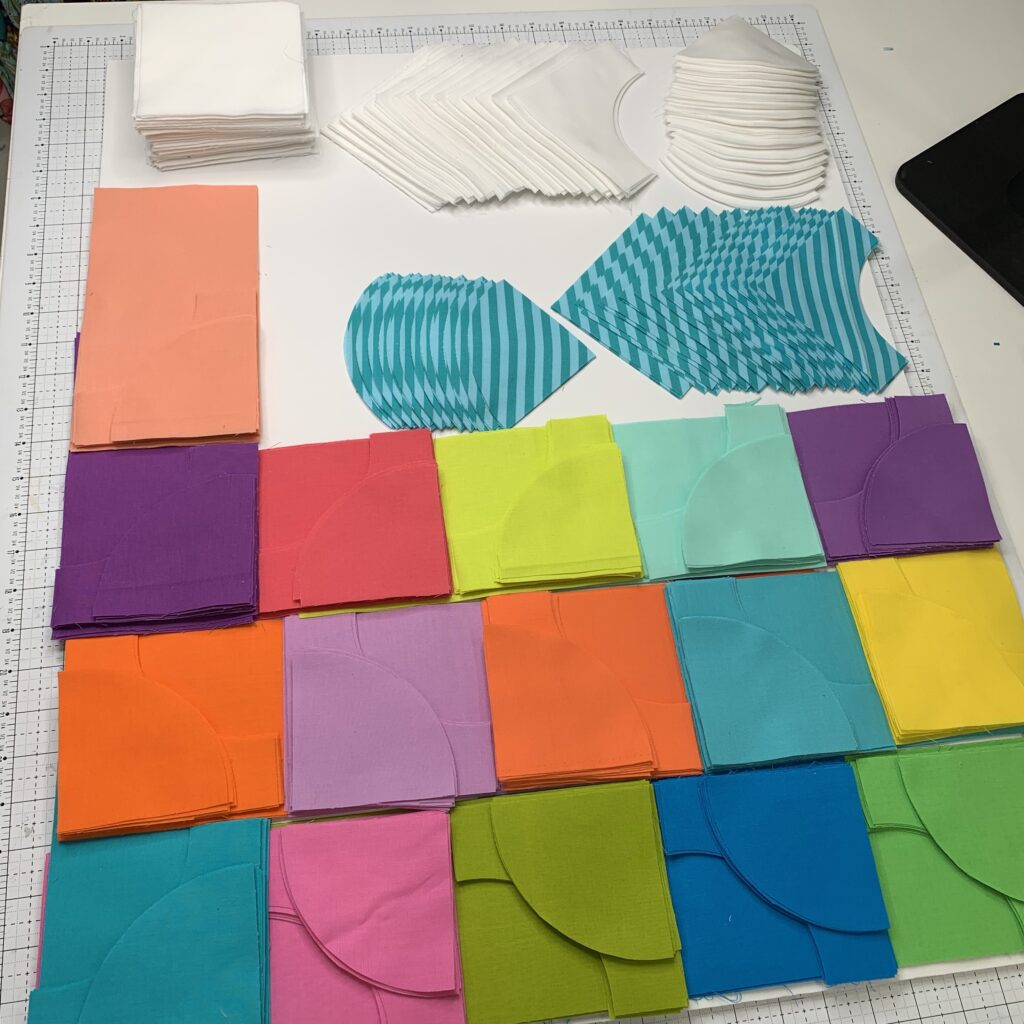
Now that you’re a master of the stack and whack (as some people call it), give it a shot and schedule a spa day with all that extra time you just saved! I like to stay uber-organized and these are all my fabric stacks after a stack and cut for a king-sized Moroccan Tiles quilt:

Other cutting tips
If you’re into fussy cutting, there’s a quick video to show you how that goes down. It’s a great way to showcase all those gorgeous prints on that highly hoarded fabric collection you’ve got over there!
Give yourself a big pat on the back for becoming a master of cutting! And tell your friends! They’ll be so impressed at how efficient you are and maybe they’ll even buy you lunch for sharing some new tips with them 😉

Happy sewing! – Joanna

I’m having a hard time seeing the templates. What side up do you place the templates on the fabric? Are you supposed to be able to correctly read the writing on the templates as you cut?
Hi Rachell! Sorry I missed this yesterday–I believe I answered your question on IG, but feel free to ask other questions if you need clarification. Thanks! Joanna