Posted on 2 Comments

Moroccan Tiles Sew Along – Week 3

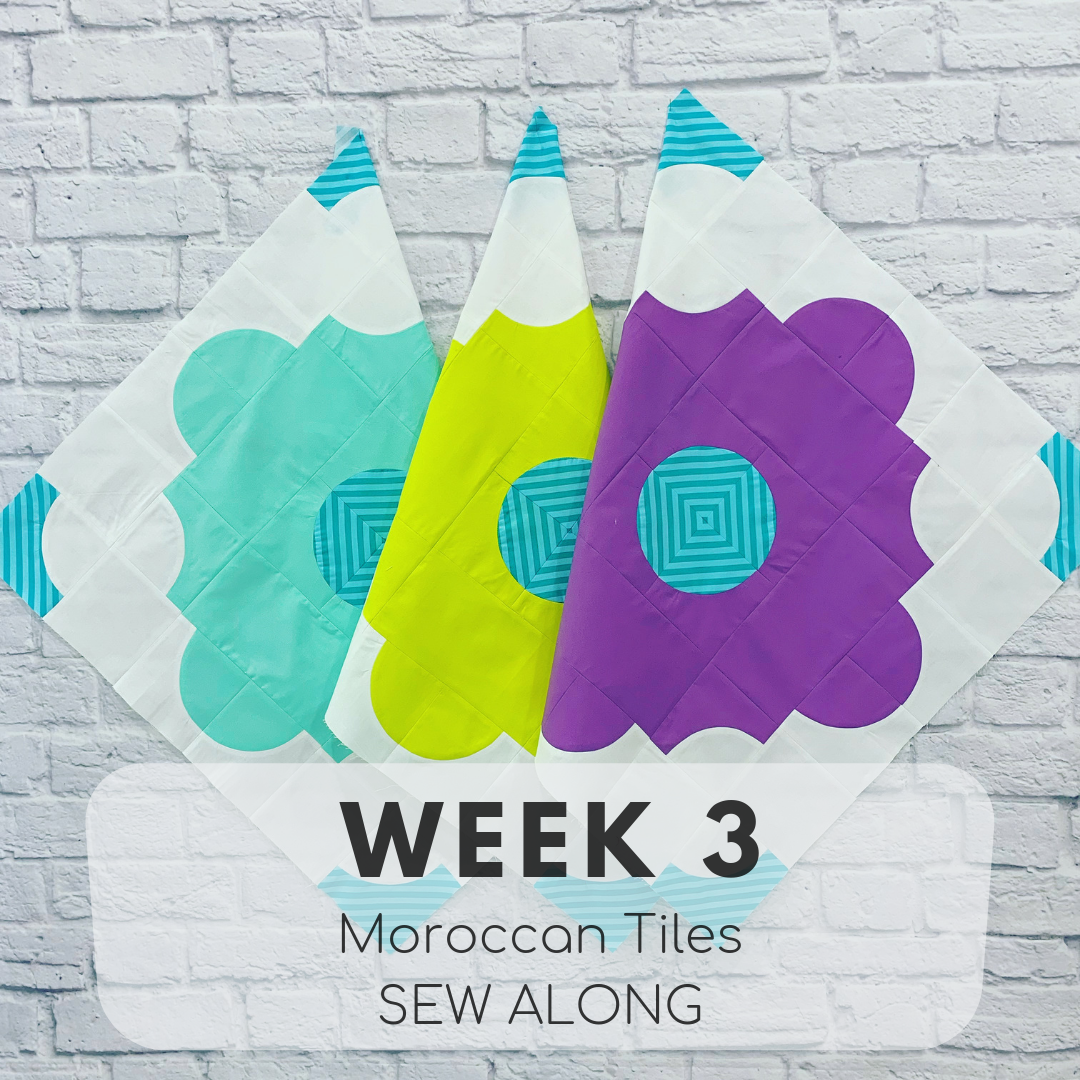
A group of three pieces of fabric sitting on top of a wall.

This week, we’ll be focusing on sewing together blocks 1, 2, and 3. If you’re brand new to sewing curves, I’ve got some great tips for you and some video tutorials to help you out. I made quite a few videos in case you’re a newbie, and it may seem like overkill, but I wanted there to be plenty of help available if you needed it. If you’re a seasoned curves-sewist, feel free to skip them!

The first time I sewed curved pieces, I was really intimidated by it all. Honestly, the first few blocks I made looked awful, I had puckers in my fabric, and it obviously wasn’t clicking with me. If this is you too, please hang in there! Practice makes it so much easier. There are several ways to sew curves together, and two of my favorites are pinning the fabric, and not pinning the fabric. I’ve made some videos to help, and you can see them here.

Alright, so here’s the breakdown for Week Two:

  • Sew together 3 complete Moroccan Tiles blocks
    • the SAL is paced for the throw size (9 blocks), but you can easily make more blocks per week to accommodate the larger sizes, or make less per week to make the baby size.
  • Follow steps #6-15 on pages 8-11 of your Moroccan Tiles pattern to assemble each block.
  • Don’t forget to match those stripes or fussy cuts if you went that route. I like to pin to match the patterns, or you can try glue basting for a great no-shift match!
  • This week, post a picture of your 3 blocks on Instagram using the #moroccantilessewalong hashtag.
    I’ll be randomly picking one winner from week three (you have to post the week 3 prompt on Instagram with the hashtag by 6/21/2019 at 11:59 CST) to win an awesome prize!  This week’s prize is a SunPrint 2019 FQ bundle from Sew Modern Chicky (the SAL shop sponsor). Check out the Original Sew Along post for more details & the rules.
Continue reading Moroccan Tiles Sew Along – Week 3
Posted on 4 Comments

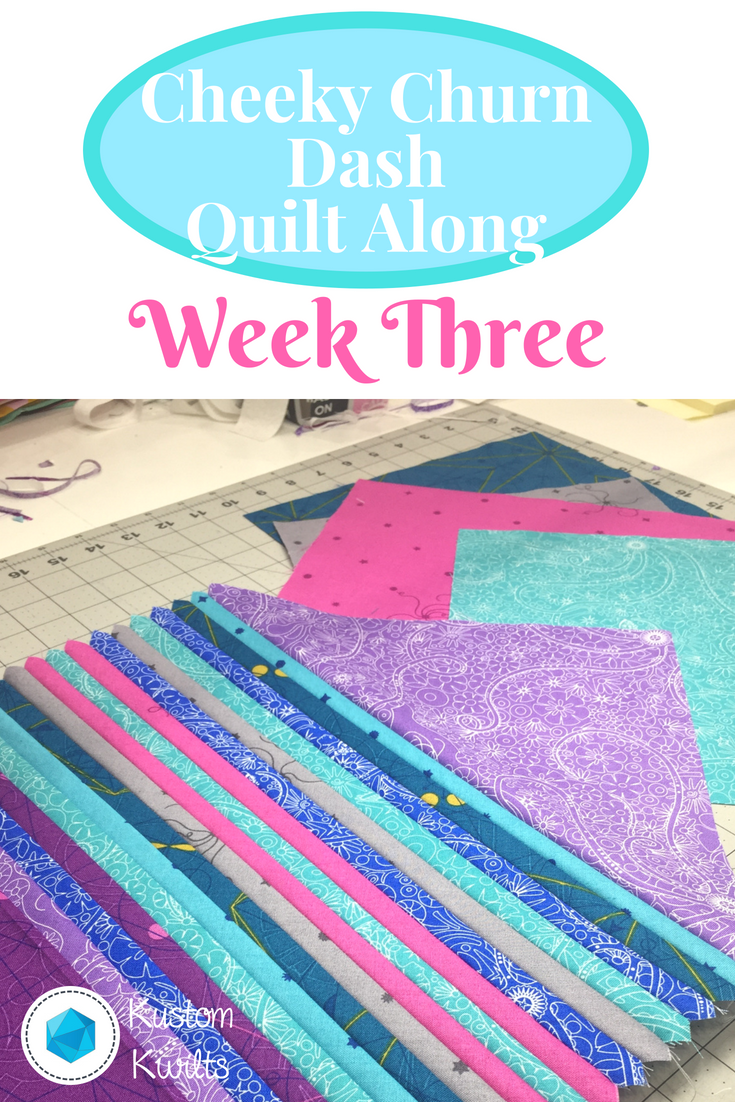
Cheeky Churn Dash Quilt Along – Week Three

A quilt along week three


Quilt Along – Week Three

We’re moving right along into Week Three of the Cheeky Churn Dash Quilt Along!  Head over to the Original QAL Post to review the details and schedule, if you need to.

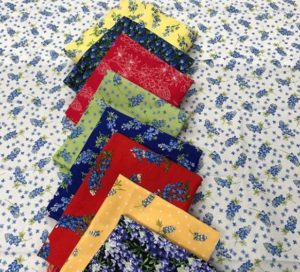
Congratulations to Marcy S. for winning the week one prize- the Alison Glass Insignia FQ bundle sponsored by Knotted Threads!  Marcy posted a lovely picture of her bluebonnet fabric for the week one prompt:A bunch of different colored fabric on top of the ground

A quick review of what we’ve done so far–scroll to the bottom of this page for links to each weekly post.

Fabric Discount!A blue and white banner with the words knotted read written in orange.

Jennifer at Knotted Threads on Etsy has joined in the Quilt Along fun to bring all Cheeky Churn Dash QAL participants a 10% discount on fabrics purchased from her shop!  She has a great selection of current and modern fabrics, so you’ll want to take advantage of this ?  Use the coupon code: CHEEKYCHURNDASH at checkout.

How to Participate:

Post Your progress on Instagram using the hashtag #cheekychurndashquiltalong

Be sure to include the hashtag when you post to Instagram so everyone else can see what you’re up to, and if you’re in the US, you can enter to win prizes ?

Stay in the loop!

If you haven’t signed up for the weekly emails that will go out for the Quilt Along, sign up here.  There might be some added info and bonus content for you as a little treat!

Alright, so here’s the breakdown for Week Three:

A close up of a quilt with the words " a little quilt along week three ".

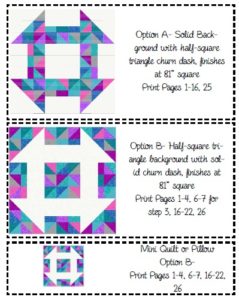
  • In Week Two, you should have decided on which Option of the Cheeky Churn Dash you’re making–Option A or Option B.  You also should have kind of looked over the Accordion Sewn HSTâ„¢ Method and decided if you’ll be using that method of piecing your HSTs or the standard piecing method outlined on pages 6-7 of your pattern.  If you chose the method outlined in pages 6-7, you starched your fabric already.  So here’s the action list to complete for Week Three!
  • For Option AA picture of the instructions for making a quilt.
    • If using the Accordion Sewn HSTâ„¢ Method, draw a diagonal line from one corner to the other on the wrong side of each square designated for half-square triangles.
    • If using the standard method, follow the instructions outlined in pages 6-7 to make the HST blocks.
      • Check out the video for the Cheeky Churn Dash.
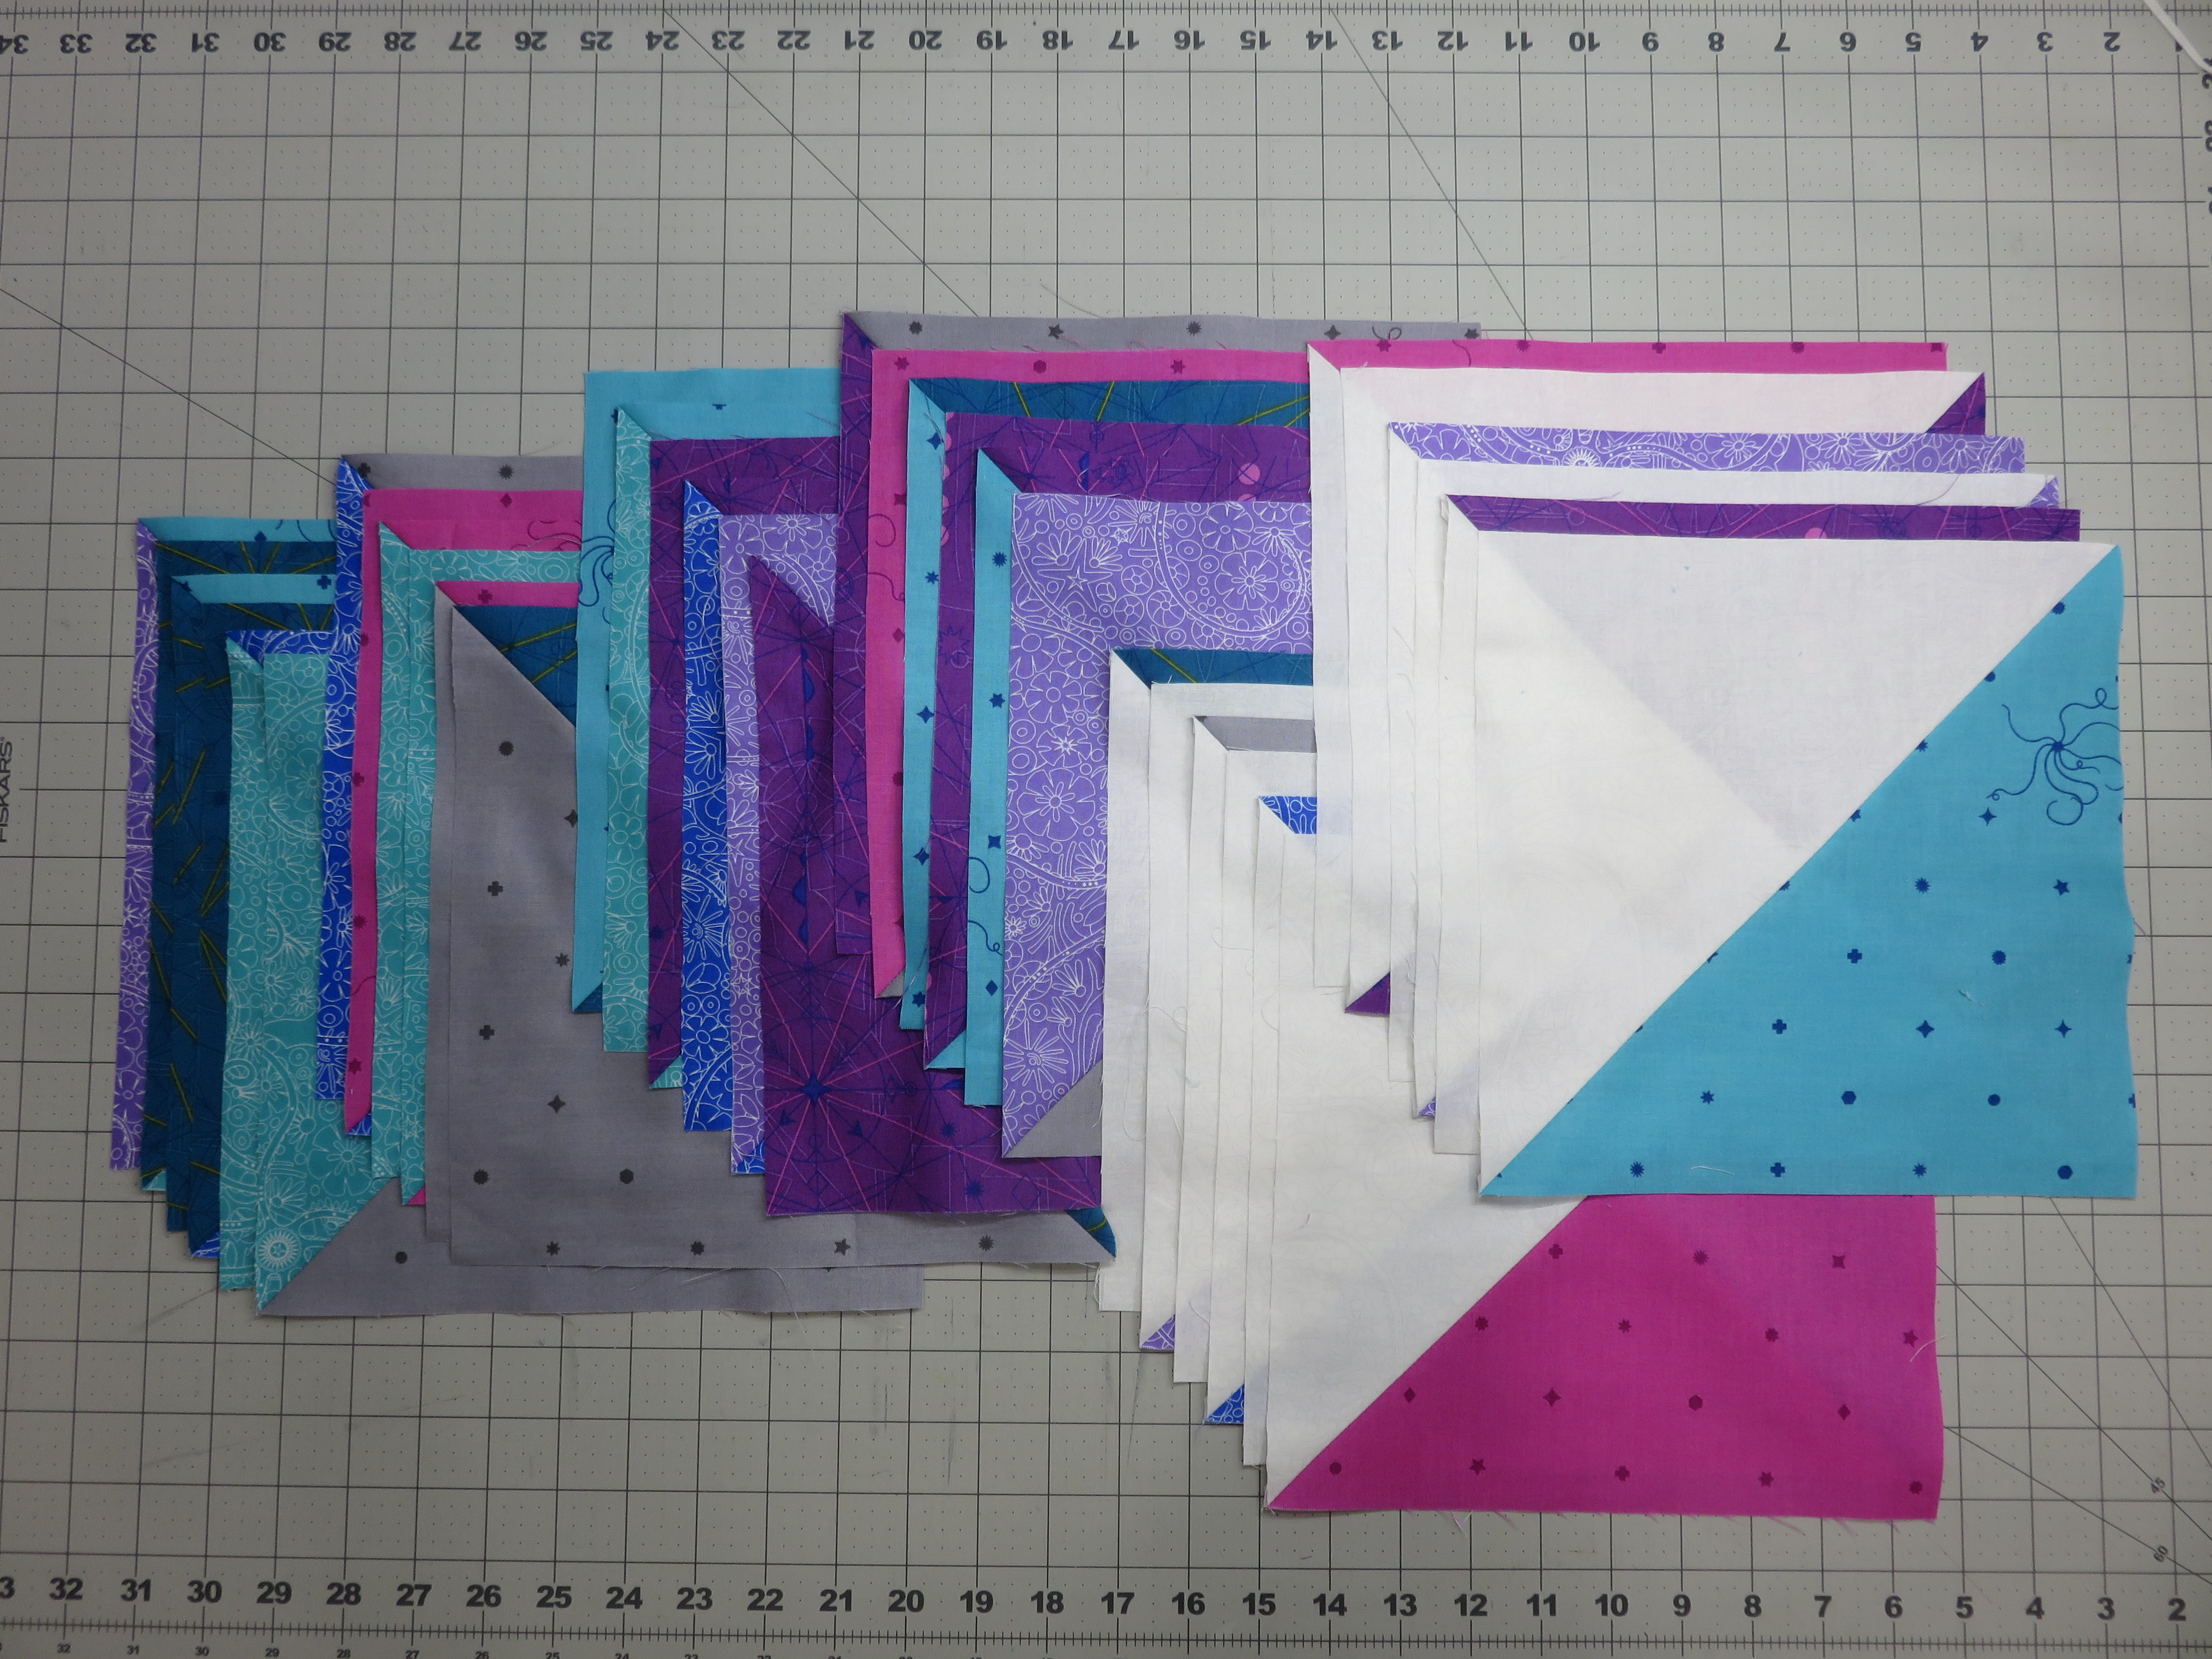
      • Assemble a total of 24 half square triangles made from combining fabrics B, C, D, E, F, G, H, I.  Assemble a total of 12 half square triangles made from combining one Fabric A with one fabric B-I.  So for Option A you will have 36 HSTs.
  • For Option B
    • If using the Accordion Sewn HSTâ„¢ Method, draw a diagonal line from one corner to the other on the wrong side of each square designated for half-square triangles.
    • If using the standard method, follow the instructions outlined in pages 6-7 to make the HST blocks.
      • Check out the video for the Cheeky Churn Dash.
      • Assemble a total of 33 half square triangles made from combining fabrics B, C, D, E, F, G, H, I.  Assemble a total of 12 half square triangles made from combining one Fabric A with one fabric B-I.  So for Option A you will have 45 HSTs.
  • For both options-press your HSTs well.
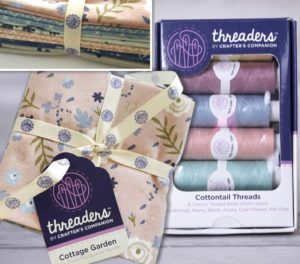
  • This week, post a picture of your stacks of completed HST blocks on Instagram using the #cheekychurndashquiltalong hashtag.  Be sure you post your IG picture with the hashtag before the start of Week Four to qualify for this week’s prize!  Week Three’s prize is sponsored by Crafter’s Companion– and they’re offering up a gorgeous fat quarter bundle and thread set!A close up of some fabric and sewing supplies
  • These are my completed HSTs for week three!  I can’t wait to see yours!A close up of the folded squares on the quilt

Next week, we’ll be squaring up all the half-square triangles!

Cheeky Churn Dash Quilt Along Posts:

Week One – Introduce yourself and gather your fabrics

Week Two – Starch and cut your fabrics