Do you follow me on instagram? If you do, you might have seen I’ve been having a LOT of fun with videos lately. I’ve been doing some time lapse videos of some basic straight line quilting AAAAAND decided I’d do a real time video of how I bind mini quilts on my longarm. It’s seriously so easy that if you haven’t tried this yet, you’ll really kick yourself!
If you’ve ever quilted a mini quilt on the longarm, there’s a fun shortcut you can use to quickly attach binding to the front of the quilt after you quilt it. I did a short video tutorial showing how to attach binding on the longarm, and I hope you’ll go check it out! Now just a quick note…I am obviously not a professional videographer…or whatever that’s called, and I even treat you to a view of my gorgeous locks of hair that were quickly and haphazardly thrown up into a very unglamorous mom bun. That’s right. ENJOOOOOY 😉
When I bind my quilting samples on the longarm, I usually stick to pretty small sizes. You could definitely do this with a large quilt, just keep in mind that you’ll be doing some scrolling and advancing of the quilt to finish the job. It’s also a good idea to mark the large quilt so you have a good idea of where the squared portion of the quilt will be so you attach the binding straight. I only do this for quilts that are for myself–because for me this is something to do quickly as a shortcut and not great for accuracy, as I don’t spend a lot of time making sure I’m putting the binding on squarely.
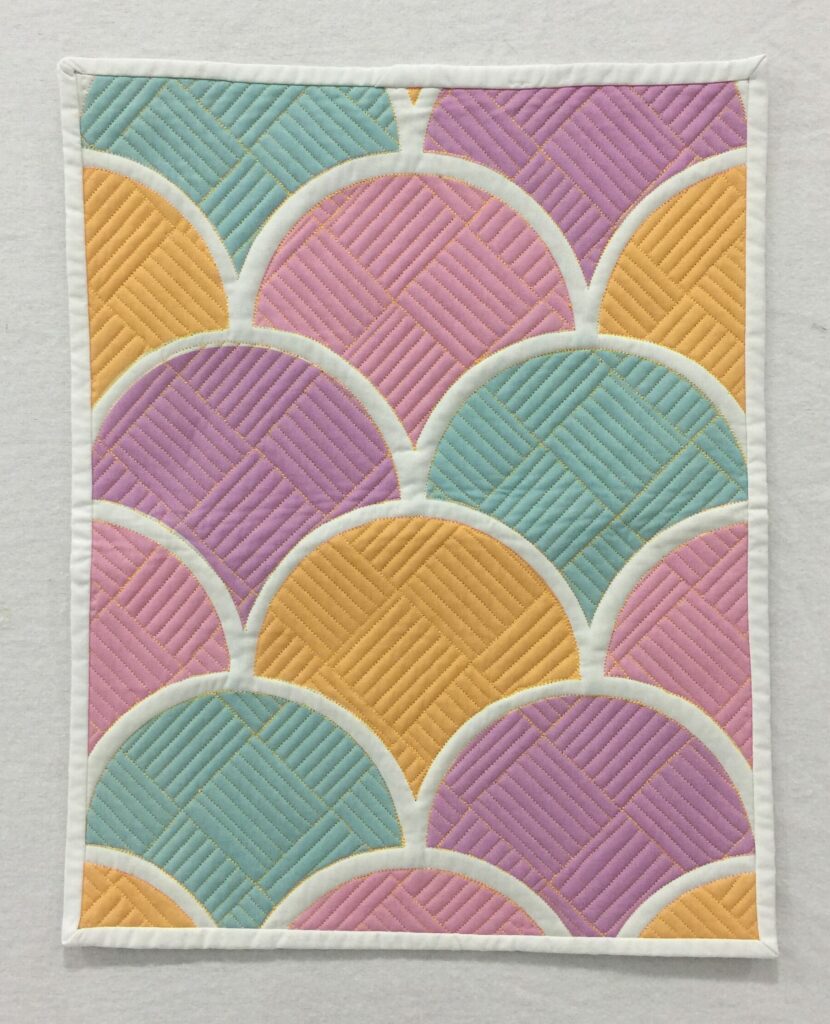
To make the binding, I cut strips 2.5″ wide x the width of the fabric and then sew them together, end to end to create the length I need (I usually do the perimeter of the quilt + 12″ to make sure I have enough). The tutorial shows how to attach the binding to the front of the quilt. After quilting, you’ll need to trim away and square up, then flip the folded edge of the binding to the back and finish. I finish all mine by hand because I’m a weirdo and love hand binding!

Binding on the longarm details
I’m using an Innova 22″ longarm (hand guided) with a lightning stitch stitch regulator. The fabric panel I quilted was a custom panel I ordered from My Fabric Design, and the thread I used for the quilting was Glide by Hab+Dash (previously Fil-Tec). If you’d like to see a time lapse video of the quilting of this panel, you can check it out on instagram HERE.
I hope you find this tutorial helpful–and I’d love to hear your feedback! Are you up for trying this out soon? Let me know if you do and how it goes! Happy sewing 🙂
