Happy 4th of July! I hope you’re getting to enjoy family and friends and all the great festivities that the 4th brings! In my neck of the woods, it’s hotter than Hades and we haven’t had a decent rain shower since March, so we may not be enjoying tons of fireworks this evening…we’re definitely praying for the little rain shower than is a minor possibility tonight. Now lets talk quilting tips and how to tackle planning your quilting design!
I recently got to quilt an American Wave Quilt (pattern by Lisa Moore of Quilts with a Twist) for my mother-in-law and thought it would be a good opportunity to share some of my quilting tips for adding texture and movement to your quilt tops and planning your overall quilting design. Even though I love bright colors and modern-traditional quilt designs, I have a great appreciation for traditional colors and patriotic quilts. Some of the first quilts I made when I was learning to sew were with traditional, warm colors and American designs. I’m using this quilt to talk about the 8 things I usually think about before I start quilting, but these tips can be applied to any quilt top.
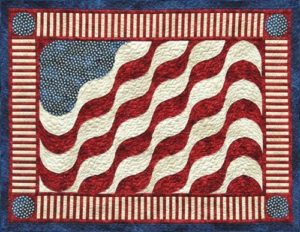
My MIL didn’t follow the pattern exactly as shown below, but this is the original pattern, by Lisa Moore, pictured below. If you’re interested in purchasing the pattern, you can grab a PDF copy at Quilts with a Twist (this is not an affiliate link, I’m just crediting the original designer in case you want to purchase the pattern).
Here are my top quilting tips for devising your quilting plan:
- Consider the quilting as a design element of your quilt.
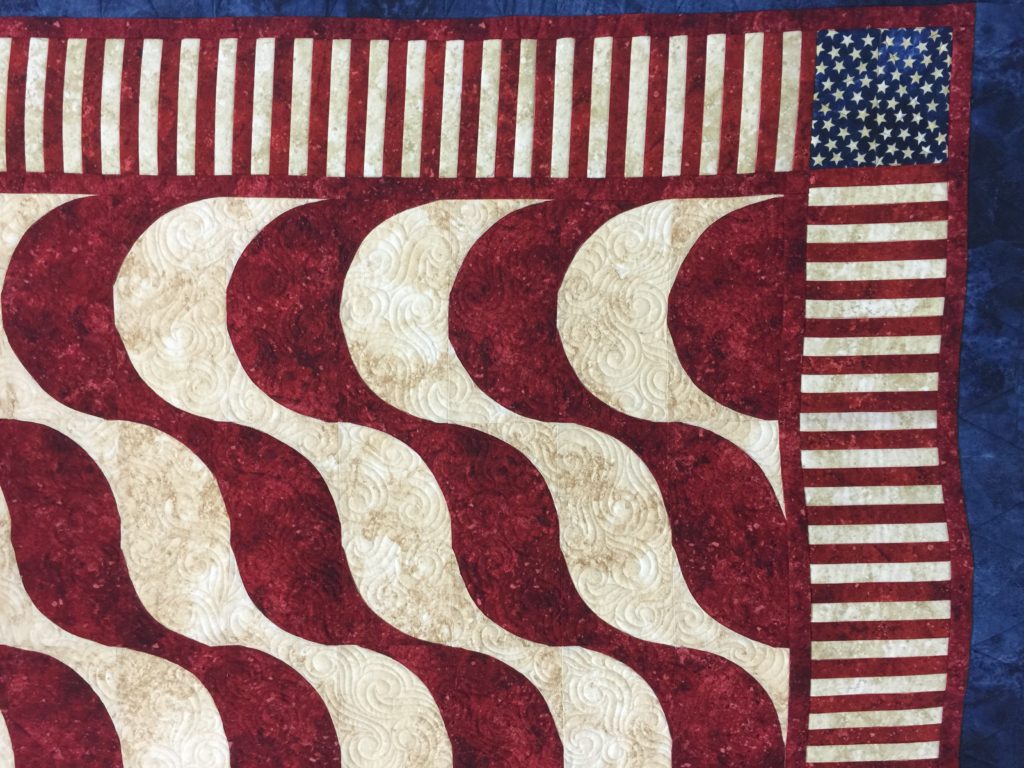
When you get a quilt top completed that has so much work put into it–much as this one does–it’s important to consider the quilting as another design element and not an afterthought. In my opinion, a basic meander or other edge to edge can take away from the overall impact of the quilt.Since our goal was to enhance the movement already present in the piecing, we decided to stitch in the ditch, quilt swirly waves, add some stars to go with the theme, and quilt piano keys on the striped fabric border.
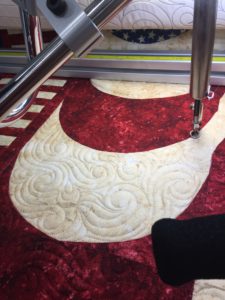
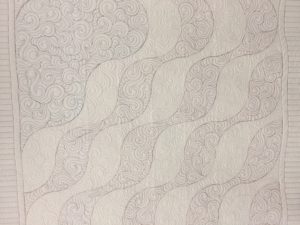
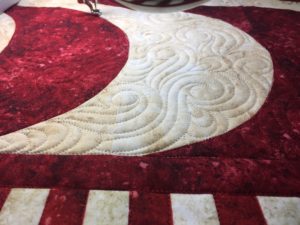
SID and swirly waves - Examine the layout of the quilt and follow the lines in the quilt to enhance the design.This quilt design already shows lots of movement in the piecing. I opted to stitch in the ditch on the waves and within the different fabric colors, I quilted swirly waves. Another great quilting motif would have been to echo the wavy lines within the quilt to complement the already wavy lines.The red and white striped fabric wasn’t exactly stitched in the ditch (SID), since it was one piece of fabric and not pieced stripes, but I followed the lines of the colors and did a faux SID to make it appear that it was pieced.
- Consider thread color.
I used three different thread colors on this quilt–red, cream, and blue. I matched the thread colors to the fabrics I was quilting and changed them often. This isn’t always necessary, but it’s important to consider before you stick with just one thread color for the entirety of the quilt. If you want the quilting to really pop, then using just one of those colors–like cream would be a great idea. The cream will blend into the cream colored fabrics, but contrast highly against the darker values of the red and blue.
Blending thread Ask yourself — Do I want my quilting to blend or POP? If your goal is great subtle quilting, then select your thread colors to blend or melt into the fabric. If your goal is high contrast quilting that will POP against your fabric, select thread colors that contrast with the fabric.
Also, if you’re a beginning quilter, matching your thread colors to your fabric colors will help conceal any minor mistakes you might make. This is a great confidence building technique to get you started on your quilting journey! - What color is your backing?
Some people prefer the quilting to blend into the backing, but in this case, the red and blue threads really pop on the cream colored muslin that was used for the backing. It’s a good idea to think about your backing and what the quilting will look like on the back prior to starting quilting.
Backing - Look at your borders (if there are borders).
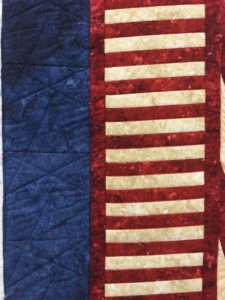
So there were two “borders” on this quilt top. The outer border was a dark navy blue, and the inner border was the red and white striped fabric. I quilted stars that connected to each other in navy blue thread on the outer border and the faux SID on the striped fabric. It’s a little difficult to see because of the thread matching, but it’s there :). Select quilting motifs that will complement your border designs.
Border designs - Think about the theme of the quilt.
In this case, the theme is pretty straightforward. It’s obviously a patriotic themed quilt, so think about designs that go with that theme. Stars, stripes, waves, etc. would all be good choices to go with this quilt top. maybe you have a quilt top that has cats on it, and the cats are made from triangles–you could quilt triangle motifs in the borders, or a ball of yarn, or little mice. Stars probably wouldn’t be a good choice to go with a cat quilt, so you’d want to pick something in theme with the quilt top. - Evaluate the purpose of the quilt.
This will help you decide the density of quilting that is appropriate and what type of batting you may want to use. If it’s a quilt that’s going to be a wall hanging, you’d probably want to use a stiffer batting, or maybe double batt with a puffy top like wool. If the quilt is intended to be used often, you might select a poly-cotton blend or 100% cotton-something that would stand up to being washed and laundered frequently.The batting you select might also dictate how far apart the quilting can be. If you buy packaged batting, it will usually tell you how far apart the quilting lines can be (example-up to 8″ apart). Keep in mind the denser the quilting, the stiffer it will feel. A looser quilted quilt will be softer and drape better than a heavily quilted one. - Stitch in the ditch might be a lot of work, but the payoff is worth it.
I’m a big fan of SID. I haven’t ever quilted a quilt with stitch in the ditch and regretted it, but there have been instances where I didn’t do it and wished I had. It gives the overall quilt a more finished look (in my opinion), and a very polished look.
SID detail The overall idea is to think of your quilting plan and how it will affect the overall impact of your finished quilt. These 8 tips are small things you can consider that will really impact your finished quilt. I hope these tips are helpful in planning your next quilting project! Have a safe and happy 4th, and happy quilting 🙂

I like that you mentioned evaluating what your quilt will be used for. I would like to make a new quilt for my mom’s bed to give her on her birthday. A softer batting would likely be best for this project.
Hi Lyla! Yes, so important to think about the utility of the quilt. Great idea 🙂